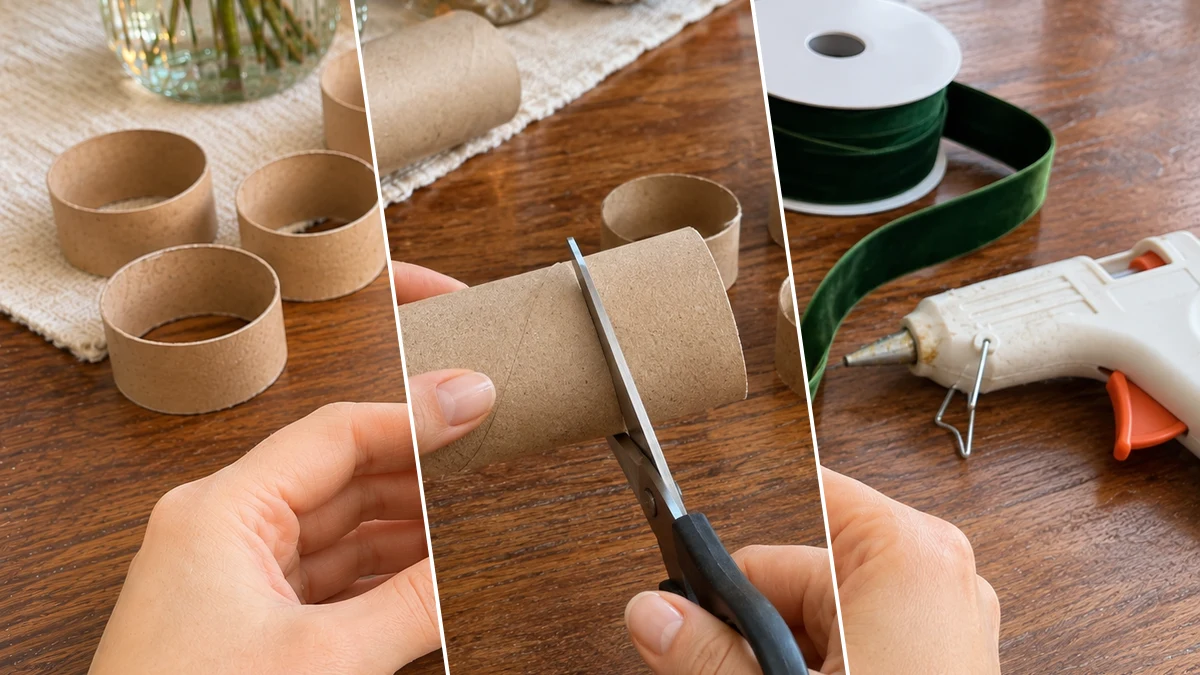
Add a festive, handmade touch to your Christmas dinner table with these DIY velvet napkin rings. Crafted from cardboard tubes, deep green velvet ribbon, and faux botanicals, they offer an elegant detail for holiday place settings. This project is a simple way to enhance your seasonal decor.
Project at a Glance
- Difficulty: Easy
- Estimated active time: 10 minutes to 15 minutes (drying and curing waits not included)
- Main material: Paper
- Suggested placement: Dining Table
About These Christmas Velvet Napkin Rings
These Christmas velvet napkin rings bring a traditional and elegant touch to any holiday table setting. The deep green velvet combined with faux red berries and pine sprigs creates a classic festive look, perfect for Christmas dinner or other winter gatherings.
The project uses readily available materials like cardboard tubes and velvet ribbon, which can be found at a low cost. It is an easy craft that adds a personalized element to your holiday decor without requiring advanced skills or significant time investment.
Materials for DIY Christmas Velvet Napkin Rings with Faux Berries for a Festive Table
- Cardboard Tube (e.g., paper towel roll)
- Deep Green Velvet Ribbon
- Faux Red Berry Picks
- Faux Pine Sprigs
- Hot Glue Gun & Glue Sticks
- Scissors
Need another material? Browse current craft supplies and deals.
Step-by-Step: Christmas Velvet Napkin Rings
Transforming simple materials into festive table decor is straightforward with these steps. Follow this guide to create elegant Christmas velvet napkin rings for your holiday place settings. Each step builds on the last to achieve a cohesive and charming result.
Step 1: Prepare Cardboard Rings
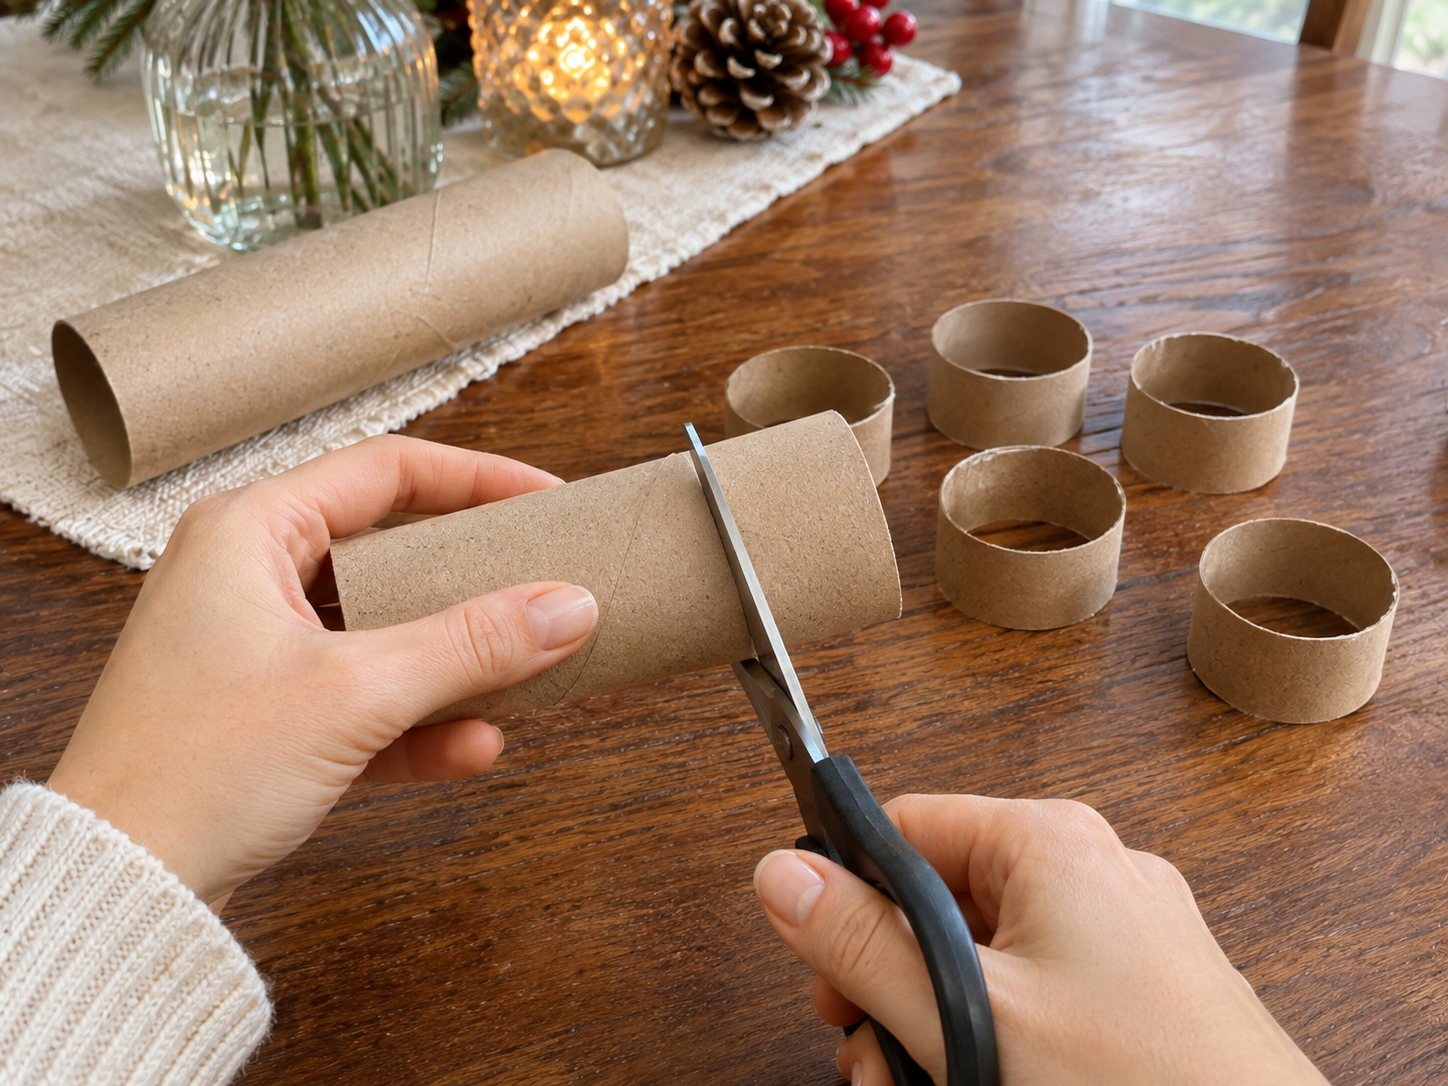
Using sharp scissors or a craft knife, carefully cut your cardboard tube (like a paper towel or toilet paper roll) into 1.5-inch wide rings. Aim for even widths across all your rings for a consistent and professional finished look. You'll need one ring for each napkin at your place setting.
Step 2: Wrap Rings with Velvet Ribbon
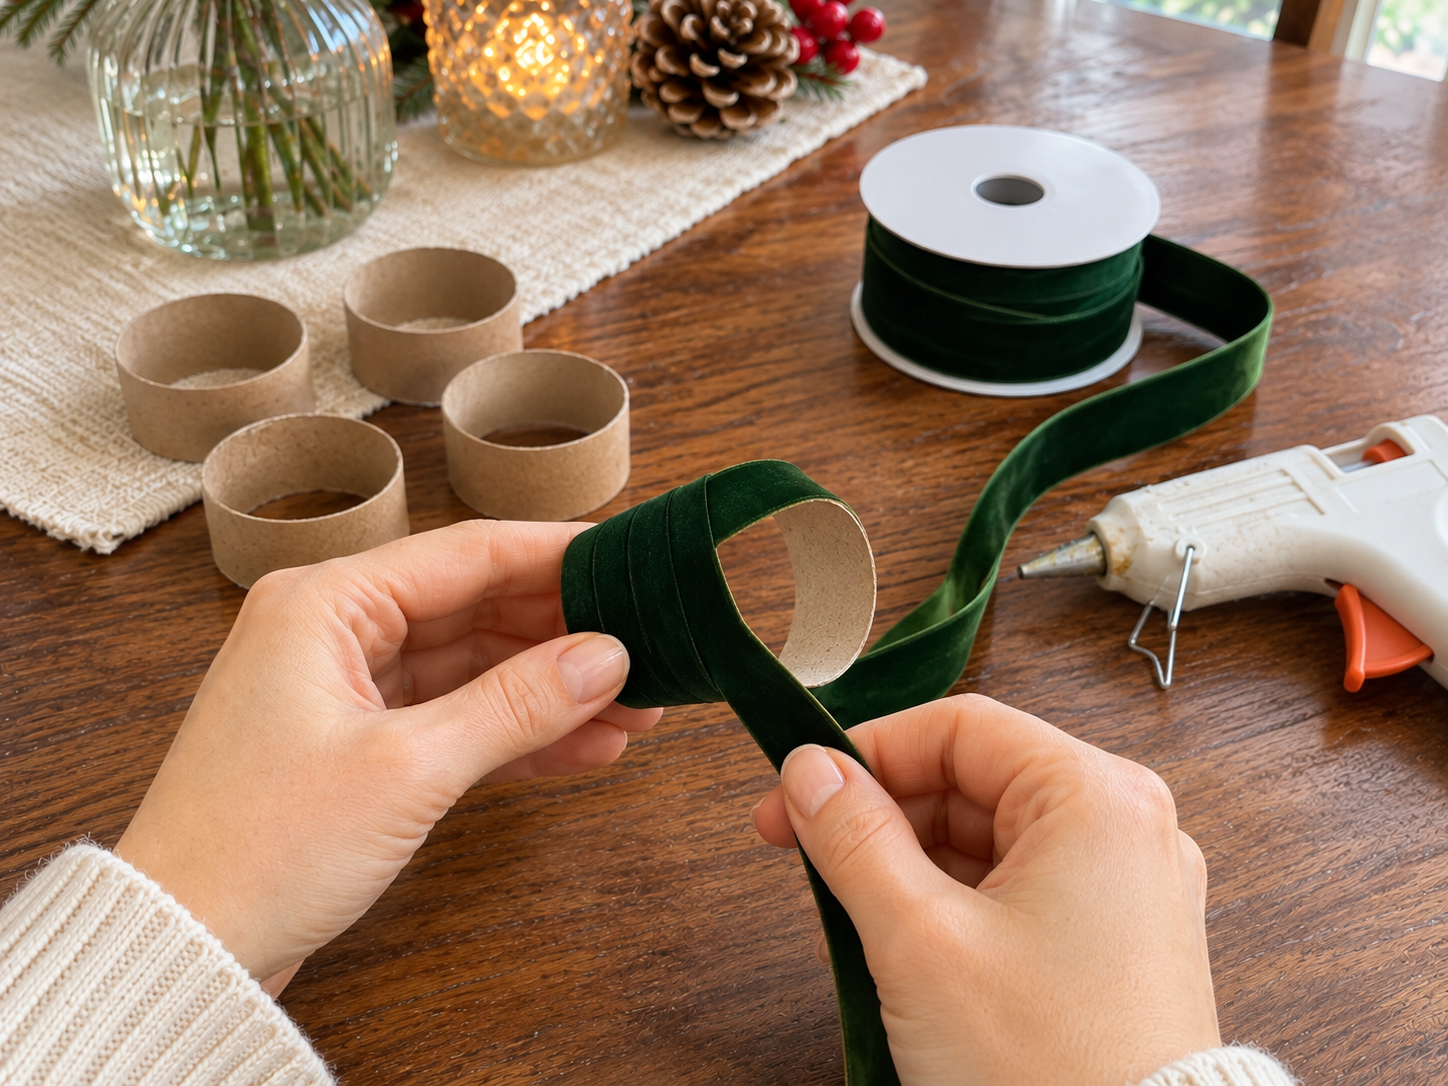
Apply a small dot of hot glue to the inside of one cardboard ring. Press one end of your deep green velvet ribbon onto this glue to secure it. Begin wrapping the ribbon tightly and neatly around the ring, overlapping each pass slightly to ensure no cardboard shows through. Continue wrapping until the entire ring is covered, then trim the ribbon and secure the end with another small dot of hot glue on the inside.
Step 3: Create and Attach Velvet Bows
Cut a short length of velvet ribbon for each bow. Form a small, neat bow, ensuring the loops are even. You can either tie the bow or, for a simpler method, form the loops and secure the center with a tiny dot of hot glue to hold its shape. Once your bow is formed, apply a small amount of hot glue to the back and firmly press it onto the front of the wrapped napkin ring, ideally over where the ribbon ends meet.
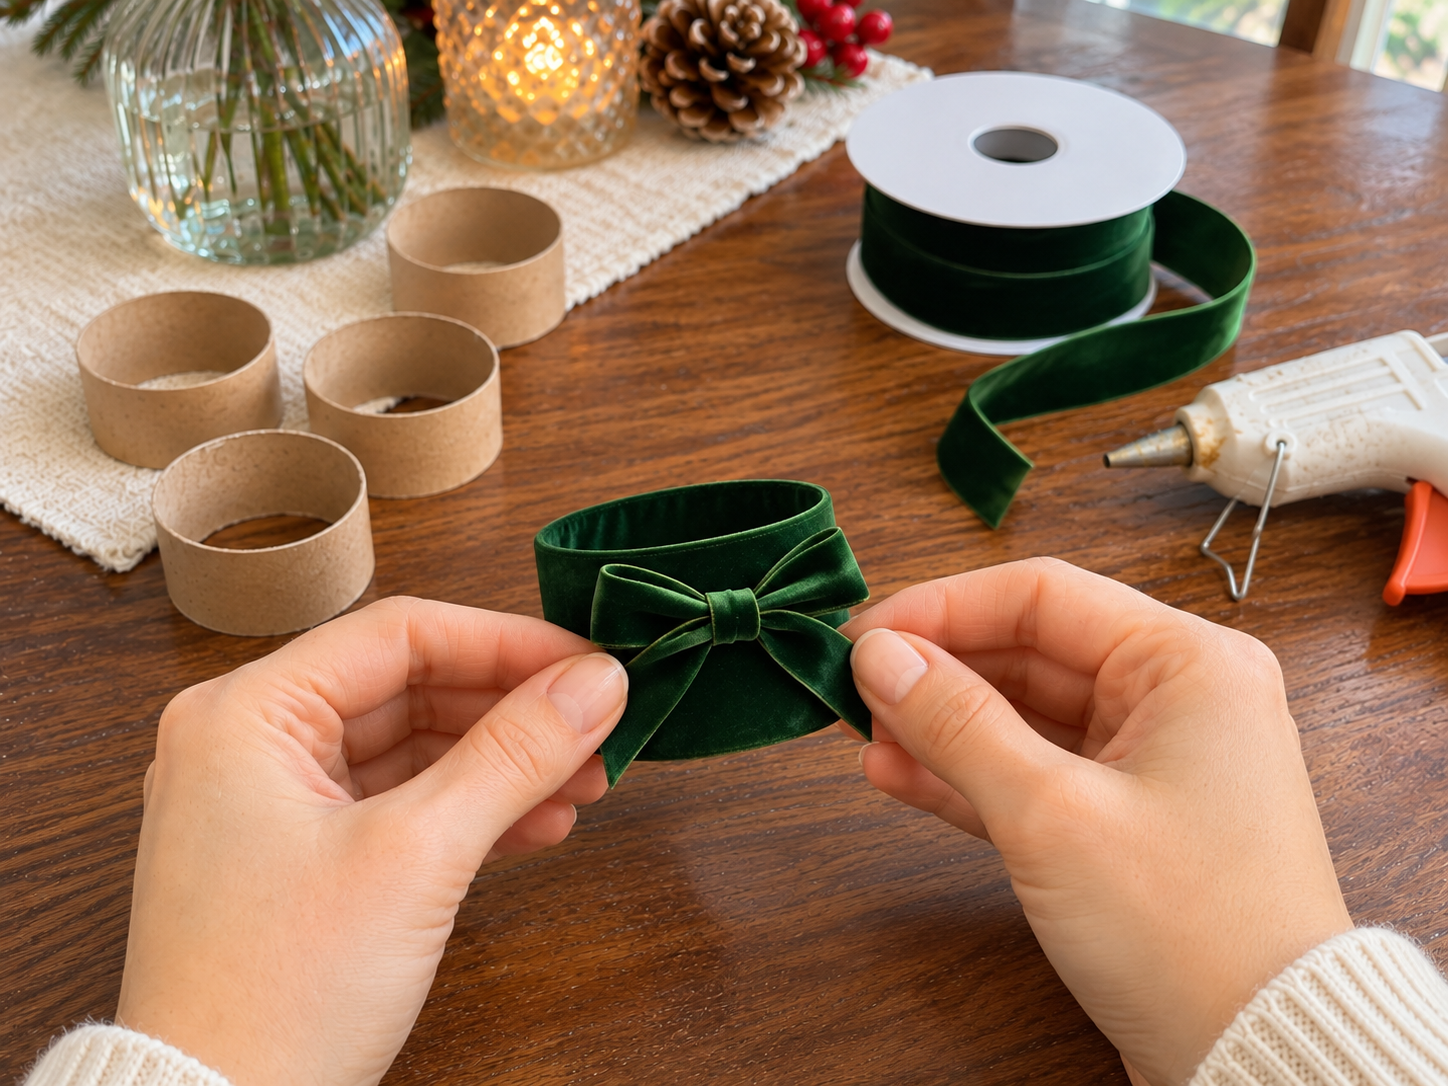


Step 4: Add Festive Embellishments
Carefully snip individual faux pine sprigs and small clusters of red berries from their larger picks. Arrange these embellishments behind or slightly to the side of the velvet bow on your napkin ring. Once you are satisfied with their placement and how they complement the bow, apply a small amount of hot glue to the base of each sprig and berry cluster and firmly attach them to the napkin ring. Hold them in place for a few seconds until the glue sets.
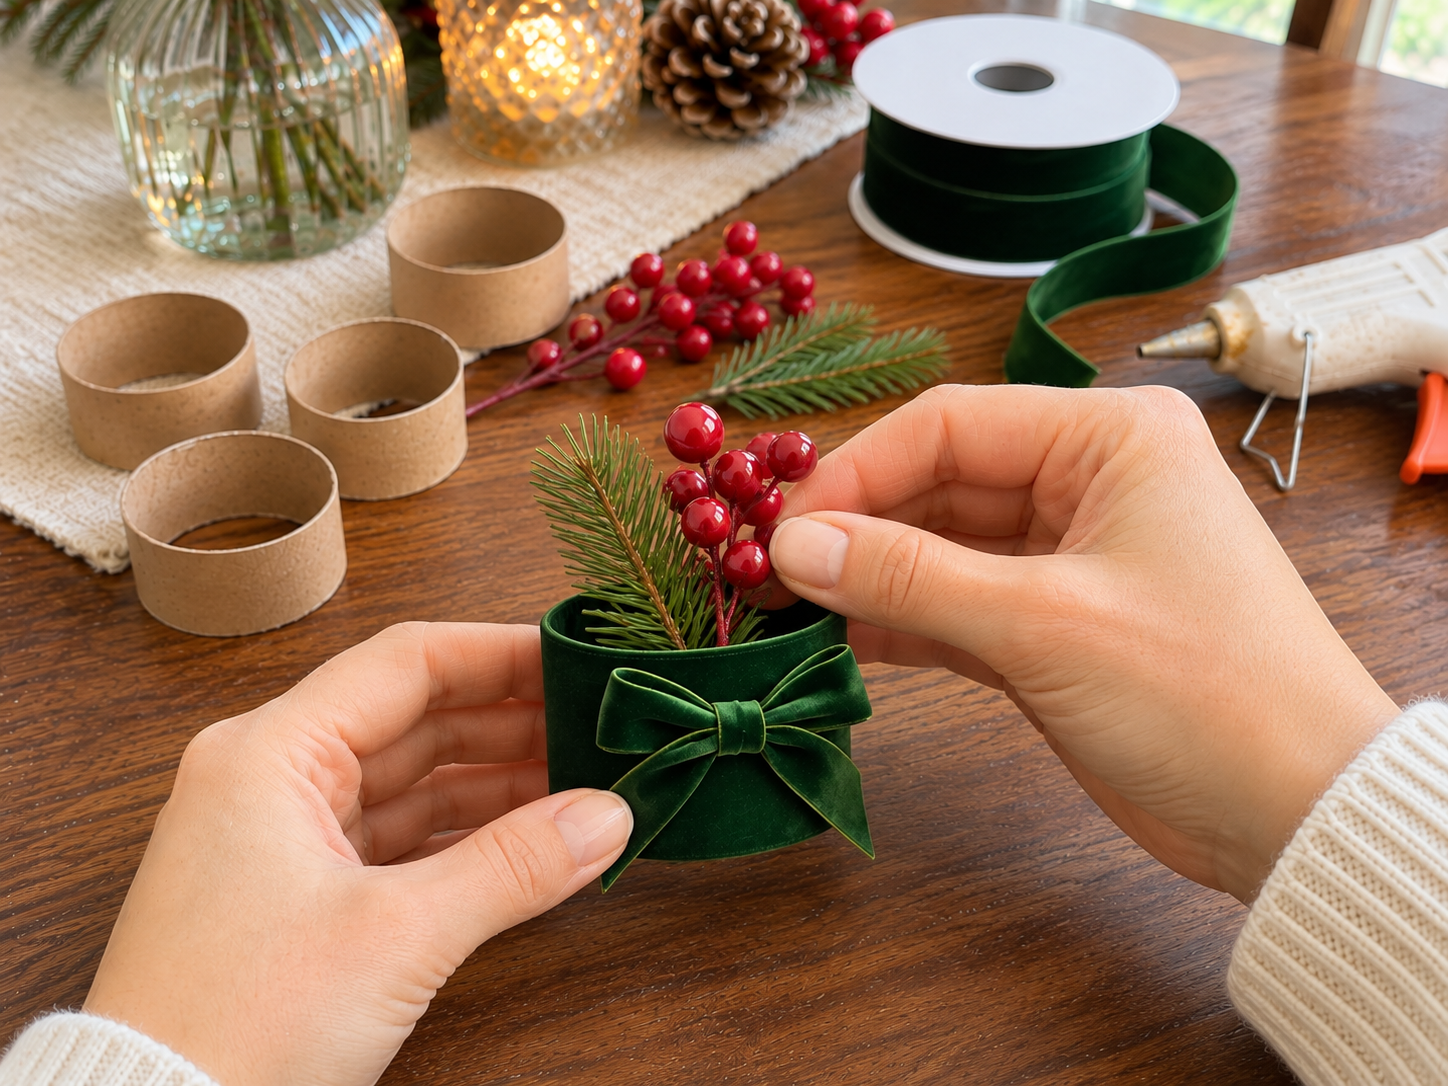
Completing Your Holiday Table Settings
These handmade velvet napkin rings add a special touch to your Christmas dinner table. They contribute to a cohesive holiday theme, creating a memorable setting for your guests. Enjoy the festive atmosphere these elegant details bring to your celebration.
Related project collection: DIY Beaded Acorn Napkin Rings for a Thanksgiving Table
Practical Questions About This Project
What is the recommended width for cutting the cardboard rings?
The cardboard tube should be cut into 1.5-inch wide rings to form the base for each napkin ring.
What materials are used to embellish the velvet napkin rings?
Faux red berry picks and faux pine sprigs are used to add festive embellishments to the velvet napkin rings.
How long does this craft project take to complete?
This craft has an estimated active time of 10 to 15 minutes, which excludes any unattended drying or curing time.
What is the estimated component cost for this project?
This project uses inexpensive supplies, excluding reusable tools.
Search Dollar Tree for paper supplies.

Leave a Reply