
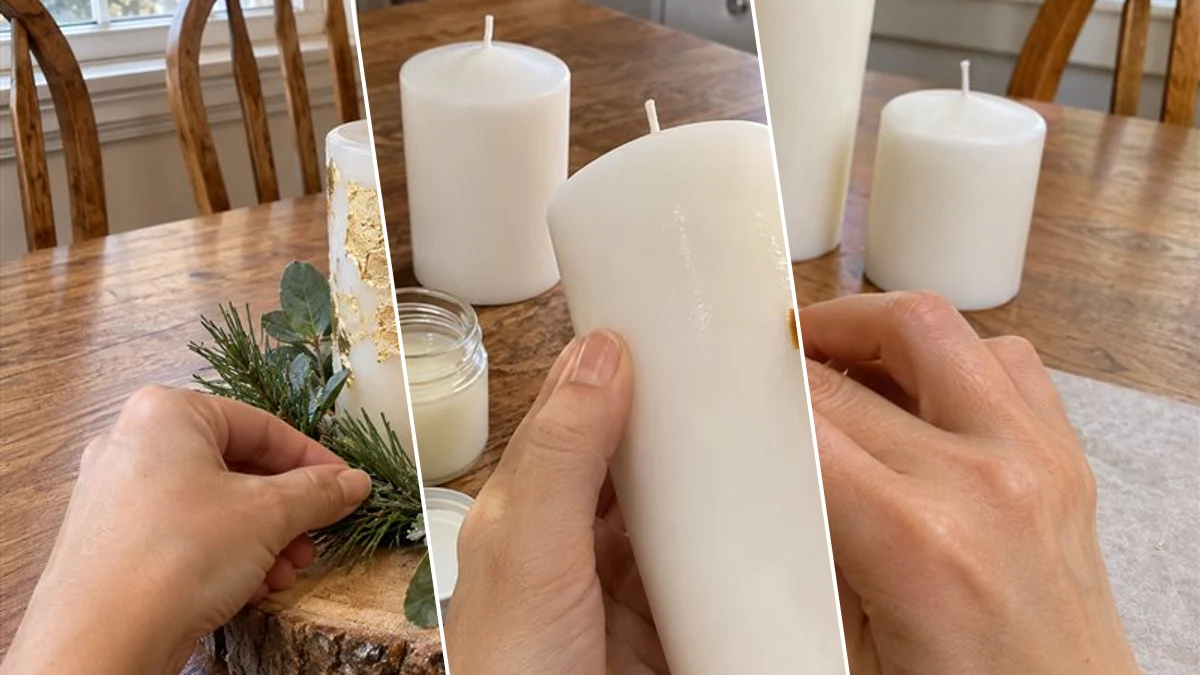
Create a beautiful gilded gold leaf pillar candle centerpiece for your holiday table or winter display. This project combines the elegant shimmer of gold leaf with rustic elements like a wood slice, faux greenery, and cinnamon sticks. It offers a sophisticated, unlit decorative accent perfect for festive gatherings or as a thoughtful gift.
Project at a Glance
- Difficulty: Easy
- Estimated active time: 50 minutes to 90 minutes (drying and curing waits not included)
- Estimated component cost: $26 to $49 (reusable tools and general supplies excluded)
- Main material: Wood
About This Gilded Gold Leaf Centerpiece
This gilded gold leaf pillar candle centerpiece offers a blend of rustic charm and elegant shimmer, making it a fitting accent for holiday tables or winter home displays. It features three white pillar candles, each adorned with delicate gold leaf flakes, arranged on a natural wood slice. Faux pine and eucalyptus stems, along with cinnamon sticks and natural twine, complete the festive arrangement. This is intended as an unlit decor piece only.
The estimated active crafting time for this project is between 50 to 90 minutes, allowing for the steps of applying gold leaf and arranging the elements. The estimated component cost ranges from $26 to $49, excluding reusable tools and general supplies. This project is classified as easy, combining painting, assembling, and arranging techniques to create a sophisticated piece of seasonal decor or a handmade gift.
Materials for DIY Gilded Gold Leaf Pillar Candle Centerpiece for Rustic Christmas Decor
- White Pillar Candles (3, varied heights)
- Gold Leaf Flakes
- Gold Leaf Adhesive Size or Mod Podge
- Clear Matte Sealer Spray
- Wood Slice
- Faux Greenery Stems (Pine & Eucalyptus)
- Cinnamon Sticks
- Natural Twine
- Small Flat Brush
- Parchment Paper (for workspace)
Need another material? Browse current craft supplies and deals.
Crafting Your Gilded Gold Leaf Pillar Candle Centerpiece
Transform plain white pillar candles into a festive gilded centerpiece with these straightforward steps. This guide will walk through applying gold leaf, sealing the candles, and arranging them with natural elements. Remember to work over parchment paper when handling gold leaf flakes, as they are delicate and messy.
Step 1: Prepare Candles with Adhesive
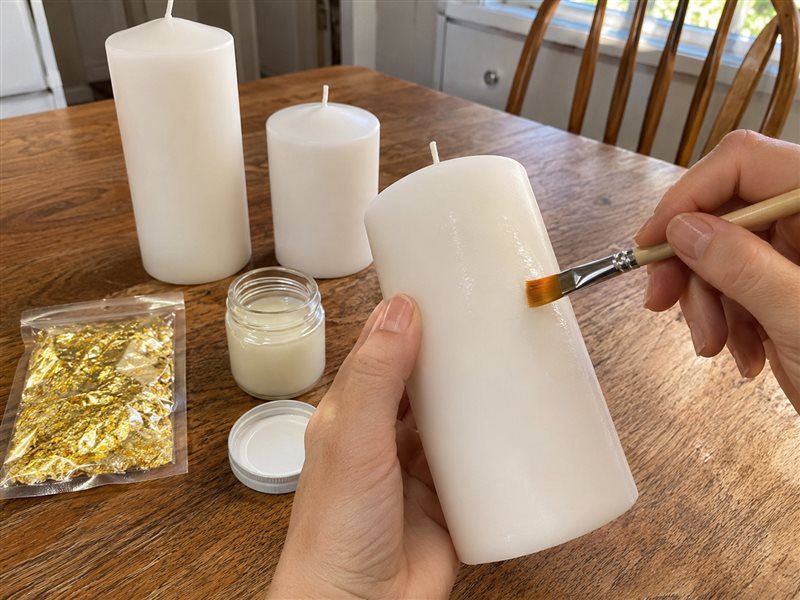
Before applying gold leaf, protect your workspace by laying down parchment paper, as gold leaf can be quite messy. Using a small, flat brush, apply gold leaf adhesive size or Mod Podge in irregular, organic patches onto the sides of each pillar candle. Aim for varying sizes and shapes of patches to create a natural, hand-gilded look. You don't need to cover the entire candle; focus on creating beautiful accents. Allow the adhesive to become tacky according to product instructions, usually a few minutes. It should be sticky to the touch but not wet.
Step 2: Gilded Gold Leaf Application
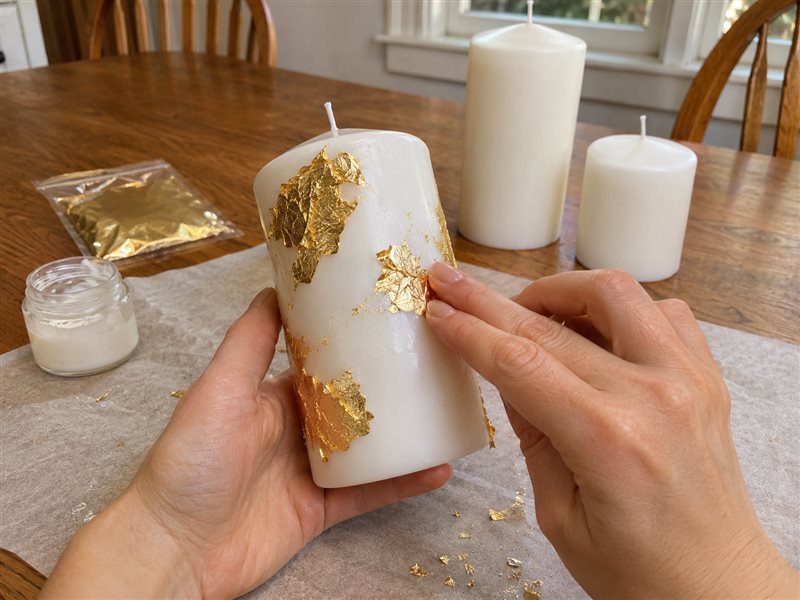
Once the adhesive is tacky, gently pick up small clumps of gold leaf flakes using your fingers or the dry brush and press them onto the adhesive patches. The flakes are very delicate and will cling easily. Lightly tap or brush over the applied flakes to ensure they adhere well and to remove any loose, excess pieces that haven't stuck to the adhesive. Work over the parchment paper to catch all fallen flakes, which can be reused or easily discarded. Continue this process for all three candles, covering the adhesive patches to your desired density.
Step 3: Seal and Dry Gilded Candles
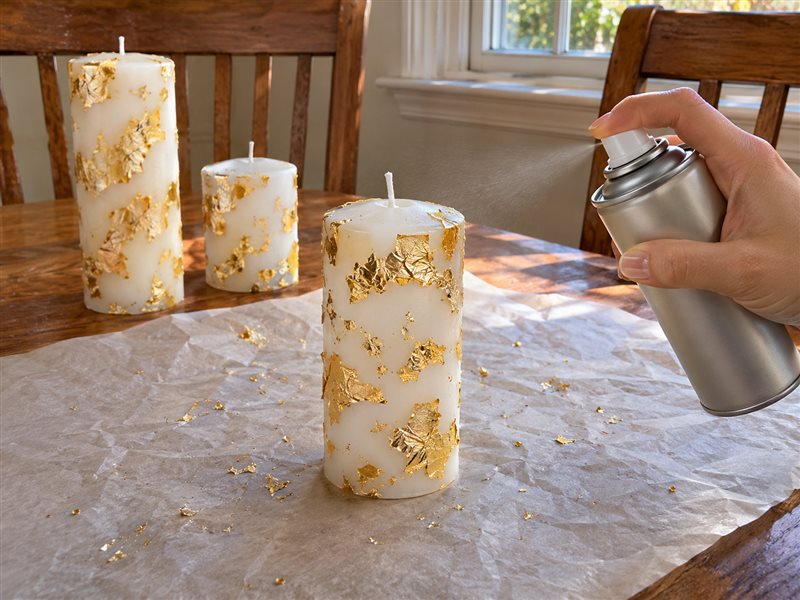
To protect the delicate gold leaf and prevent it from flaking off, you need to apply a clear matte sealer. In a well-ventilated area, hold the clear matte sealer spray about 6-8 inches away from each gilded candle and apply a light, even coat over the gold leaf areas. Avoid spraying too heavily, as this can cause dripping or alter the candle's texture. Let the candles dry completely for several hours or according to the product's instructions. Ensure they are fully dry to the touch before handling them further.


Step 4: Create Candle Arrangement Base
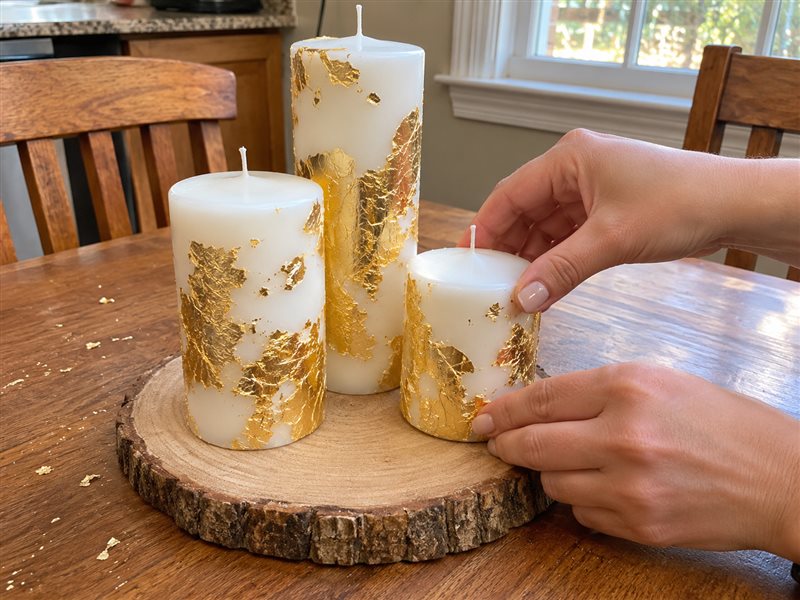
Once the gilded candles are completely dry, carefully arrange the trio of candles onto the wood slice. Position them in a visually pleasing cluster, typically with the tallest candle at the back or center, and the shorter ones around it, leaving some space around the base for the decorative elements. Experiment with their placement until you achieve a balanced and appealing composition that will serve as the foundation for your centerpiece.
Step 5: Add Greenery & Twine
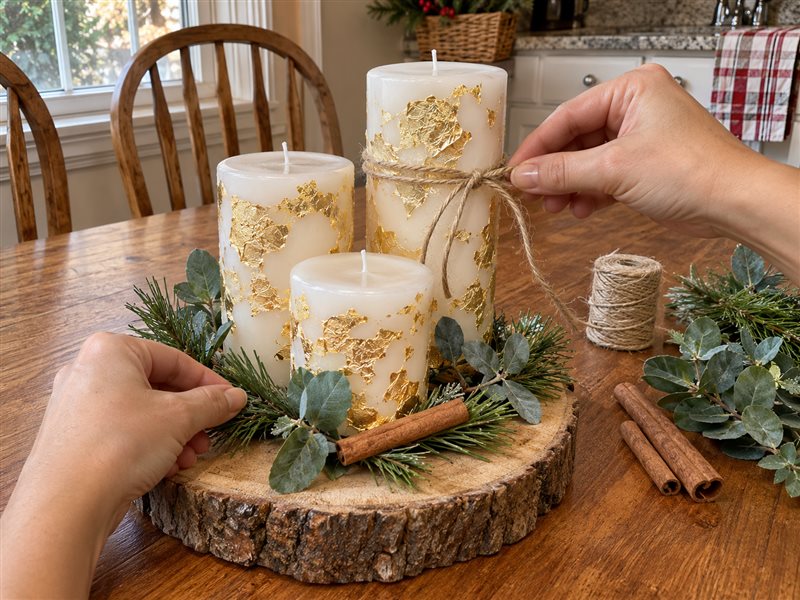
To complete your centerpiece, begin tucking in the faux pine and eucalyptus stems around the base of the candles on the wood slice. Arrange them to create a natural-looking wreath effect. Next, strategically place the cinnamon sticks among the greenery. Finally, take a length of natural twine and wrap it around the tallest pillar candle, tying it into a simple bow at the front. This adds a charming, rustic touch and completes the festive look of your gilded candle centerpiece. Remember, these are unlit decor candles only.
Enjoy Your Gilded Gold Leaf Centerpiece
This gilded gold leaf pillar candle centerpiece adds a touch of rustic elegance and festive warmth to any space. Display it on your dining table, mantel, or as a welcoming accent in your entryway. It also makes a thoughtful, handcrafted gift for the holiday season.
Related project collection: DIY Rustic Fall Votive Candle Centerpiece for Thanksgiving Table Decor
Practical Questions About This Project
Can the gilded candles in this centerpiece be lit?
No, this gilded gold leaf pillar candle centerpiece is designed as an unlit decorative piece only. It is not intended for actual candle lighting.
What materials are recommended for applying the gold leaf?
Gold leaf adhesive size or Mod Podge can be used to adhere the gold leaf flakes to the candles. A small flat brush helps with application.
How is the gold leaf protected from flaking?
After applying the gold leaf, a light, even coat of clear matte sealer spray is used to protect the delicate flakes and prevent them from flaking off.
Why is parchment paper suggested for this project?
Parchment paper is recommended to protect your workspace because gold leaf flakes are very delicate and can be messy to work with. It also helps in catching excess flakes.
What kind of greenery and embellishments are used?
The centerpiece incorporates faux pine and eucalyptus stems, along with cinnamon sticks and natural twine, to create a rustic and festive look.
Search Dollar Tree for wood supplies.

Leave a Reply