
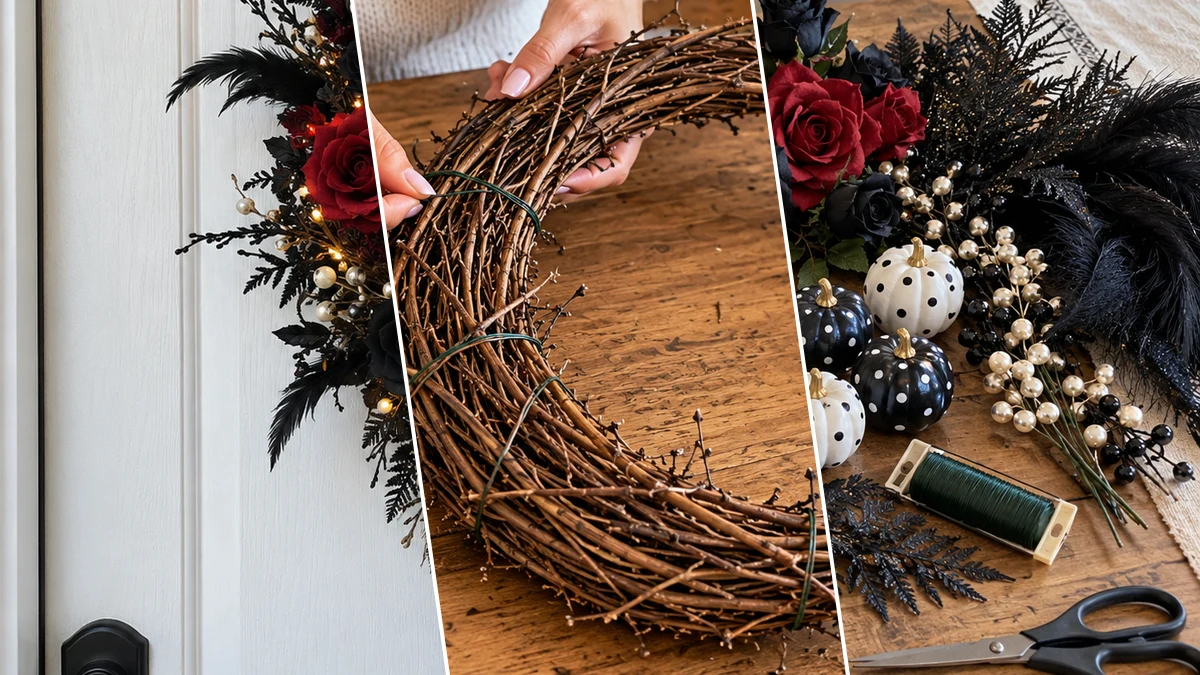
Create a striking Gothic Skull Crescent Moon Wreath to adorn your door or wall for Halloween. This tutorial guides you through assembling a unique piece featuring a glowing skull, deep red and black flowers, and enchanting fairy lights. It offers a dramatic and elegant touch for seasonal festivities or year-round gothic-inspired decor.
Project inspiration: Heather Daugherty
Project at a Glance
- Difficulty: Easy
- Estimated active time: 50 minutes to 75 minutes (drying and curing waits not included)
- Estimated component cost: $25 to $40 (reusable tools and general supplies excluded)
- Main material: Grapevine Wreath
- Suggested placement: Wall
Designing a Dramatic Halloween Wreath
This wreath combines traditional Halloween elements with a sophisticated gothic style. The crescent moon shape, dark florals, and glowing skull create a dramatic visual statement suitable for a front door or an interior wall. Incorporating fairy lights and varied textures adds depth and an inviting, mysterious ambiance to your space.
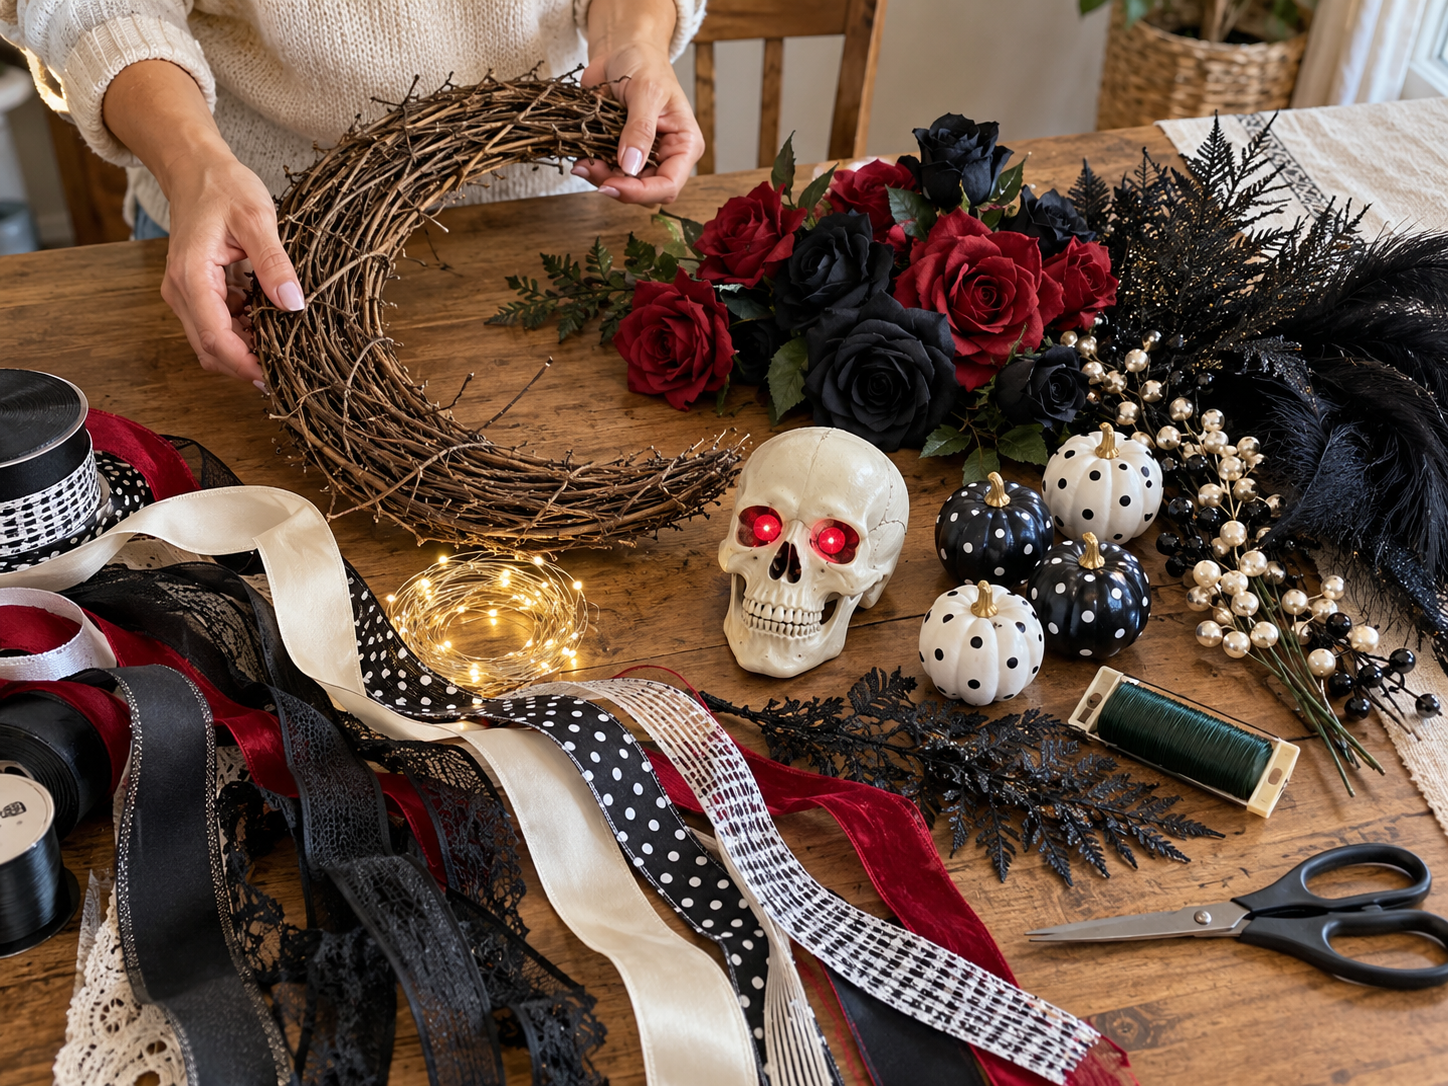
Materials for DIY Gothic Skull Crescent Moon Wreath for Halloween Door Decor
- Crescent Grapevine Wreath Base
- Plastic Skull with Red LED Eyes
- Assorted Silk Flowers (Red & Black Roses)
- Faux Greenery & Feather Picks (Black Ferns, Black Feathers)
- Miniature Polka Dot Pumpkins (Black & White)
- Pearl Bead Floral Picks
- Battery-Operated Mini Fairy Light String
- Assorted Ribbons (Black, Red, Cream, Patterned)
- Hot Glue Gun & Glue Sticks
- Floral Wire & Wire Cutters
Need another material? Browse current craft supplies and deals.
Assembling Your Gothic Skull Crescent Wreath
Transform a simple grapevine base into a captivating display with these step-by-step instructions. This guide walks you through attaching lights, securing the skull, arranging florals, and adding the finishing touches. Gather your materials and prepare your hot glue gun to begin creating this unique piece.
Step 1: Prepare the Wreath Base & Lights
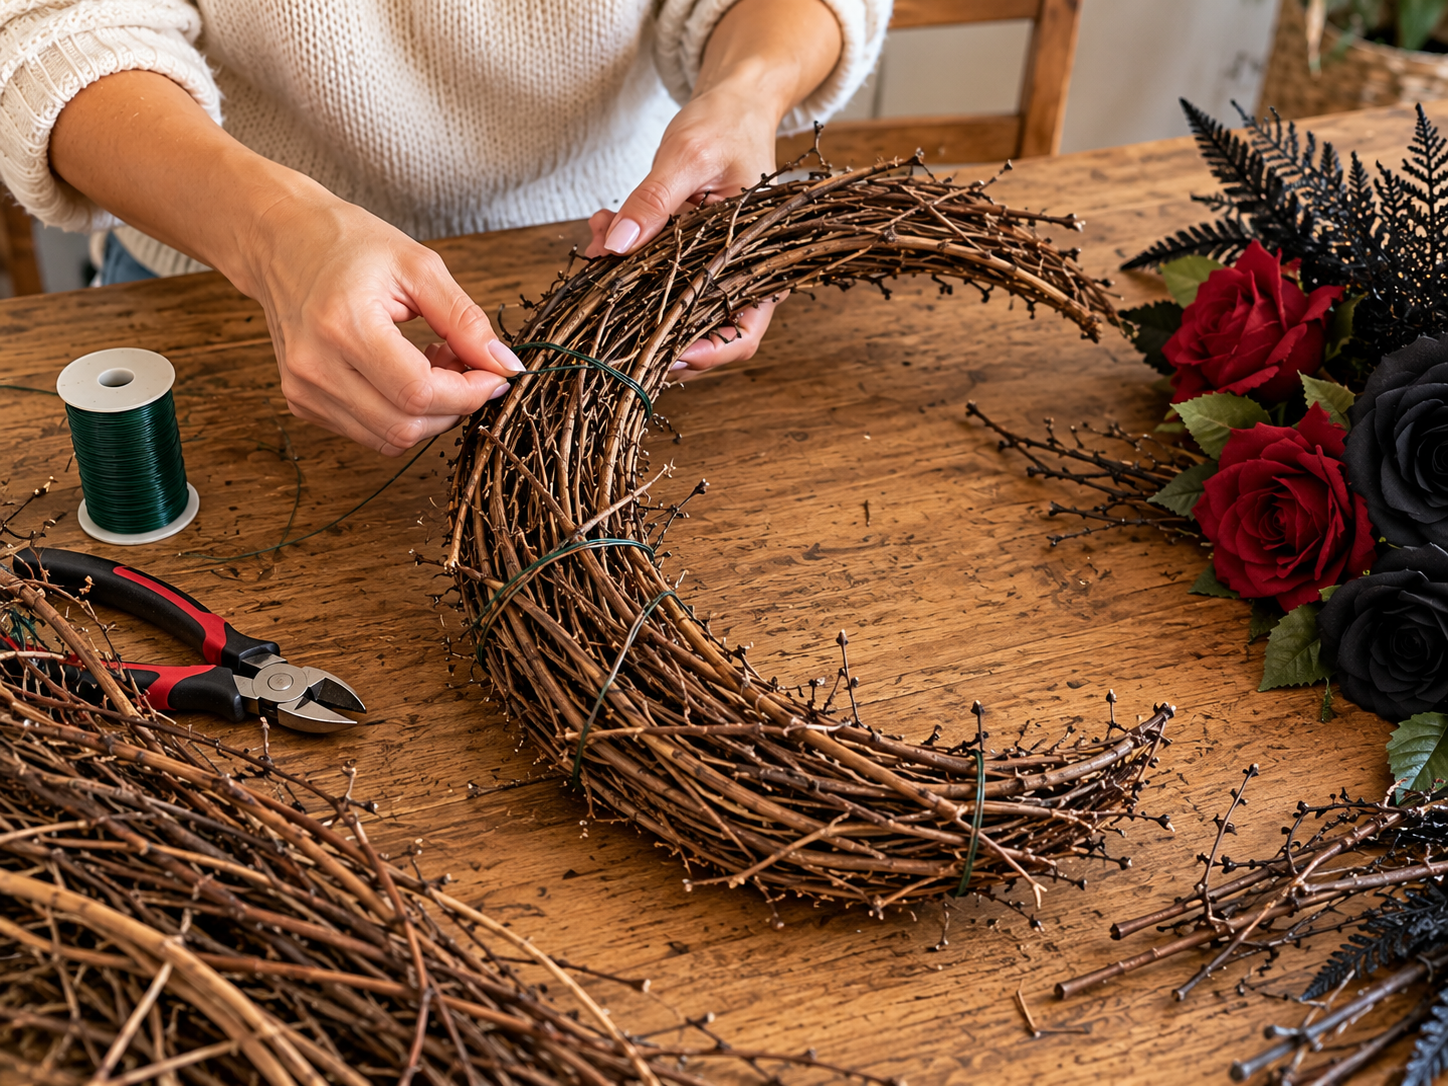
Begin by inspecting your crescent grapevine wreath base for any loose twigs or debris. Then, take your battery-operated fairy light string and start weaving it through the grapevine, wrapping it around the base. Ensure the lights are evenly distributed. Position the battery pack discreetly on the back or bottom of the wreath, securing it with floral wire or hot glue so it's hidden but still accessible for battery changes.
Step 2: Secure the Skull Focal Point
Identify the best position for your plastic skull, typically on the lower curve of the crescent where the wreath is widest. Use a generous amount of hot glue on the back and bottom of the skull to adhere it firmly to the grapevine. For added security, you may thread floral wire through any available openings on the skull (like the jawline or eye sockets) and twist it around the wreath base. Ensure the skull's red LED eyes' battery compartment is accessible if future changes are needed.
Step 3: Arrange Primary Floral Elements
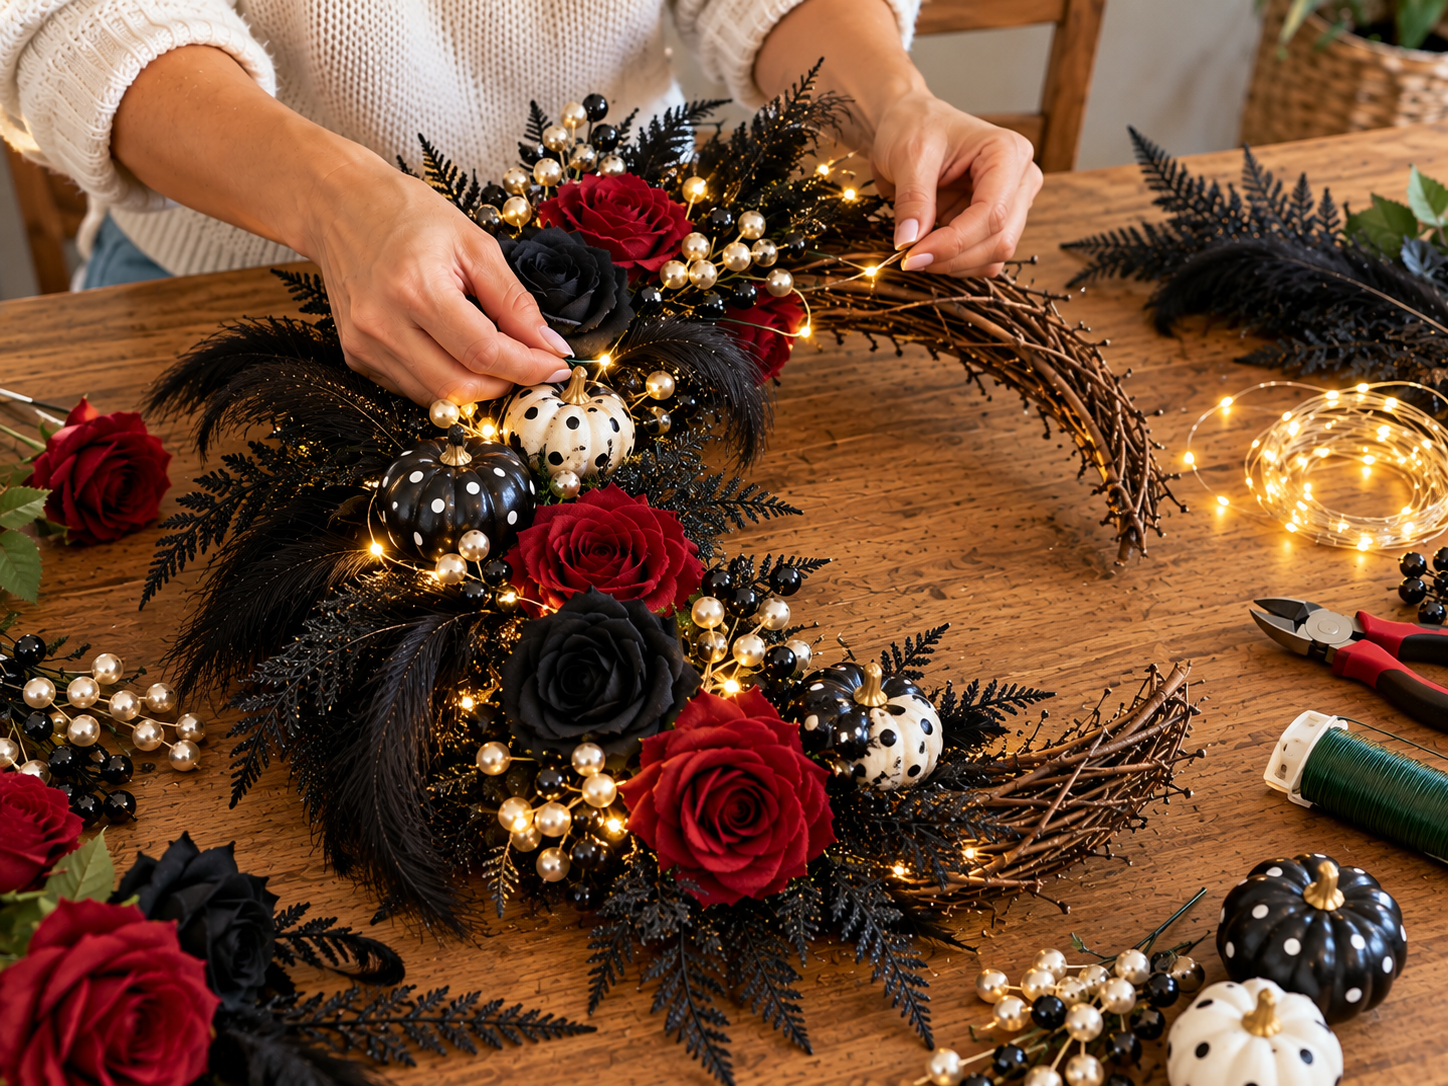
Begin adding your larger silk roses, starting with the deepest red and darkest black blooms. Position them around the skull and along the main curves of the crescent. Use hot glue to securely attach each flower. Distribute the colors evenly, creating clusters that draw the eye but also allow space for filler elements later. Snip off any excess stems from the silk flowers to ensure they sit flush against the wreath base.


Step 4: Add Accent Florals & Fillers
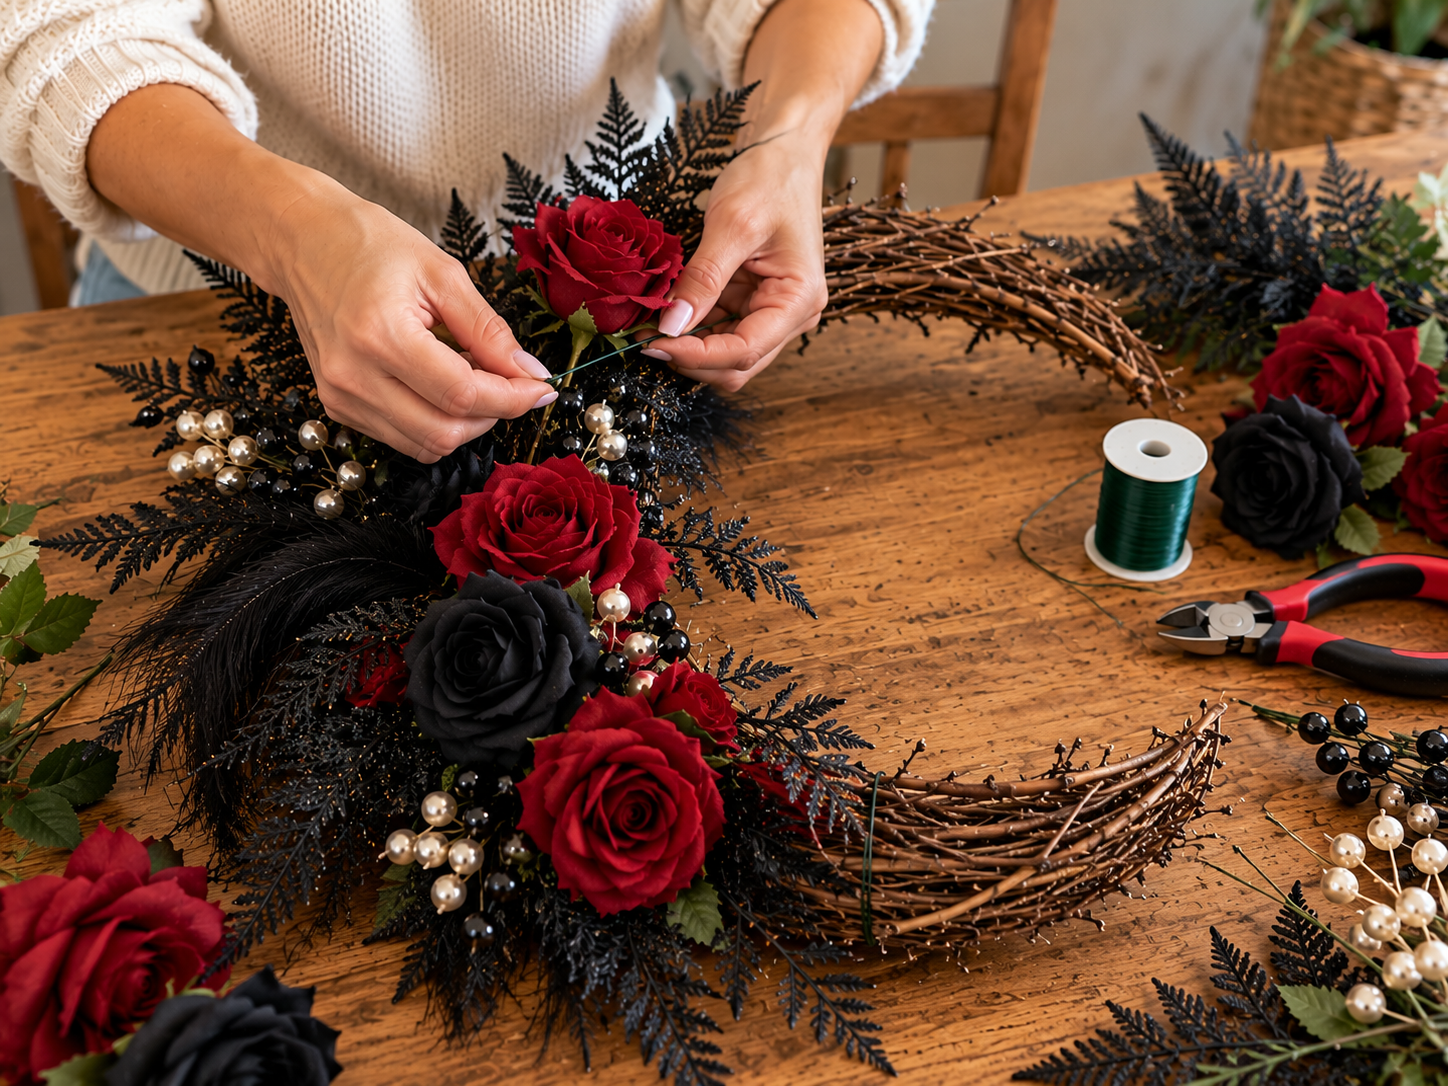
Now, begin to fill in the gaps with your smaller accent pieces. This includes the black fern sprays, black feathers, black and white polka dot mini pumpkins, and pearl bead floral picks. Use hot glue to attach each piece, tucking some deeper into the wreath base and letting others protrude slightly to create dimension. Distribute these elements to complement the larger roses and add texture and visual interest. Ensure the pearl picks and small pumpkins are nestled among the larger elements.
Step 5: Create Ribbon Streamers
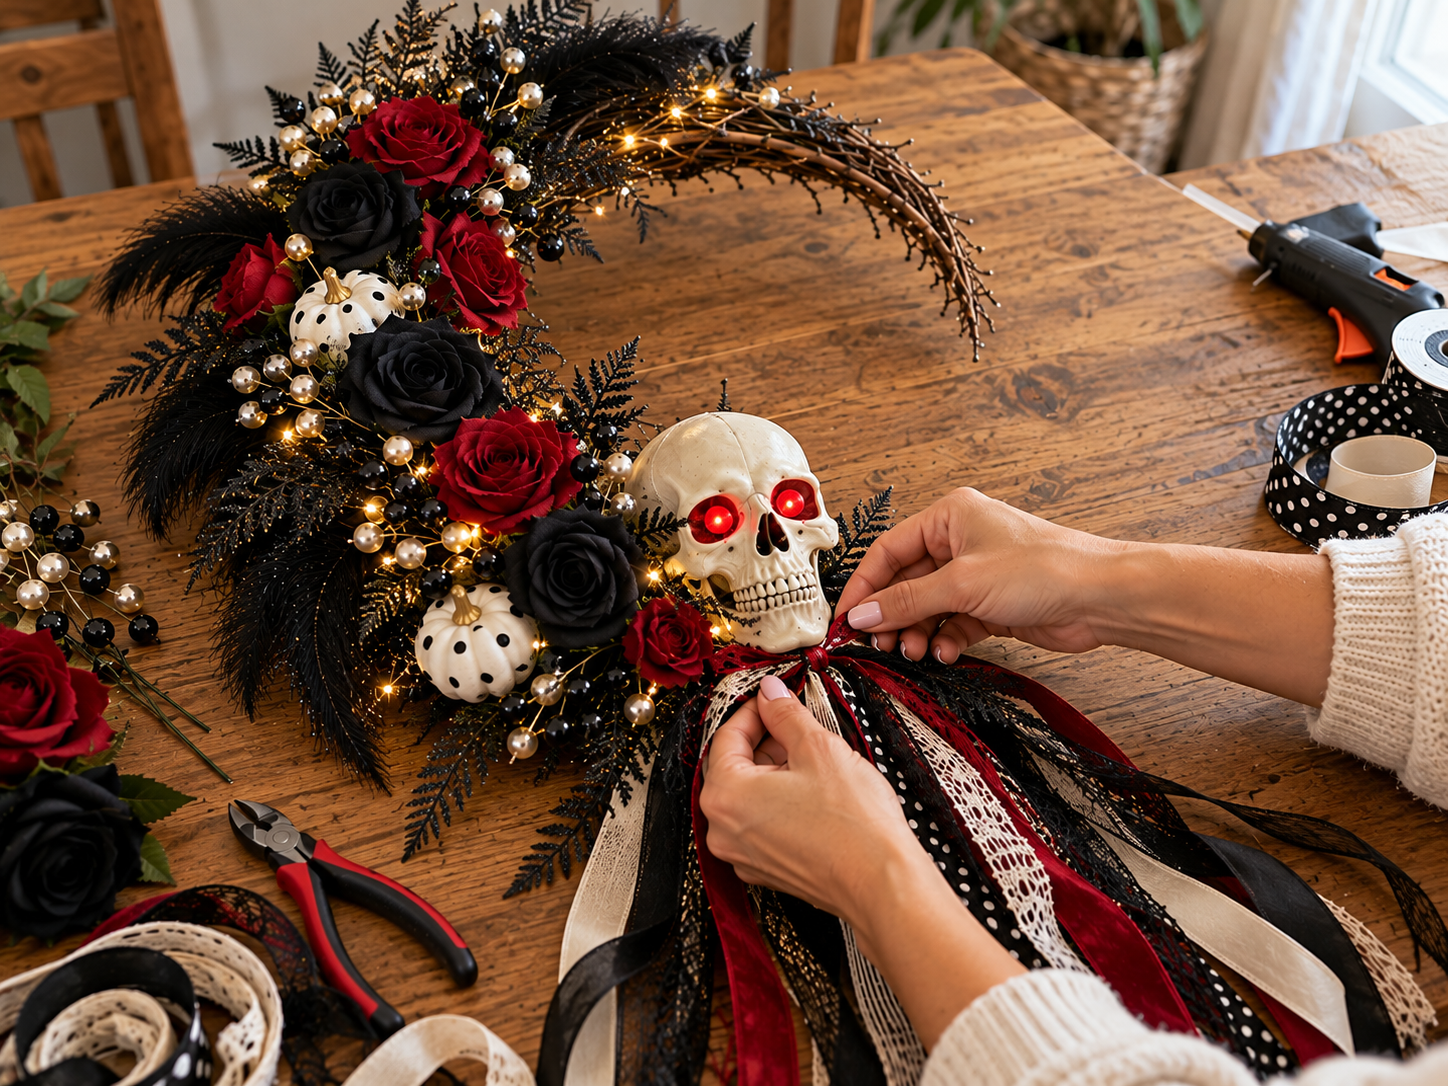
Select your assorted ribbons in black, red, cream, and any patterned styles. Cut them into varying lengths, typically between 18-24 inches for a dramatic cascade. Gather a few ribbons together, fold them in half, and tie a knot near the top to create a loop. Use floral wire or hot glue to securely attach these ribbon bundles to the very bottom curve of the wreath, allowing them to hang freely. Repeat this process with more ribbon bundles, layering them to create a full, flowing effect.
Step 6: Final Adjustments & Display
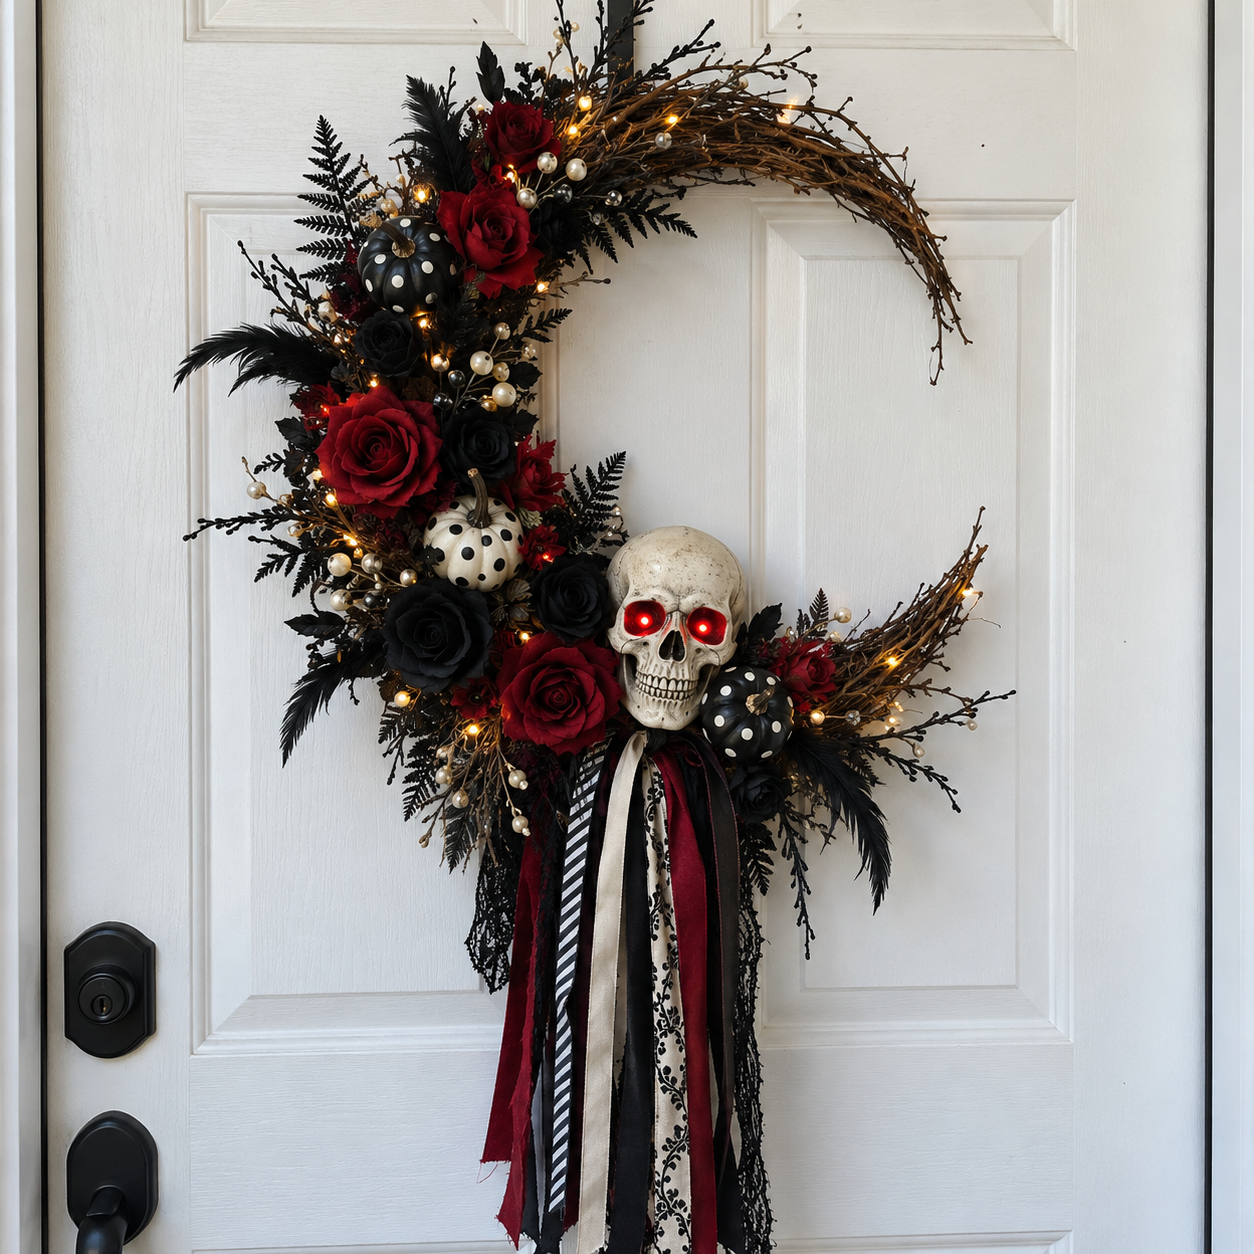
Take a step back and examine your completed wreath. Fluff any flattened floral elements or feathers. Ensure all pieces are securely attached and no hot glue strands are visible. Trim any ribbon ends to your desired length or cut them into V-shapes for a more finished look. Once satisfied, activate the fairy lights and the skull's LED eyes. Hang your stunning Gothic Skull Crescent Wreath on your door or wall to welcome guests with its spooky elegance.
Displaying Your Finished Wreath
Once your Gothic Skull Crescent Wreath is complete, it is ready to enhance your home. Hang it on a door to greet visitors or use it as a striking wall accent in any room. The combination of its unique design and subtle lighting provides a memorable decorative element.
Related project collection: DIY Gothic Crescent Moon Halloween Wreath with Lights for a Front Door
Practical Questions About This Project
Can this wreath be displayed outdoors?
This wreath is designed for indoor display. Exposure to outdoor weather conditions may affect the longevity of its components and electronic elements.
What type of skull is used in this wreath?
This project uses a cream plastic skull featuring red LED eyes as a central focal point.
How long does it take to make this wreath?
The estimated active crafting time for this wreath is between 50 and 75 minutes, excluding any unattended drying or curing periods.
What type of lights are incorporated into the wreath?
This wreath uses a battery-operated mini fairy light string to add an enchanting glow.
How are the ribbon streamers attached to the wreath?
Assorted ribbons are cut to varying lengths, knotted together, and then securely attached to the bottom of the wreath base using floral wire or hot glue.
Explore grapevine wreath craft supplies at Dollar Tree.

Leave a Reply