
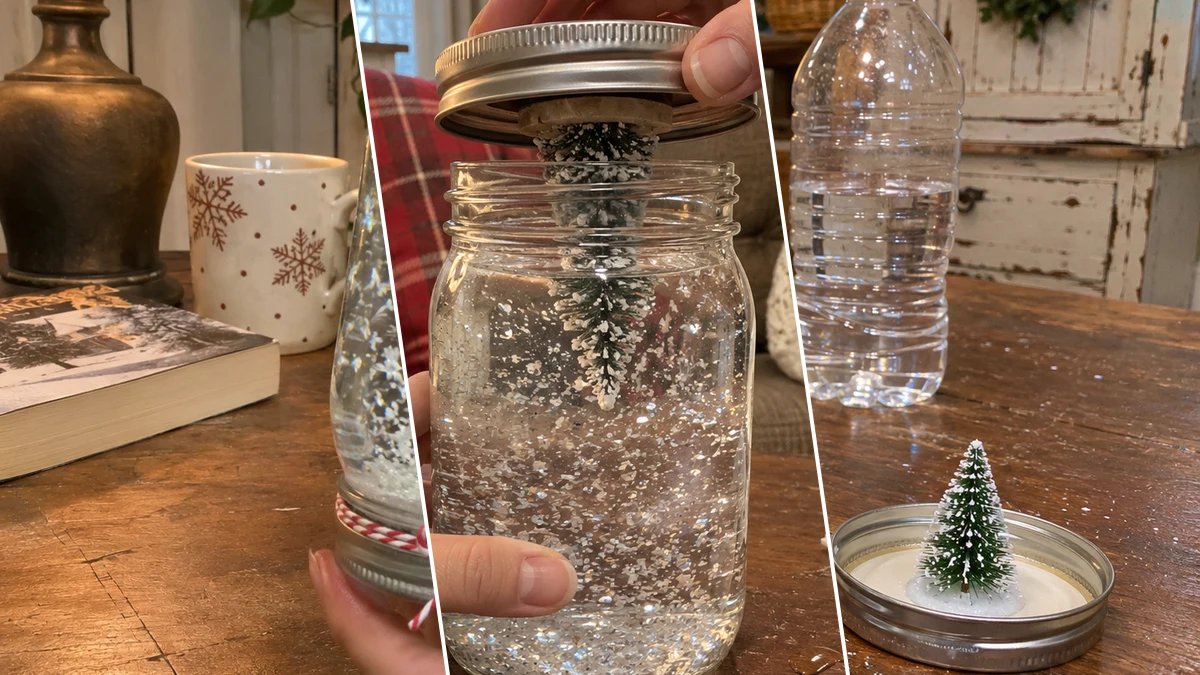
Create a festive Mason jar Christmas tree snow globe to add a handmade touch to your holiday decor. This easy project transforms a common wide-mouth Mason jar into a charming display. It features a miniature evergreen tree, shimmering faux snow, and decorative baker's twine. Ideal for a mantelpiece or as a thoughtful handmade gift.
Project at a Glance
- Difficulty: Easy
- Estimated active time: 10 minutes to 20 minutes (drying and curing waits not included)
- Estimated component cost: $5 to $10 (reusable tools and general supplies excluded)
- Main material: Glass
- Suggested placement: Tabletop, Mantel
About This Mason Jar Christmas Tree Snow Globe
This craft offers a simple way to create a personalized holiday decoration using readily available materials. The process involves securing a miniature Christmas tree inside a Mason jar lid, filling the jar with water and artificial snow, and sealing it securely. Once inverted, the tree stands amidst swirling snow, capturing a cozy winter scene.
The estimated active time for this project is 10 to 20 minutes, excluding any unattended drying or curing time required for the glue. The estimated component cost is between $5 and $10, not including reusable tools or general supplies.
Consider displaying the finished snow globe on a mantel, shelf, or as a centerpiece. It also serves as a heartfelt, handmade gift, perfect for sharing festive cheer with friends and family during the holiday season.
Materials for Easy Mason Jar Christmas Tree Snow Globe for Festive Holiday Decor
- Wide-mouth Mason Jar (with lid)
- Miniature Christmas Tree (or other water-safe figurine)
- Water-safe Glue (e.g., E6000, clear silicone sealant)
- Distilled Water (or tap water with a drop of glycerin)
- White Glitter or Artificial Snow Flakes
- Baker's Twine (red and white)
Need another material? Browse current craft supplies and deals.
Mason Jar Christmas Tree Snow Globe Instructions
Crafting your own Mason jar Christmas tree snow globe is a straightforward process. Carefully follow these steps to ensure a secure seal and a beautiful, long-lasting holiday decoration. Gather your materials and prepare to assemble your festive winter scene.
Step 1: Secure Miniature to Lid
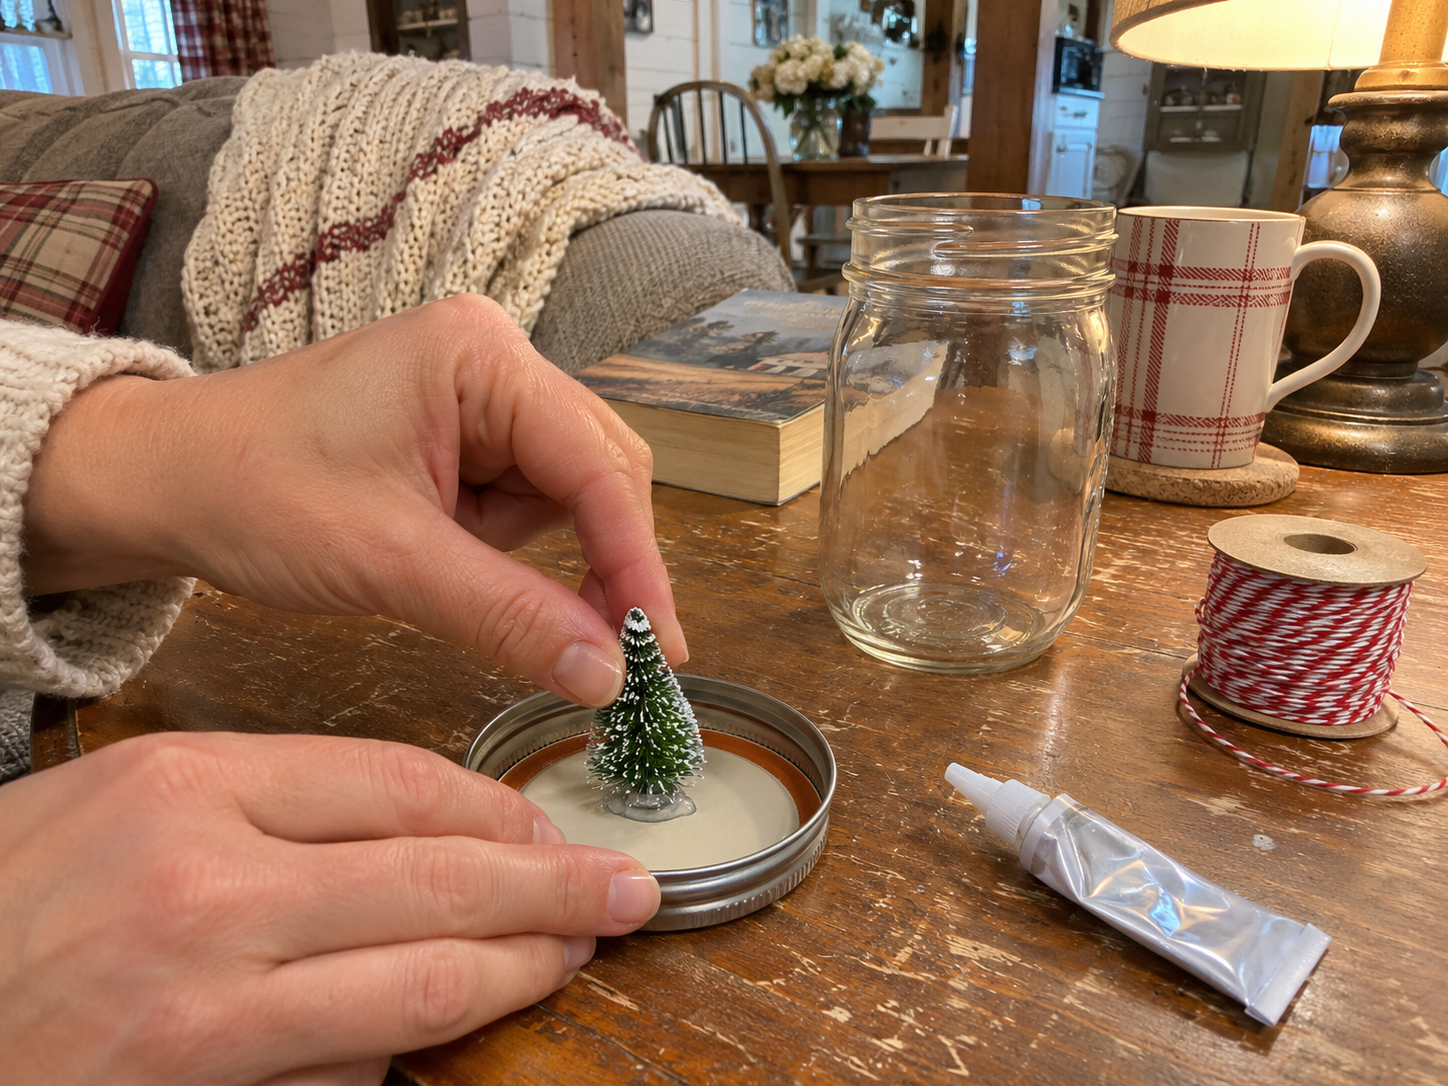
Begin by thoroughly cleaning and drying your Mason jar and its lid. Take your miniature Christmas tree (or other water-safe figurine) and apply a generous amount of water-safe glue to its base. Center the tree on the inside of the Mason jar lid and press firmly. Allow the glue to cure completely according to the product instructions; this is crucial for preventing leaks and ensuring your miniature stays in place.
Step 2: Prepare Water and Snow
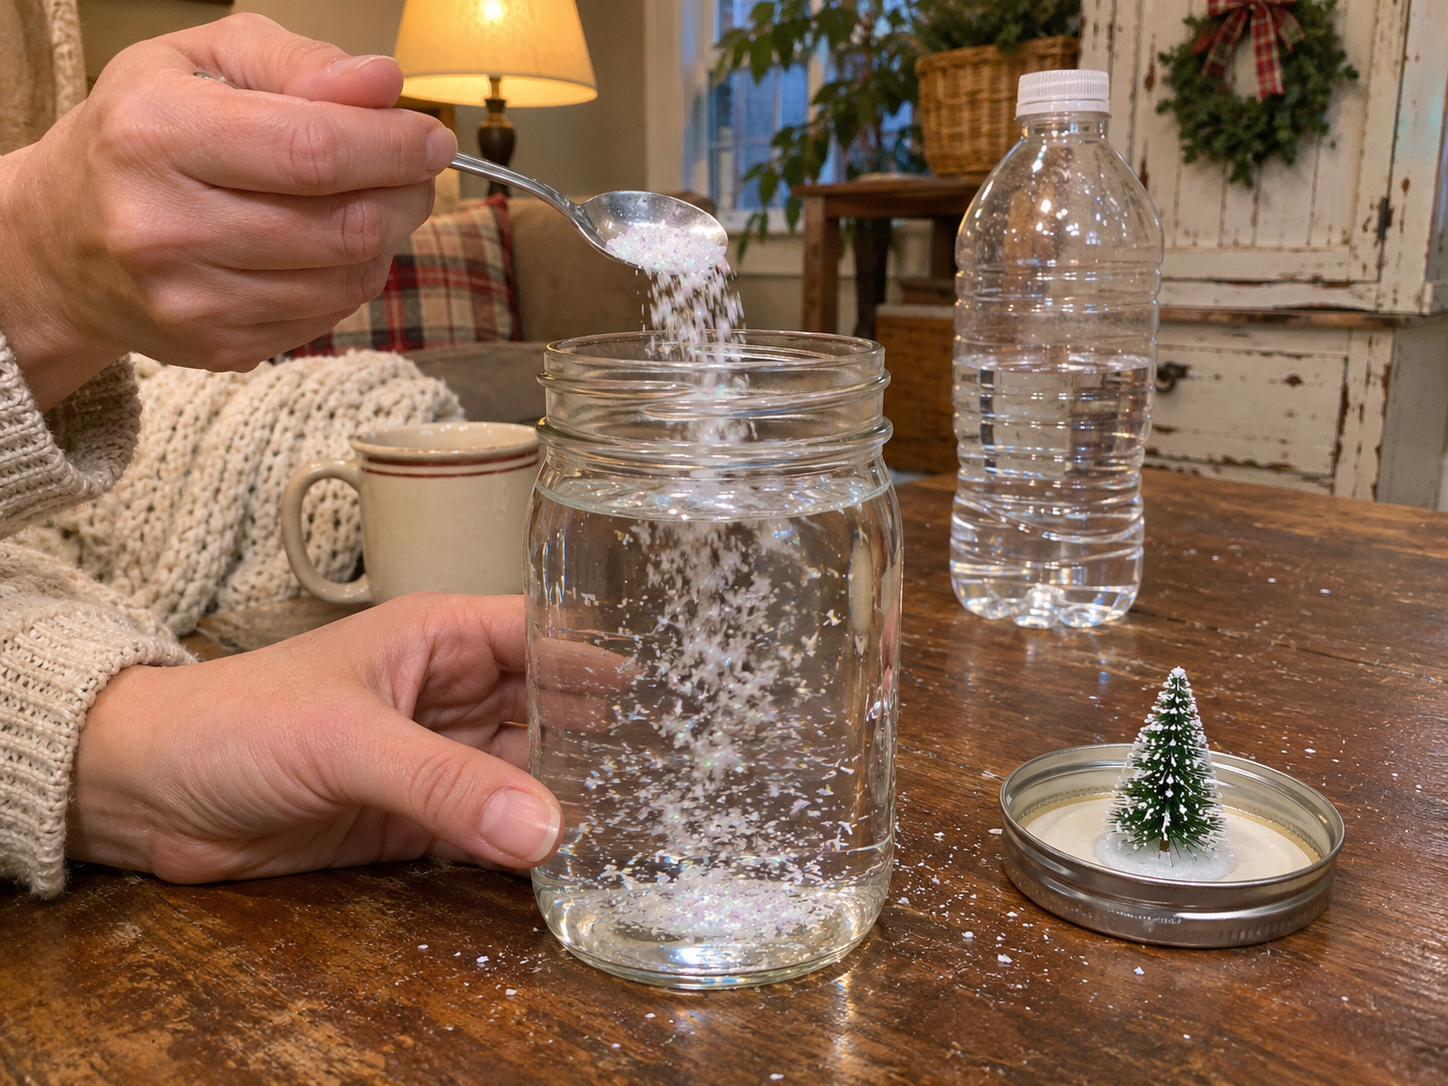
Once the glue on your lid and miniature is fully cured, fill the clean Mason jar almost to the very top with distilled water. Distilled water helps prevent cloudiness and mineral deposits over time. Add 1-2 teaspoons of white glitter or artificial snow. Adjust the amount to your preference for a heavier or lighter snowfall effect.
Step 3: Seal the Snow Globe
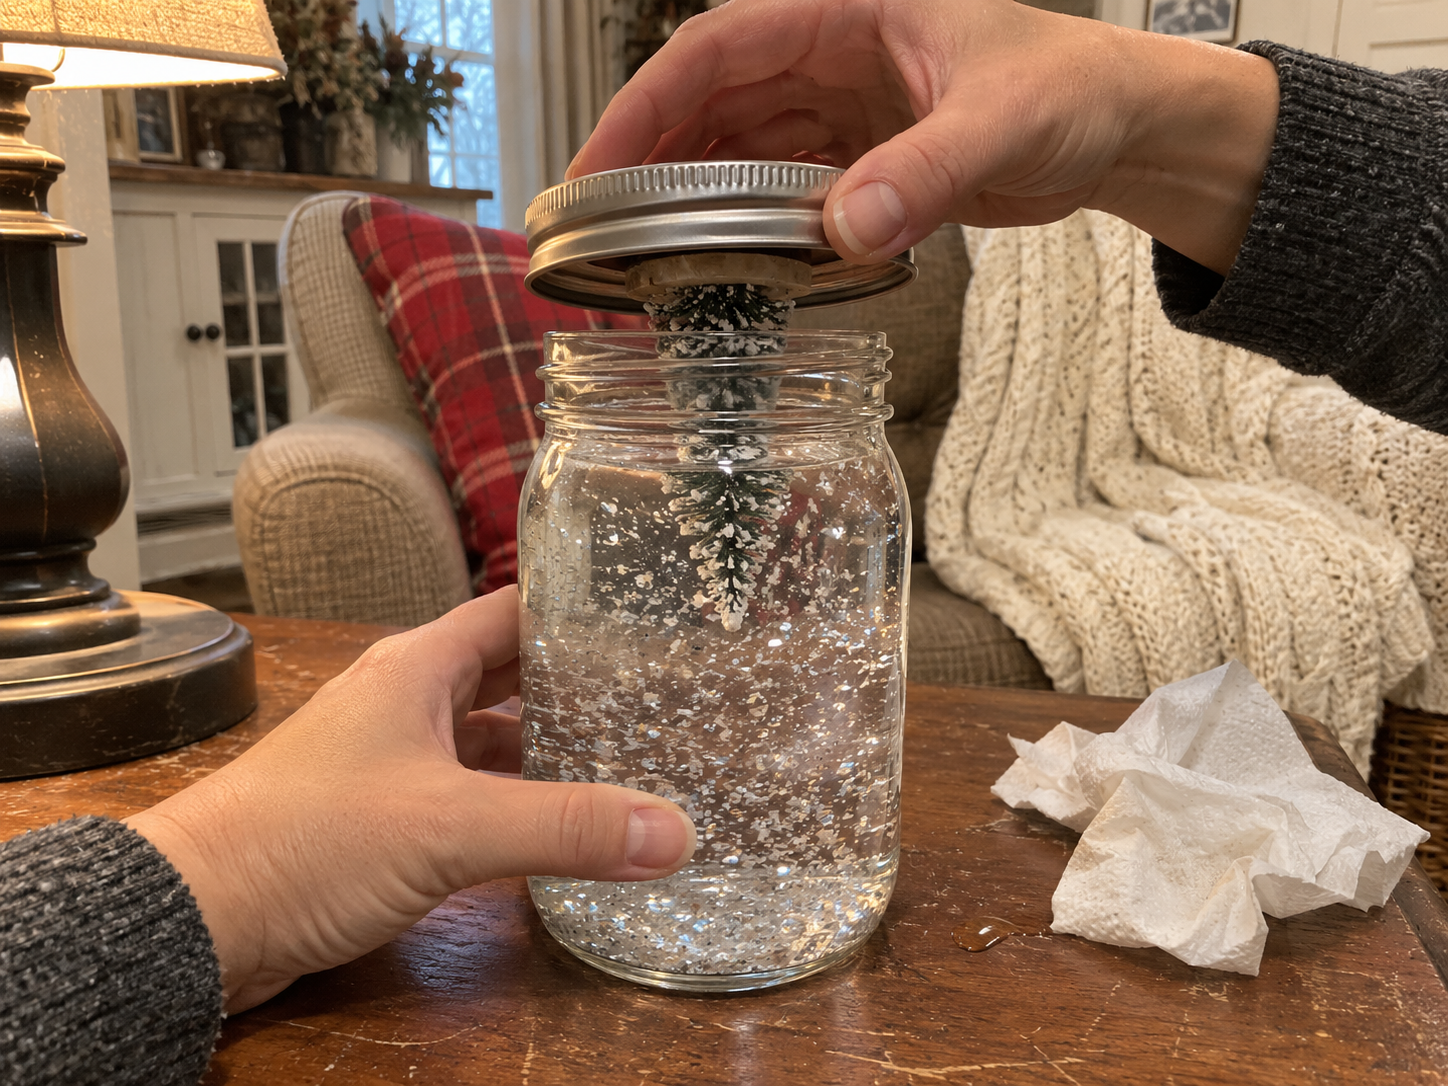
Carefully insert the lid, with the miniature tree facing down, into the opening of the jar. Screw the lid on as tightly as possible, ensuring a secure, water-safe seal. Invert the jar immediately to check for any leaks. If you notice any seepage, unscrew the lid, wipe the rim dry, and re-seal, twisting even more firmly. For extra security, you can run a bead of water-safe sealant around the outer edge of the lid after it's been tightened.


Step 4: Embellish with Twine
Once you are confident the jar is perfectly sealed and leak-proof, take a length of red and white baker's twine. Wrap it once or twice around the threaded rim of the Mason jar lid, then tie it into a neat bow. Trim any excess twine for a clean, festive finish.
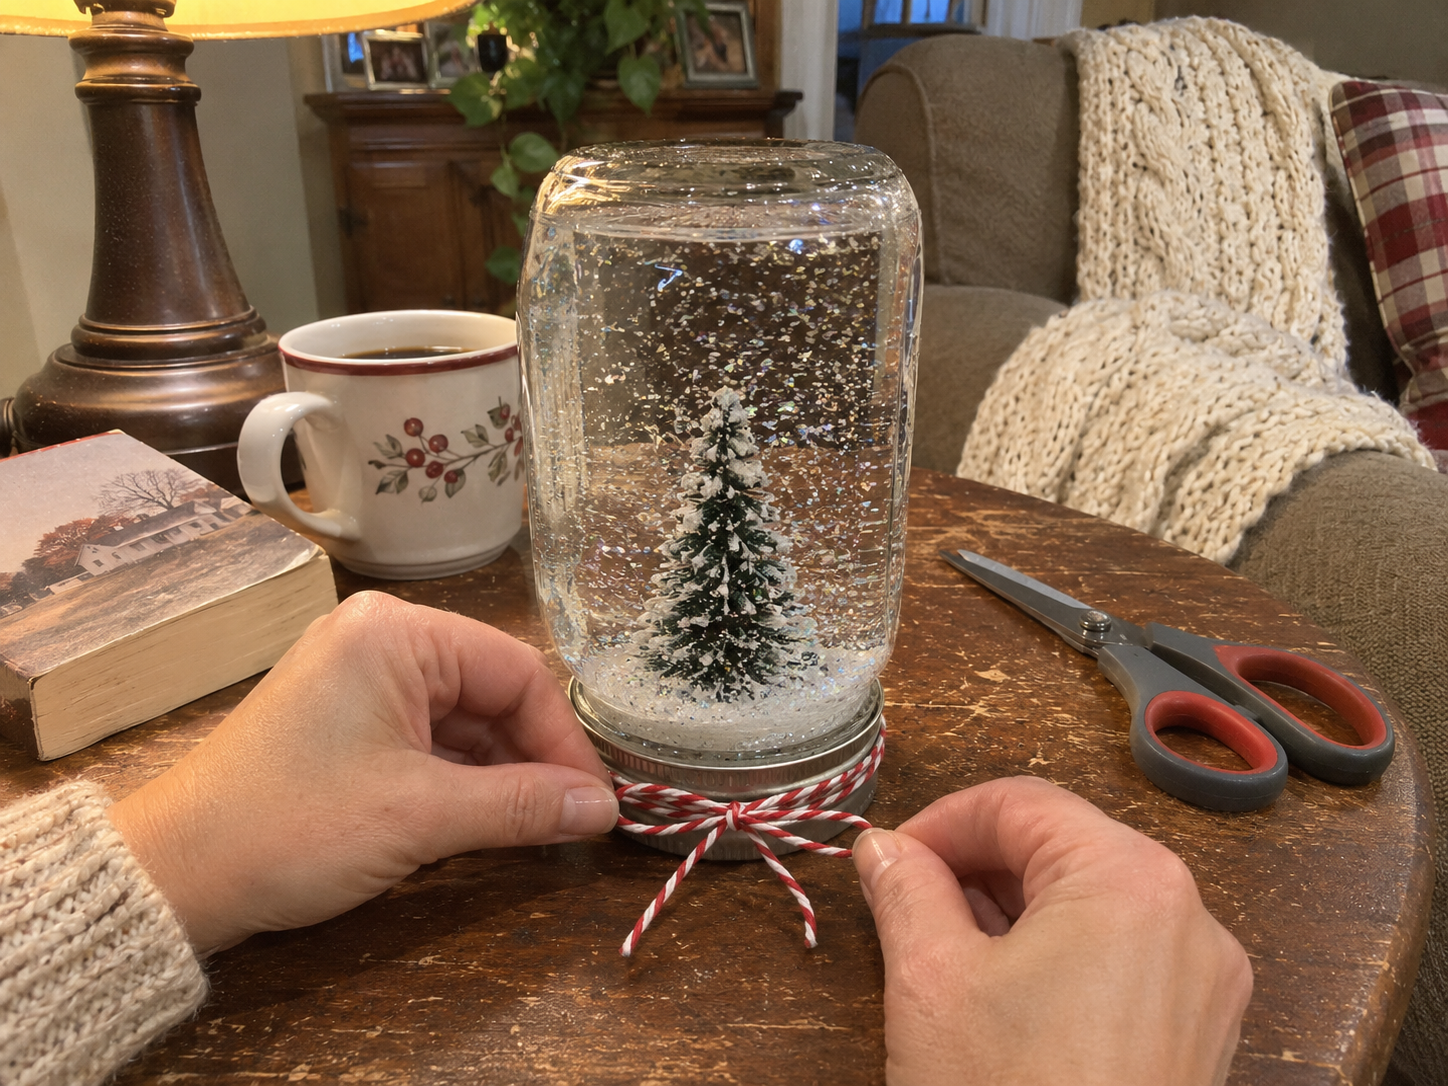
Step 5: Display Your Creation
With the twine securely tied, your DIY Christmas tree Mason jar snow globe is complete! Gently shake the jar to activate the swirling snow effect, then place it on your mantelpiece, a bookshelf, or use it as a festive centerpiece for your holiday table. This charming snow globe makes a wonderful addition to your seasonal decor or a personalized handmade gift.
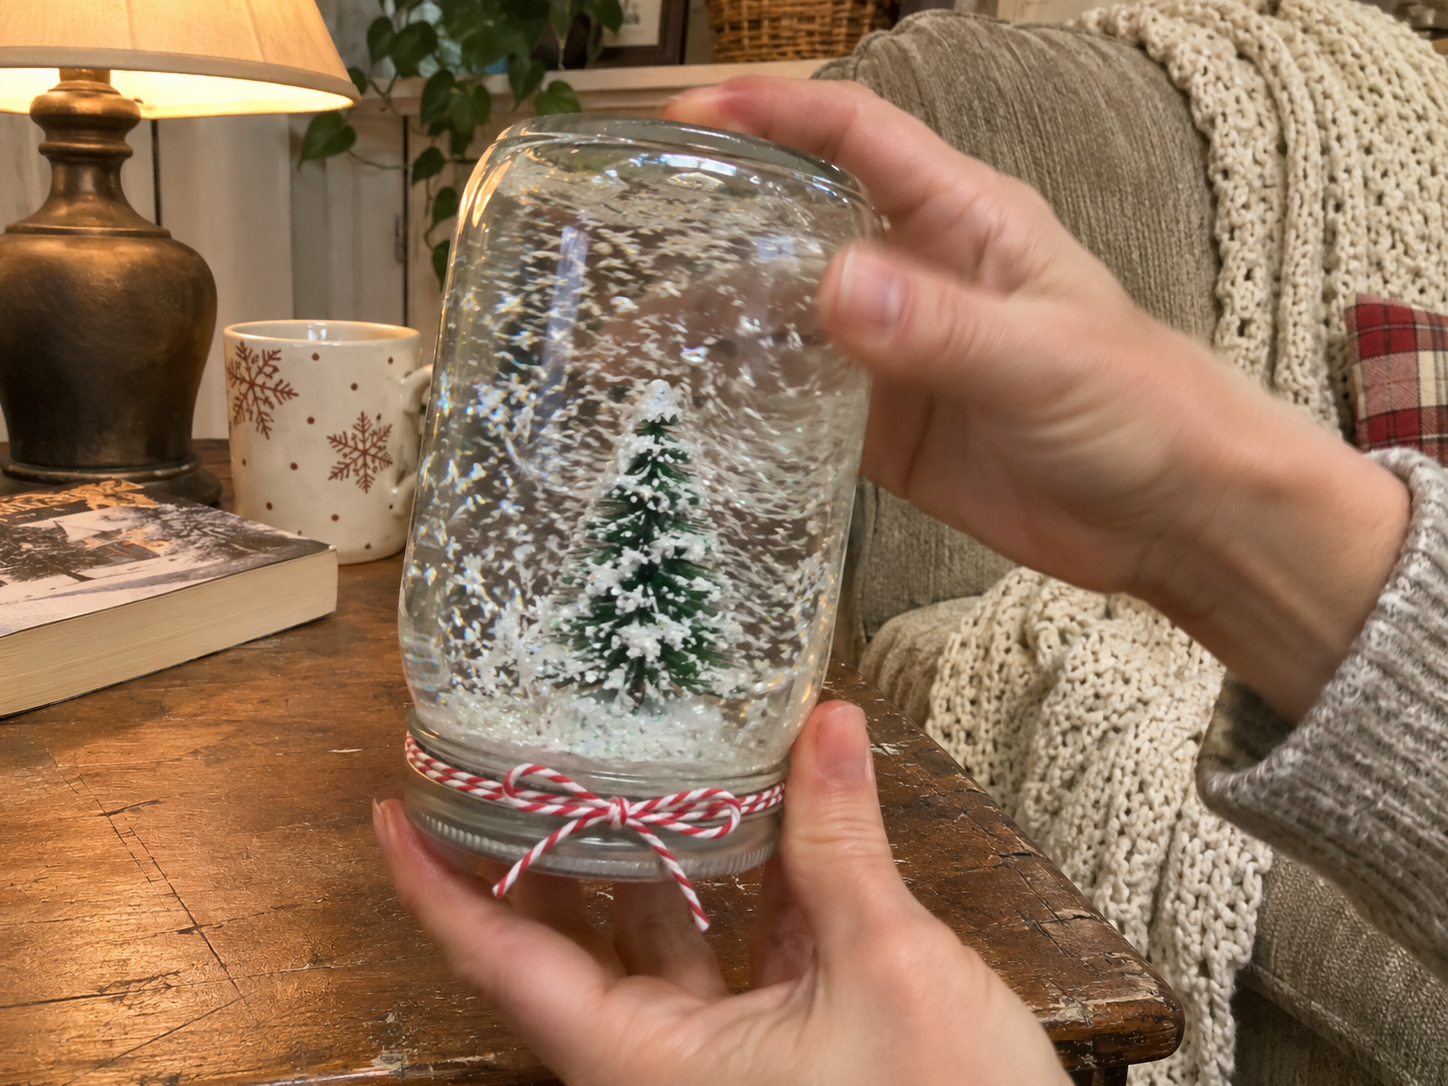
Enjoy Your Mason Jar Christmas Tree Snow Globe
Your handmade Mason jar Christmas tree snow globe is ready to bring a touch of festive charm to your home. Place it in a visible spot to enjoy the swirling snow and miniature winter scene. This charming craft is a delightful addition to any holiday display.
Related project collection: DIY Christmas Tabletop Tree in a Glass Vase with Faux Evergreens & Lights
Practical Questions About This Project
What type of glue should be used to secure the miniature?
A water-safe glue, such as E6000 or clear silicone sealant, is recommended for securing the miniature to the lid to prevent leaks.
Why is distilled water recommended for the snow globe?
Distilled water helps prevent cloudiness and mineral deposits from forming inside the snow globe over time, keeping the water clear.
What can be used inside the snow globe instead of a Christmas tree?
Any small, water-safe figurine can be used in place of a miniature Christmas tree to customize your snow globe.
How can leaks be prevented when assembling the snow globe?
To prevent leaks, ensure the water-safe glue cures completely, screw the lid on very tightly, and consider adding a bead of water-safe sealant around the outer edge of the lid after tightening.
Can regular tap water be used for this project?
Yes, tap water can be used, potentially with a drop of glycerin, though distilled water is preferred to help prevent cloudiness over time.
Search Dollar Tree for glass supplies.

Leave a Reply