
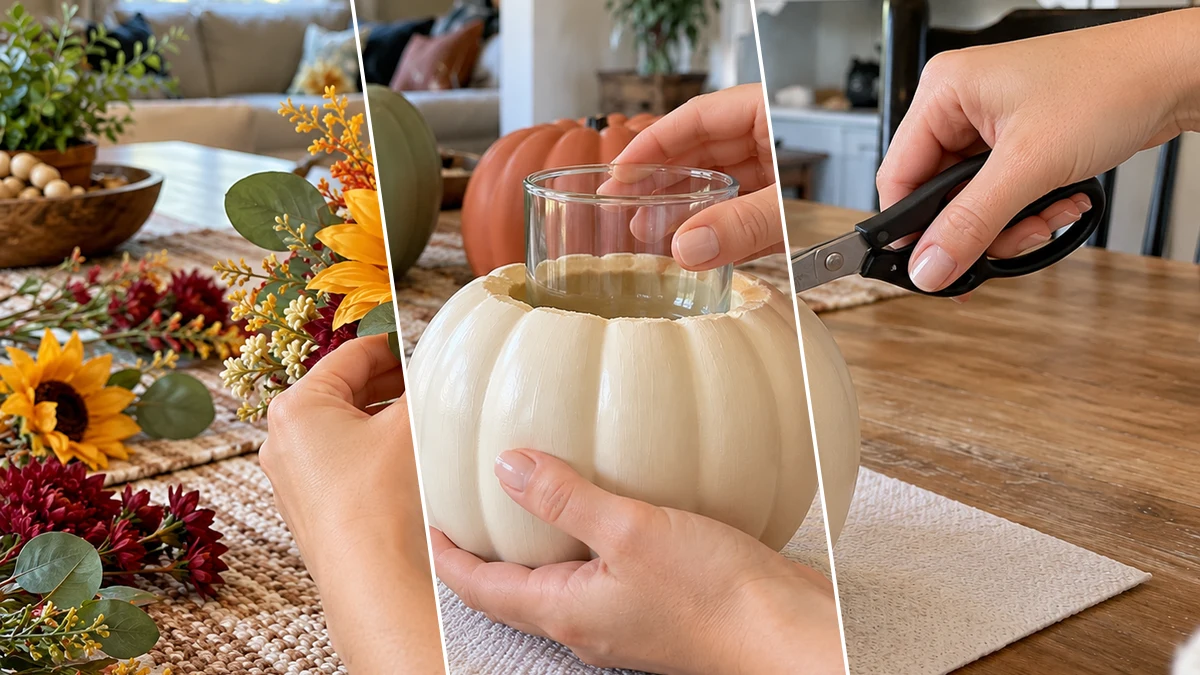
Transform ordinary plastic pumpkins into charming autumn decor with this simple DIY guide. These painted pumpkin vases offer a budget-friendly way to add seasonal warmth to any room. With just a few craft supplies, you can create a custom fall centerpiece for your dining table or mantel. Discover how to craft these decorative vases using readily available materials.
Project at a Glance
- Difficulty: Easy
- Estimated active time: 25 minutes to 45 minutes (drying and curing waits not included)
- Estimated component cost: $13 to $18 (reusable tools and general supplies excluded)
- Main material: Plastic
- Suggested placement: Dining Table, Mantel
Crafting Charming Fall Pumpkin Vases
These painted pumpkin vases offer a delightful way to introduce seasonal charm into your home. Their subtle autumn colors, like cream, sage green, and terracotta, blend seamlessly with various decor styles. Whether arranged as a centerpiece on a dining table or displayed on a mantel, these vases bring a touch of handcrafted warmth to any space.
This project transforms inexpensive plastic pumpkins into elegant decorative pieces. By adding a fresh coat of paint and incorporating faux autumn flowers, these items become custom accents that celebrate the season. It is an accessible craft for anyone looking to refresh their fall decor with a personal touch.
Materials for Easy Painted Plastic Pumpkin Vases for Fall Table Decor
- Small Plastic Pumpkins
- Matte Acrylic Craft Paints (Cream, Sage Green, Terracotta)
- Sponge Brushes
- Craft Scissors
- Small Clear Glass Cups
- Assorted Faux Autumn Flowers (Sunflowers, Mums, Eucalyptus, Fillers)
Need another material? Browse current craft supplies and deals.
How to Create Your Painted Plastic Pumpkin Vases
Creating these painted plastic pumpkin vases is a straightforward process. Follow these steps to transform your basic craft supplies into beautiful autumn centerpieces. Each stage is designed for clarity, ensuring a smooth crafting experience from start to finish.
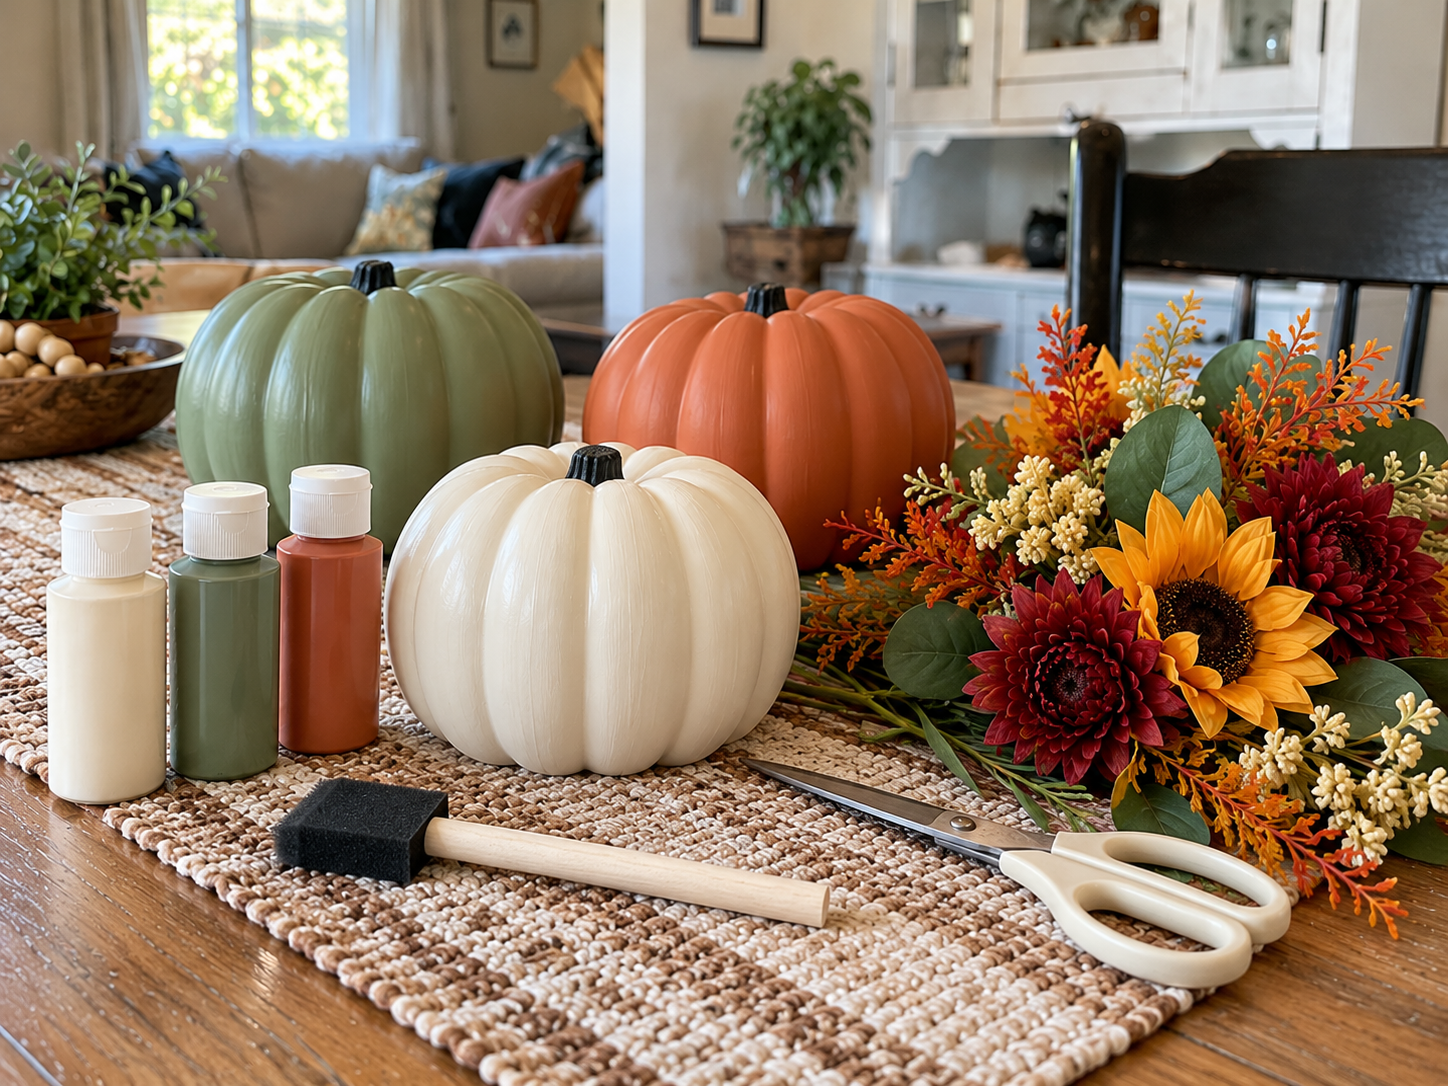
Step 1: Gather Your Craft Supplies
Lay out all your materials on a clean, protected work surface. This includes your small plastic pumpkins, matte acrylic paints in cream, sage green, and terracotta, sponge brushes, craft scissors, small clear glass cups, and your selection of faux autumn flowers like sunflowers, mums, and eucalyptus.
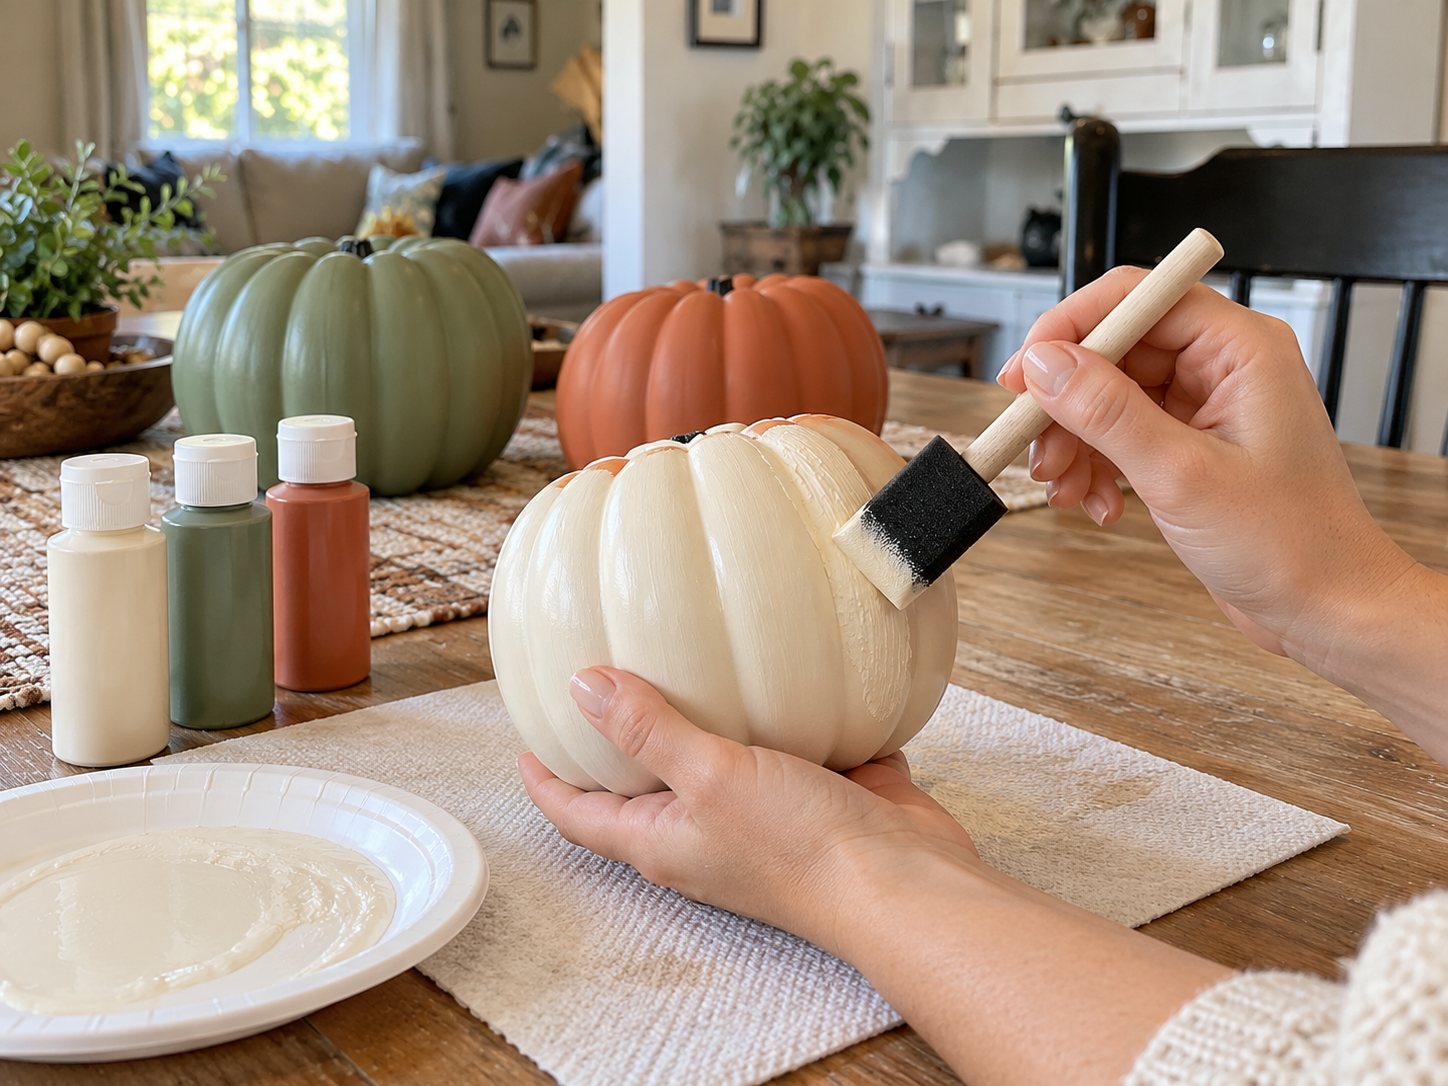
Step 2: Paint the Plastic Pumpkins
Using a sponge brush, apply a coat of matte acrylic paint to each plastic pumpkin. Work in smooth, even strokes or dabbing motions to ensure full, opaque coverage. Paint one pumpkin cream, one sage green, and one terracotta for a varied autumn display. Allow the first coat to dry completely, then apply a second coat if necessary for an even finish.
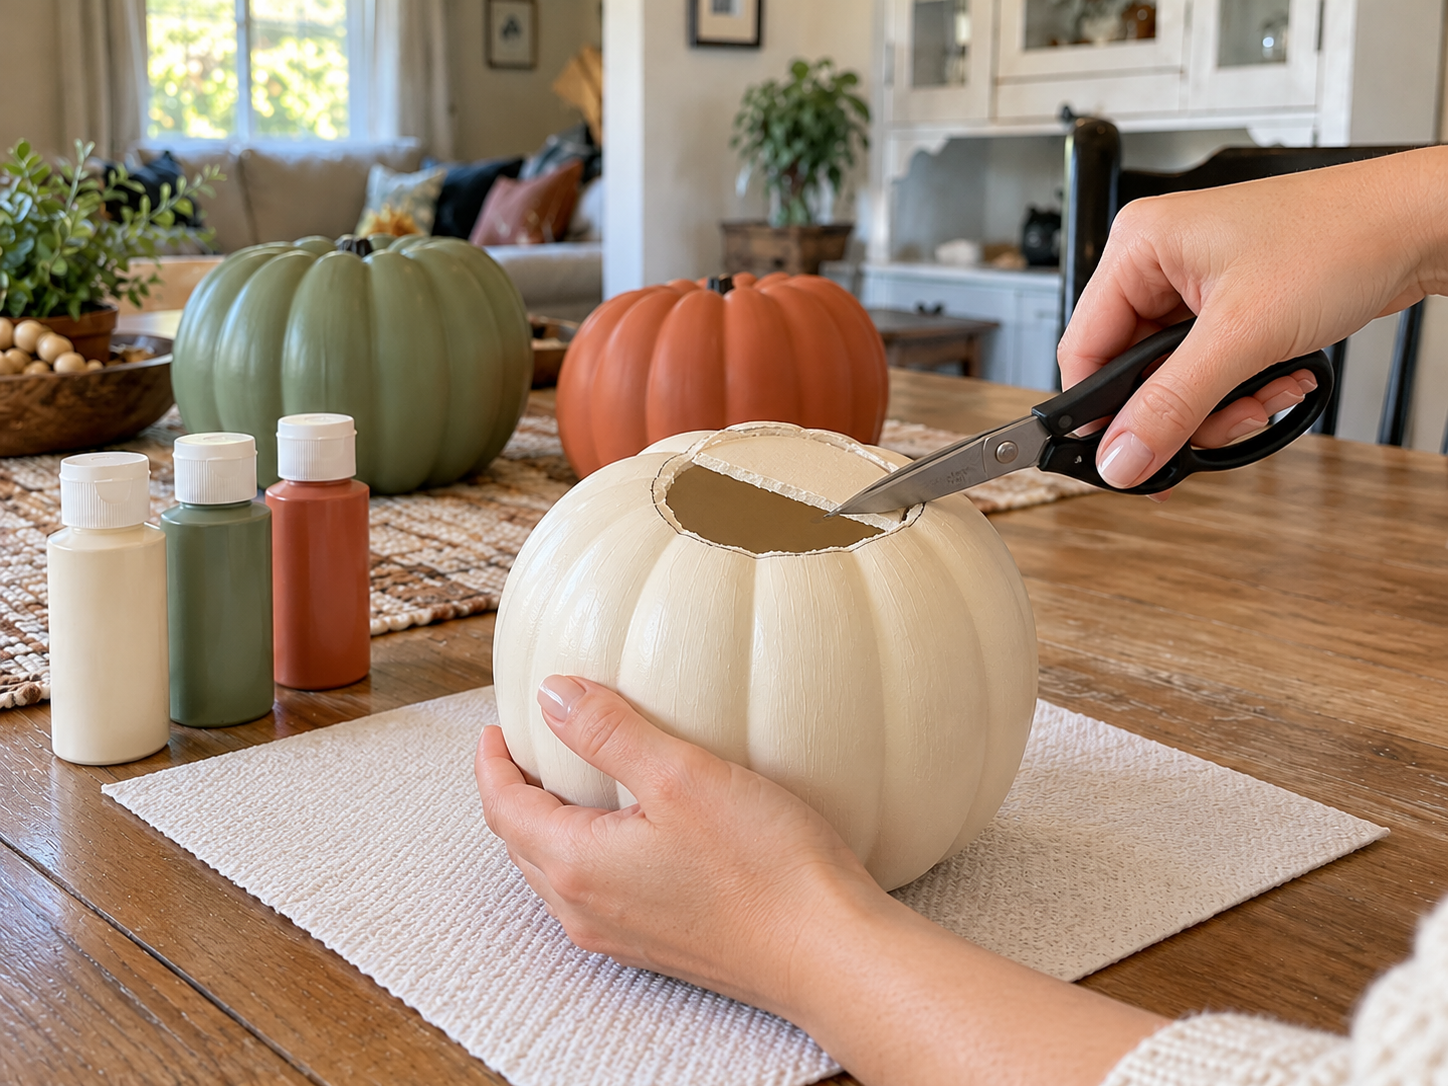
Step 3: Cut the Vase Opening
Once the paint on your pumpkins is completely dry, use sharp craft scissors to carefully cut a circular opening at the top of each pumpkin. Aim for an opening large enough to comfortably fit your small glass cups. Start by piercing the plastic carefully, then cut around the stem area. Smooth any rough edges with your fingers.


Step 4: Insert Glass Cups
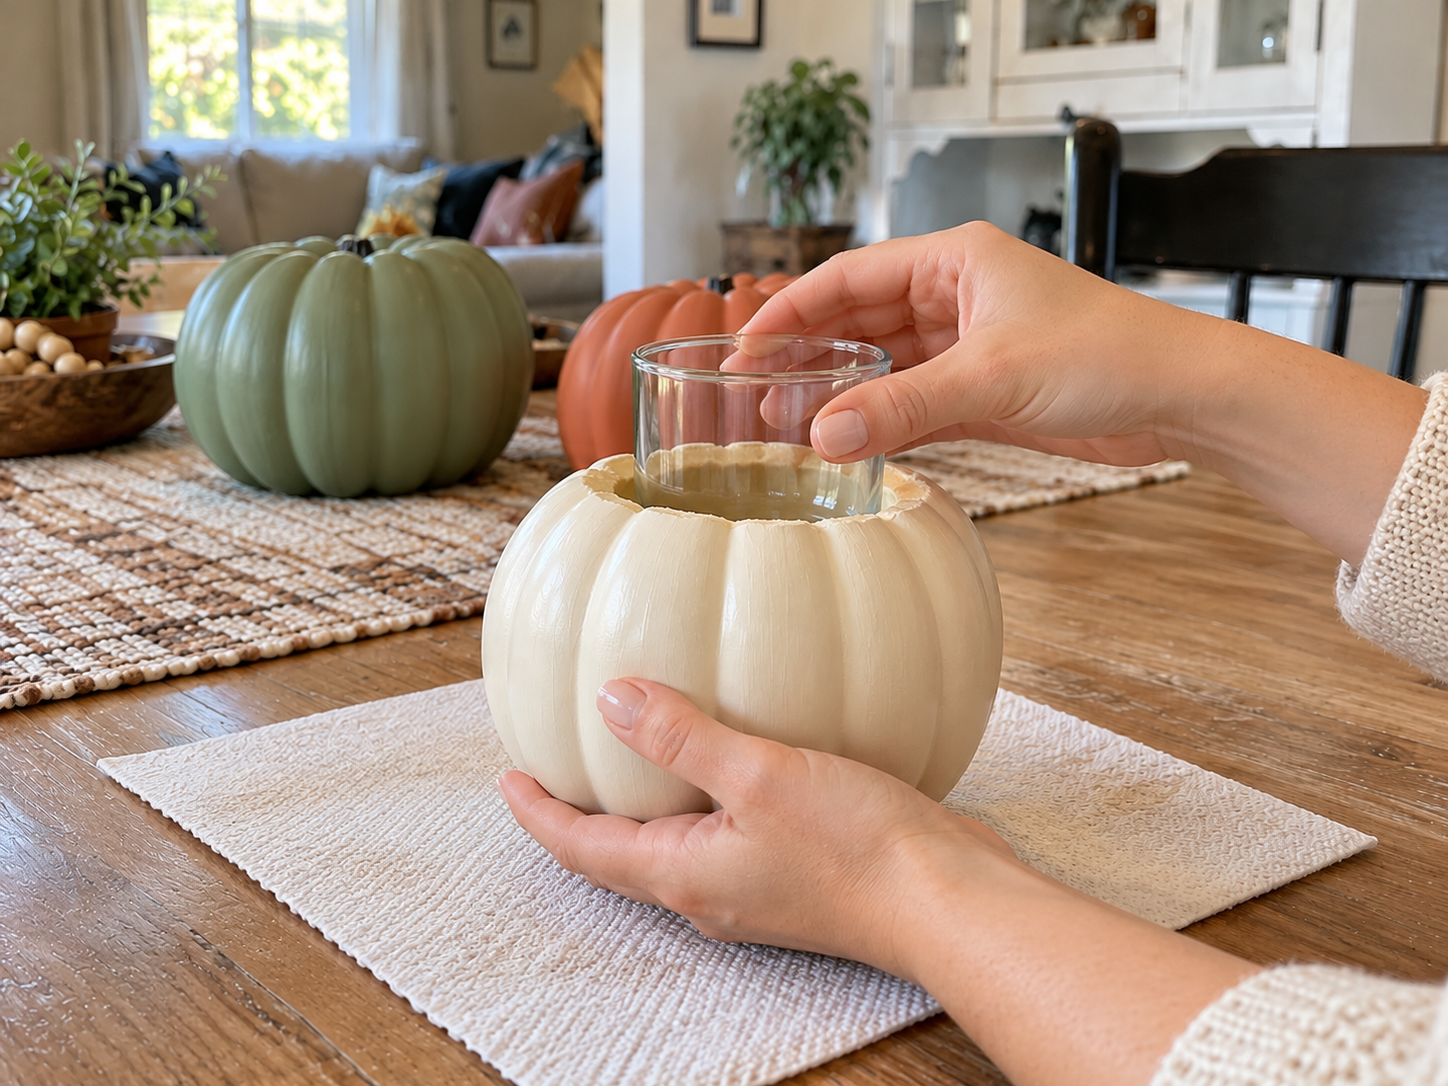
With the openings cut, gently insert a small clear glass cup into each painted pumpkin. Push it down until it sits securely at the bottom. The glass cup will hold your faux flowers and provide stability, ensuring they stand upright within the pumpkin vase.
Step 5: Arrange Faux Autumn Flowers
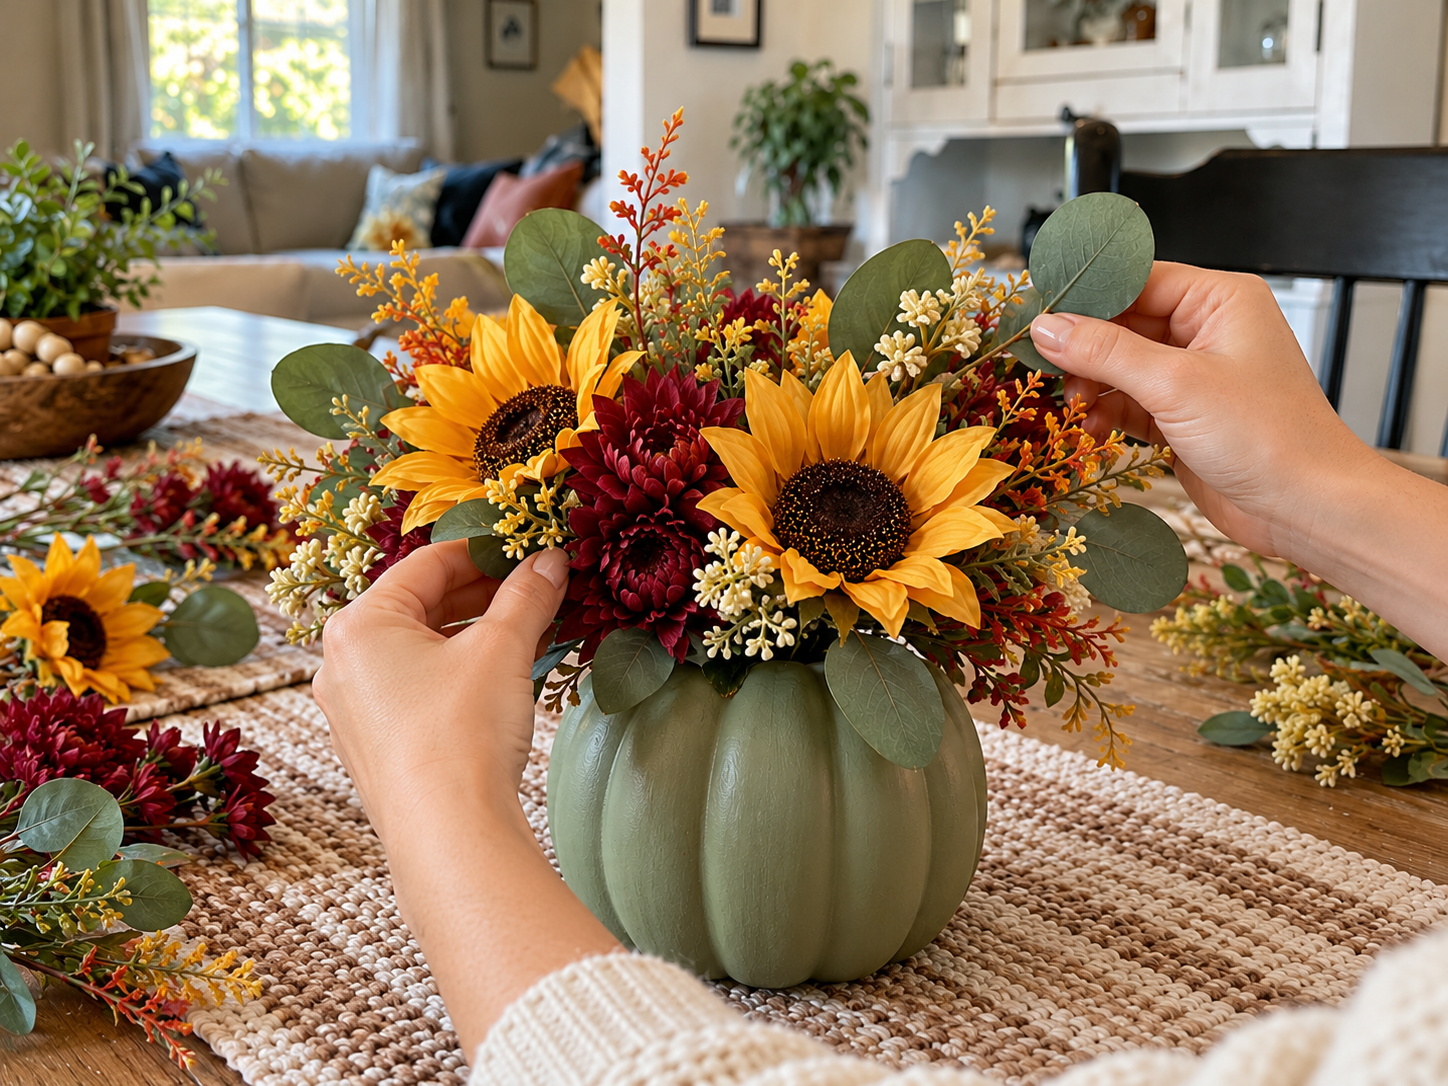
Now for the fun part! Begin arranging your assorted faux autumn flowers into the glass cups within each pumpkin. Start with your larger statement flowers like sunflowers and mums, then fill in with eucalyptus leaves and smaller filler flowers to create a full, balanced, and visually appealing bouquet. Adjust the height and position of the stems until you achieve your desired look for each pumpkin vase.
Enjoy Your Custom Fall Decor
With these simple steps, you have created charming painted plastic pumpkin vases ready for your fall display. Arrange them individually or group them together to make a cohesive centerpiece. These versatile accents are perfect for adding a touch of autumn elegance to any room.
Related project collection: DIY Dollar Tree Graduation Cap Flower Centerpiece
Practical Questions About This Project
What kind of paint works best for plastic pumpkins?
Matte acrylic craft paints are recommended for achieving an opaque, even finish on plastic pumpkins.
What colors are used for these autumn pumpkin vases?
The design features matte acrylic paints in cream, sage green, and terracotta for a varied autumn display.
Where can these finished pumpkin vases be displayed?
These charming pumpkin vases are ideal for enhancing fall decor on a dining table or mantel.
What types of faux flowers are suitable for these vases?
Assorted faux autumn flowers such as sunflowers, mums, eucalyptus, and other fillers work well to create full, balanced arrangements.
Why is a glass cup inserted into the pumpkin?
A small clear glass cup is inserted to securely hold the faux flowers and provide stability, ensuring they stand upright within the pumpkin vase.
Search Dollar Tree for plastic supplies.

Leave a Reply