
")
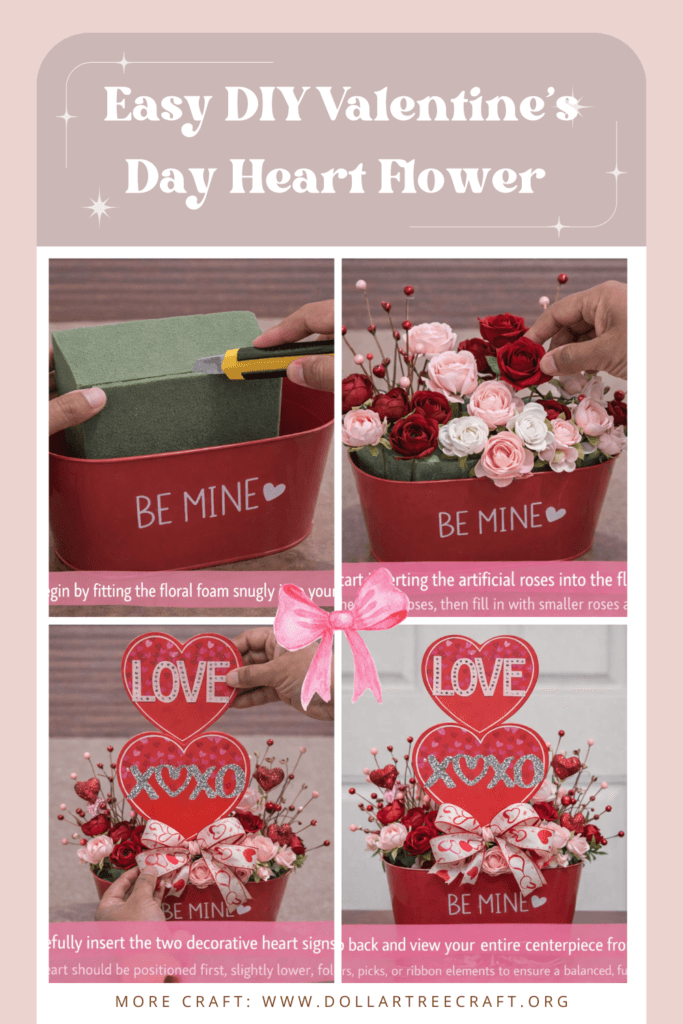
Create your own Enchanting Valentine’s Day Floral & Heart Centerpiece with this easy step-by-step guide. Perfect for Holiday & Seasonal enthusiasts!
See also: Dollar Tree Mothers Day Crafts
Theme: Valentine’s Day
Materials Needed
- Red Metal Planter (with ‘BE MINE’ decal)
- Floral Foam (for artificial flowers)
- Assorted Artificial Roses (red, pink, white)
- Valentine’s Decorative Berry & Glitter Heart Picks
- Valentine’s Themed Ribbon
- Stacked Decorative Heart Signs (‘LOVE’, ‘XOXO’)
- Hot Glue Gun & Sticks
Step-by-Step Instructions
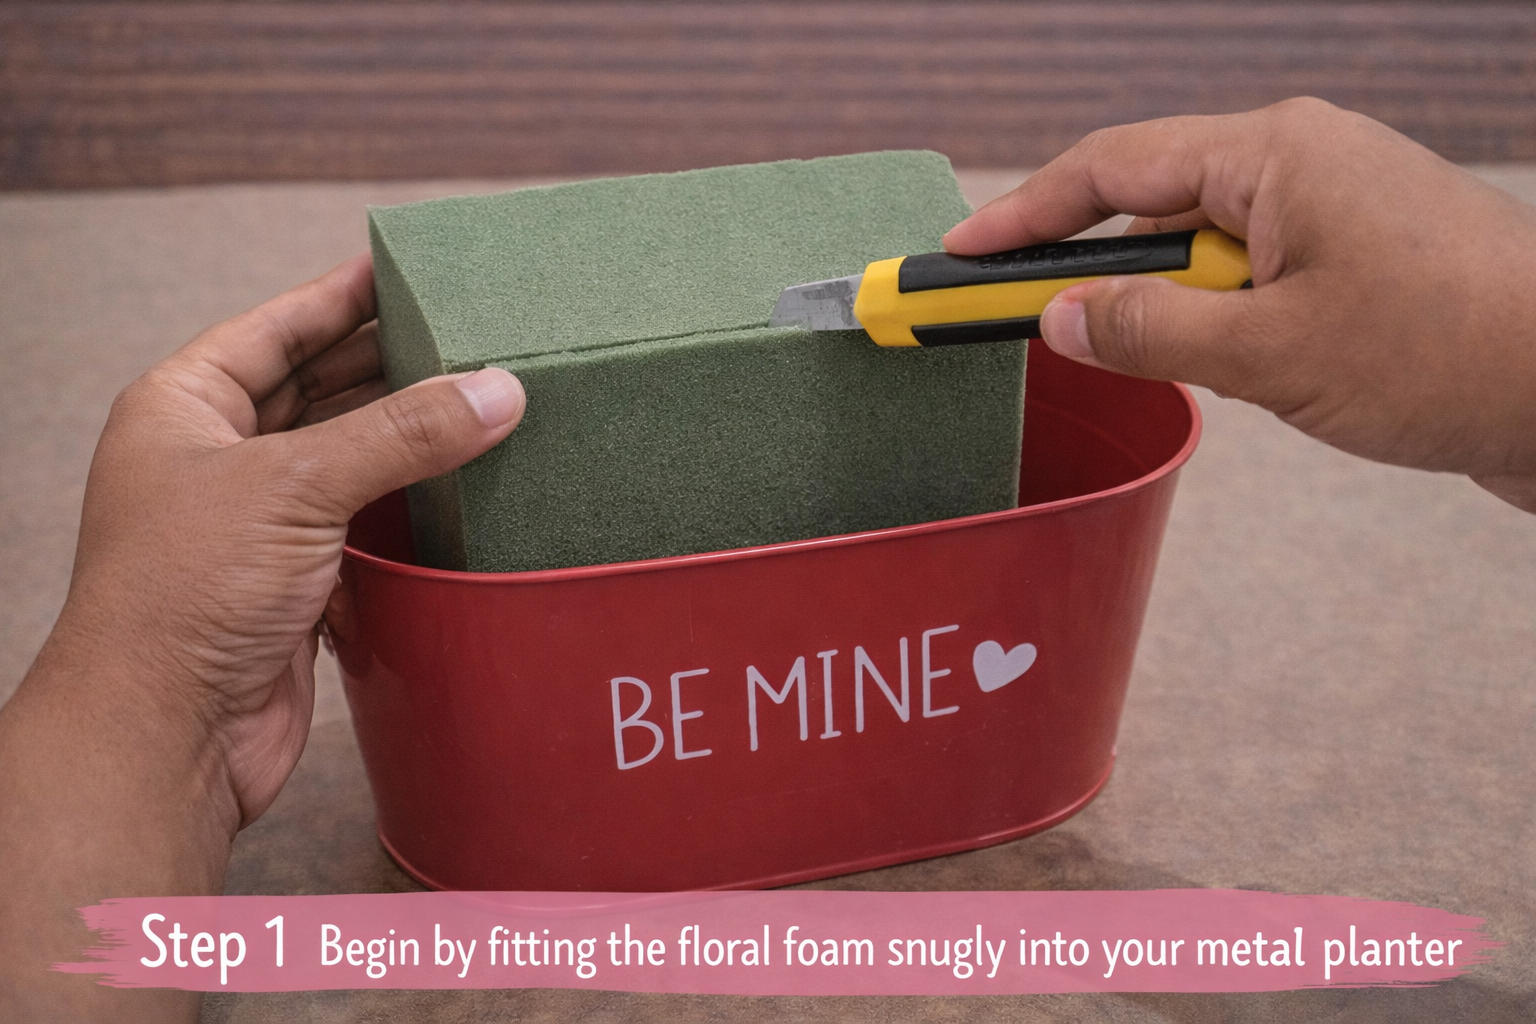
Step 1: Prepare Planter Base
Begin by fitting the floral foam snugly into your red metal planter. If the foam block is too large, use a craft knife to trim it down until it sits securely, extending slightly above the rim of the planter to allow for easy insertion of stems. This provides a stable foundation for your entire arrangement.
💡 Pro Tip: For maximum stability, ensure the floral foam is compressed tightly within the planter. If there are small gaps, you can fill them with additional scraps of foam or crumpled tissue paper to prevent shifting.
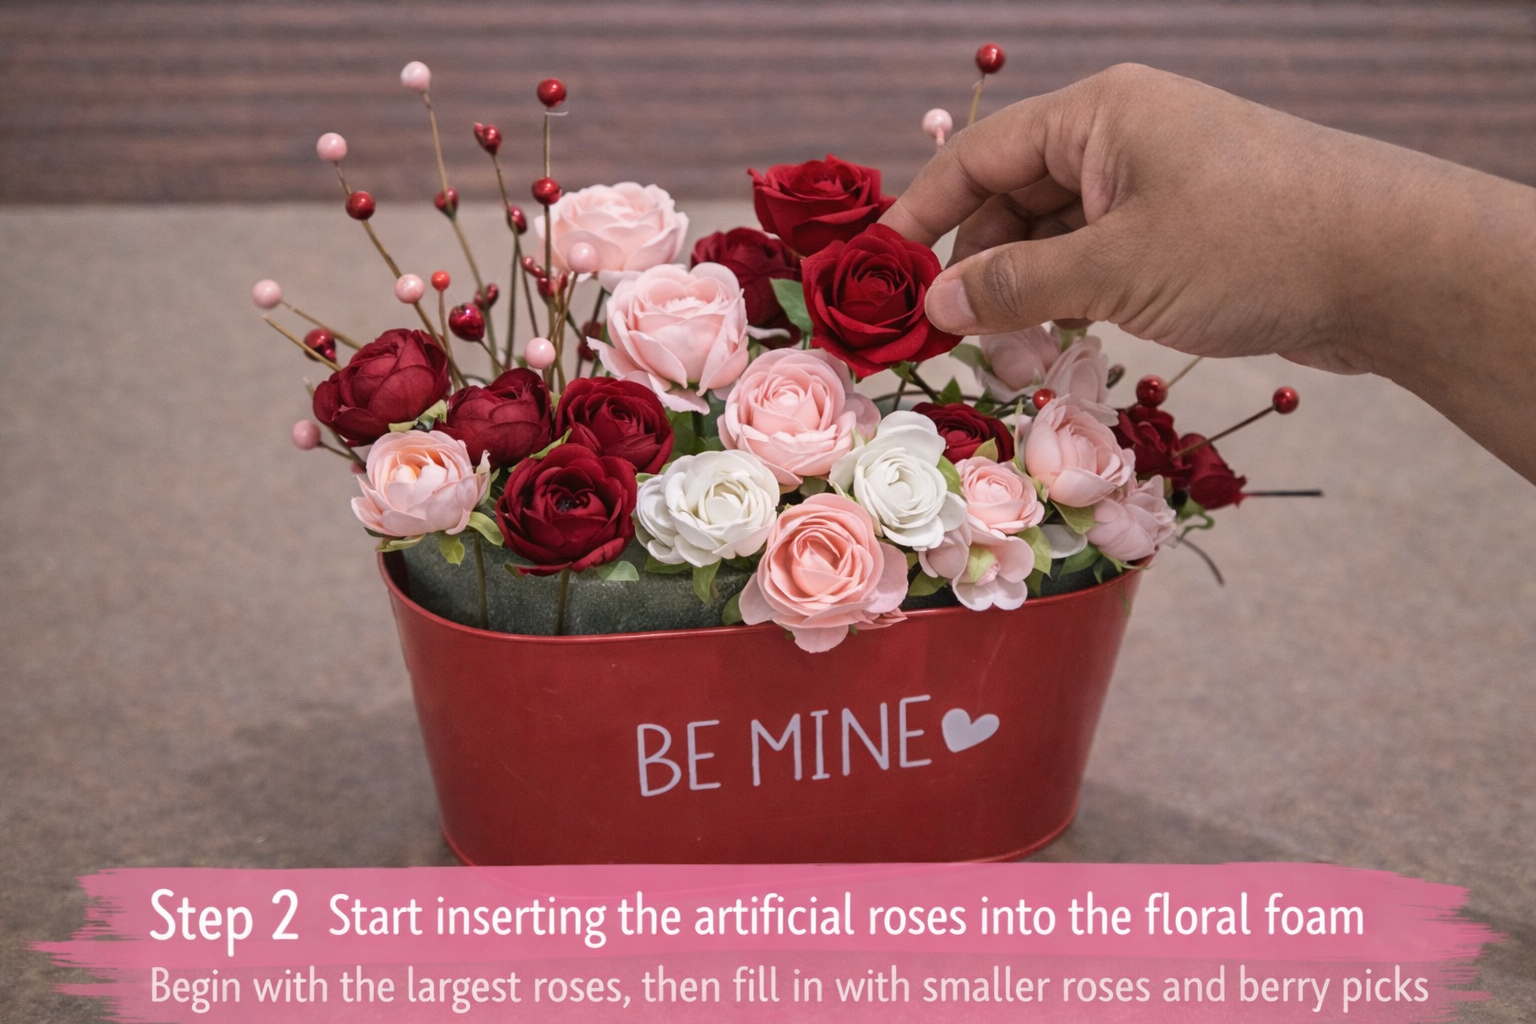
Step 2: Arrange Artificial Flowers
Start inserting the artificial roses into the floral foam. Begin with the largest roses, evenly distributing the red, pink, and white colors to create a balanced look. Then, fill in the spaces with smaller roses and the delicate berry picks, varying their heights and angles to add depth and natural flow to the arrangement.
💡 Pro Tip: To achieve a professional, ‘full’ look, consider bending the stems of your artificial flowers slightly. This allows them to spread out more and fill negative space, creating a lush, rounded silhouette rather than a flat top.
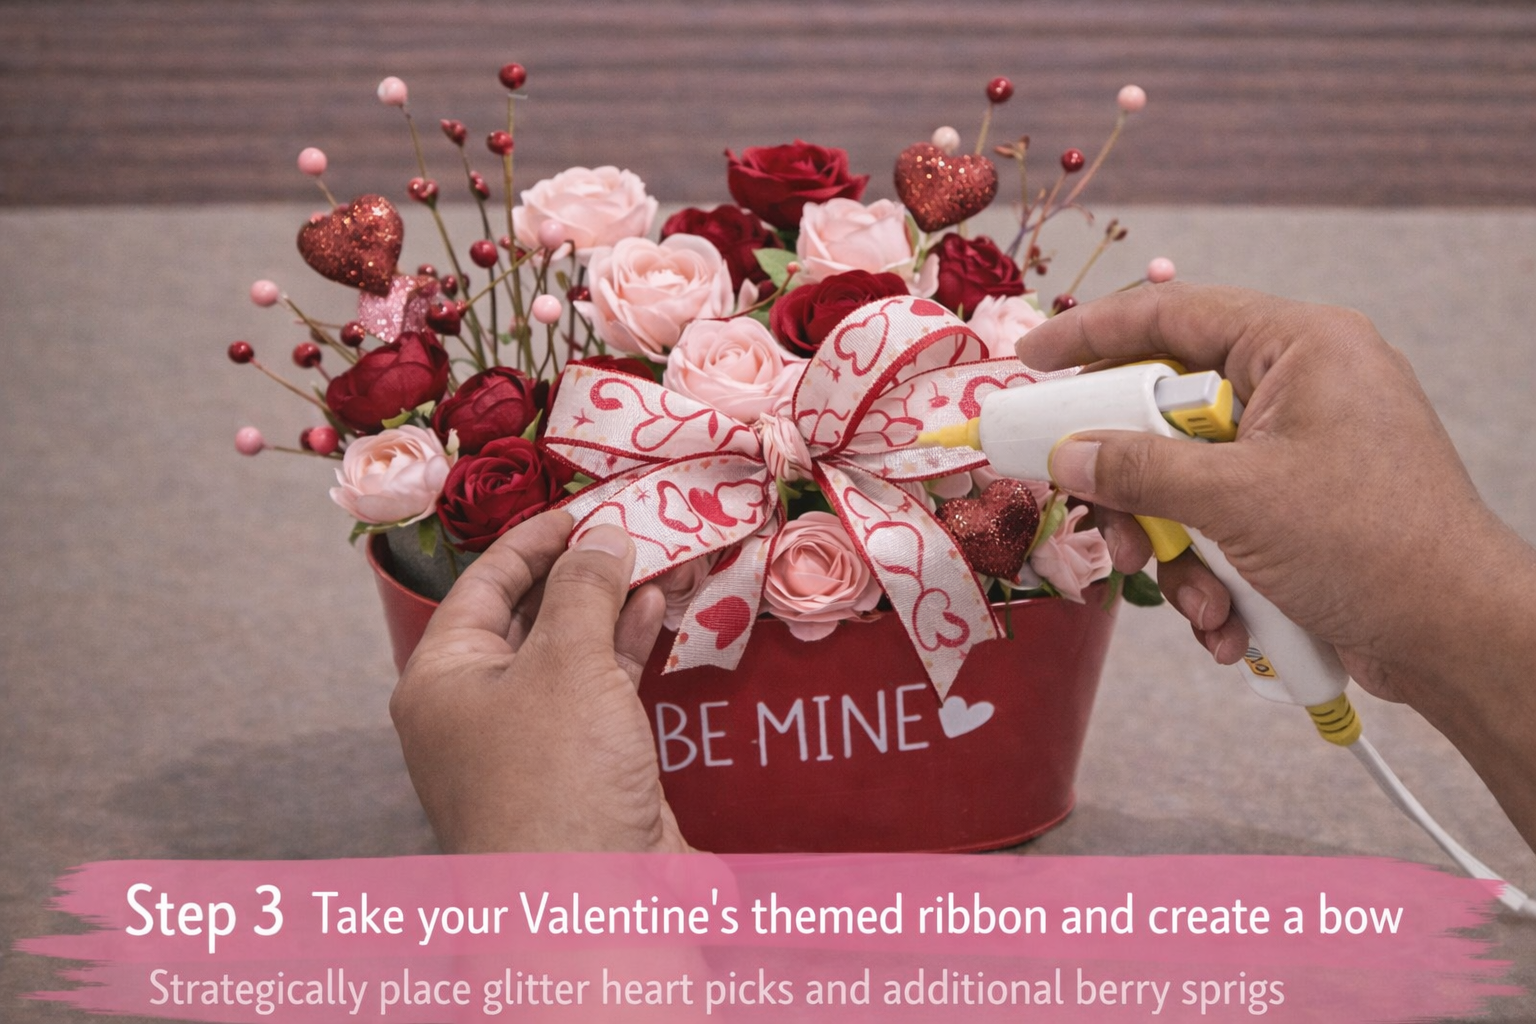
Step 3: Incorporate Ribbon & Small Picks
Take your Valentine’s themed ribbon and create a bow or weave it artfully through the existing floral elements. Use small dabs of hot glue to secure the ribbon in place if needed, especially if creating loops or folds. Now, strategically place the smaller glitter heart picks and additional berry sprigs to add sparkle and fine detail throughout the arrangement.
💡 Pro Tip: When adding ribbon, create several smaller loops rather than one large one; this gives a more integrated, luxurious feel. For glitter picks, aim to tuck them slightly beneath larger flowers, allowing them to peek out and catch the light, rather than standing awkwardly on top.
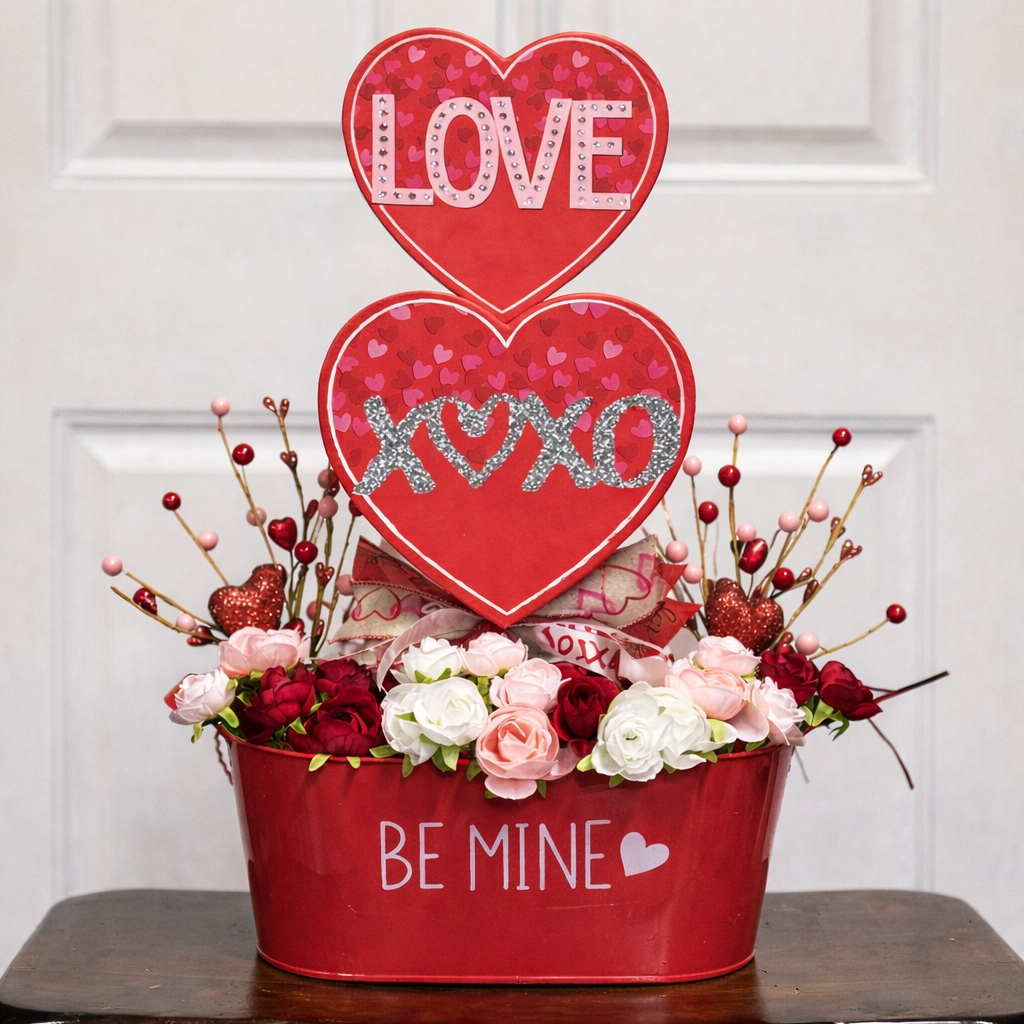
Step 4: Position Heart Signs
Carefully insert the two decorative heart signs (‘LOVE’ and ‘XOXO’) into the center of the floral foam. The ‘XOXO’ heart should be positioned first, slightly lower, followed by the ‘LOVE’ heart stacked directly above it. Ensure their stakes are pushed deep into the foam for maximum stability, allowing them to stand tall and proud as the focal point.

💡 Pro Tip: If your heart signs wobble, apply a small bead of hot glue to the back of the bottom sign (‘XOXO’) where the top sign (‘LOVE’) rests. This creates a stronger bond between the two, preventing them from shifting or falling out of alignment.
Step 5: Final Adjustments & Securing
Step back and view your entire centerpiece from various angles. Adjust any flowers, picks, or ribbon elements to ensure a balanced, full, and visually appealing display. Use your hot glue gun to secure any elements that feel loose or need a permanent position, especially the smaller, lighter decorative pieces that might otherwise shift.

💡 Pro Tip: Before applying final hot glue, take a photo of your arrangement. Sometimes viewing it through a lens helps spot imbalances or areas that need more attention that you might miss in person. Make small tweaks until you are completely satisfied with the overall composition.
Discover the newest Dollar Tree arrivals for your next craft project here.
Inspiration / Credit: Kristy Barton Newman