Ever walk into Dollar Tree and grab stuff you don’t need? Same! That’s exactly how I ended up with these supplies for my latest project, the Charming Tassel Hoop Celebration Sign. Honestly, I wasn’t even planning a party, but now I’m ready to celebrate anything just to show this off!
Theme: Wedding & Party
Materials Needed
- Wooden Embroidery Hoop (medium)
- Assorted Party Ribbons & Lace
- Yarn (Pink, Cream, Peach, Light Aqua)
- Natural Wood Beads
- Faux Flowers & Greenery
- Small Decorative Cardstock/Wood Sign
- Hot Glue Gun & Glue Sticks
- Scissors & Hanging Twine
Why This Craft Works
This Charming Tassel Hoop Celebration Sign is just perfect for any Wedding & Party event you’ve got coming up! Imagine it hanging over the dessert table at a bridal shower, welcoming guests at a baby shower, or even as a super cute backdrop for photos at an anniversary party. It adds such a sweet, personalized touch that guests will absolutely adore.
You know I love a good budget-friendly project, and this one really delivers! Using mostly supplies from Dollar Tree, this entire Charming Tassel Hoop Celebration Sign project ran me about $11-14 total. It’s such an affordable way to add some serious charm without breaking the bank for your Wedding & Party decor.
Don’t let the fancy name fool you, this craft is seriously easy, perfect for even the newest crafter! From start to finish, making your own Charming Tassel Hoop Celebration Sign took me about 30-45 minutes. It’s a fantastic project if you need a quick decoration, or just want a relaxing afternoon craft session, especially for a Wedding & Party event.
Step-by-Step Instructions for Charming Tassel Hoop Celebration Sign
Alright, crafters, are you ready to get your hands a little bit gluey and a whole lot happy? This next part is where the magic happens and you’ll see your Charming Tassel Hoop Celebration Sign really come to life! It’s super fun and totally beginner-friendly, so grab your supplies and let’s make some amazing Wedding & Party decor together. You’re going to love how quickly this project comes together, it’s so satisfying!
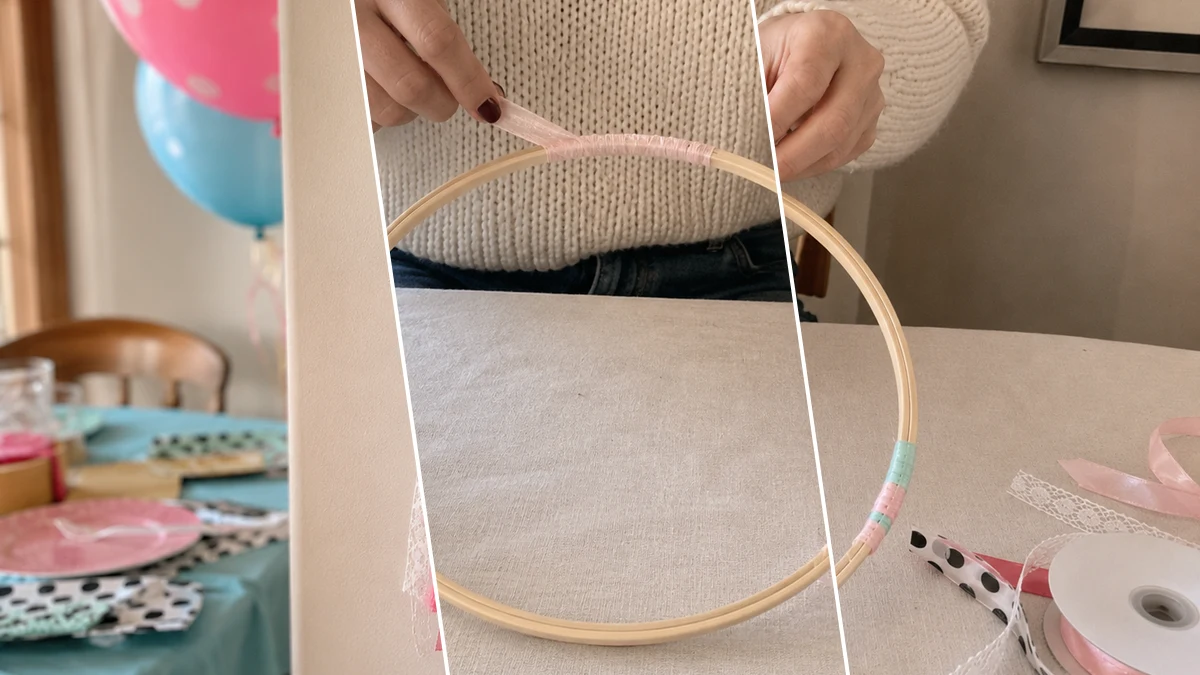
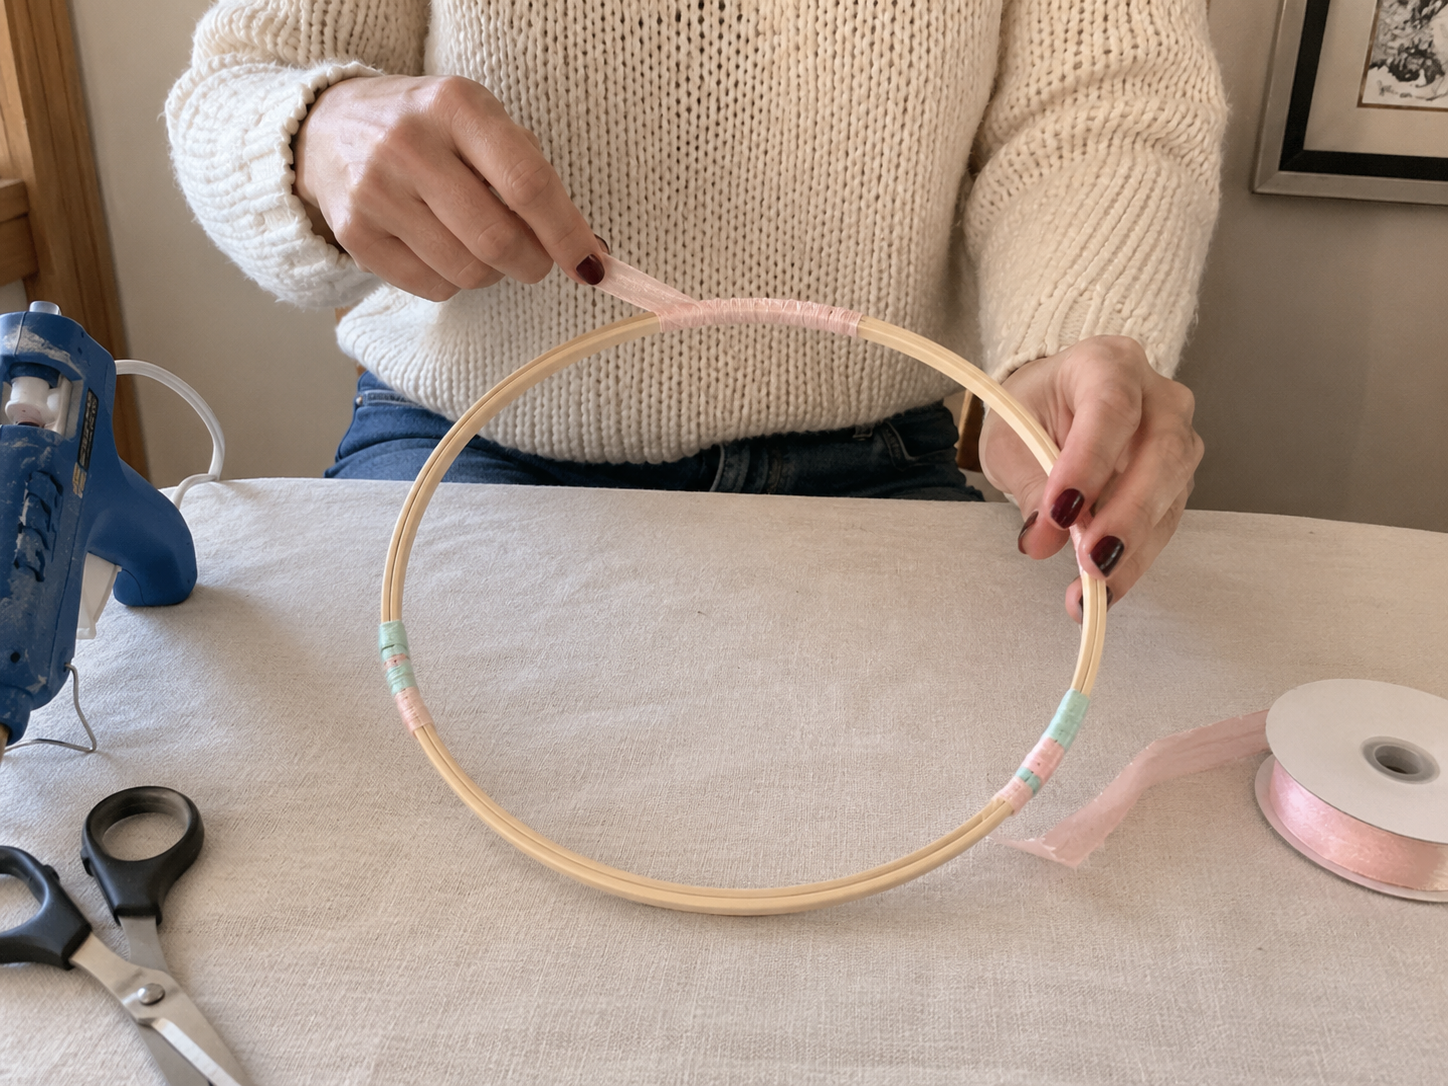
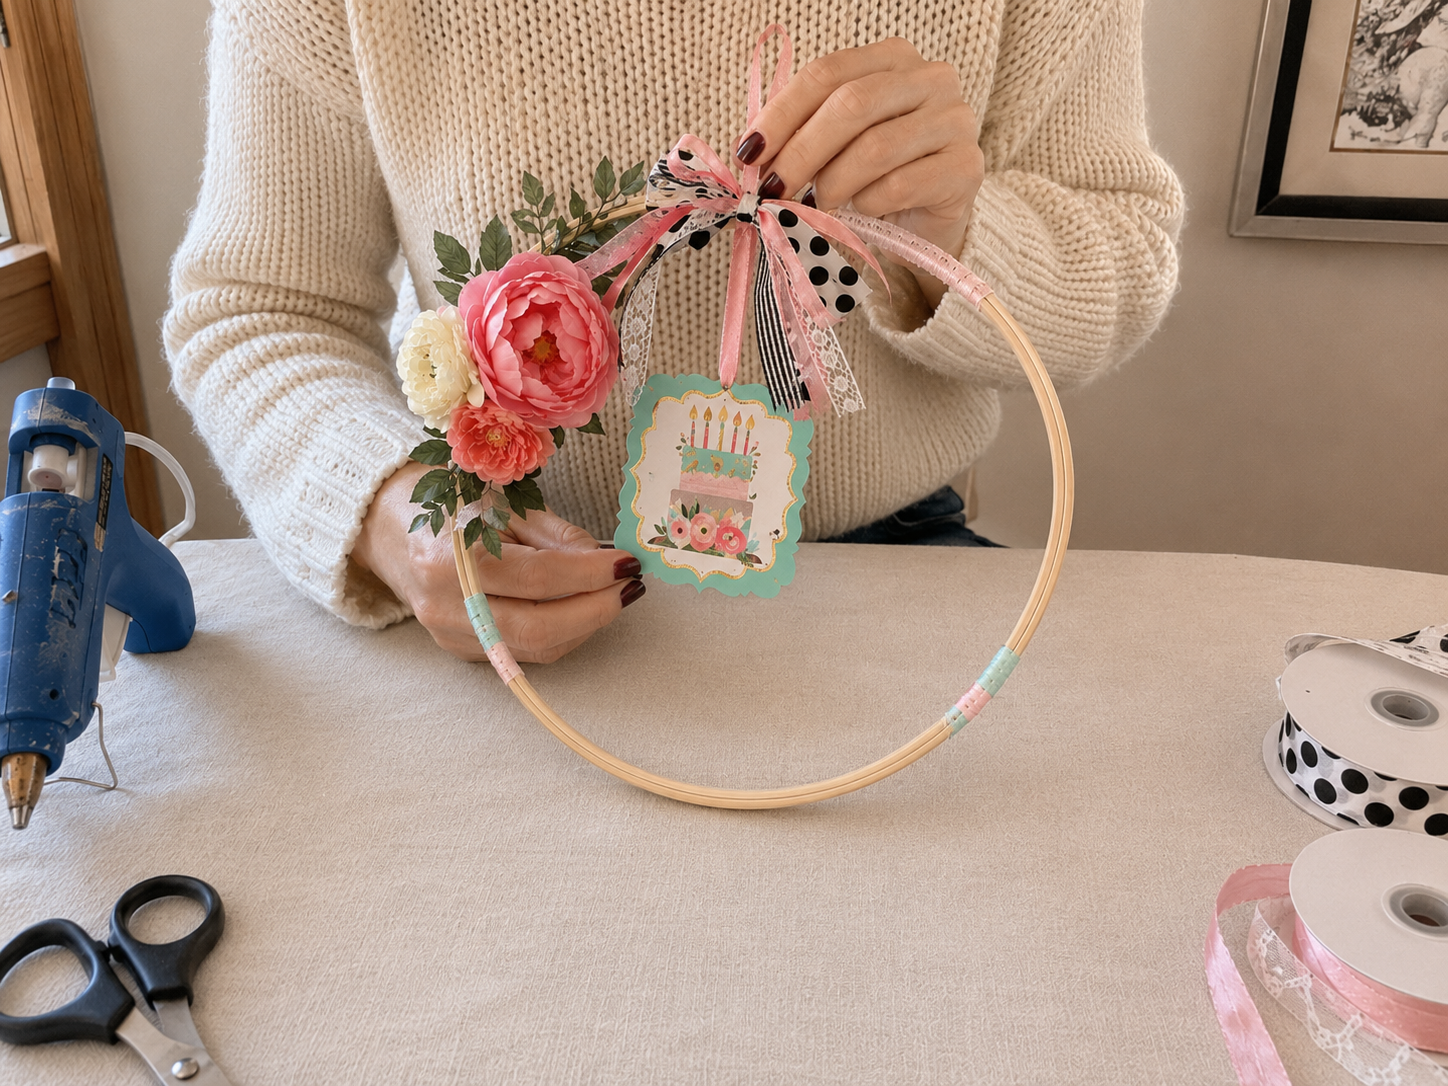
Step 1: Prepare the Hoop Base
Choose a medium-sized wooden embroidery hoop. Decide which part will be the top for hanging and which bottom half will feature the fringe. To add a touch of color and secure the top hanging area, wrap a small section of the hoop near the top and also at the edges where the fringe will begin with a coordinating soft pastel ribbon or twine. This provides a finished look without overpowering the natural wood.
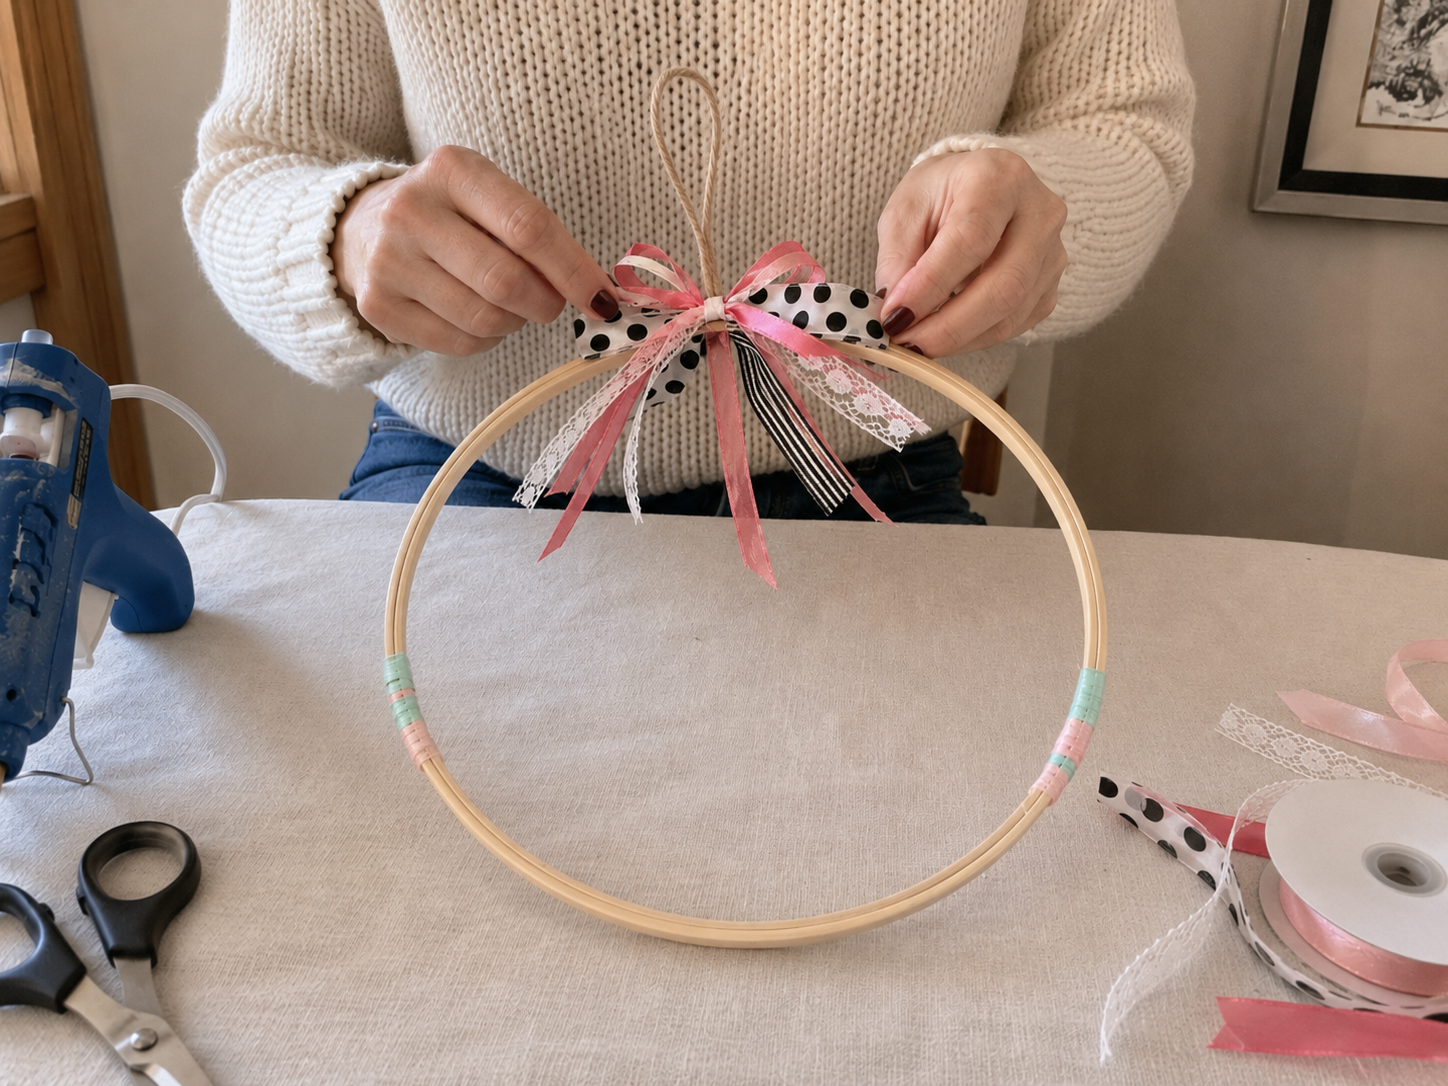
Step 2: Craft the Top Bow & Hanger
At the top center of the hoop, create a multi-layered bow using a mix of your chosen ribbons—like the pink satin, black-and-white polka dot, and a delicate lace ribbon for texture. Securely hot glue the bow to the hoop. Immediately after, attach a loop of jute twine or a thin string behind the bow for hanging the sign. Ensure the hanging loop is strong and positioned centrally.
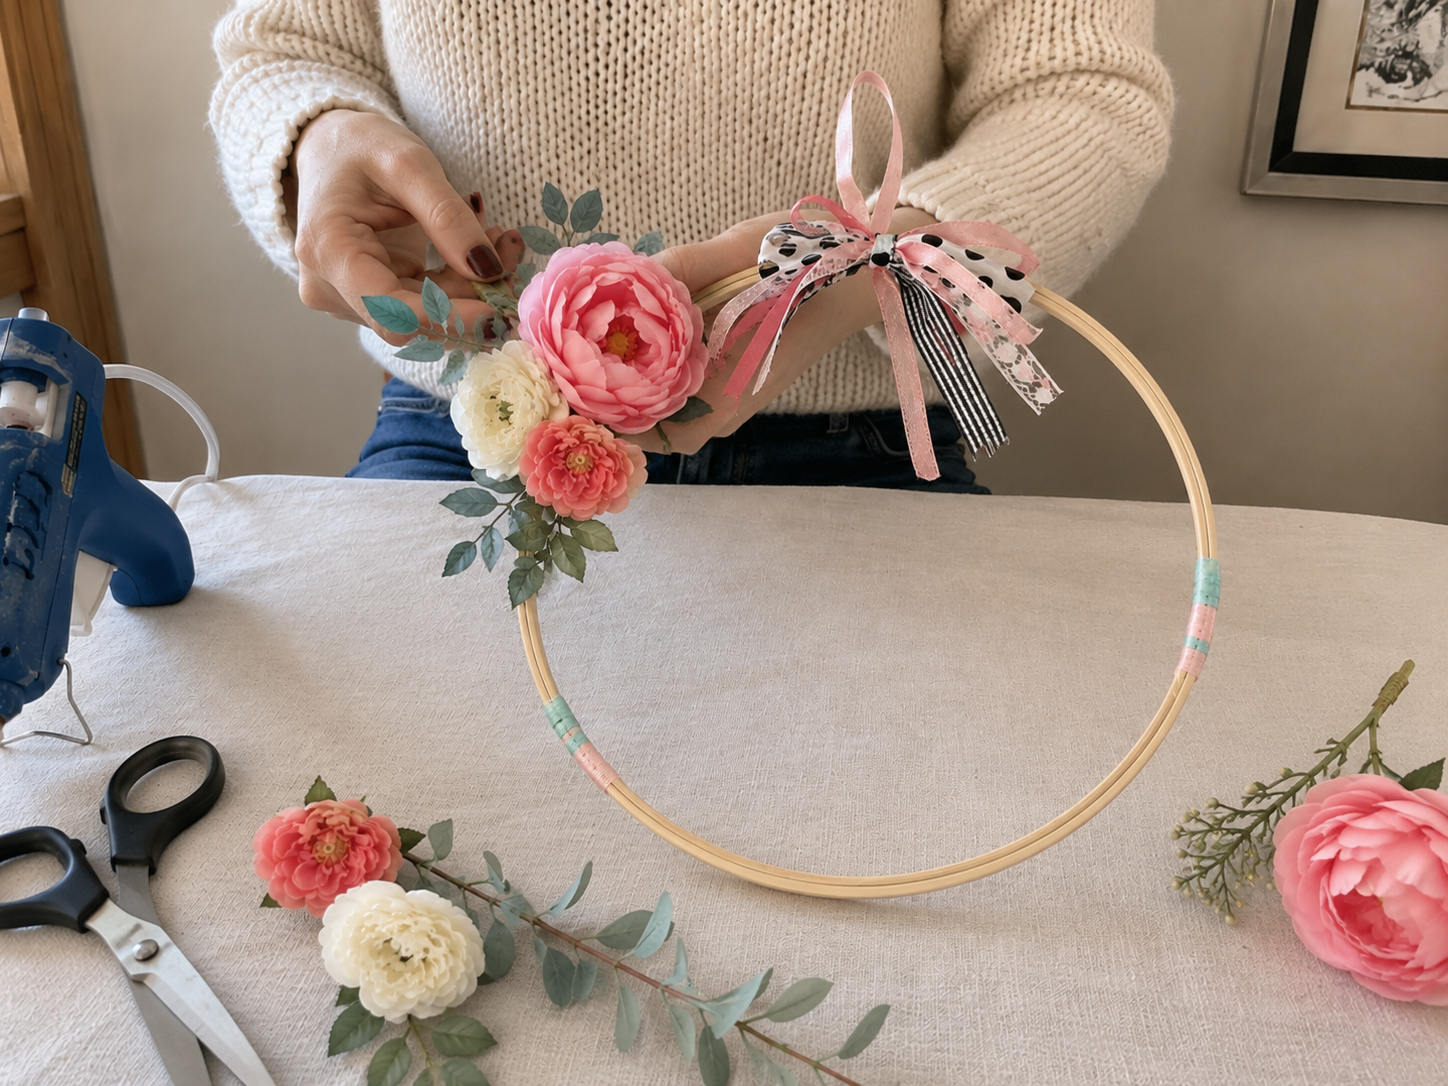
Step 3: Build the Floral Cluster
On the upper left side of the hoop, create a soft floral cluster. Begin with one larger faux pink flower as your focal point. Add one or two smaller cream or blush flowers around it. Tuck in a few sprigs of faux greenery (like eucalyptus) to fill out the arrangement and give it a natural, asymmetrical look that complements the party aesthetic. Hot glue each piece securely to the hoop, ensuring the stems are hidden.
Step 4: Attach the Center Sign
Select a small decorative sign, such as a scalloped cardstock tag or a tiny wood plaque, suitable for a celebration theme (e.g., birthday cake, “Let’s Celebrate!”). You can personalize it if needed. Attach a short length of thin ribbon or twine to the top of the sign. Then, hang or glue this sign slightly below the top bow, inside the hoop, making sure it hangs straight and is a central focal point.
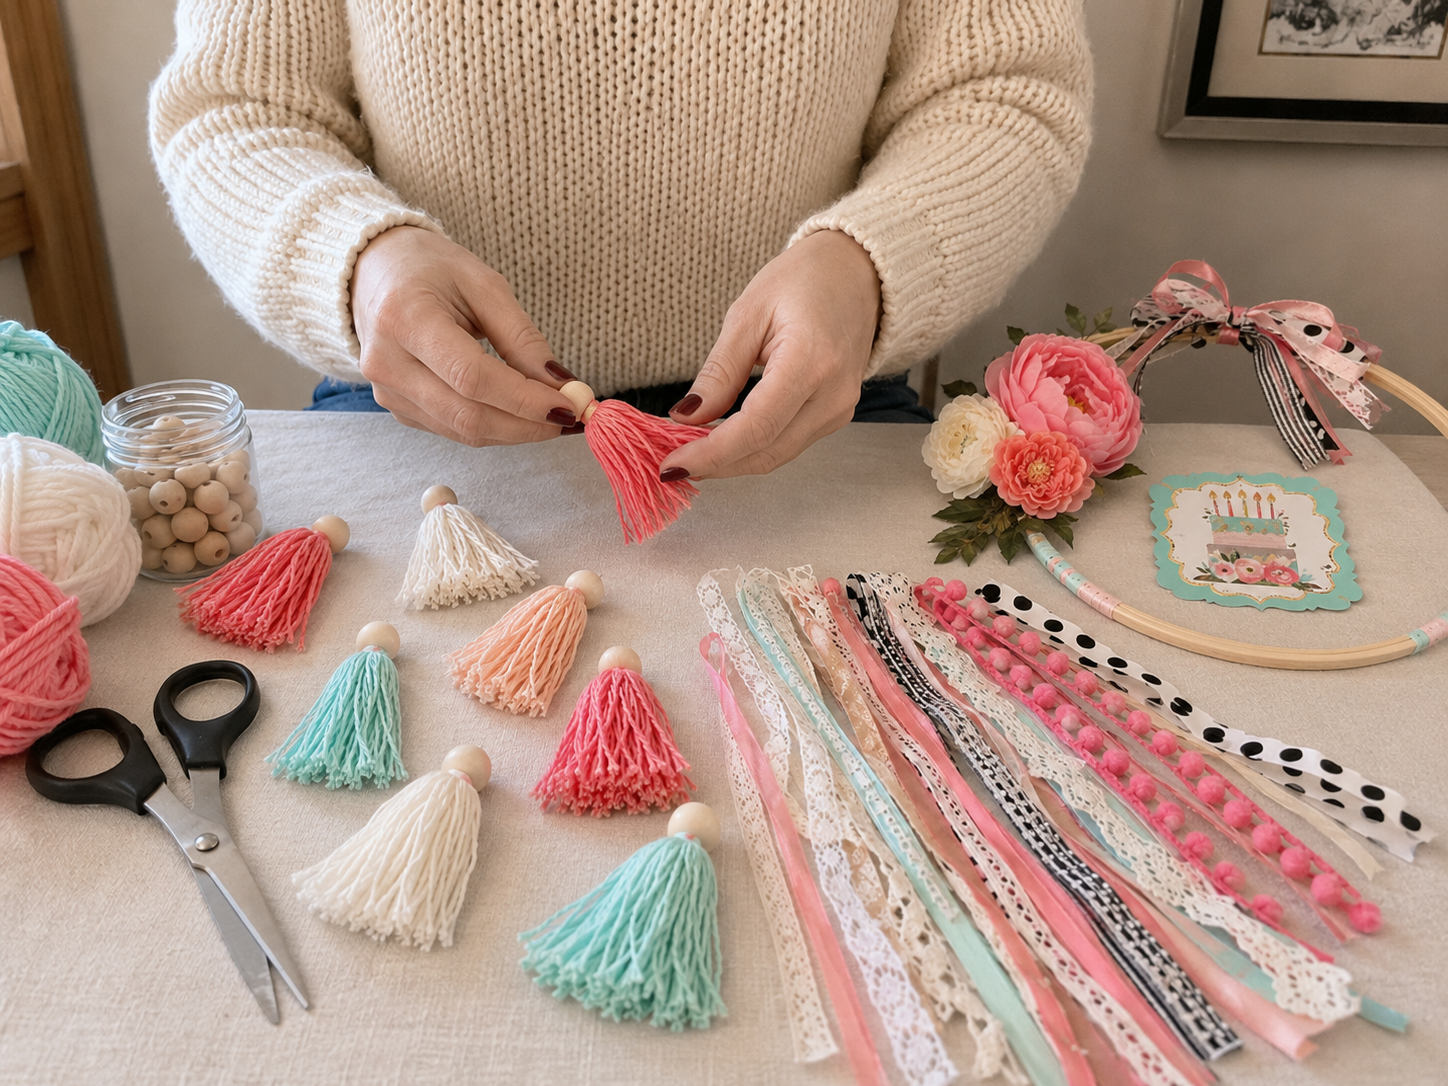
Step 5: Prepare Tassels and Fringe Elements
Create multiple yarn tassels in your chosen soft party colors (pink, cream, peach, light aqua). You’ll need varying lengths. Simultaneously, gather an assortment of ribbon strands, lace strips, and optional pom-pom trim pieces, cutting them to various lengths similar to your tassels to create a dynamic fringe. For added texture, thread one or two natural wood beads onto the top loop of a few tassels before securing them.
📱 Craftino App
Make more crafts like this
1,000+ Wedding & Party ideas with photo guides & Pro Tips
✓ Step-by-step photo tutorials, nothing left out
✓ Pro Tips for every step
✓ Save crafts & browse fully offline
✓ New ideas added every week

Step 6: Assemble the Fringe
Starting from one side of the lower half of the hoop, begin attaching your prepared tassels, ribbon strands, lace strips, and pom-pom trim. Fold each element over the hoop and secure it tightly with hot glue on the back or by tying it in a lark’s head knot and applying a tiny dab of glue to prevent slipping. Alternate between tassels and different ribbon types, varying their positions and lengths to create a full, cascading fringe that drapes across the entire bottom half of the hoop.
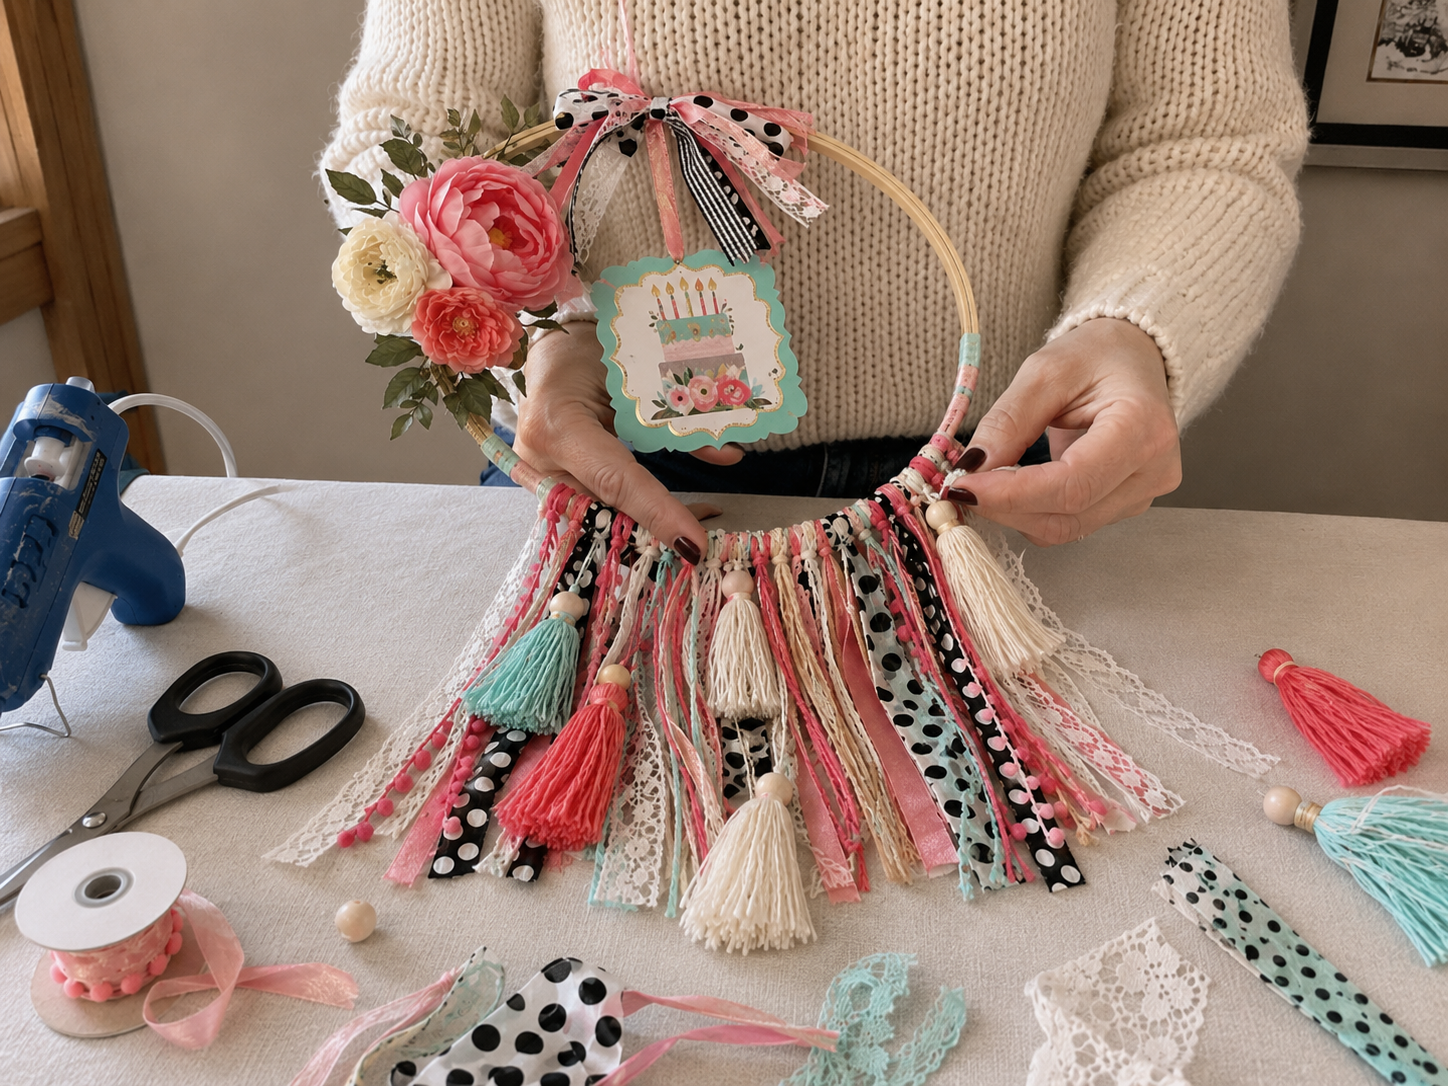
Step 7: Final Adjustments and Finishing
Once all the fringe elements are attached, take a moment to adjust them, ensuring they are evenly spaced and balanced. Trim any uneven pieces of ribbon or yarn to create a clean line or a desired varying length pattern. Fluff the tassels gently. Finally, double-check that the center sign and the top floral cluster are still perfectly visible and positioned. Your charming celebration sign is now complete!
See also: Simple Elegant Graduation Hoop Wreath
📋 Love staying organized while crafting? Check out our printable planners & craft designs at CraftersDT on Etsy and use code CRAFT20 for 20% off your entire order!
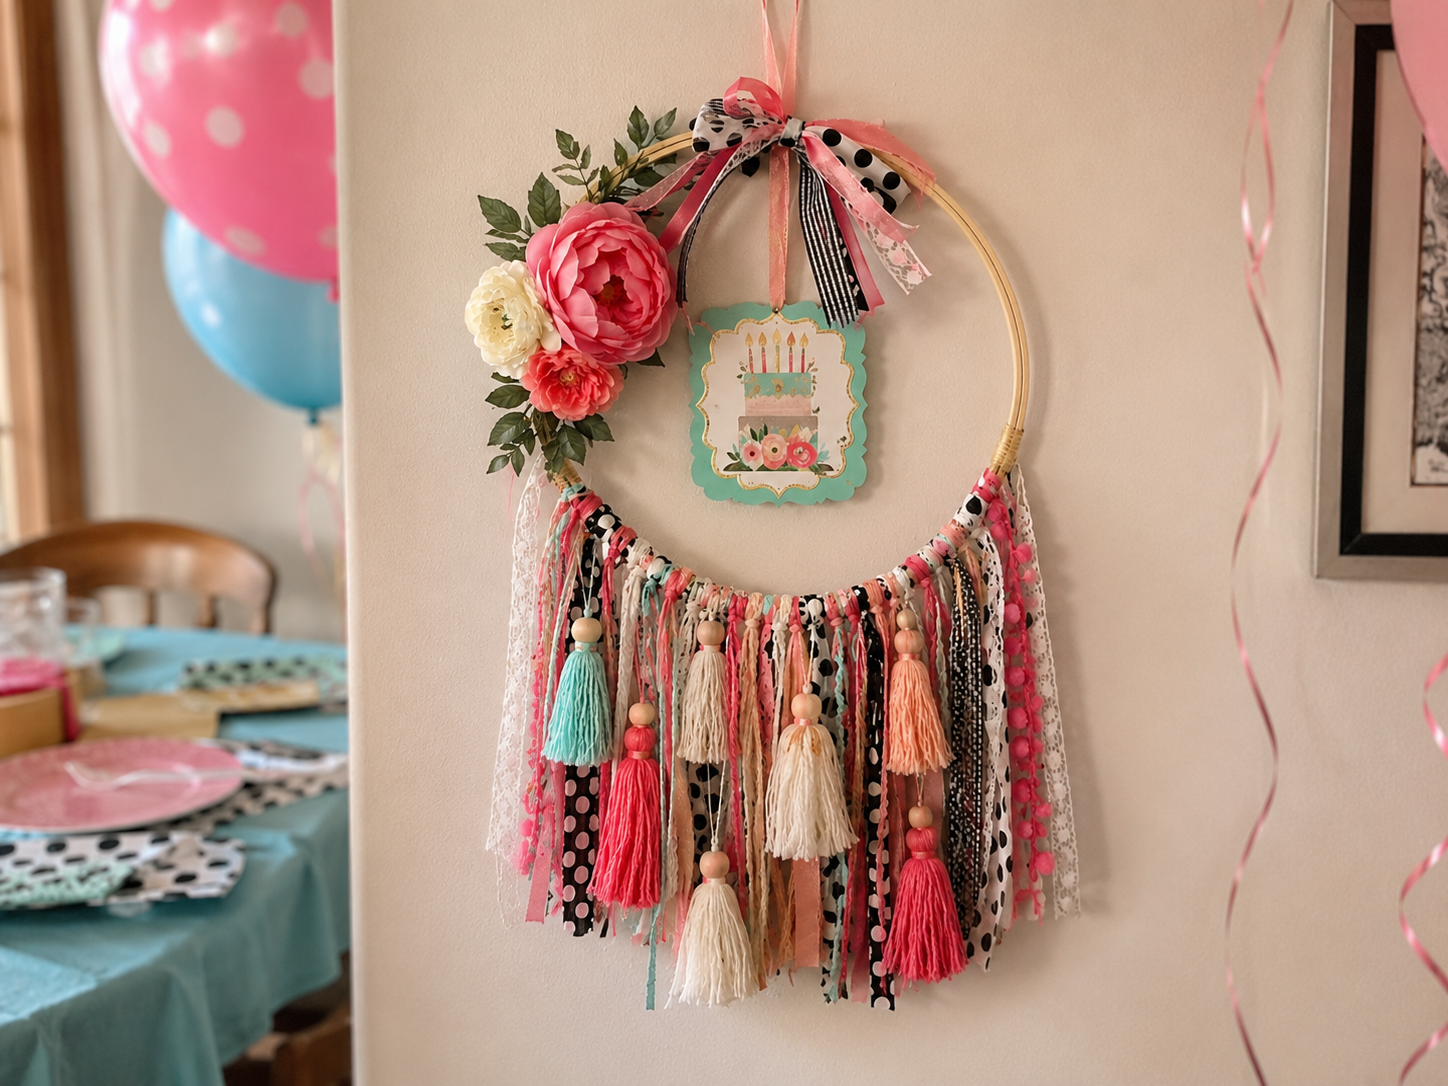
Your Charming Tassel Hoop Celebration Sign Awaits!
Wasn’t that a blast? Your new Charming Tassel Hoop Celebration Sign looks absolutely fantastic and is ready to jazz up any Wedding & Party space! Hang it up proudly, share a pic with me, or even try making another one in different colors for your next big event.
📱 Craftino App
Make more crafts like this
1,000+ Wedding & Party ideas with photo guides & Pro Tips
✓ Step-by-step photo tutorials, nothing left out
✓ Pro Tips for every step
✓ Save crafts & browse fully offline
✓ New ideas added every week
Frequently Asked Questions
What is the total cost to make the DIY Charming Tassel Hoop Celebration Sign from Dollar Tree supplies?
The total cost to make the DIY Charming Tassel Hoop Celebration Sign using mostly Dollar Tree supplies is typically around $11-14. This budget-friendly project uses about 8 common craft items that can be found affordably.
How long does it take to complete the Charming Tassel Hoop Celebration Sign craft for a Wedding & Party?
Completing the Charming Tassel Hoop Celebration Sign craft usually takes about 30-45 minutes from start to finish. This makes it a perfect quick DIY project for Wedding & Party decorations or a last-minute gift.
Is the Charming Tassel Hoop Celebration Sign a beginner-friendly DIY project for Wedding & Party decor?
Yes, the Charming Tassel Hoop Celebration Sign is considered an easy and beginner-friendly DIY project. It involves simple steps like cutting, gluing, and tying, making it accessible for anyone looking to create charming Wedding & Party decor.
Where can I find the supplies needed for the Charming Tassel Hoop Celebration Sign project?
Most of the supplies for the Charming Tassel Hoop Celebration Sign can be found at Dollar Tree, including the embroidery hoop, yarn, and small decorative items. You might also find suitable alternatives at craft stores like Hobby Lobby or Walmart if you prefer different colors or textures.
What kind of Wedding & Party events is the Charming Tassel Hoop Celebration Sign suitable for?
The Charming Tassel Hoop Celebration Sign is suitable for a wide range of Wedding & Party events, including bridal showers, baby showers, engagement parties, anniversary celebrations, or even as a unique backdrop for a birthday party. It adds a personalized touch to any festive occasion.
Can I customize the colors or materials for my Charming Tassel Hoop Celebration Sign?
Absolutely, you can easily customize the Charming Tassel Hoop Celebration Sign by swapping out yarn colors to match your Wedding & Party theme or by using different types of decorative beads or floral accents. Changing the size of the embroidery hoop also offers another way to personalize the sign.
Roughly how many tassels do I need to make for a standard Charming Tassel Hoop Celebration Sign?
For a standard 10 or 12-inch embroidery hoop, you will typically need to make about 10-15 tassels to create a full and charming look for your celebration sign. This allows for a nice, dense fringe along the bottom of the hoop.
What common mistakes should I avoid when assembling the DIY Charming Tassel Hoop Celebration Sign?
To ensure your DIY Charming Tassel Hoop Celebration Sign looks its best, avoid using too much hot glue, which can create visible clumps. Also, make sure to trim your tassels evenly after attaching them to the hoop for a neat and polished finish, especially for a Wedding & Party display.
Leave a Reply