
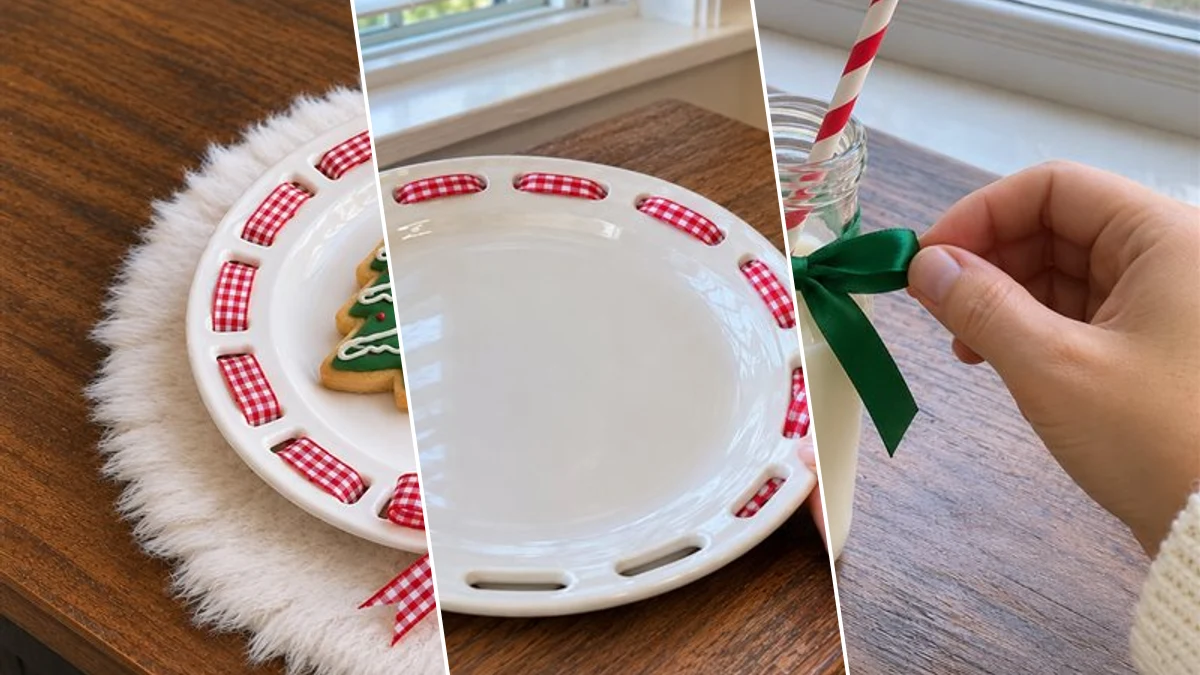
Prepare a charming Christmas Eve display for Santa's treats with this DIY cookie plate and milk bottle set. This festive arrangement features a decorative plate with woven ribbon, a small milk bottle with a bow, and a soft faux fur base. Designed for seasonal display, the set is also suitable for light use and is water-safe.
Project at a Glance
- Difficulty: Easy
- Estimated active time: 15 minutes to 25 minutes (drying and curing waits not included)
- Estimated component cost: a budget-friendly amount (reusable tools and general supplies excluded)
- Main material: Ribbon
- Suggested placement: Tabletop, Shelf
About This Christmas Eve Treat Display
This DIY project assembles a festive display set for Santa's treats on Christmas Eve. It includes a decorative white plate with woven red gingham ribbon and a matching bow, a clear glass milk bottle adorned with a green satin ribbon, and a plush faux fur placemat as a base. An additional red felt Santa hat style bow completes the charming arrangement.
The completed set is intended for seasonal display, making it a delightful addition to holiday decor. Its components are also suitable for light use and are noted as water-safe. With an estimated active time of 15 to 25 minutes, this easy craft is accessible for many skill levels.
Materials for DIY Christmas Eve Cookie Plate and Milk Bottle Display Set for Santa
- White ceramic plate with rim holes
- Small clear glass milk bottle
- Red gingham ribbon (1/2 to 1 inch wide)
- Green satin ribbon (1/4 to 1/2 inch wide)
- Faux fur round placemat or fabric trim
- Red felt or pre-made Santa hat style bow
- Hot glue gun and glue sticks
- Scissors
Need another material? Browse current craft supplies and deals.
Assembling Your Christmas Eve Treat Display
These instructions guide the creation of a Christmas Eve cookie plate and milk bottle display. Gather the materials listed to begin assembling this festive set. Follow each step to decorate the plate, embellish the bottle, and arrange the complete display.
Step 1: Decorate the Plate Rim
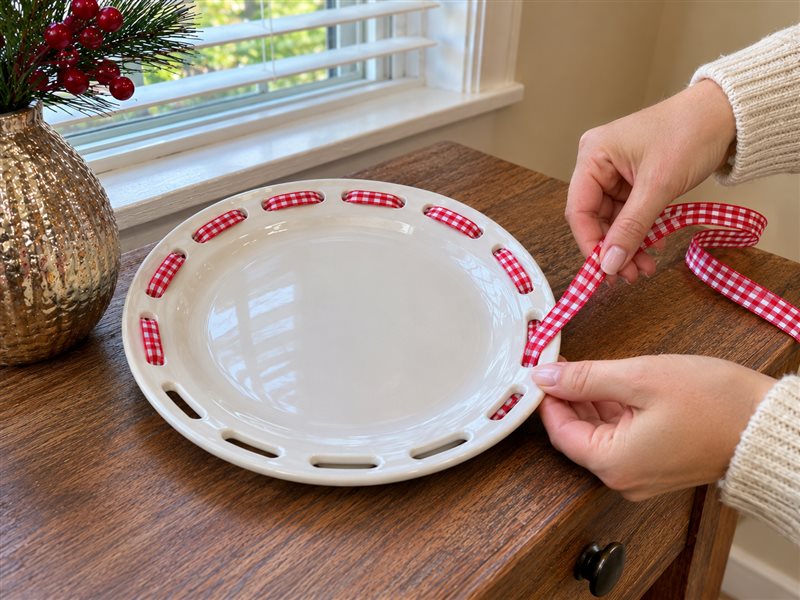
Begin by taking the red gingham ribbon. Thread one end of the ribbon through a hole in the rim of the white ceramic plate from the underside, pulling it through until about 1-2 inches are visible. Secure this end on the underside with a small dot of hot glue. Continue to weave the ribbon in and out of the remaining rim holes, creating a consistent pattern around the plate. Pull the ribbon taut as you go to ensure a neat finish. Once you've woven through all the holes, secure the final end on the underside with another small dot of hot glue, trimming any excess ribbon.
Step 2: Embellish the Milk Bottle
Take the small clear glass milk bottle and the green satin ribbon. Wrap the ribbon once around the neck of the bottle. Tie a simple bow at the front, adjusting the loops and tails until you are satisfied with its appearance. Trim the ribbon ends at an angle to prevent fraying and give a polished look. If desired, secure the knot or bow with a tiny dot of hot glue to keep it from slipping.

Step 3: Create the Plate Bow
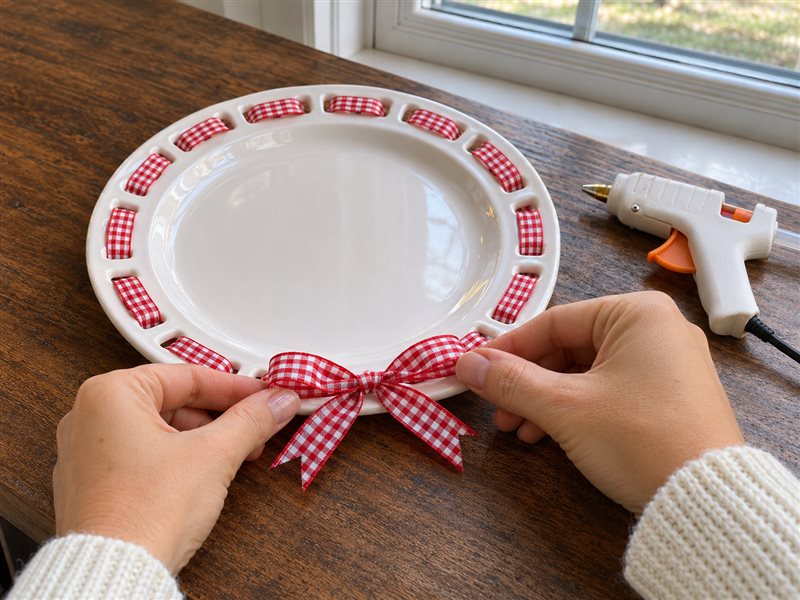
Using the red gingham ribbon, create a multi-loop bow. You can do this by forming two loops and securing them with a small piece of ribbon or floral wire, then trimming the tails. Alternatively, cut a length of ribbon, form two loops, cross them over, and cinch the center, then wrap a smaller piece of ribbon around the center to secure. Once the bow is formed, use a hot glue gun to attach it firmly to the front rim of the decorated plate, centered below the woven ribbon pattern.


Step 4: Assemble the Display Base
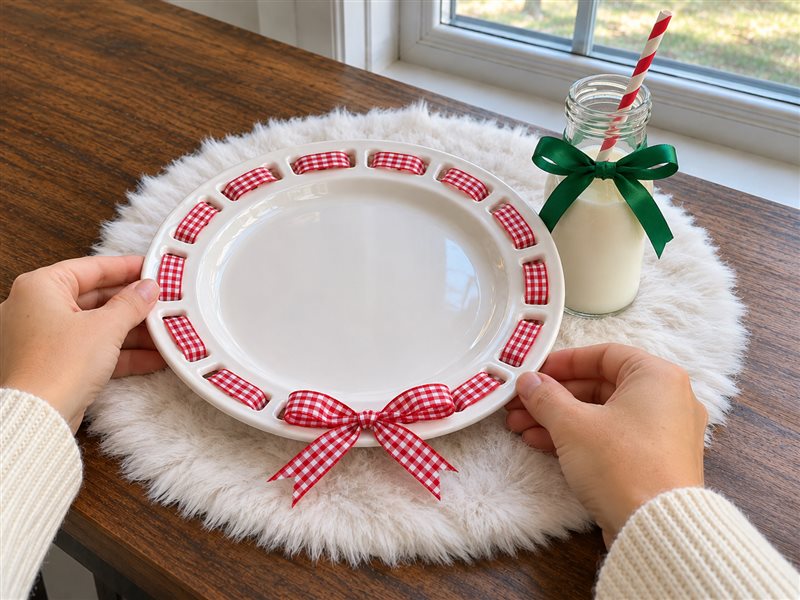
Lay the faux fur round placemat or a piece of faux fur fabric trim flat on your chosen display surface. This will serve as the cozy base for your Christmas Eve setup. Carefully place the decorated white plate towards the front-center of the placemat, and position the milk bottle next to it, slightly behind or to the side, ensuring both are stable and well-balanced on the fur.
Step 5: Add Festive Accents
For a final festive touch, take the red felt Santa hat style bow (either pre-made or crafted from red felt with a white fur trim and a small pom-pom). Place this accent bow on the faux fur placemat near the plate or bottle, or slightly off to the side, to complete the Christmas Eve display. This piece is for decorative purposes only.

Completing Your Christmas Eve Display
Once assembled, this charming Christmas Eve display set is ready to bring festive cheer to your home. Place it on a tabletop or shelf to create a special spot for Santa's treats. This easy-to-create set adds a whimsical touch to holiday traditions.
Related project collection: DIY Christmas Tabletop Tree in a Glass Vase with Faux Evergreens & Lights
Practical Questions About This Project
Is the Christmas Eve treat display set suitable for actual food and drink?
Yes, the set is designed for display or light use and is noted as water-safe.
What type of plate is recommended for this craft?
A white ceramic plate with rim holes is recommended for decorating the edge with ribbon.
What is the function of the faux fur placemat in this display?
The faux fur placemat serves as a cozy base for arranging the decorated plate and milk bottle.
Is the red felt Santa hat style bow functional?
No, the red felt Santa hat style bow is included for decorative purposes only to complete the festive display.
How difficult is this Christmas Eve display project?
This project is classified as easy, making it accessible for many crafters.
Search Dollar Tree for ribbon supplies.

Leave a Reply