
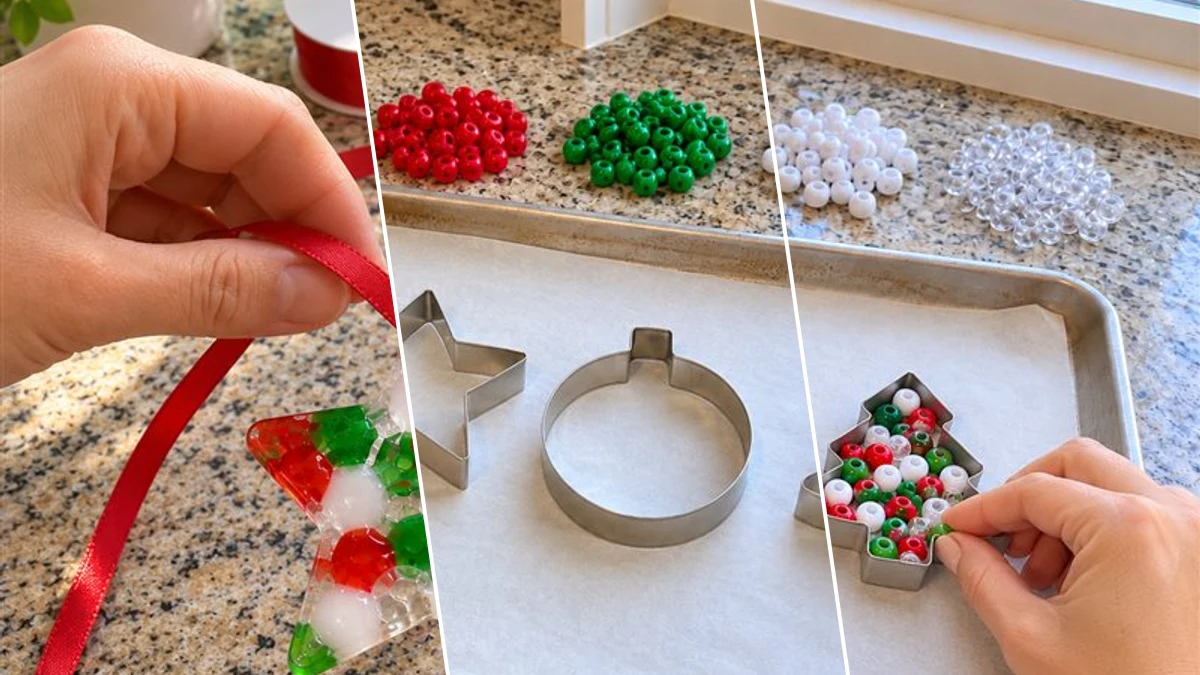
Transform ordinary plastic pony beads into glowing holiday decorations using simple metal cookie cutters and your oven. These glossy suncatchers catch the winter light beautifully when hung in a sunny window during the Christmas season. The project takes about 20 to 45 minutes of active time and costs between $2 and $6 to make using budget supplies.
Project at a Glance
- Difficulty: Easy
- Estimated active time: 20 minutes to 45 minutes (drying and curing waits not included)
- Estimated component cost: $2 to $6 (reusable tools and general supplies excluded)
- Main material: Plastic
- Suggested placement: Window
Crafting Colorful Stained-Glass Ornaments on a Budget
Making melted plastic crafts is a rewarding way to create vibrant home decor that mimics expensive glass pieces without the high cost or fragility. By arranging red, green, white, and clear pony beads inside metal cookie cutters, you can bake custom shapes like stars, round baubles, and little trees. The beads fuse together into a smooth, translucent sheet that shines brilliantly in natural sunlight.
This indoor decoration works best when hung in a sunny window using bright red ribbon. The finished ornaments are lightweight, durable for indoor holiday display, and hold up well year after year when stored carefully with your seasonal decor. Because an adult must handle the oven portion of the process, it is a fun supervised activity to share with older children.
Materials for DIY Melted Pony Bead Suncatcher Ornaments for Christmas
- Plastic Pony Beads (Red, Green, White, Clear)
- Metal Cookie Cutters (Star, Bauble, Tree)
- Parchment Paper
- Red Ribbon
- Drinking Straw Pieces or Toothpicks
- Craft-Only Baking Sheet
Need another material? Browse current craft supplies and deals.
How to Make Melted Pony Bead Christmas Suncatchers
Gather your dollar store pony beads, metal cookie cutters, parchment paper, and a dedicated craft baking sheet to get started. Follow these straightforward steps to arrange, bake, cool, and hang your custom holiday suncatchers safely.
Step 1: Prepare Your Workspace and Baking Sheet
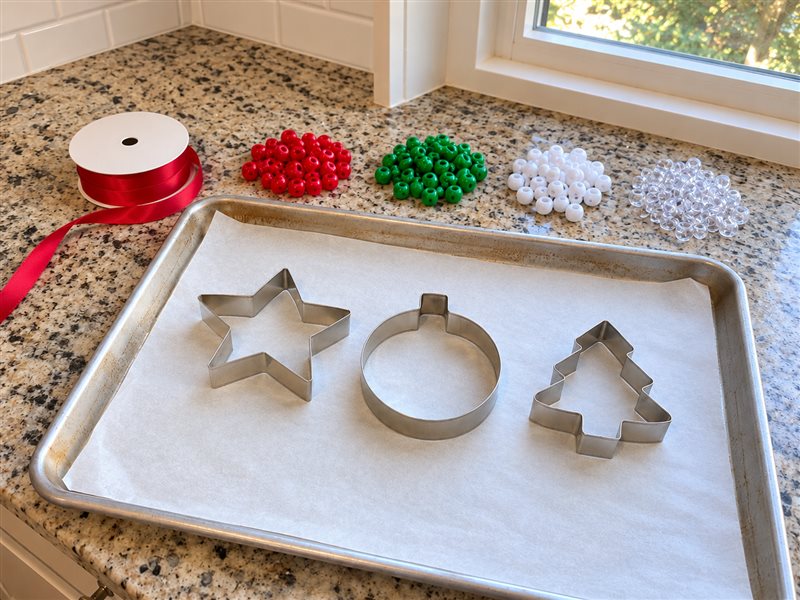
Set up your crafting area in a well-ventilated kitchen. Lay a sheet of parchment paper flat onto a metal baking tray dedicated exclusively to craft projects to ensure easy removal and protect your food-use baking sheets.
Step 2: Arrange and Fill the Cookie Cutters
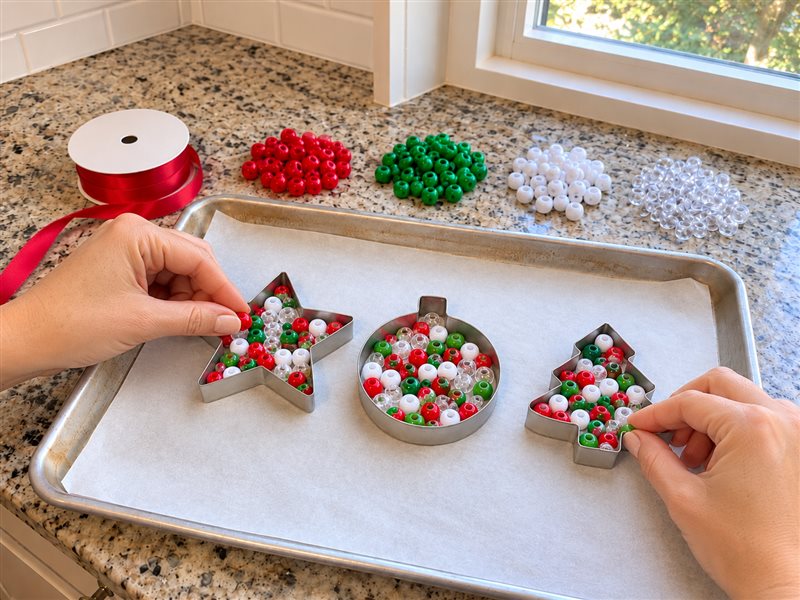
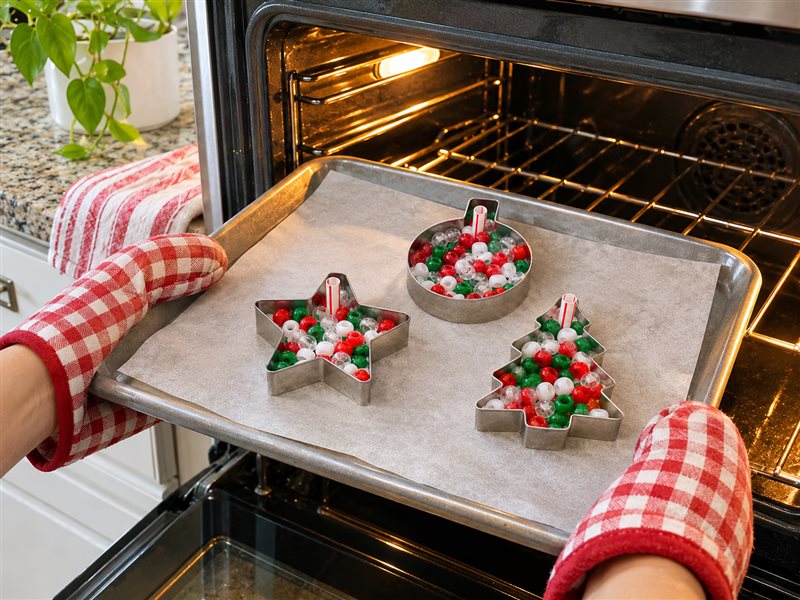
Place your metal cookie cutters—such as stars, circles, or trees—directly onto the parchment-lined baking sheet. Fill each cutter with a single, flat layer of mixed red, green, white, and clear pony beads, making sure they touch side-by-side without overlapping deeply.
Step 3: Insert Hole Markers for Hanging
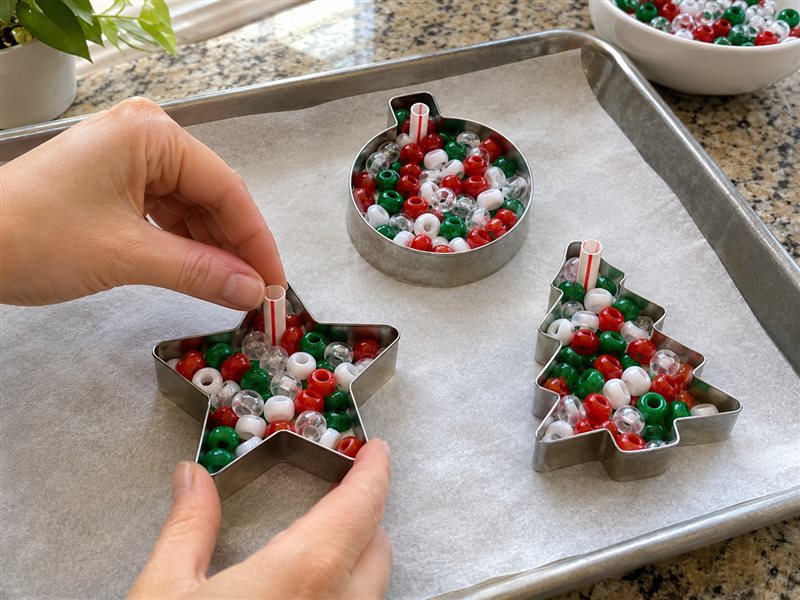
To ensure you can hang your ornaments later, place a small piece of a drinking straw or a wooden toothpick right at the top inside edge of each filled cookie cutter, pushing the beads slightly around it to hold it in place during baking.


Step 4: Bake and Melt the Beads
Have an adult carefully transfer the baking sheet into a preheated oven. Monitor the baking process until the plastic pony beads completely melt, fuse together, and take on a glossy, stained-glass appearance.
Step 5: Cool Completely and Pop Out
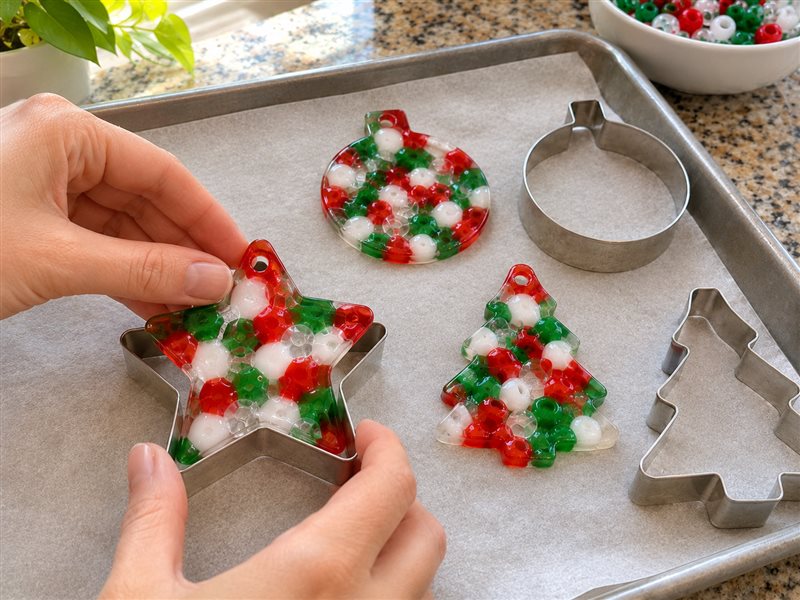
Leave the baking tray undisturbed until the melted plastic ornaments have cooled completely to room temperature. Once cool, gently pop the glossy stained-glass shapes out of the metal cookie cutters and remove the straw pieces to reveal the hanging holes.
Step 6: Thread Ribbon and Hang
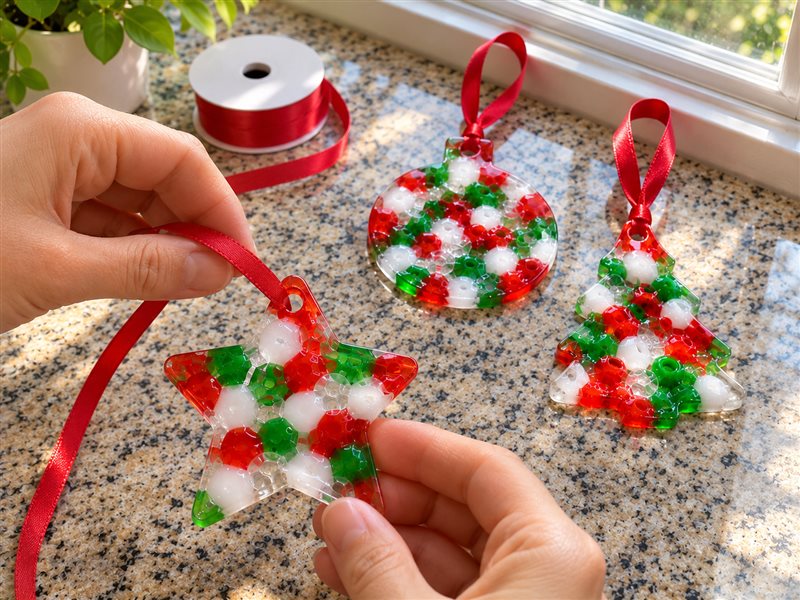
Cut lengths of vibrant red ribbon and thread them through the holes left by the straw pieces at the top of each ornament, tying secure loops. Hang your finished Christmas suncatchers in a sunny window to catch and reflect the light.
Brighten Your Holiday Windows With Homemade Suncatchers
These handmade pony bead suncatchers bring a cheerful, colorful touch to any room throughout the winter months. They make wonderful gifts for family and friends or a delightful addition to your own holiday window display.
Related project collection: Rustic Metal Cookie Cutter Christmas Ornaments with Natural Scents
Practical Questions About This Project
What supplies do I need for this suncatcher craft?
You will need plastic pony beads in red, green, white, and clear, metal cookie cutters in shapes like stars or trees, parchment paper, red ribbon, small pieces of a drinking straw or toothpicks for holes, and a baking sheet dedicated exclusively to craft projects.
Can children make these ornaments?
Kids can help arrange the pony beads inside the cookie cutters and thread the ribbon, but an adult must handle the baking sheet and supervise the oven melting process due to hot plastic and ventilation needs.
How do you keep a hole in the ornament for hanging?
Place a small piece of a drinking straw or a wooden toothpick right at the top inside edge of each filled cookie cutter before baking, pushing the beads slightly around it to hold it in place.
How long does the project take and how much does it cost?
Active crafting takes about 20 to 45 minutes, excluding the time needed for the beads to bake and cool completely. The project components cost between $2 and $6 using affordable craft supplies.
Are these ornaments suitable for outdoor use?
These suncatchers are designed for indoor use, such as hanging in a sunny window or on a Christmas tree, where they can catch the light without exposure to harsh outdoor weather.
Explore plastic craft supplies at Dollar Tree.

Leave a Reply