
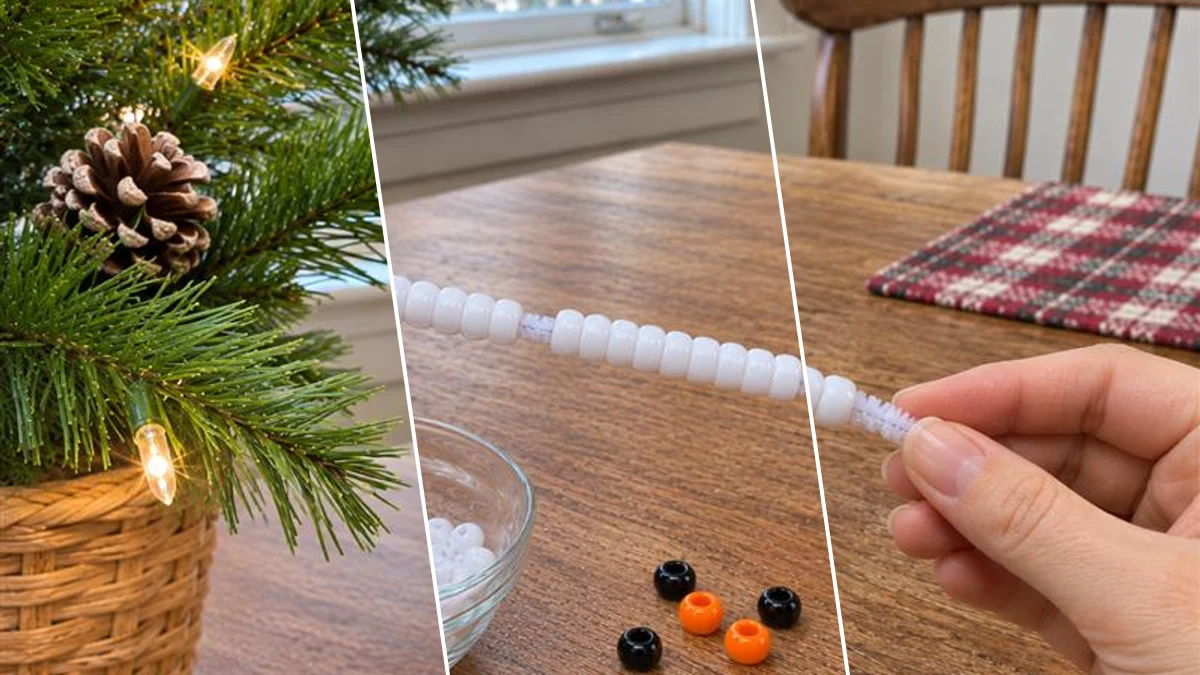
Add a touch of handmade charm to your holiday decor with these easy pony bead snowman ornaments. This craft guides you through assembling cheerful snowmen using white pony beads and pipe cleaners. Each finished ornament features a tiny felt scarf, a hat, and a convenient hanger. They are ideal for decorating a Christmas tree or as small, thoughtful gifts.
Project at a Glance
- Difficulty: Easy
- Estimated active time: 15 minutes to 25 minutes (drying and curing waits not included)
- Estimated component cost: a budget-friendly amount (reusable tools and general supplies excluded)
- Main material: Plastic
Why Craft Pony Bead Snowman Ornaments for Christmas?
These pony bead snowman ornaments offer a straightforward and enjoyable way to create festive decorations. Using readily available materials like white pony beads, colorful felt, and pipe cleaners, the assembly process is accessible for crafters of various skill levels. This project is ideal for those seeking a quick and rewarding holiday craft experience.
The finished snowmen are designed with a classic three-tiered body, complete with tiny felt scarves and hats for whimsical detail. Each ornament includes a pipe cleaner loop, making it simple to hang on a Christmas tree or garland. These charming figures also make delightful additions to holiday gift wrapping or as small, handmade tokens for friends and family during the winter season.
Materials for Easy DIY Pony Bead Snowman Christmas Ornaments
- Pony Beads (White, Black, Orange)
- White Pipe Cleaners (Chenille Stems)
- Felt Sheets (Red, Black)
- Craft Glue or Glue Dots
- Scissors
Need another material? Browse current craft supplies and deals.
Crafting Your Pony Bead Snowman Ornaments
Follow these steps to assemble your pony bead snowman ornaments. The process involves threading beads onto pipe cleaners, shaping the body, and adding small felt details. Gather your materials and prepare to create charming holiday decorations.
Step 1: Thread First Body Tier
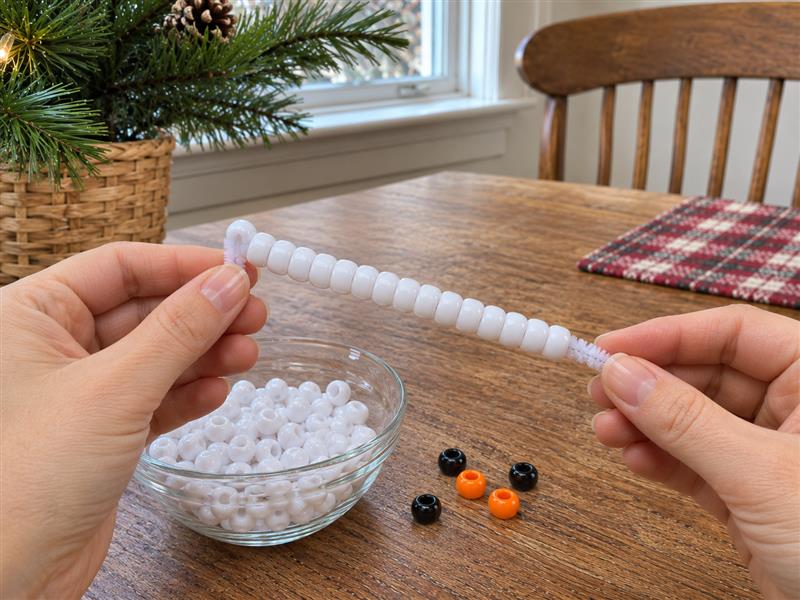
Begin by taking one white pipe cleaner. Count out approximately 14-16 white pony beads for the large bottom tier of your snowman. Thread these beads onto one end of the pipe cleaner, leaving a small section of pipe cleaner exposed at the end to secure the beads later. Bend the very tip of the pipe cleaner slightly to prevent the beads from sliding off while you work.
Step 2: Add Middle and Head Tiers
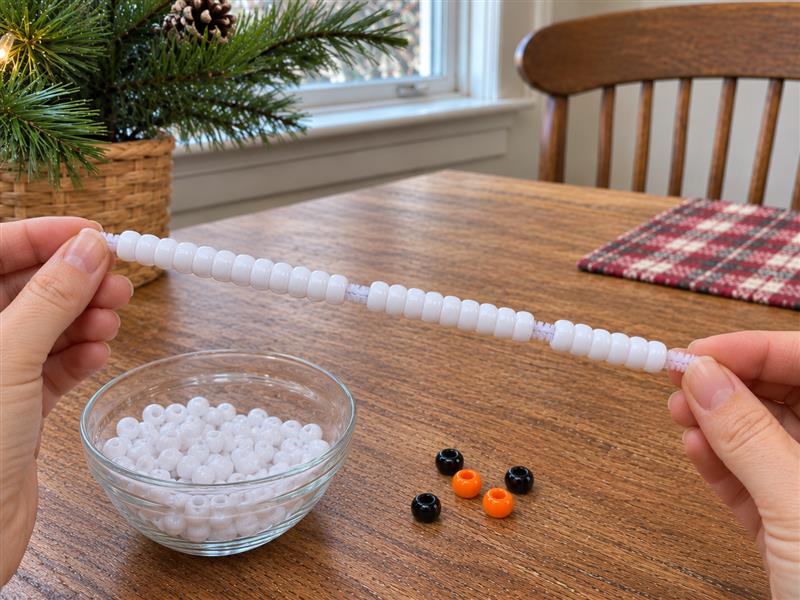
Next, count out fewer white pony beads, about 10-12, for the middle tier. Thread these directly after the first tier of beads on the same pipe cleaner. Then, select the smallest number of beads, approximately 8-10, for the snowman's head. Thread these onto the pipe cleaner, completing the three distinct sections of beads.
Step 3: Shape and Secure Snowman Body
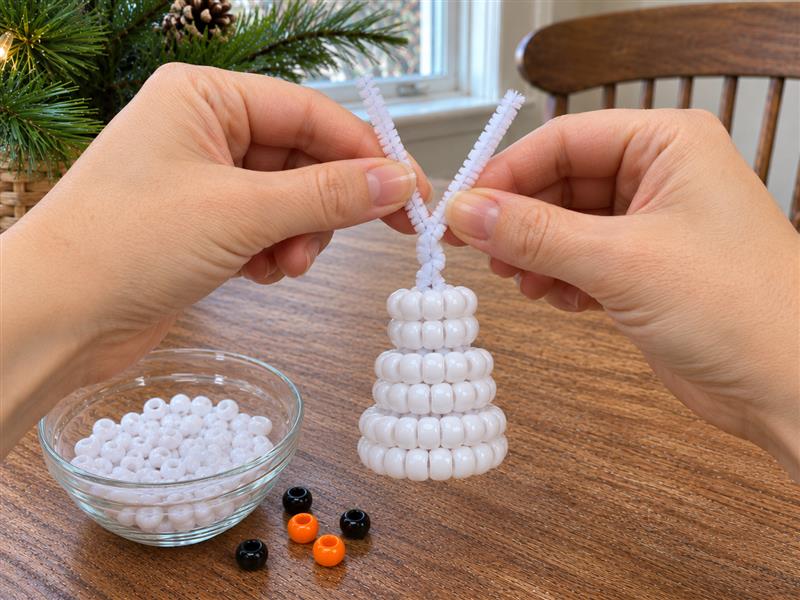
Carefully bend the pipe cleaner to form the stacked snowman shape, ensuring each tier sits neatly above the one below it. Once the desired shape is achieved, take the two exposed ends of the pipe cleaner (one from the top of the head and one from the bottom tier) and twist them together tightly to secure the beads and maintain the snowman's form. Trim any excess pipe cleaner if necessary, making sure the ends are tucked in to prevent sharp edges.


Step 4: Add Face and Buttons
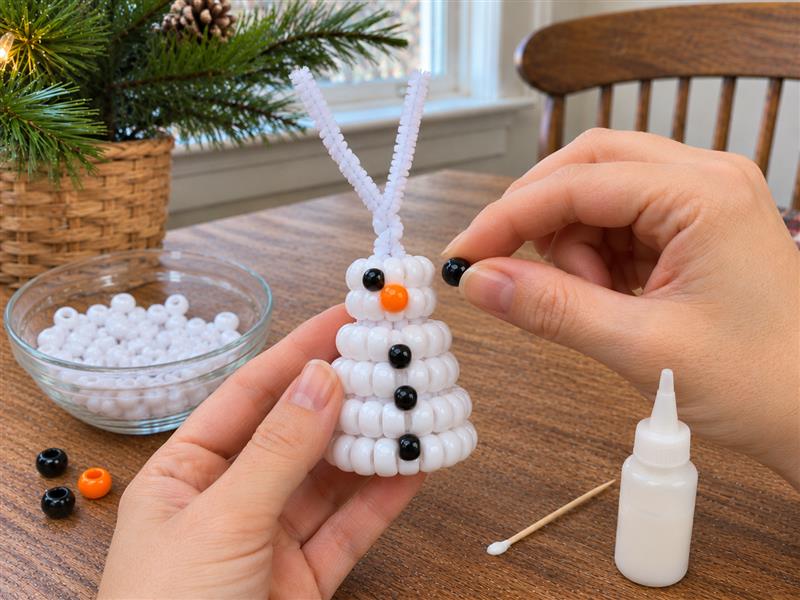
Now, it's time to give your snowman some character! Use craft glue or glue dots to attach two black pony beads for the eyes onto the head tier. Position them evenly. For the nose, glue one orange pony bead just below the eyes. Finally, glue two or three black pony beads down the middle of the bottom and middle tiers to represent buttons.
Step 5: Attach Scarf and Hat
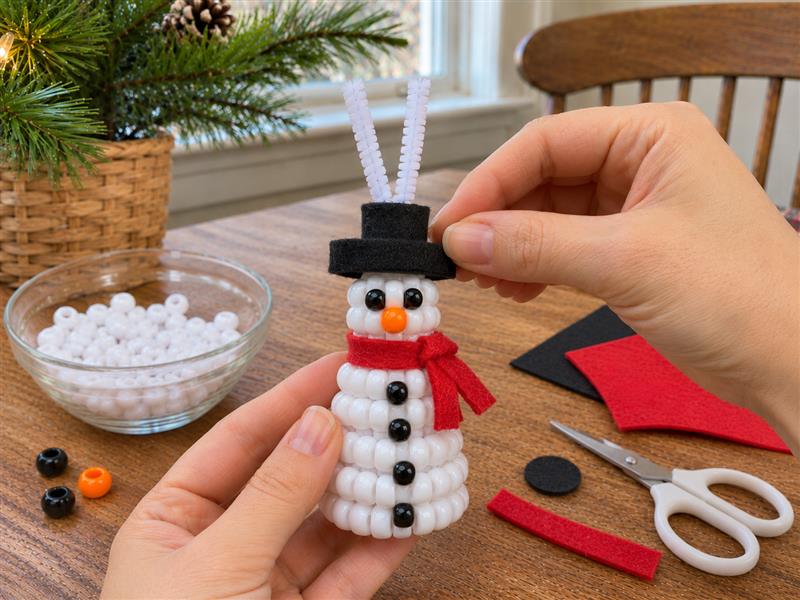
Using scissors, cut a small, thin strip of red felt, approximately 3 inches long, for the scarf. Wrap this strip around the snowman's 'neck' (between the head and middle tiers) and secure it with a tiny dab of craft glue or a glue dot. Next, cut a small circle for the hat brim and a rectangle for the hat crown from either black or red felt, shaping it into a miniature top hat. Glue the hat onto the very top of the snowman's head.
Step 6: Create Hanger Loop
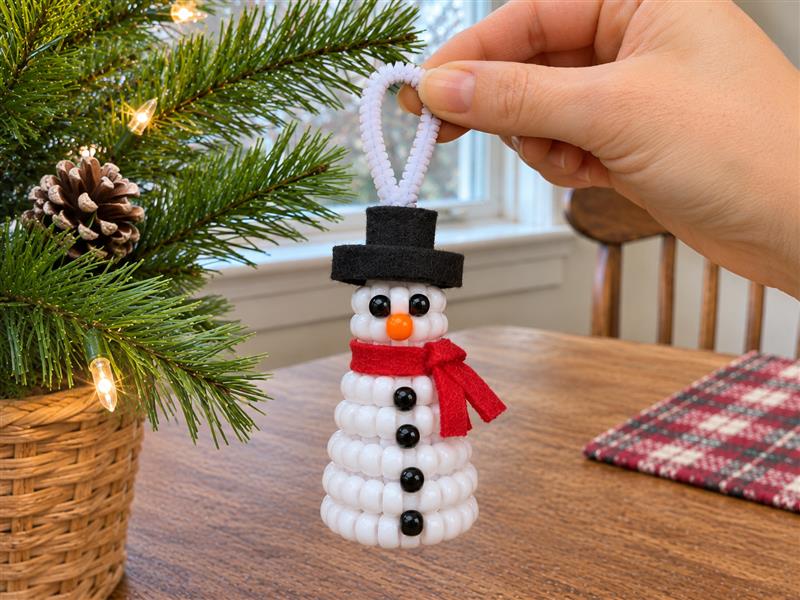
Finally, to make your snowman ready for the tree, take a separate piece of white pipe cleaner, about 3-4 inches long. Bend it into a loop and twist the ends together securely. Thread or glue the twisted end of this loop onto the very top of the snowman's head, behind the hat, ensuring it's firmly attached. Allow all glue to dry completely before hanging.
Displaying Your Pony Bead Snowman Ornaments
With these simple steps, your collection of pony bead snowman ornaments is complete. These cheerful figures bring a handmade touch to your Christmas tree or holiday displays. Enjoy the festive spirit they add to your seasonal decor.
Related project collection: DIY Christmas Ornament Cone Tree Centerpiece with Mini Ornaments
Practical Questions About This Project
Is this a good craft for children or beginners?
Yes, this project is classified as easy and is suitable for beginner crafters and families, including kids with adult supervision. The steps involve threading beads and simple gluing.
How long does it take to make one pony bead snowman ornament?
The estimated active crafting time for one snowman ornament is between 15 and 25 minutes. This estimate excludes any unattended drying or curing time for the glue.
Can the snowman's accessories be customized?
Yes, the scarf and hat can be cut from either black or red felt, as specified in the materials. You can also vary the number of black pony beads used for buttons.
How do these ornaments hang on a Christmas tree?
Each snowman ornament includes a hanger loop made from a separate piece of white pipe cleaner. This loop is twisted and attached to the top of the snowman's head, behind the hat, allowing it to be easily placed on a Christmas tree branch.
Explore plastic craft supplies at Dollar Tree.

Leave a Reply