
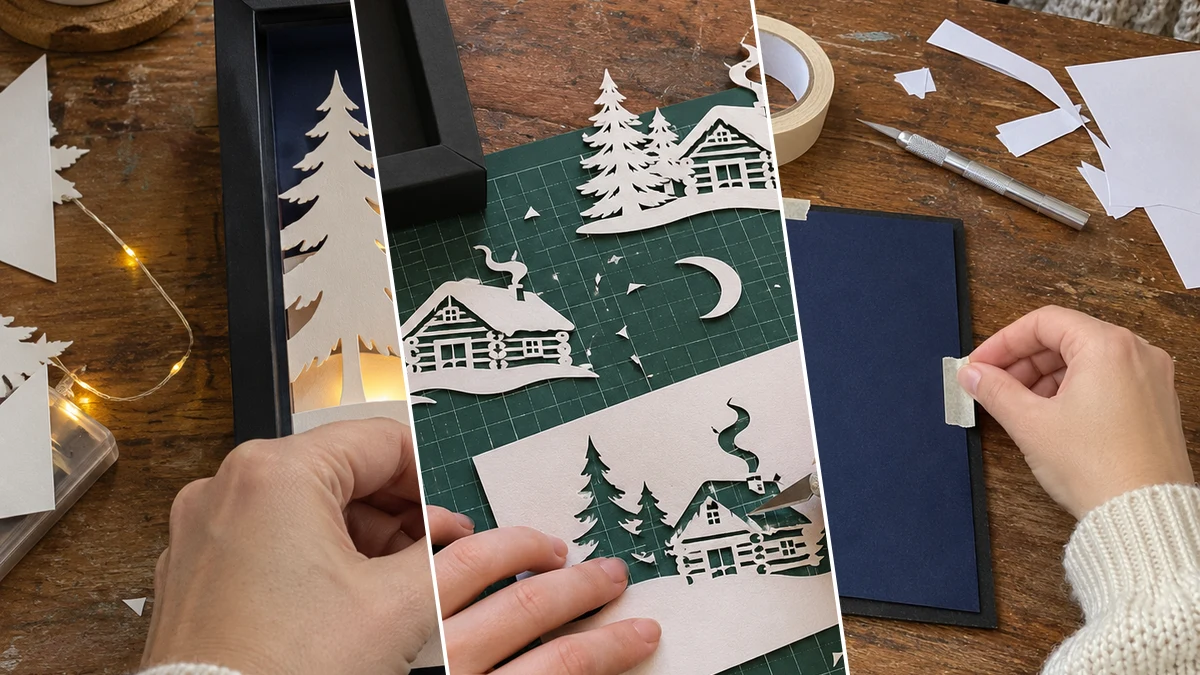
Craft a serene winter scene with this DIY layered paper-cut light box. White cardstock shapes of a cozy cabin, snow-covered trees, and rolling hills are arranged in a black shadow box. Hidden warm fairy lights illuminate the scene from within, creating a magical glow. This project offers a whimsical piece of seasonal wall art for your home.
Project at a Glance
- Difficulty: Easy
- Estimated active time: 50 minutes to 80 minutes (drying and curing waits not included)
- Estimated component cost: $10 to $20 (reusable tools and general supplies excluded)
- Main material: Paper
- Suggested placement: Wall, Shelf
Creating Depth with Layered Paper and Light
Layered paper light boxes create a captivating illusion of depth and dimension using simple materials. By arranging multiple cut-out paper layers with space between them, a three-dimensional scene emerges, enhanced by strategic backlighting. This technique allows for intricate designs to come alive with soft, diffused light.
For this winter cabin scene, white cardstock cut-outs of a snowy landscape are set against a dark blue background within a shadow box frame. Small foam adhesive squares separate each paper layer, building visual depth. Warm white fairy lights are carefully tucked behind these layers, providing a gentle glow that highlights the details of the cabin, trees, and snow hills.
The resulting wall art offers a cozy and whimsical touch to seasonal decor. It is designed to be displayed on a wall or shelf, adding a comforting ambiance to any room during the colder months or as part of a Christmas display.
Materials for DIY Paper-Cut Winter Cabin Shadow Box with Fairy Lights for Christmas Decor
- Black Shadow Box Frame
- White Cardstock
- Dark Blue Cardstock
- Battery-Operated Fairy Lights (Warm White)
- Craft Knife & Cutting Mat
- Craft Adhesive (Foam squares, tape, glue stick)
Need another material? Browse current craft supplies and deals.
Assembling Your Paper-Cut Winter Cabin Light Box
This guide details the process for creating a layered paper winter cabin light box. The steps focus on precise cutting, careful layering, and strategic placement of fairy lights. Follow these instructions to build a charming illuminated scene within a shadow box frame. The estimated active time for this project is 50 to 80 minutes, excluding any unattended drying or curing.
Step 1: Design and Cut Paper Layers
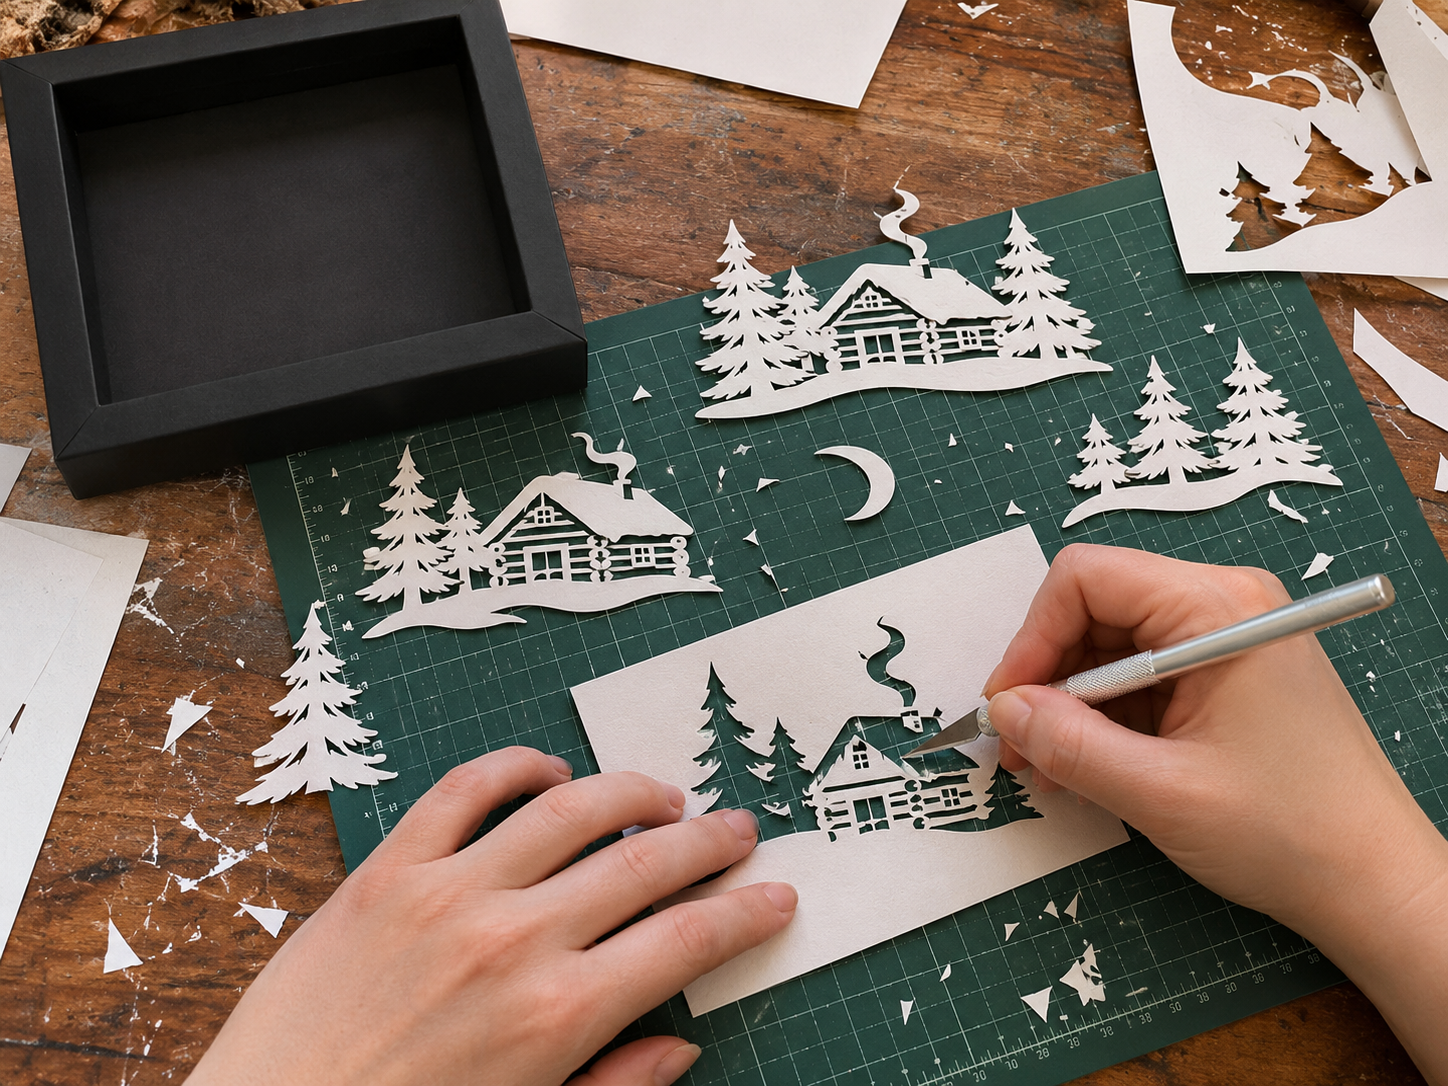
Decide on your winter scene, sketching individual elements like the cabin, various pine trees (different sizes), rolling snow hills, and a crescent moon onto separate pieces of white cardstock. Alternatively, use pre-made templates for efficiency. Place your cardstock on a cutting mat and use a craft knife to meticulously cut out each element. Pay close attention to small details like cabin windows and tree branches to ensure clean, sharp edges. You'll need at least 4-5 distinct layers to create sufficient depth.
Step 2: Prepare the Shadow Box Background
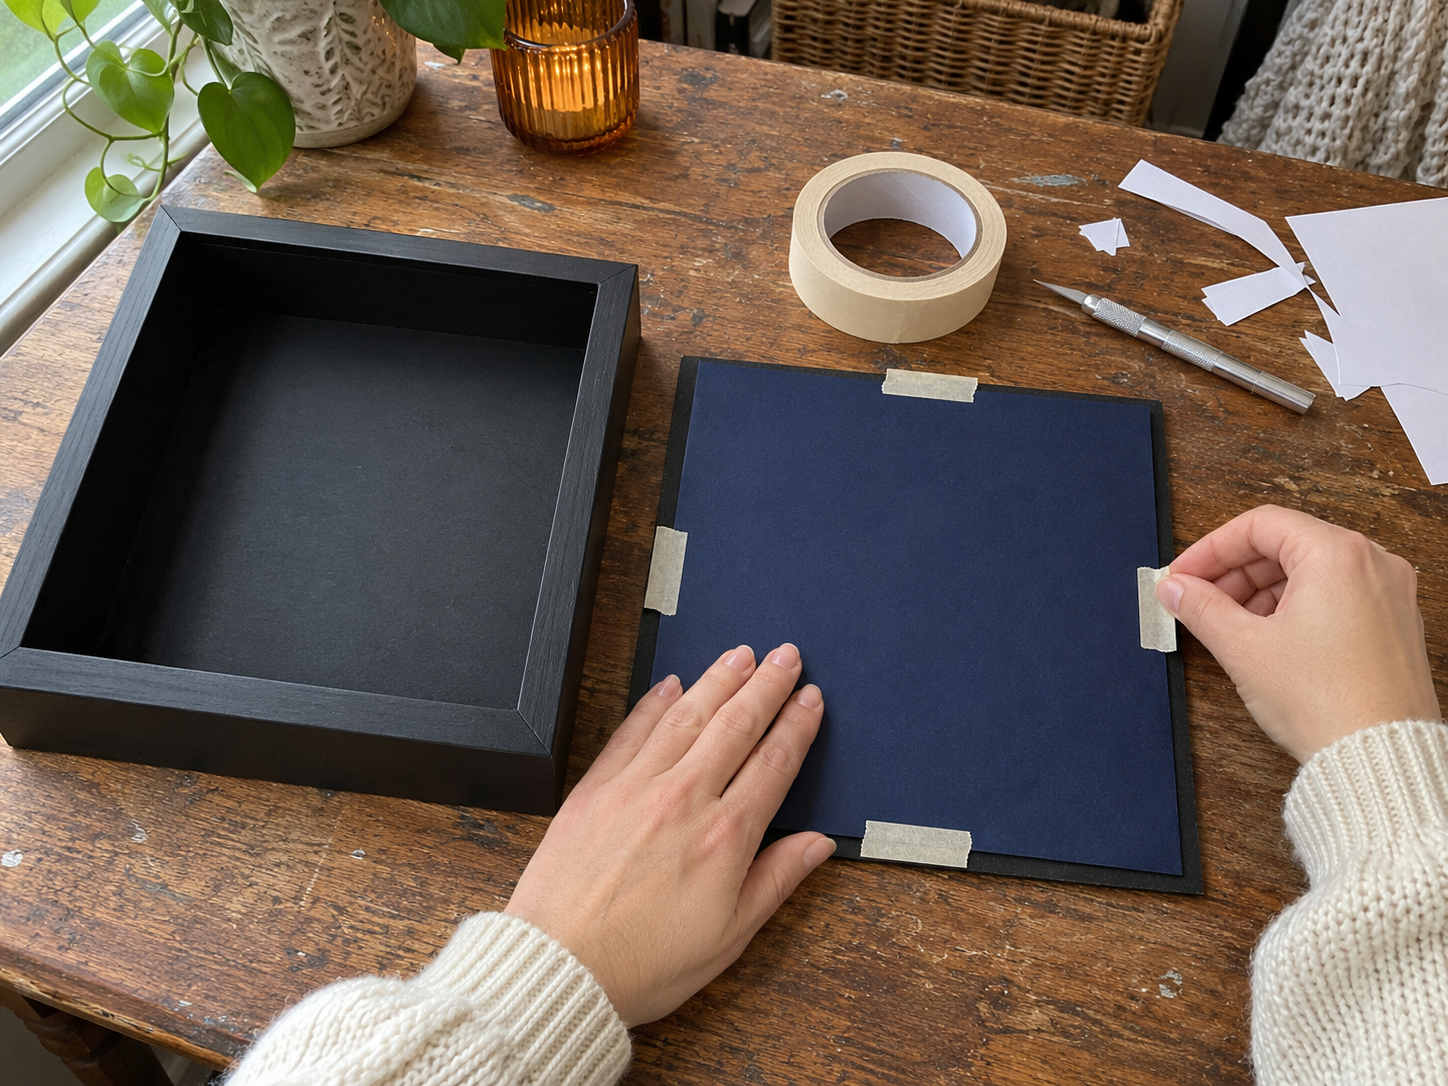
Measure the inside dimensions of your shadow box frame carefully. Cut a piece of dark blue cardstock to this exact size; this will serve as your midnight sky background. Securely tape or glue this navy cardstock to the very back panel of the shadow box, ensuring it lies perfectly flat and smooth. This forms the deepest, foundational layer of your winter scene.
Step 3: Layer the Back Scene Elements
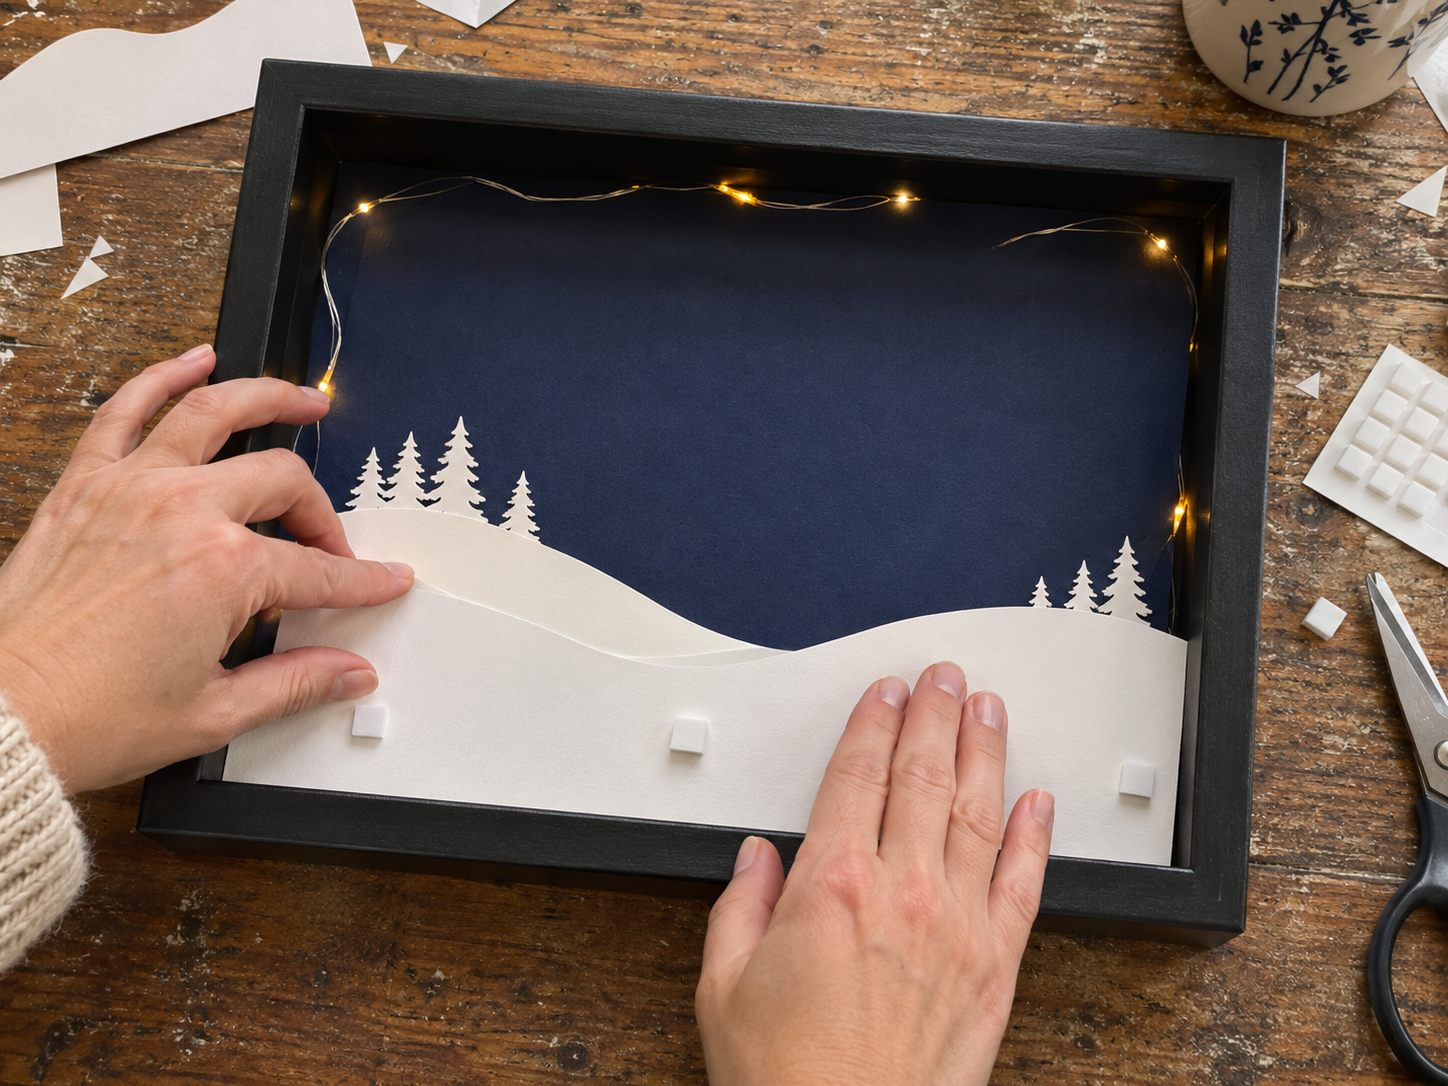
Begin assembling your scene by placing your largest, furthest background elements, such as distant snow hills and smaller pine trees, onto the navy background. Use foam adhesive squares (cut into smaller pieces if necessary) on the back of each paper cut-out to give them elevation. Before adhering them permanently, arrange a portion of your battery-operated fairy light string behind these elements, allowing some lights to peek through or glow from behind. Secure the lights discreetly with small pieces of tape where needed, then firmly press the paper layers into place.


Step 4: Build Middle Layers and Moon
Continue building your scene by adding the next layers of white cardstock elements, such as larger pine trees, more prominent snow hills, and the crescent moon. Again, use foam squares to create additional depth between each layer. As you add each new paper layer, carefully weave and position the fairy lights to enhance the scene, ensuring the battery pack remains accessible for the end. The goal is to distribute the lights evenly so they illuminate the entire scene from behind the paper, creating a soft, warm glow.
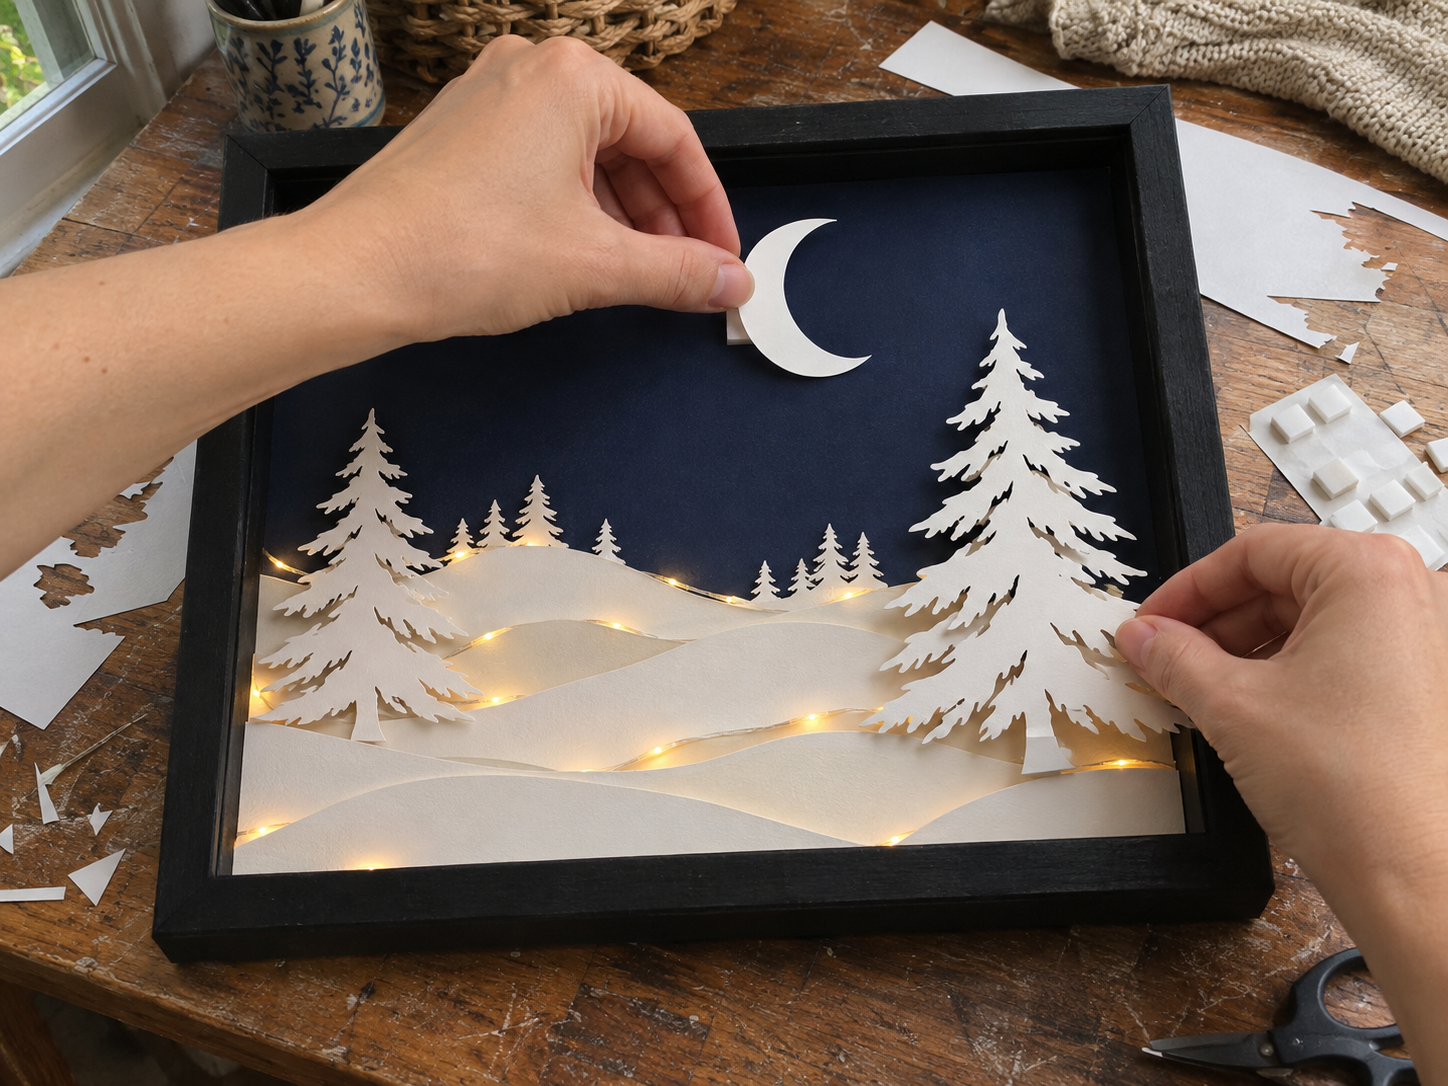
Step 5: Add the Cabin and Final Layers
Position your cabin cut-out, making sure its windows are aligned to allow light to shine through from behind. Attach it with foam squares, ensuring it sits prominently in the scene. Add any final foreground elements like large, close-up trees or additional snowdrifts, maintaining the layered effect with foam squares. Once all paper elements are in place and the lights are arranged to your satisfaction, gently close the shadow box frame. Ensure the fairy light battery pack is accessible, typically by tucking it into a discreet corner or a compartment at the back of the frame, if available.
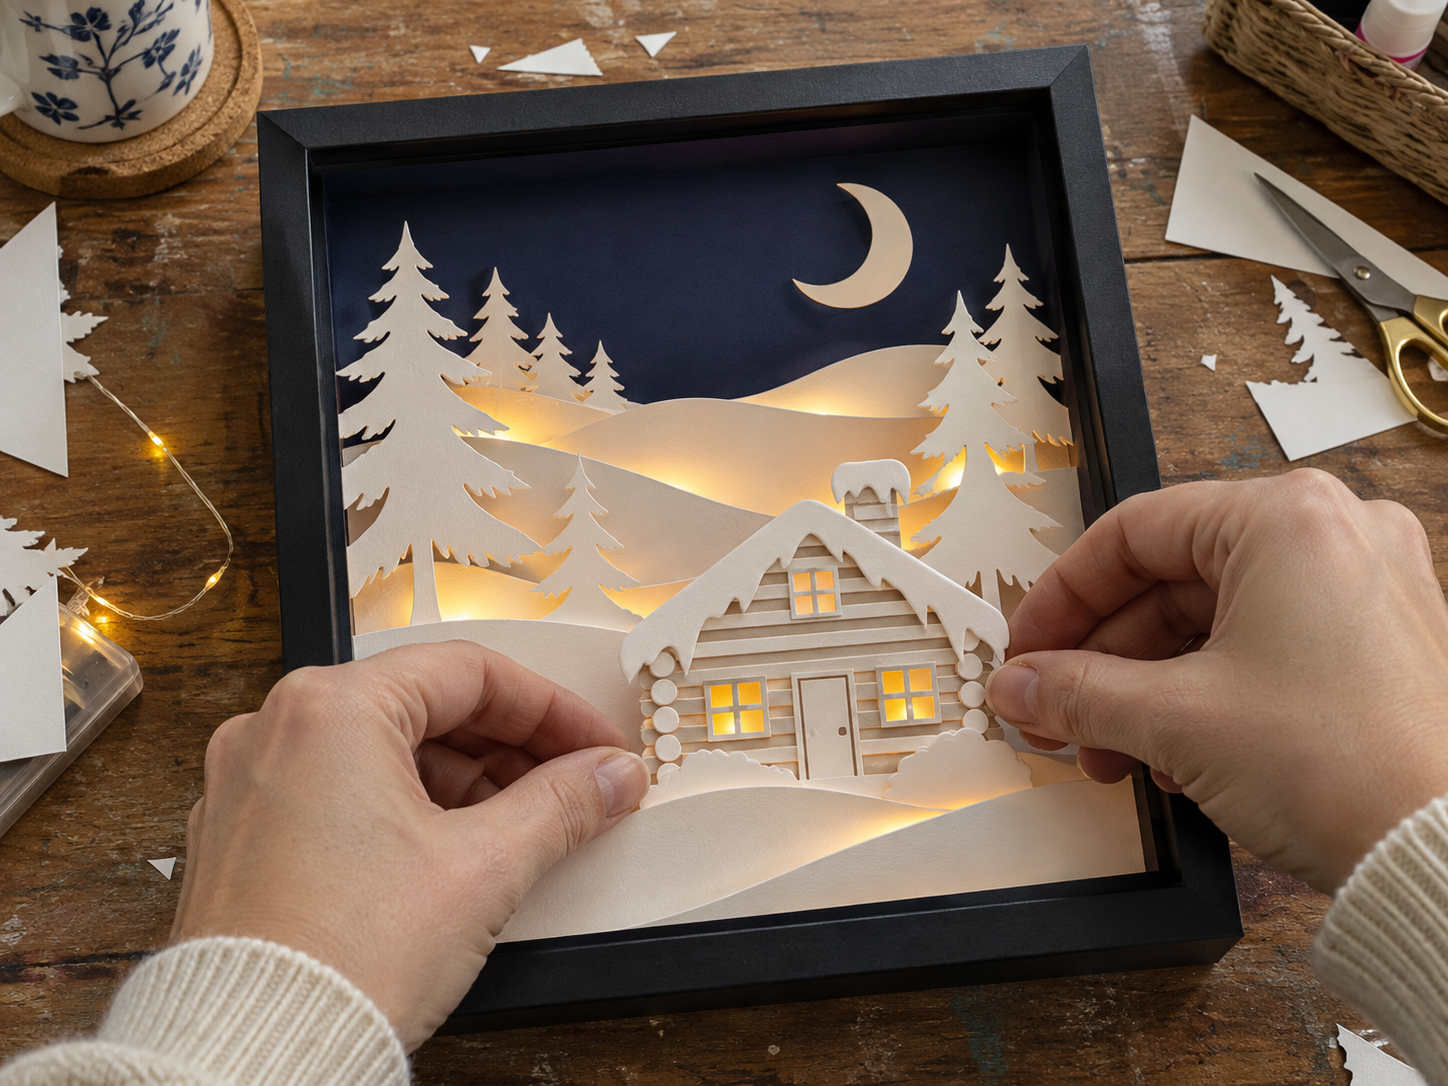
Showcasing Your Illuminated Winter Scene
The completed paper-cut winter cabin light box provides a serene and glowing display. Its layered design and warm illumination offer a unique piece of seasonal decor. Place it on a shelf or hang it on a wall to add a cozy, whimsical touch to your home during the winter season.
Related project collection: DIY Mini Jenga Block Christmas Trees for a Snowy Mantel Display
Practical Questions About This Project
How do the layers stay separated?
Foam adhesive squares are used between each paper layer to create depth and dimension within the shadow box.
How are the fairy lights positioned?
Fairy lights are carefully tucked and arranged behind the paper layers, secured discreetly with small pieces of tape where needed, to illuminate the scene from within. The battery pack remains accessible.
Can different scene elements be used?
Yes, the design can be customized. While this project features a winter cabin, trees, snow hills, and a moon, crafters can sketch or use templates for other seasonal or themed elements.
What size shadow box is suitable?
A deep black shadow box frame, such as an 8×10 or 9×12 style, is suitable for housing the layered paper scene and fairy lights.
Explore paper craft supplies at Dollar Tree.

Leave a Reply