
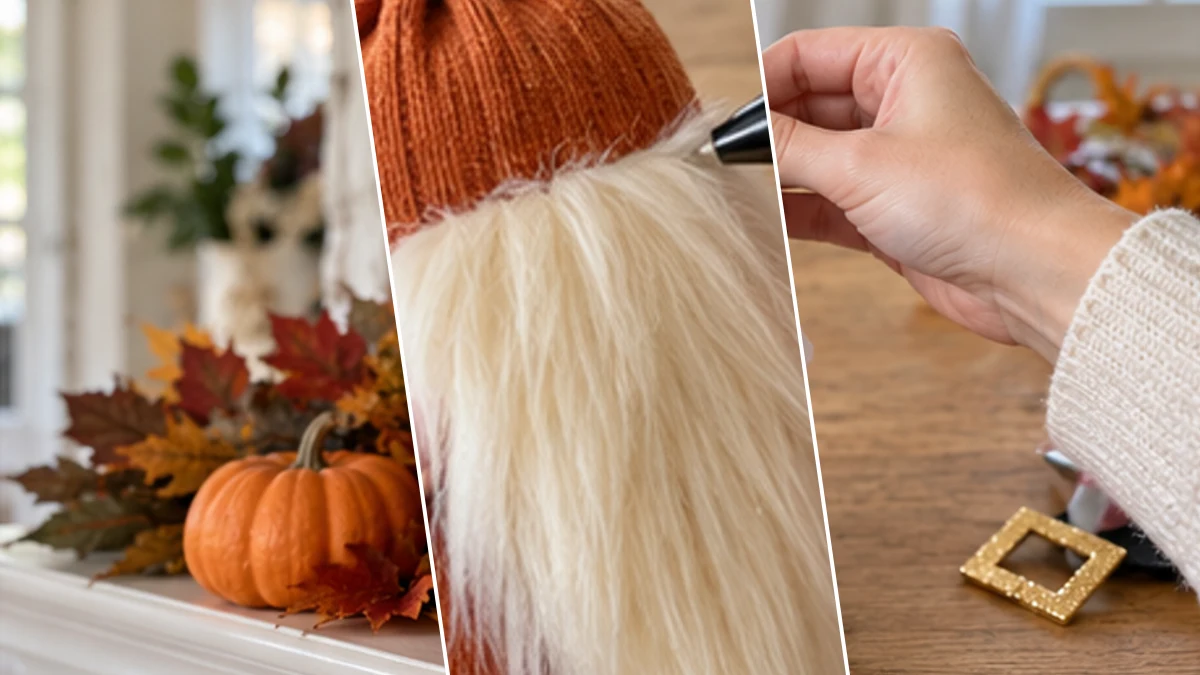
Create a festive Thanksgiving Pilgrim Gnome to add a touch of charm to your fall home decor. This craft features a rust-orange body, a soft cream faux-fur beard, and a classic black pilgrim hat. It makes an ideal centerpiece for a mantel or a welcoming accent on a shelf, celebrating the autumn season.
Project at a Glance
- Difficulty: Easy
- Estimated active time: 15 minutes to 25 minutes (drying and curing waits not included)
- Estimated component cost: $4 to $7 (reusable tools and general supplies excluded)
- Main material: Fabric
- Suggested placement: Mantel, Shelf
A Festive Pilgrim Gnome for Your Fall Decor
The Pilgrim Gnome is a charming addition to any Thanksgiving or fall display. Its rust-orange body, cream faux-fur beard, and iconic black pilgrim hat with a gold buckle evoke a sense of seasonal warmth and tradition. This gnome can be placed on a mantel alongside mini pumpkins and fall leaves, or used as a welcoming accent on a shelf or entryway table.
Materials for DIY Pilgrim Gnome Craft for Thanksgiving Mantel Decor
- Rust-orange knit fabric (e.g., tube sock)
- Rice (or poly-pellets)
- Cream faux fur fabric
- Wood craft bead (approx. 1 inch)
- Black craft felt
- White craft felt
- Gold glitter foam sheet (or cardstock)
- Hot glue gun & glue sticks
- Scissors
Need another material? Browse current craft supplies and deals.
Crafting Your Pilgrim Gnome: Step-by-Step Guide
This tutorial guides you through creating a charming Pilgrim Gnome for Thanksgiving. The process involves simple steps like preparing the gnome's body, attaching its features, and assembling its iconic hat. Follow these instructions to bring a festive touch to your seasonal decorations.
Step 1: Prepare the Gnome Body
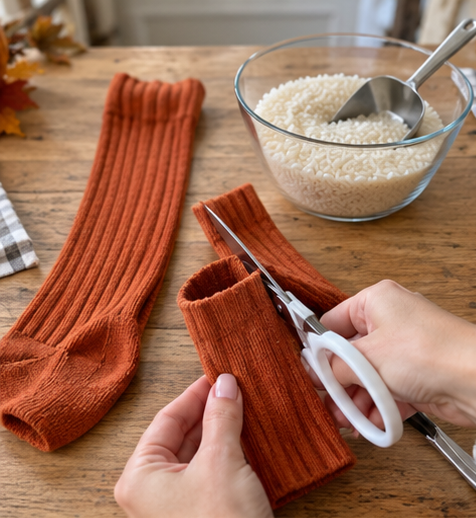
Begin by cutting the foot portion off your rust-orange tube sock, leaving a straight tube. Fill the sock with rice (or poly-pellets) to create a weighted, pumpkin-like base for your gnome. Aim for a plump, stable shape. Once filled, tie off the top securely with a rubber band or string, ensuring the filler is contained.
Step 2: Attach the Beard and Nose
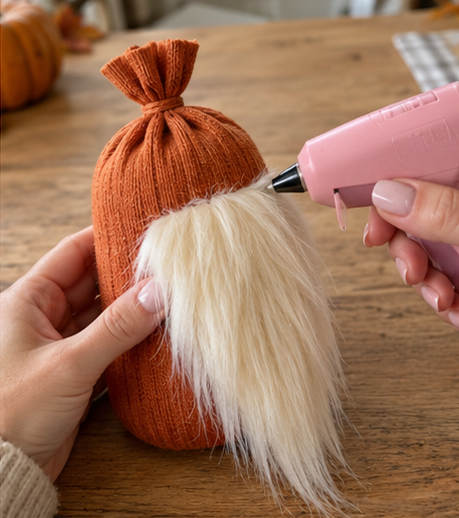
Cut a triangular or rectangular beard shape from the cream faux fur fabric. When cutting faux fur, always cut from the fabric backing with a craft knife or just the tips of your scissors, to avoid cutting through the fur fibers. Hot glue the top edge of the beard to the front of the gnome's body, just below the tied-off top. Then, hot glue the wooden bead (nose) directly above the beard, allowing it to slightly overlap the top edge of the fur.
Step 3: Craft the Pilgrim Hat
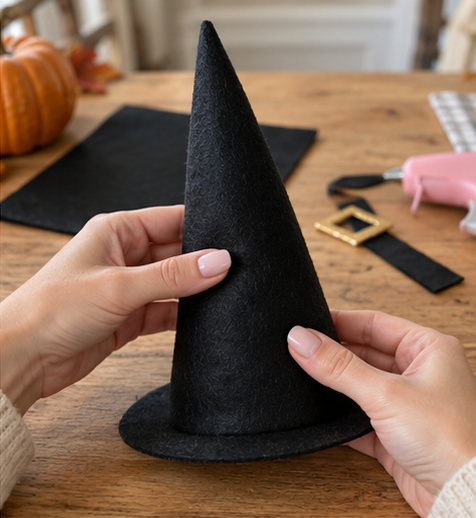
From the black craft felt, cut a large quarter-circle shape for the cone part of the hat and a circular or oval shape for the brim. Form the quarter-circle into a cone by overlapping the straight edges and securing them with hot glue. Then, cut a hole in the center of the brim shape, just large enough to fit over the base of the felt cone. Apply a line of hot glue around the bottom edge of the cone and firmly attach it to the brim.


Step 4: Add the Collar and Hat Buckle
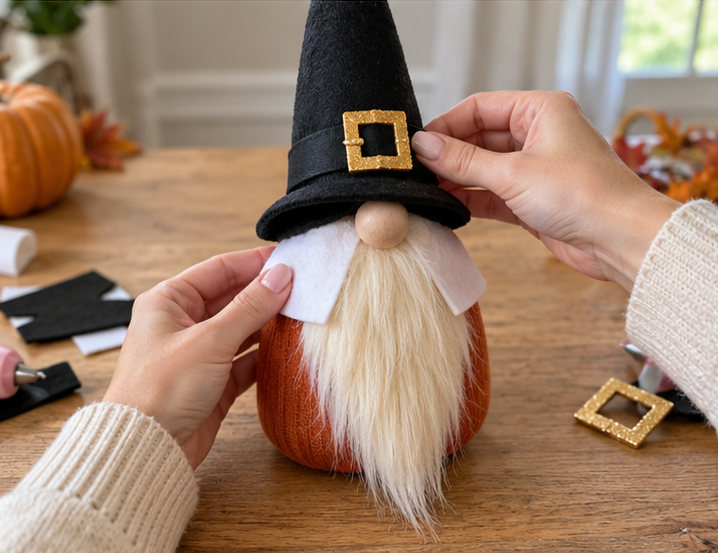
Cut a rectangular strip from the white craft felt, about 1-1.5 inches wide and long enough to wrap around the gnome's 'neck' area (just above the beard). Hot glue the ends together at the back of the gnome, creating a collar. Next, cut a small square from the gold glitter foam sheet for the hat buckle, then cut out its center to create a hollow frame. Hot glue this buckle onto the front of the black felt hat brim.
Step 5: Complete Gnome Assembly
Carefully place the decorated pilgrim hat onto the gnome's head, positioning it slightly forward so the brim covers the tied-off top of the sock and casts a shadow over the gnome's nose. Use a small amount of hot glue to secure the hat to the gnome's body, ensuring it is firmly attached but not overly glued, allowing for slight adjustments. Display your finished Thanksgiving Pilgrim Gnome prominently on a mantel, shelf, or as part of a festive table centerpiece.
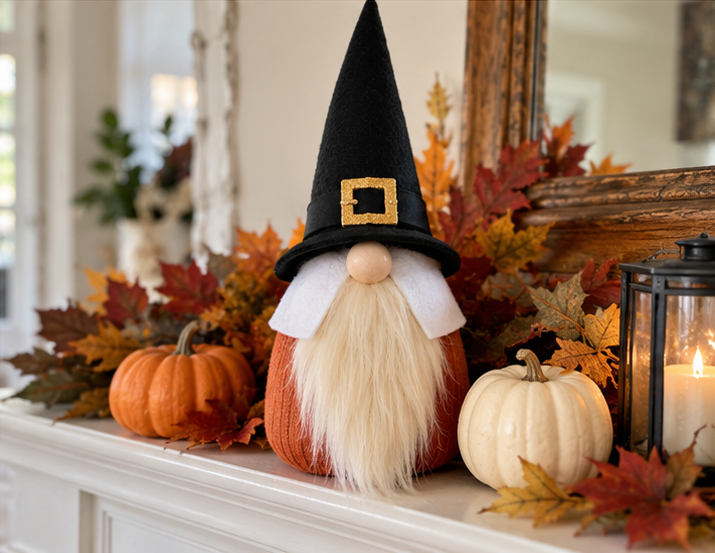
Your Completed Thanksgiving Pilgrim Gnome
Once assembled, your Thanksgiving Pilgrim Gnome is ready to enhance your fall decor. Position it in a prominent spot, such as a mantel, shelf, or as part of a festive table centerpiece. This charming gnome adds a handmade touch to your seasonal celebrations.
Related project collection: DIY Cinnamon Stick Candle Holders for Fall Tablescapes & Thanksgiving Decor
Practical Questions About This Project
What materials are needed for the Pilgrim Gnome?
The Pilgrim Gnome craft uses rust-orange knit fabric, rice or poly-pellets, cream faux fur, a wood craft bead, black and white craft felt, and a gold glitter foam sheet. Hot glue and scissors are also needed.
Where can the finished Pilgrim Gnome be displayed?
The finished Pilgrim Gnome is suitable for indoor display and makes an ideal decoration for a mantel, shelf, or as part of a festive table centerpiece.
What is the purpose of filling the sock with rice?
Filling the sock with rice or poly-pellets creates a weighted, plump, and stable base for the gnome's body, ensuring it stands upright.
How is the faux fur beard attached?
The faux fur beard is cut into a triangular or rectangular shape and then hot glued to the front of the gnome's body, just below the tied-off top.
What gives the gnome its Pilgrim look?
The gnome achieves its Pilgrim appearance through a classic black felt pilgrim hat with a gold buckle and a white felt collar, which are added after the body, beard, and nose are in place.
Explore fabric craft supplies at Dollar Tree.

Leave a Reply