
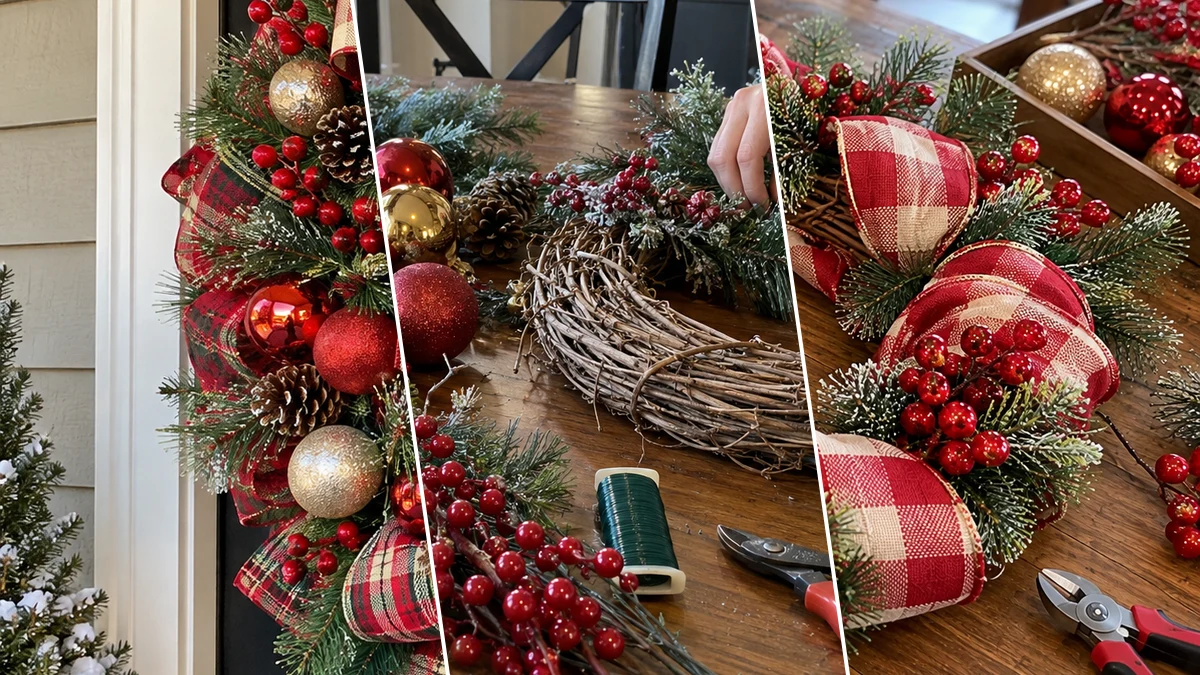
Create a welcoming and festive display for your front door with a DIY Plaid Ribbon Grapevine Christmas Wreath. This project combines lush faux pine, two styles of wired plaid ribbon, sparkling ornaments, and natural accents. The result is a traditional holiday look, perfect for greeting guests throughout the season.
Project at a Glance
- Difficulty: Easy
- Estimated active time: 40 minutes to 50 minutes (drying and curing waits not included)
- Estimated component cost: $26 to $68 (reusable tools and general supplies excluded)
- Main material: Grapevine Wreath
- Suggested placement: Front Door, Wall
About This Plaid Ribbon Christmas Wreath
This DIY Christmas wreath features a sturdy grapevine wreath form as its foundation, providing a natural and rustic base. It is adorned with faux pine greenery, creating a lush backdrop for the festive embellishments. The design incorporates two distinct styles of wired plaid ribbon, adding texture and a cozy, traditional holiday feel.
Sparkling red and gold shatterproof ornaments, faux red berry stems, and small pinecones are carefully placed to enhance the visual interest. The combination of these elements results in a full and inviting wreath. It is ideal for hanging on a front door to welcome visitors throughout the holiday season.
Materials for DIY Plaid Ribbon Grapevine Christmas Wreath for a Festive Front Door
- Grapevine Wreath Form (18-24 inch)
- Faux Christmas Greenery (Pine Picks or Garland)
- Wired Plaid Ribbon (Red/Green/Cream, 2.5 inch)
- Wired Buffalo Check Ribbon (Red/Cream, 2.5 inch)
- Assorted Shatterproof Ornaments (Red & Gold, various sizes)
- Faux Red Berry Stems
- Small Pinecones
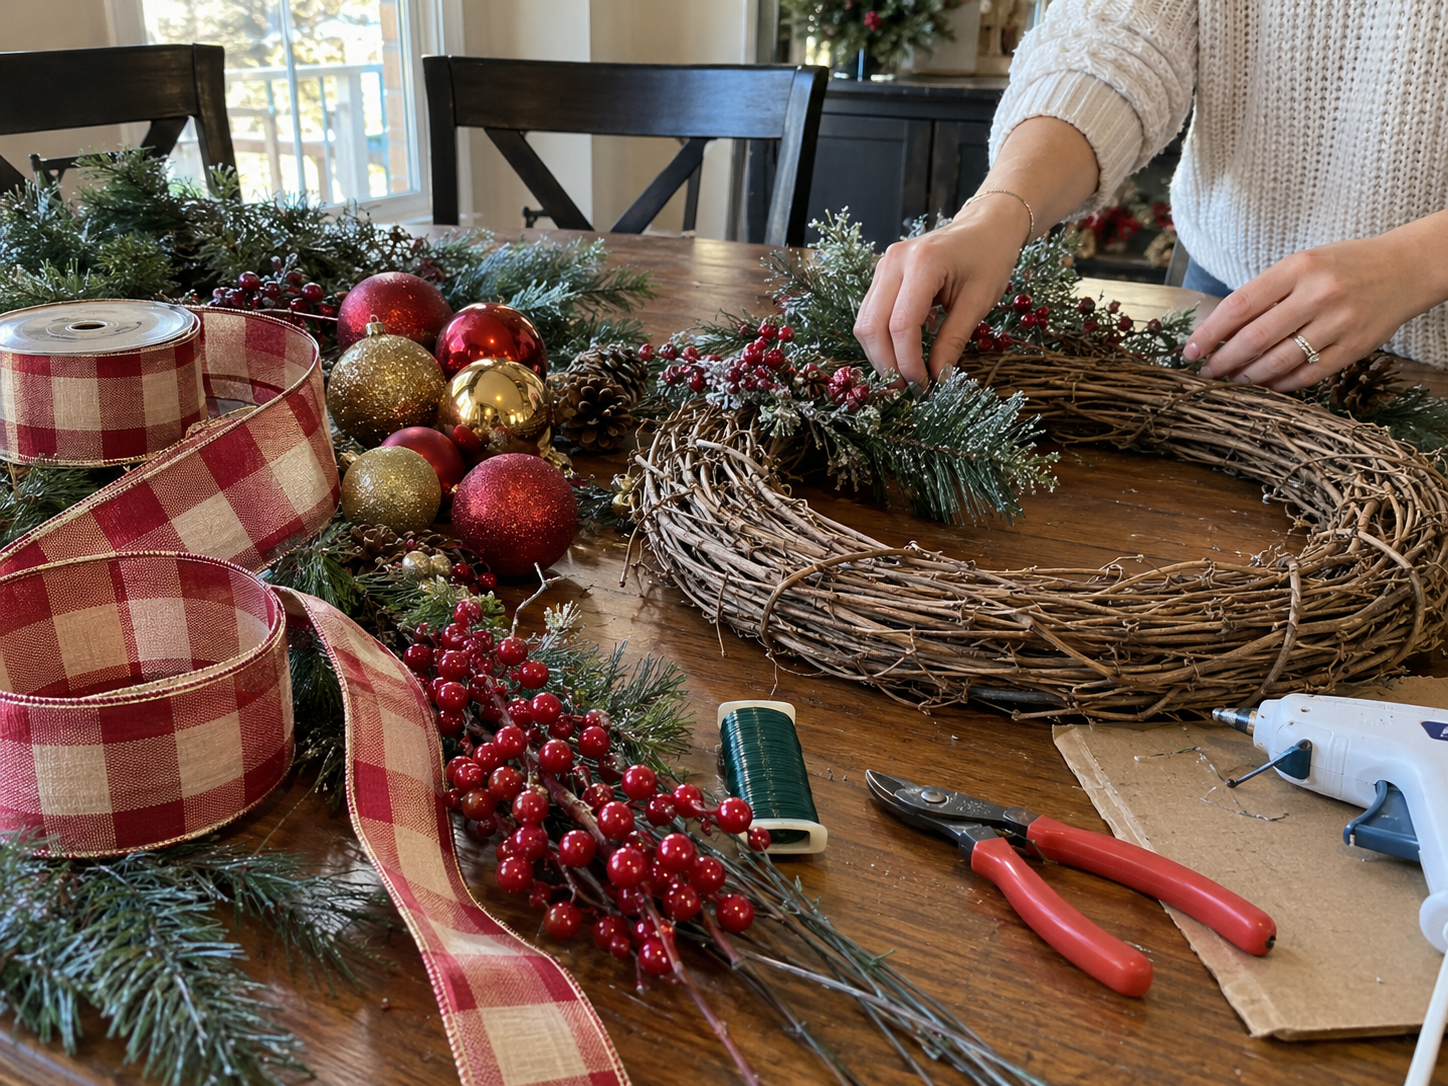
- Floral Wire & Wire Cutters
- Hot Glue Gun & Glue Sticks
Need another material? Browse current craft supplies and deals.
How to Make Your Plaid Ribbon Christmas Wreath
Assembling this festive Plaid Ribbon Grapevine Christmas Wreath involves layering elements onto a grapevine base. Each step guides the placement of greenery, ribbons, and decorative accents to build a cohesive design. Follow these instructions to create a welcoming holiday display.
Step 1: Attach Greenery Base
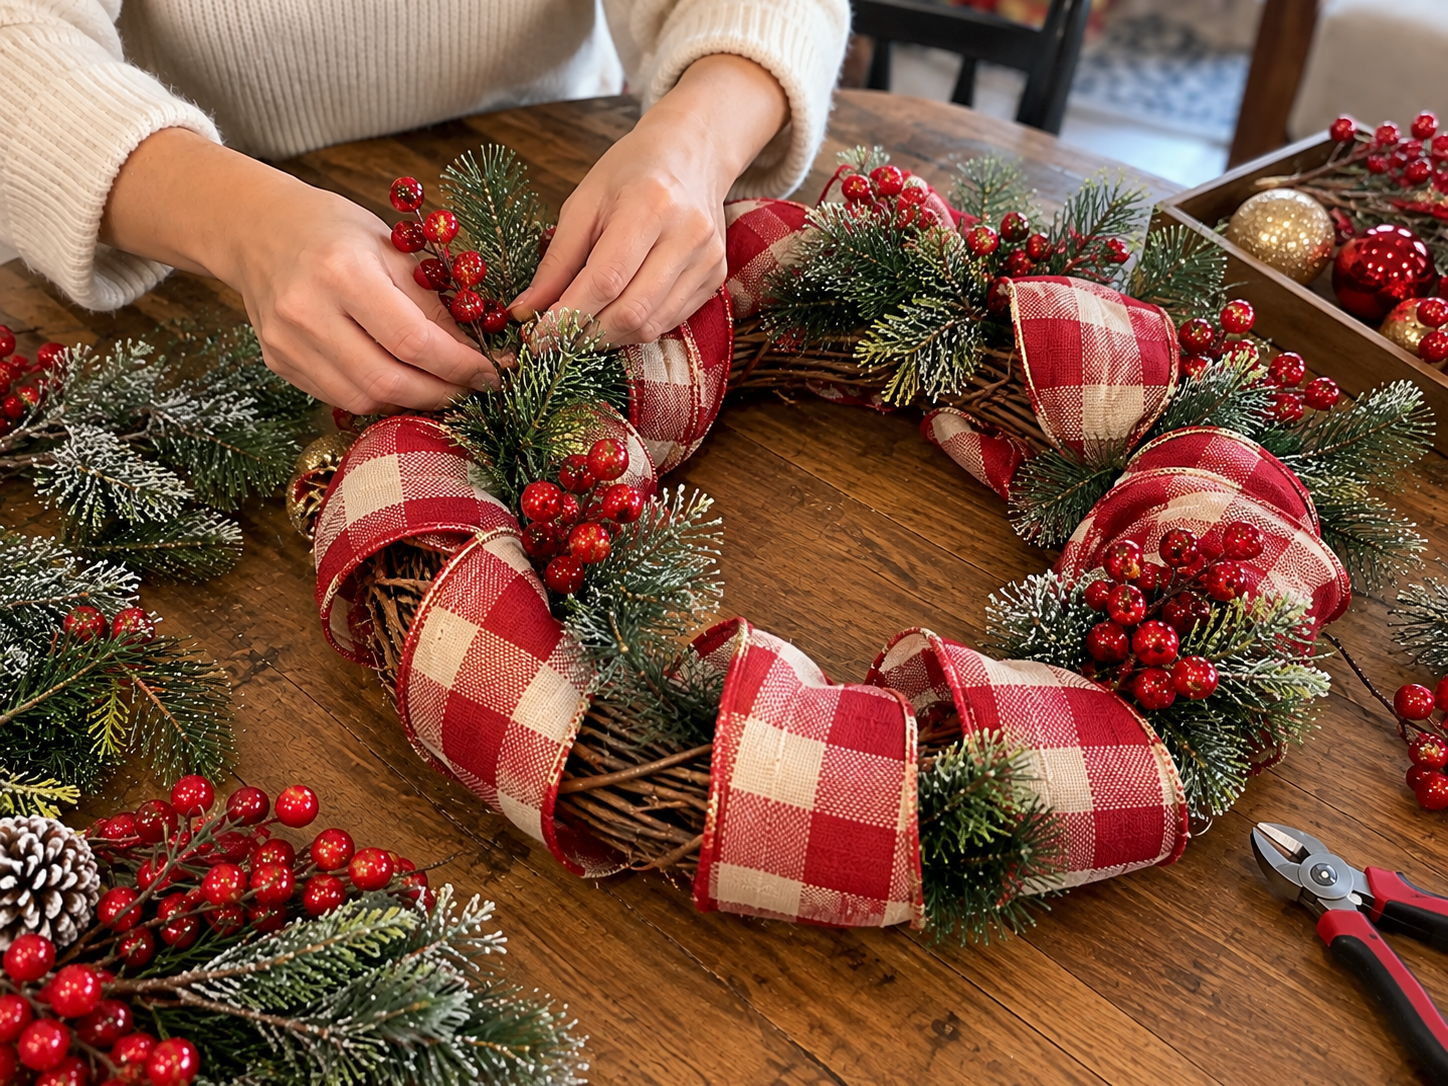
Begin by taking your faux pine picks or sections of garland and securing them to the grapevine wreath form. Use floral wire to tightly wrap the stems to the grapevine, ensuring the greenery branches outward to cover the bare form. Overlap the greenery slightly to create a continuous, full base.
Step 2: Weave in Plaid Ribbon
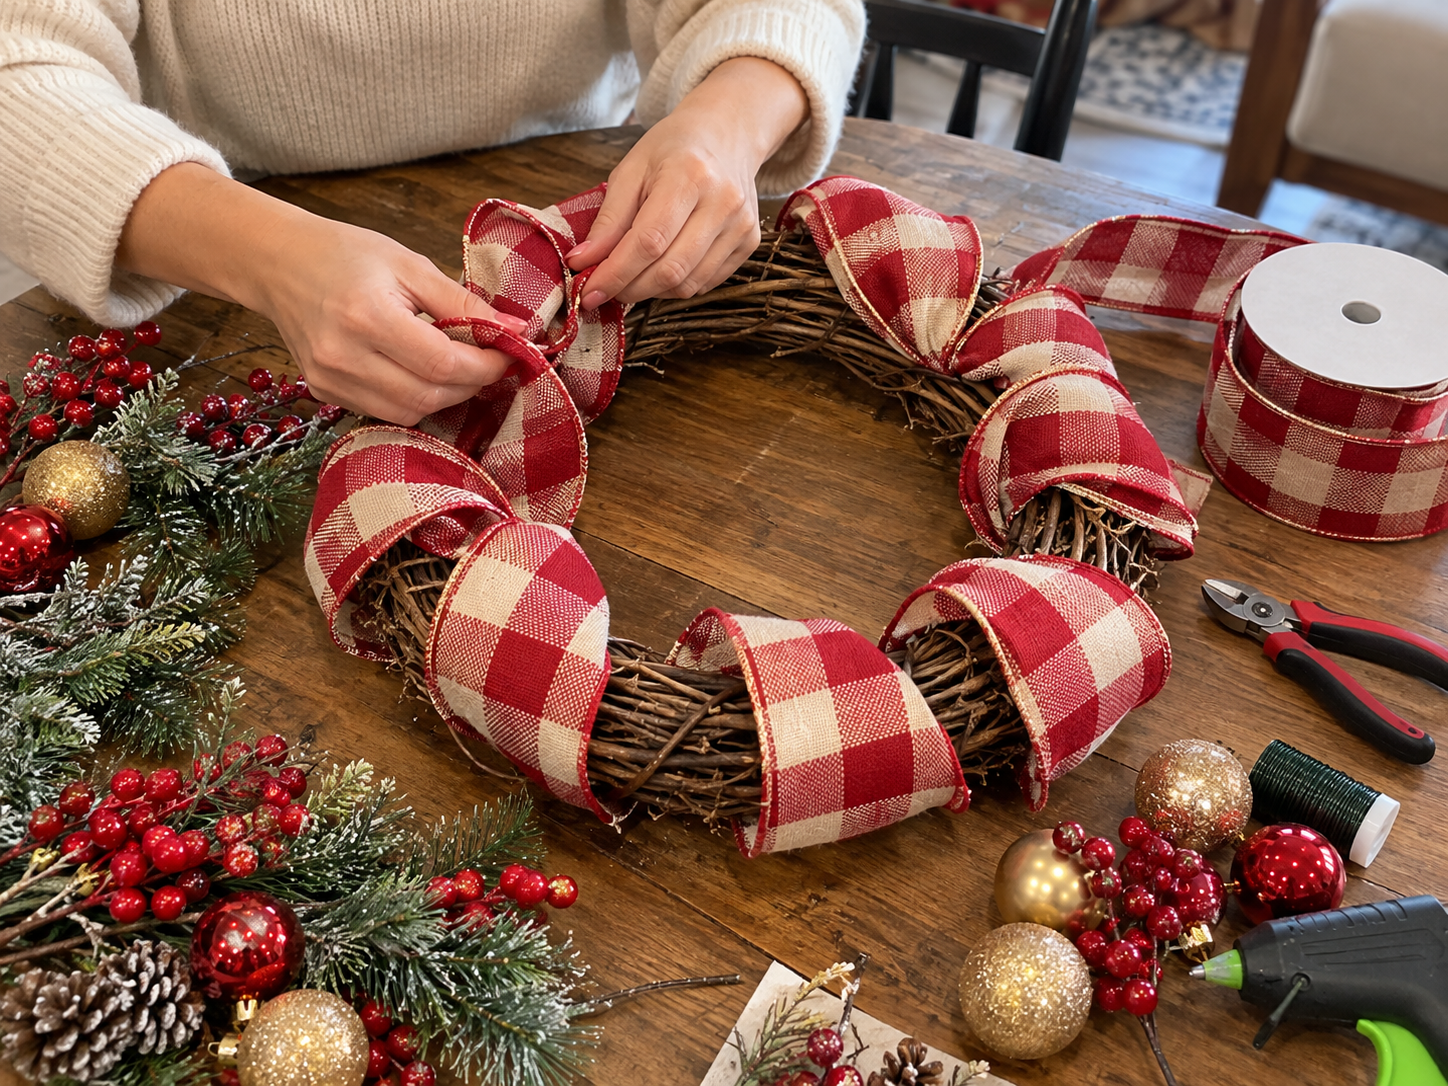
Take your wired red, green, and cream plaid ribbon. Begin at a point on the wreath, securing one end with floral wire to the grapevine. Create generous loops of ribbon, pushing them slightly into the pine greenery and securing them periodically to the grapevine base with more floral wire. Continue around the entire wreath, ensuring the loops are evenly spaced and full. Leave the ends loose for now.
Step 3: Place Ornaments and Berries
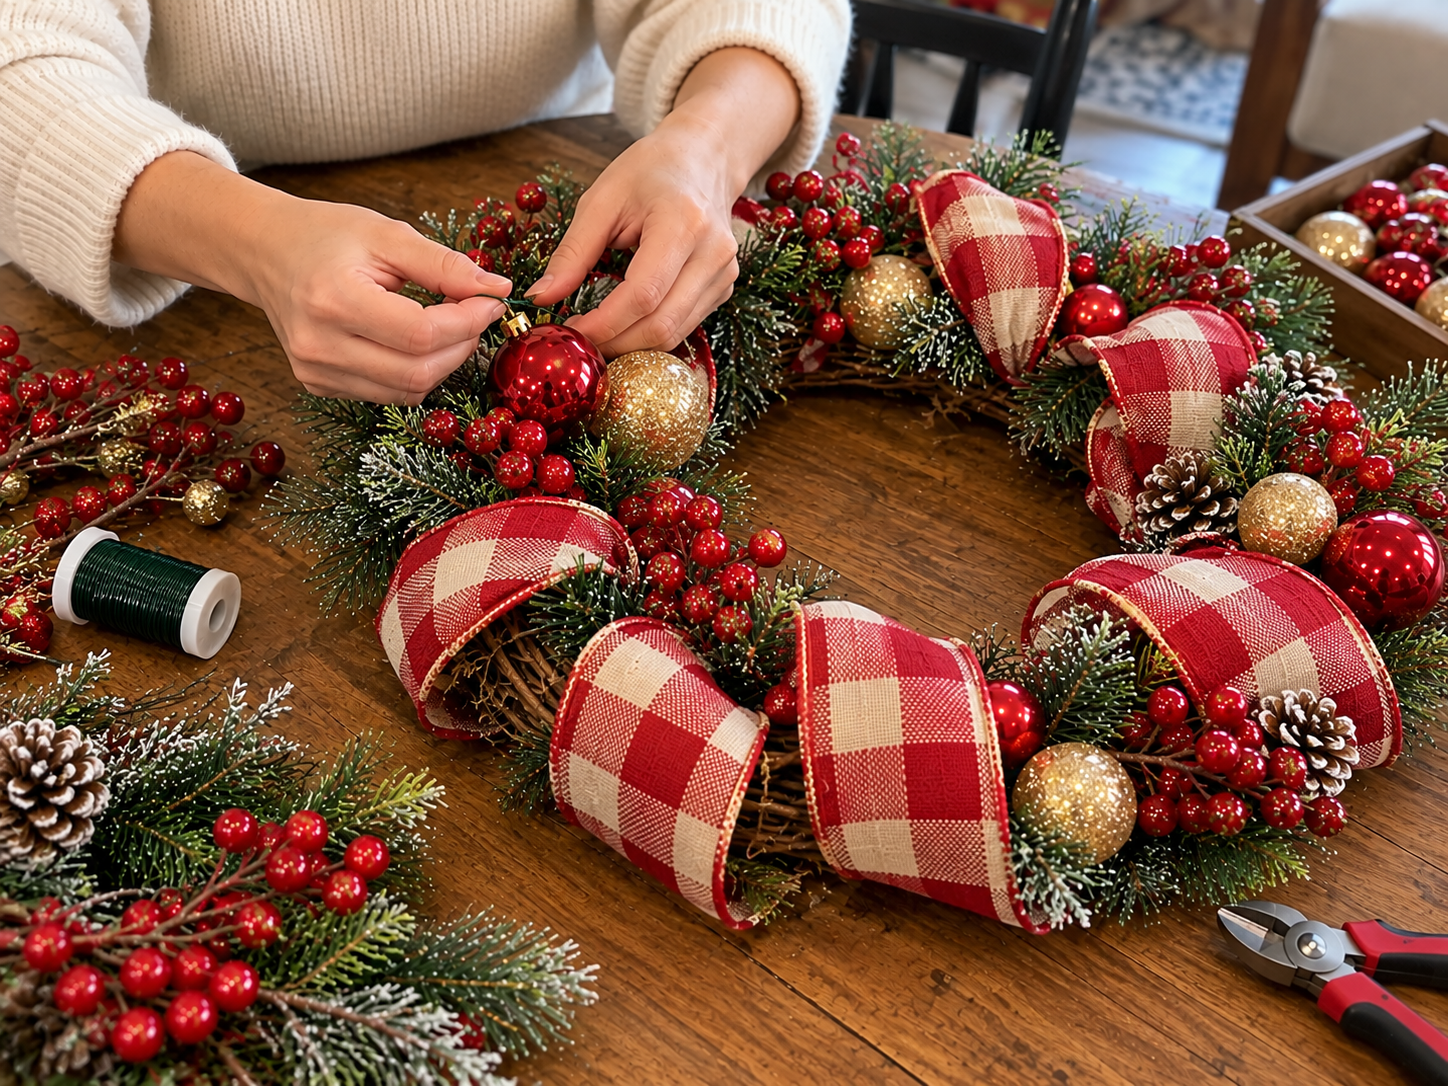
Evenly distribute your assorted shatterproof ornaments, faux red berry stems, and pinecones around the wreath. For ornaments, you can use their hangers to attach them to the pine branches or secure them with a dab of hot glue. Tuck berry stems and pinecones into the greenery, securing them with floral wire or hot glue to prevent them from falling. Vary sizes and textures for visual interest.


Step 4: Create and Shape the Bow
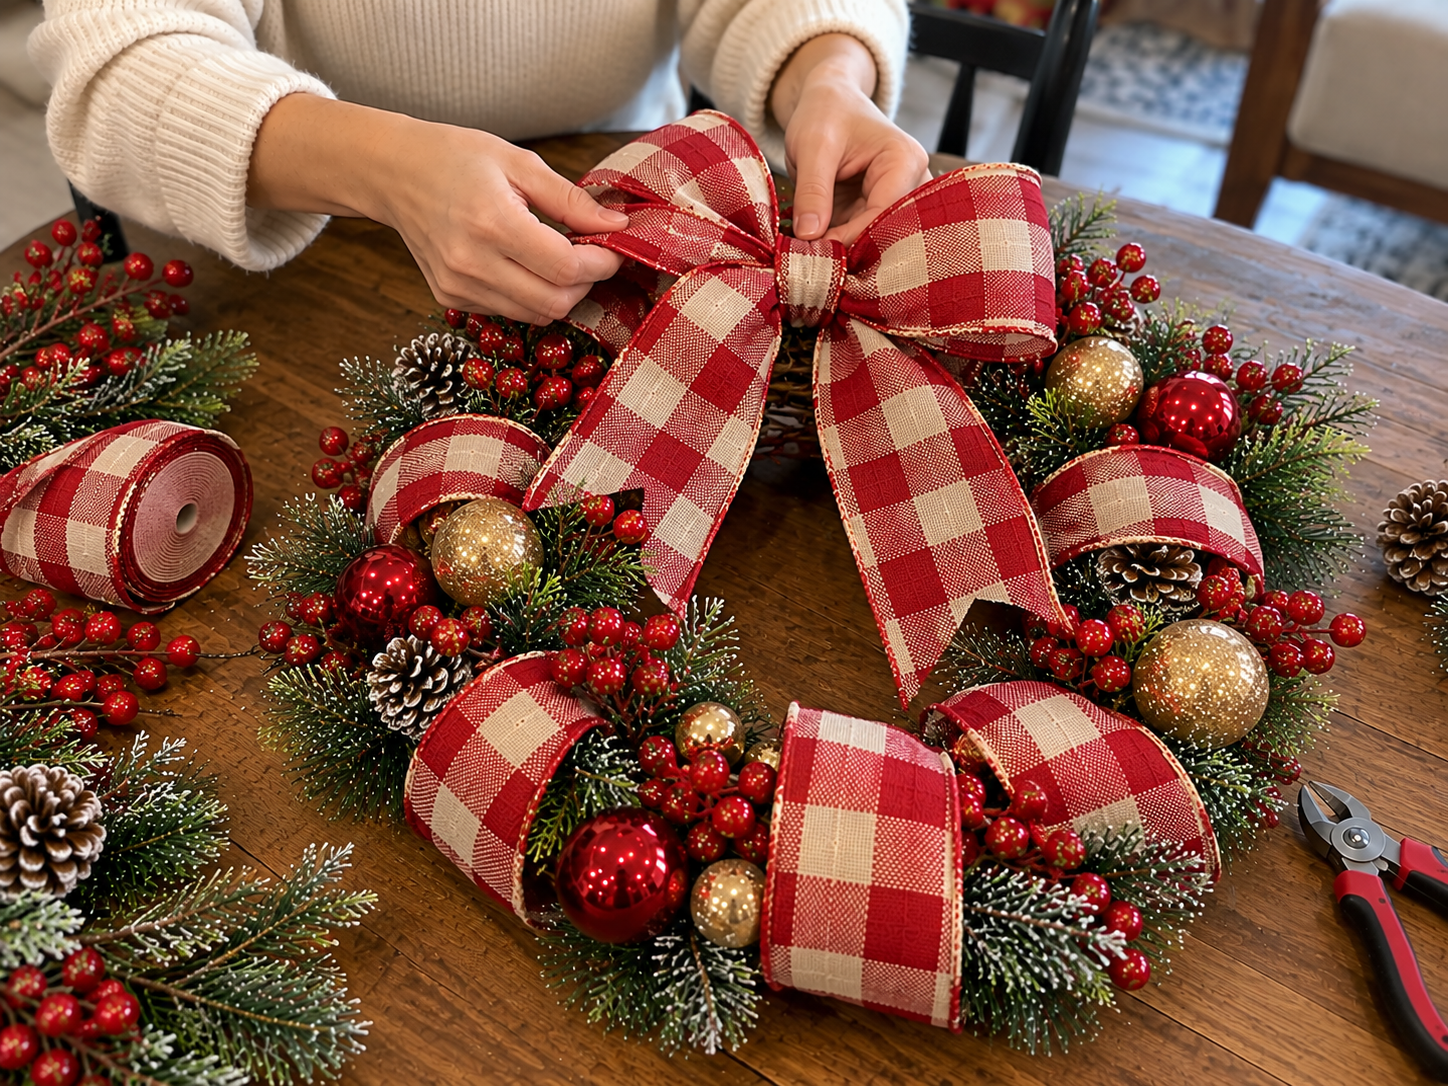
Using your red and cream buffalo check wired ribbon, create a large, multi-loop bow. Start by forming a center loop, then create several additional loops on either side, twisting the ribbon at the center after each loop to keep the pattern facing forward. Secure the center tightly with floral wire, leaving long tails. Fluff and shape each loop to make the bow full and dramatic.
Step 5: Secure and Fluff the Bow
Position the finished buffalo check bow at the top center of your wreath. Use the long floral wire tails from the bow to thread through the wreath's base and secure it tightly from the back, twisting the wire to prevent movement. Once attached, take time to re-fluff all the loops of both the buffalo check bow and the plaid ribbon woven throughout the wreath. Adjust any ornaments or berries that may have shifted.
Step 6: Final Styling and Hanging
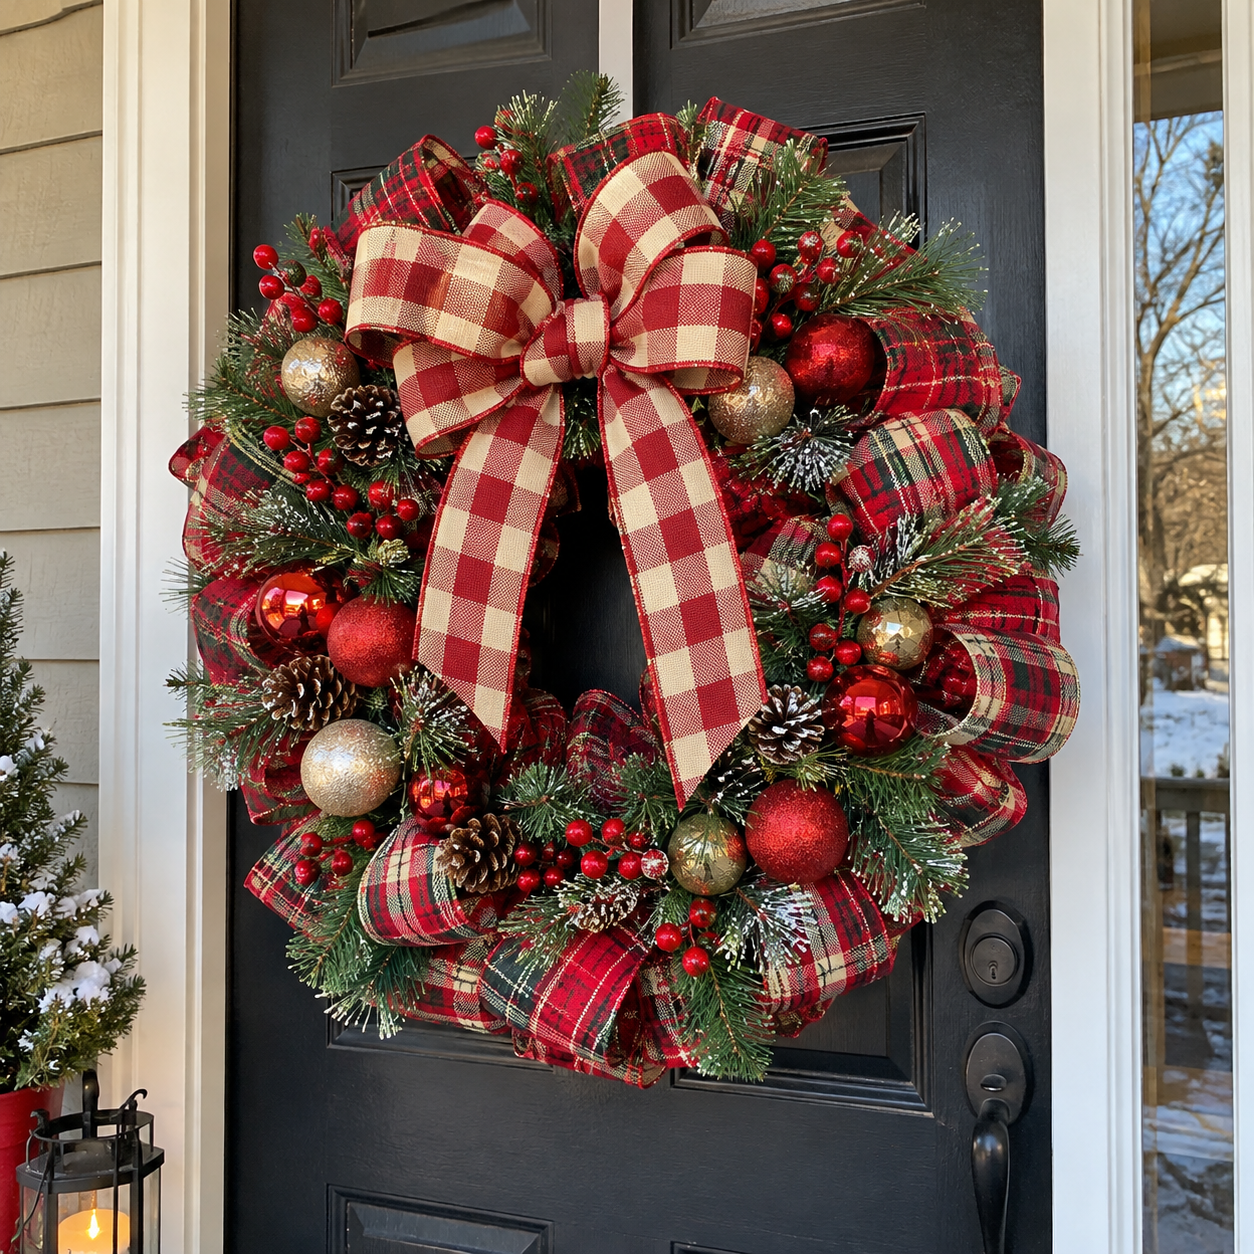
Once all elements are securely in place and fluffed to your satisfaction, hold the wreath up to ensure it looks balanced from all angles. Add a loop of floral wire or a wreath hanger to the back for easy display. Hang your beautiful new Plaid Ribbon Christmas Wreath on your front door to welcome guests with festive cheer.
Displaying Your Festive Plaid Christmas Wreath
Once your Plaid Ribbon Grapevine Christmas Wreath is complete, it is ready to enhance your holiday decor. Its traditional design and festive colors make it a welcoming addition to any front door or entryway. Enjoy the cozy, handcrafted charm it brings to your home this season.
Related project collection: DIY Gothic Crescent Moon Halloween Wreath with Lights for a Front Door
Practical Questions About This Project
What kind of wreath form is used for this project?
This project uses an 18-24 inch grapevine wreath form as its base, providing a natural and rustic foundation.
What types of ribbon are incorporated into the wreath design?
The wreath features two styles of 2.5 inch wired ribbon: a red, green, and cream plaid ribbon woven throughout, and a red and cream buffalo check ribbon for the main bow.
Where is this Plaid Ribbon Christmas Wreath typically displayed?
This festive wreath is designed for display on a front door, though it can also be used as wall decor in an entryway or other indoor spaces.
What natural elements are added to this Christmas wreath?
Small pinecones and faux red berry stems are incorporated into the wreath, complementing the faux pine greenery and ribbons.
Is this craft project suitable for beginners?
Yes, this project is classified as easy, making it accessible for crafters with varying skill levels.
Search Dollar Tree for grapevine wreath supplies.

Leave a Reply