
Add a touch of whimsical elegance to a nursery, bedroom, or living space with a DIY faux floral hoop chandelier. This project transforms a simple craft hoop into a dreamy hanging accent, adorned with lush flowers, greenery, and cascading ribbons and beads. It creates a soft, romantic focal point for any room.
Project at a Glance
- Difficulty: Easy
- Estimated active time: 45 minutes to 80 minutes (drying and curing waits not included)
- Estimated component cost: $10 to $20 (reusable tools and general supplies excluded)
- Main material: Faux Florals
Why Create a Faux Floral Hoop Chandelier?
A faux floral hoop chandelier offers a charming way to introduce softness and whimsy into a room. Its delicate design, featuring a central hoop adorned with flowers and flowing elements, creates a captivating visual that draws the eye upward, making it an ideal accent for spaces like nurseries, bedrooms, or even a cozy living room corner. The combination of faux florals, ribbons, and beads contributes to an elegant, dreamy aesthetic.
This craft is designed to be accessible for beginner crafters, allowing for a creative outlet without requiring advanced techniques. The estimated active time is between 45 and 80 minutes, making it a manageable project. The estimated component cost is between $10 and $20, excluding reusable tools and general supplies, offering an affordable way to enhance your decor.
Materials for DIY Faux Floral Hoop Chandelier for a Nursery or Bedroom
- Wooden craft hoop (approx. 12-14 inches)
- Assorted faux flowers and greenery (e.g., peonies, lavender, eucalyptus)
- Satin and lace ribbons (cream, pale pink, various widths)
- Wooden craft beads
- Faux pearl strands or loose pearls
- Clear craft thread or fishing line
- Hot glue gun and glue sticks
- Scissors
- Ceiling hook for hanging
Need another material? Browse current craft supplies and deals.
How to Assemble Your Faux Floral Hoop Chandelier
Crafting this faux floral hoop chandelier involves a series of simple steps, from wrapping the hoop to attaching the cascading elements. Each stage builds upon the last, allowing for a smooth and enjoyable creation process. Follow these instructions to bring your whimsical hanging decor to life.
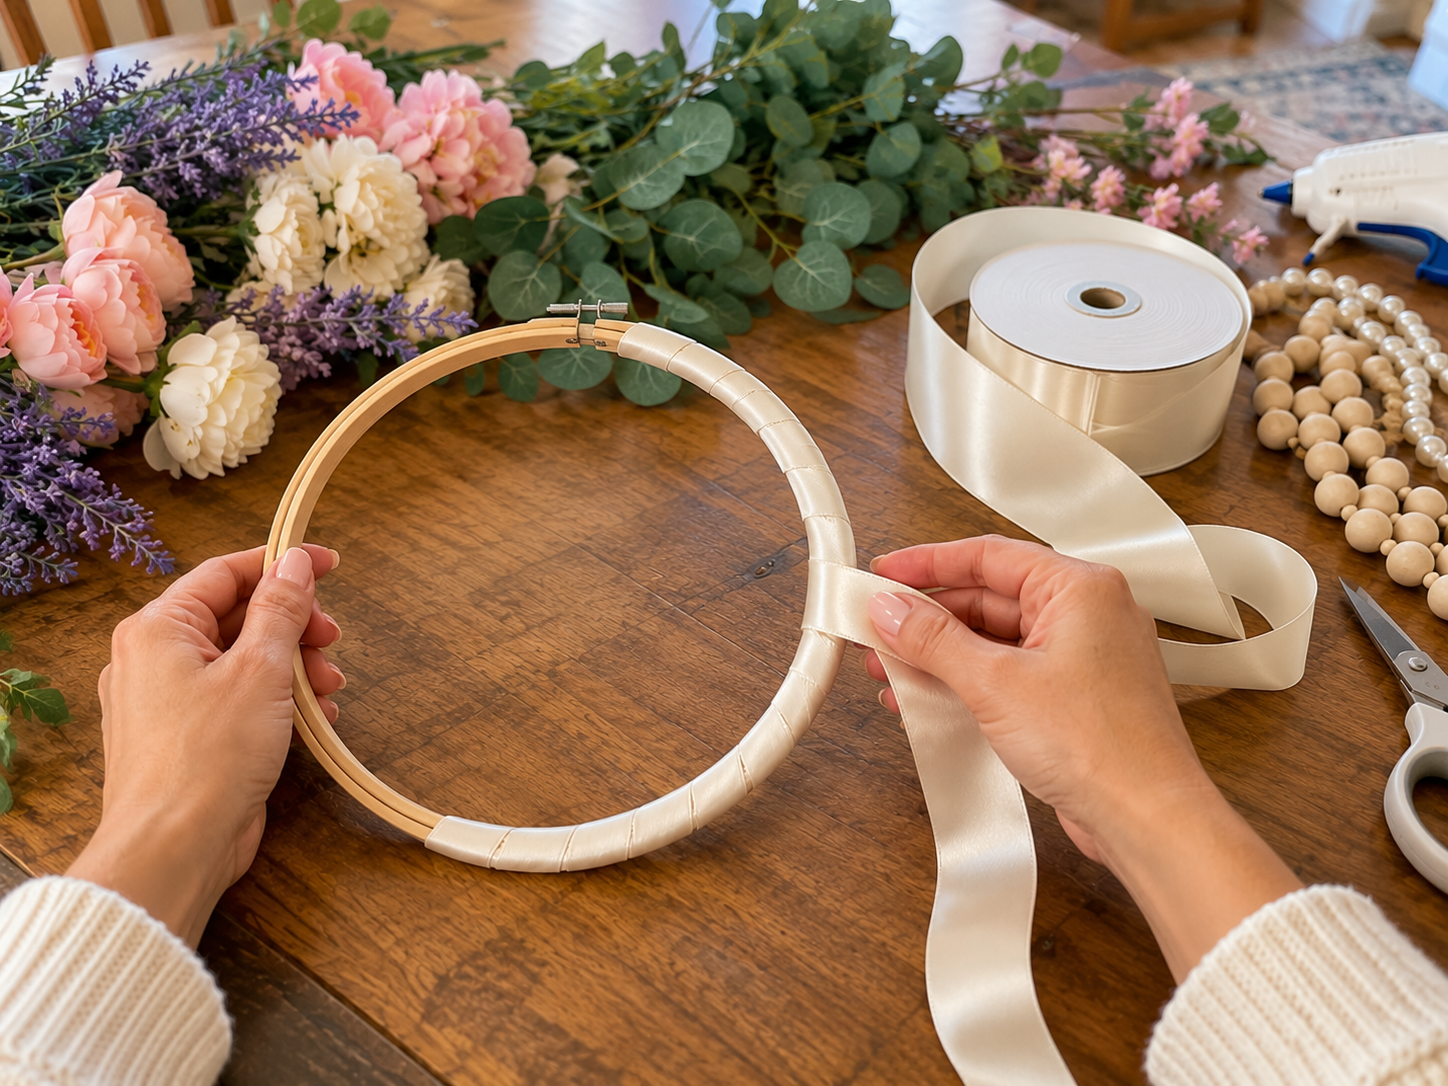
Step 1: Wrap the Hoop Base
Begin by taking your cream satin ribbon and wrapping it tightly around the entire wooden craft hoop. Apply a small dab of hot glue to secure the beginning of the ribbon, then continue wrapping, ensuring each pass overlaps slightly for full, even coverage. Secure the end of the ribbon with another dab of hot glue on the inside of the hoop.
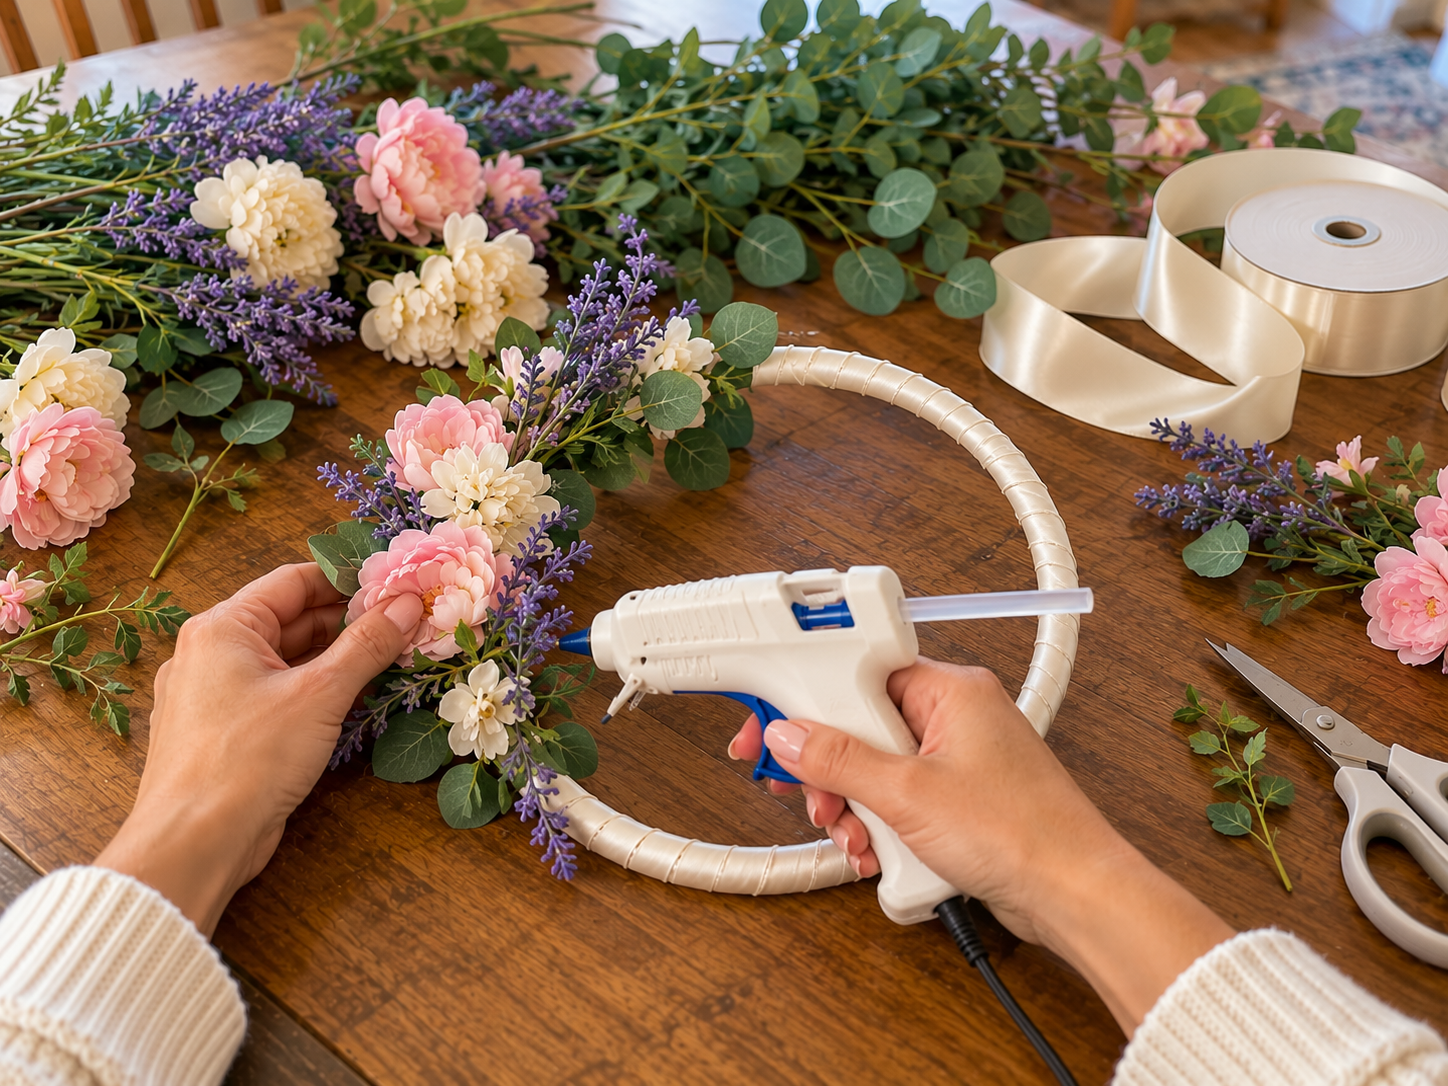
Step 2: Adorn with Top Florals and Greenery
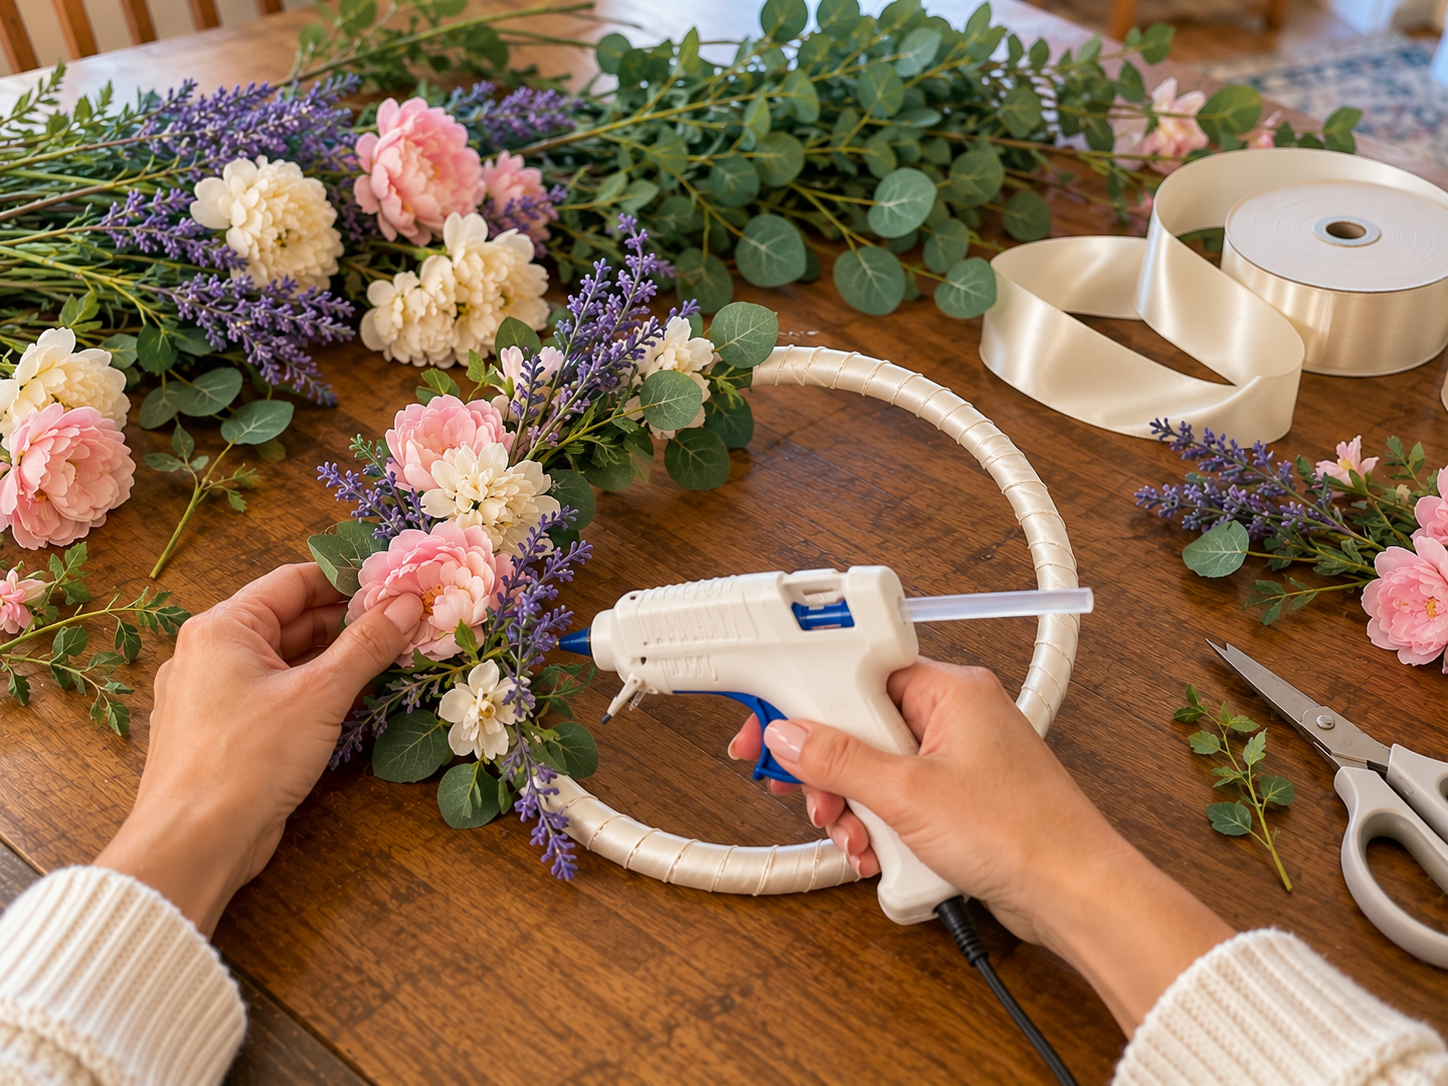
Select your larger faux flowers, such as peonies, and greenery stems like eucalyptus and lavender. Using your hot glue gun, carefully attach these floral elements around the top outer edge of the ribbon-wrapped hoop. Start with the focal flowers, then fill in any gaps with the greenery and smaller lavender sprigs to create a lush, balanced, and aesthetically pleasing arrangement. You can choose to decorate the entire top circumference or focus on specific sections.
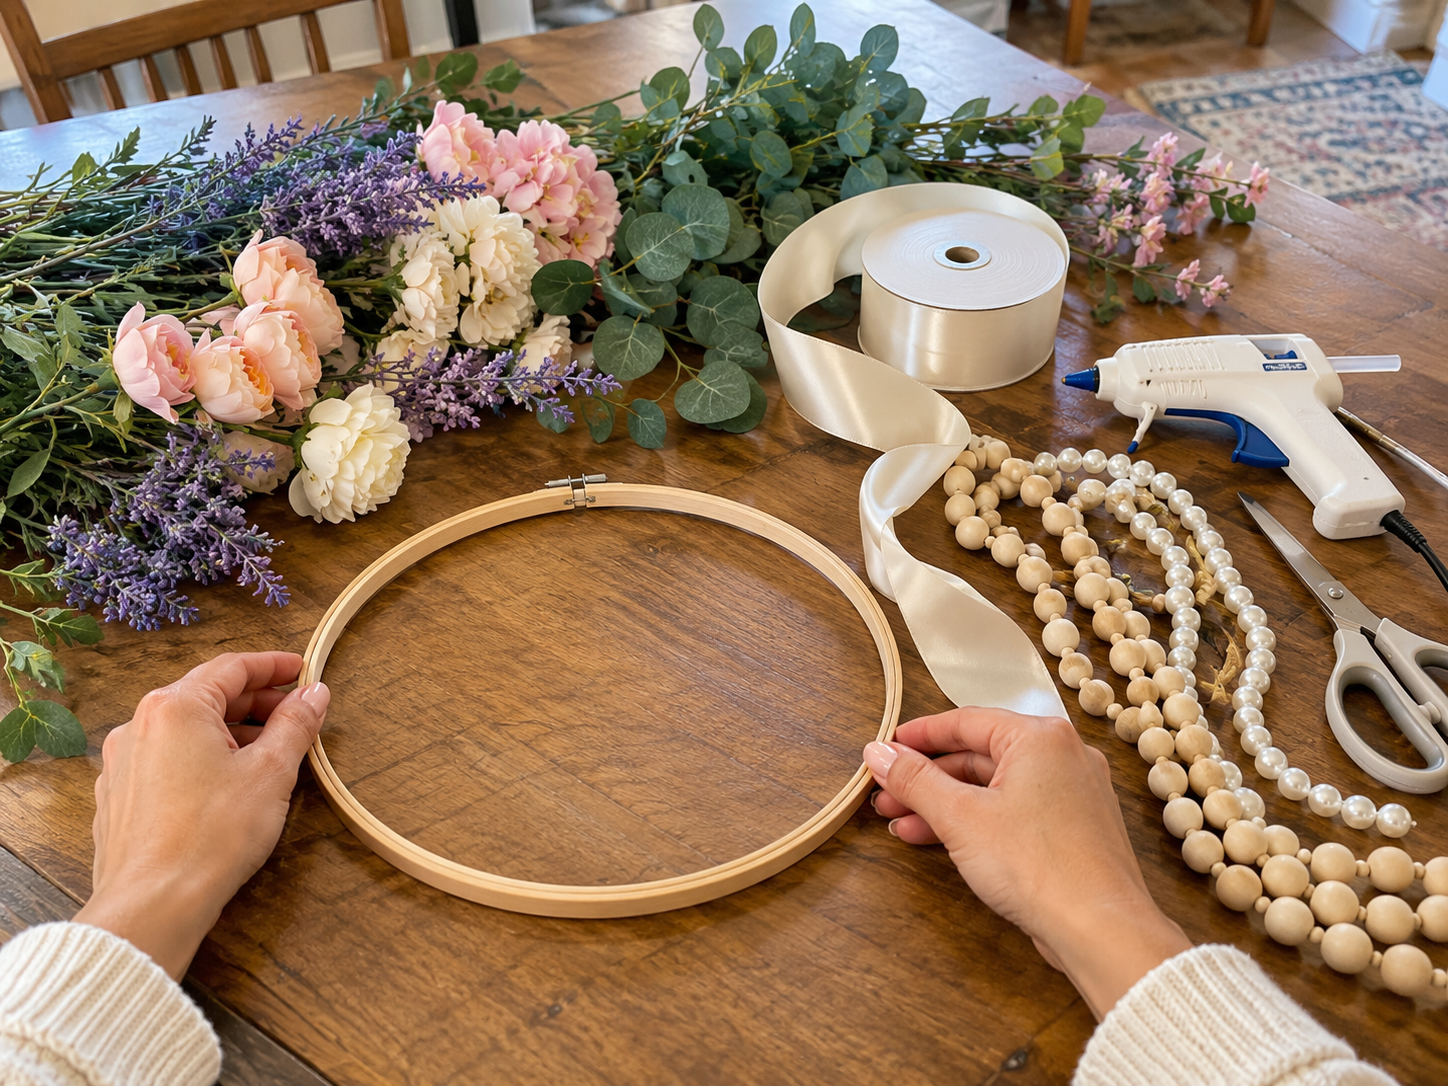
Step 3: Prepare Hanging Strands
Cut several varying lengths of clear craft thread or fishing line. Thread wooden beads onto some lines, securing each end with a knot and a tiny drop of hot glue. For the faux pearl strands, you can either thread individual pearls or use pre-strung pearl garlands. Cut various widths and lengths of your pink satin, cream satin, and lace ribbons to create streamers. Aim for an assortment of lengths to create visual interest when hung.


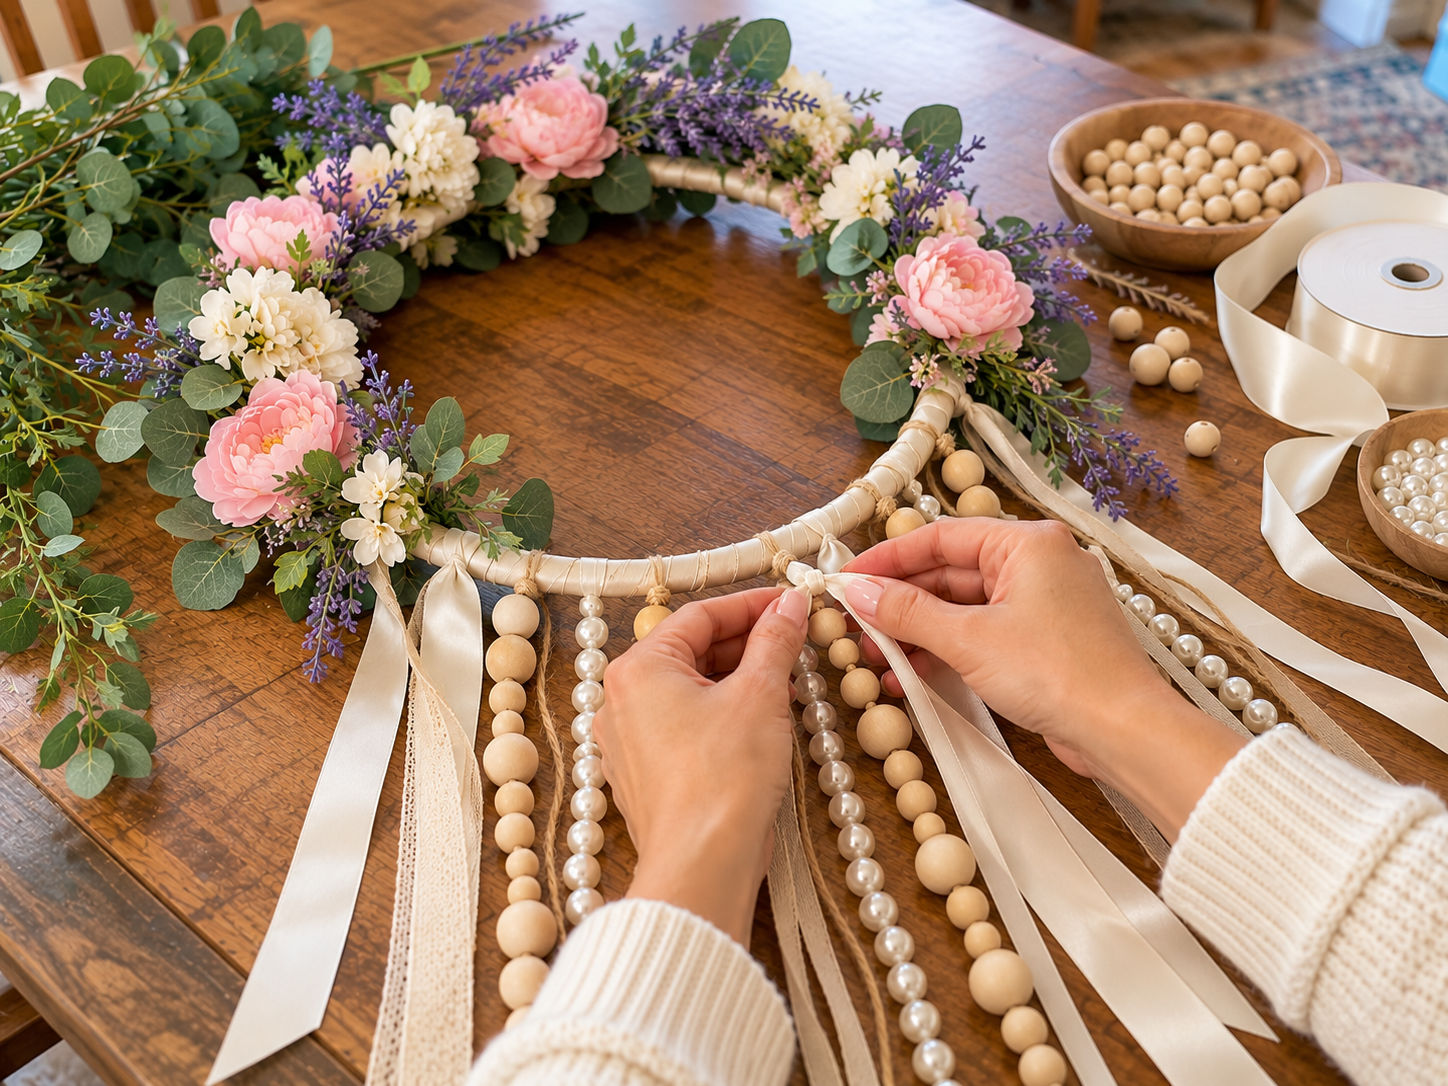
Step 4: Attach Hanging Elements
Now, begin attaching your prepared bead strands, pearl strands, and ribbon streamers to the bottom inner edge of the floral-adorned hoop. Space them evenly around the hoop, varying their lengths to create a beautiful, cascading effect. Use strong knots for ribbons and hot glue for bead/pearl strands to ensure they are securely fastened.
Step 5: Add Mini Floral Accents
To enhance the dreamy look, take smaller sprigs of lavender, individual tiny pink flowers, or small eucalyptus leaves. Using a small amount of hot glue, carefully attach these delicate accents to some of the hanging ribbon and bead strands. Place them strategically, perhaps where ribbons cross or near the ends of some strands, to add an extra layer of detail and visual softness to the cascading elements.
Step 6: Create Suspension Ribbons
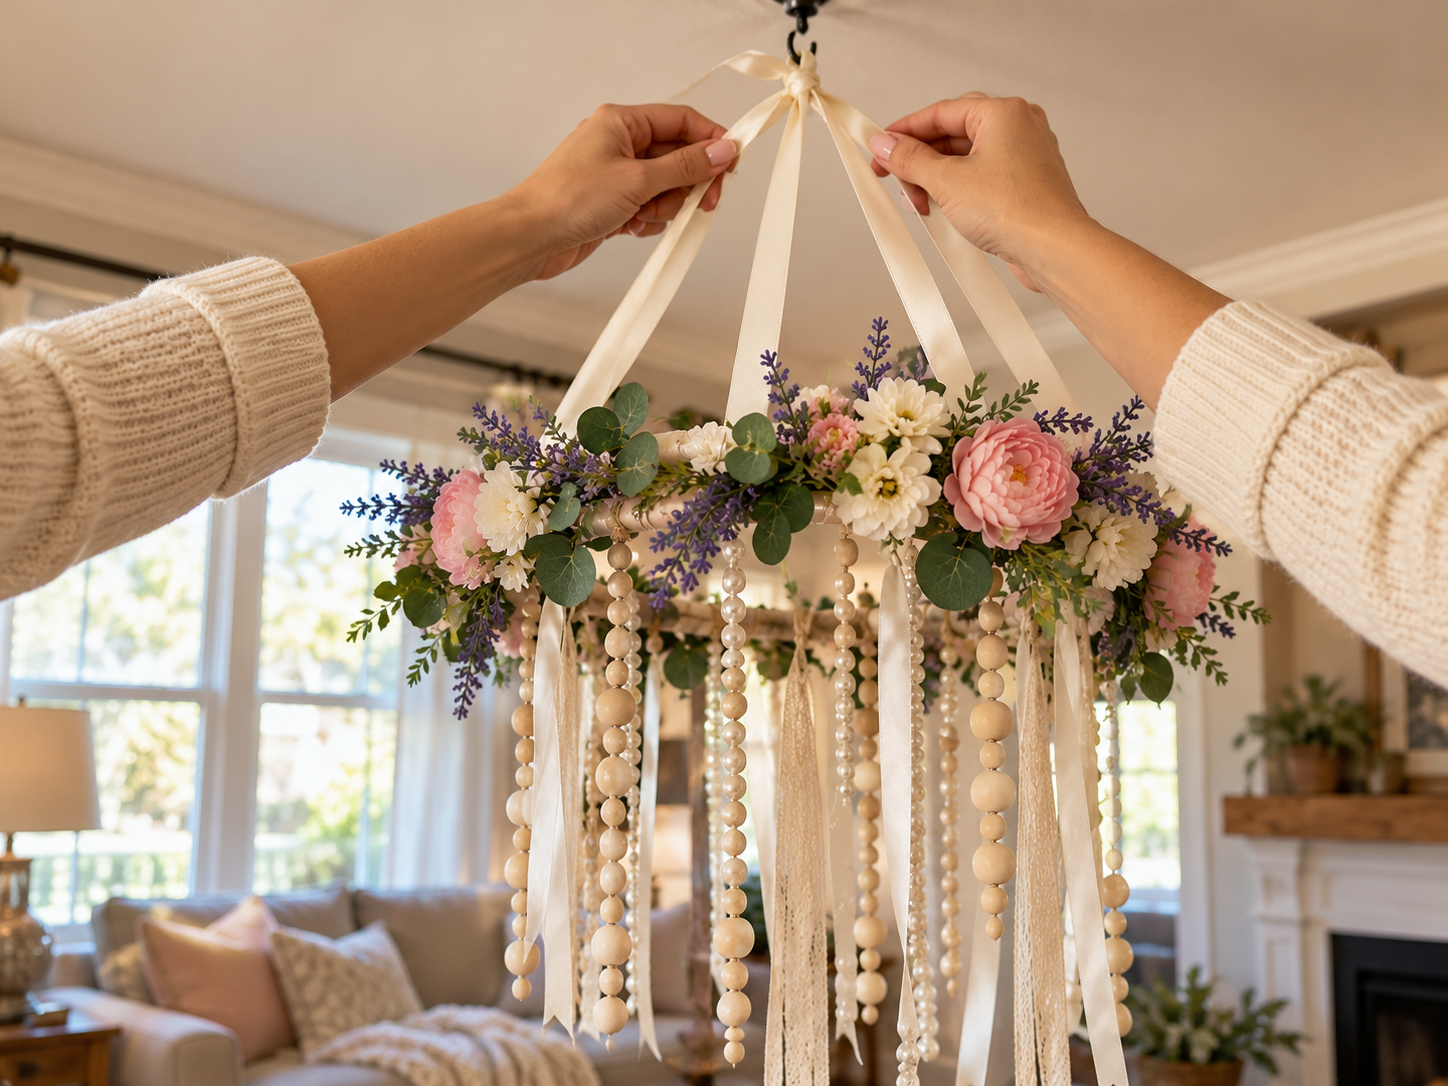
Cut three equal lengths of sturdy ribbon (e.g., matching cream satin) that are long enough to reach your desired hanging height from the ceiling. Space these three ribbons evenly around the top of the hoop, approximately 120 degrees apart. Tie each ribbon securely to the hoop with a double knot. Gather the three loose ends of these ribbons together at the top, ensuring they are even, and tie them together with a strong knot to form a single hanging loop.
Step 7: Install the Chandelier
Choose a secure location on your ceiling and screw in a sturdy ceiling hook. Carefully lift your completed floral hoop chandelier, ensuring all hanging elements are free from tangles. Hang the gathered suspension ribbon loop onto the ceiling hook. Adjust the chandelier gently to ensure it hangs evenly and freely, showcasing its beautiful cascading elements.
Enjoying Your Faux Floral Hoop Chandelier
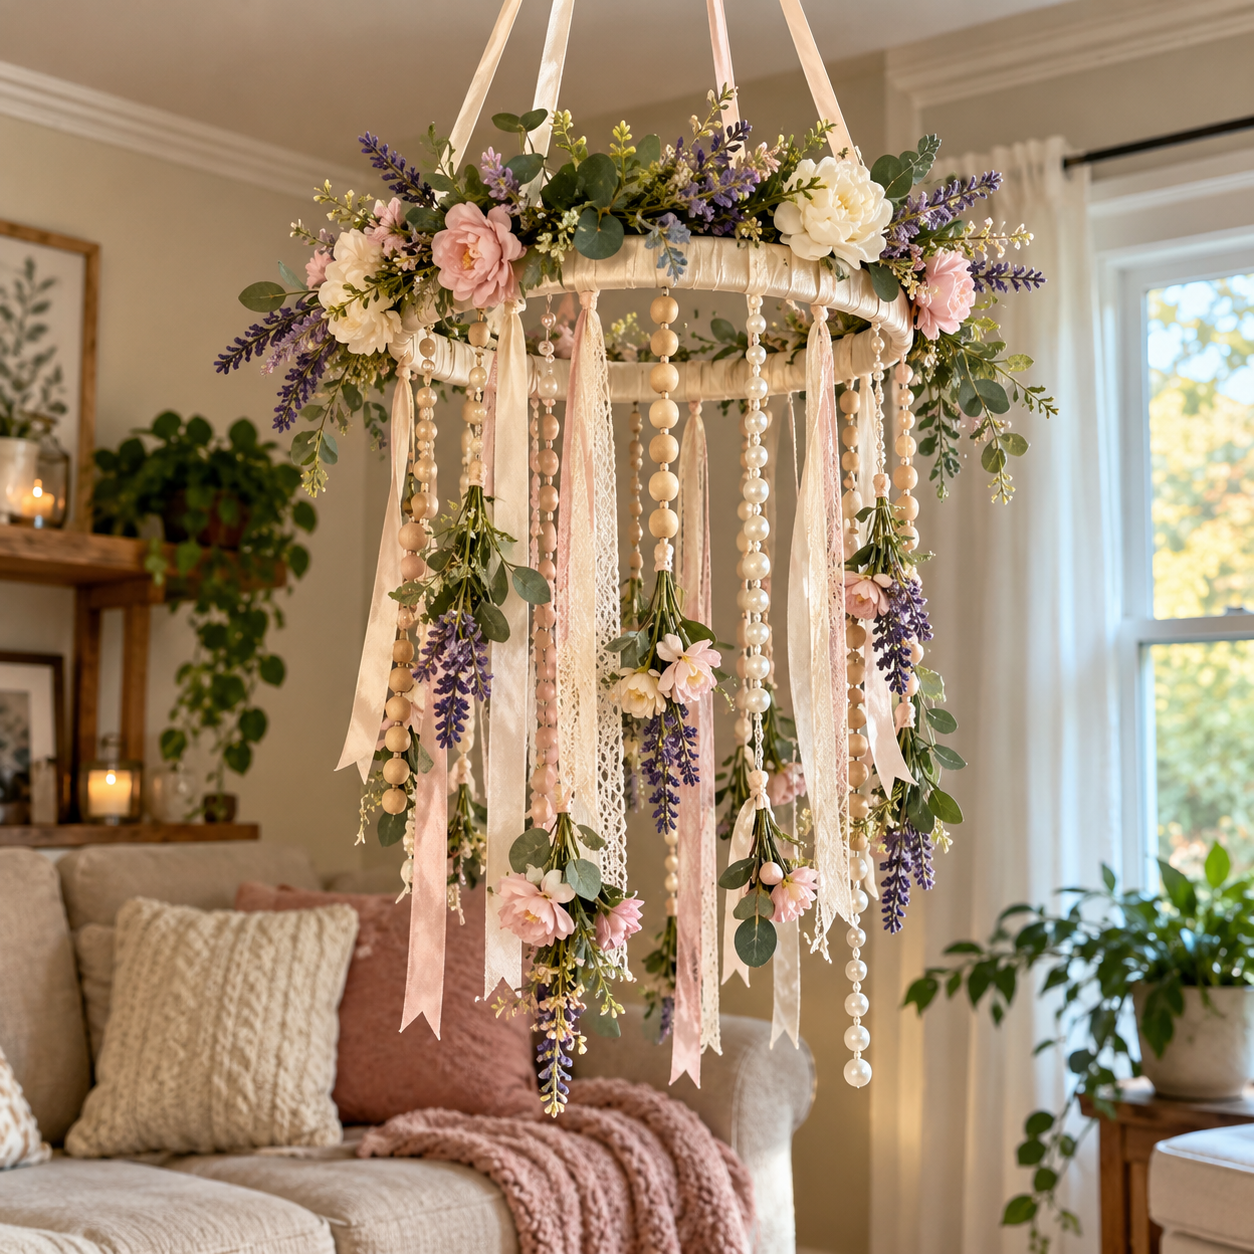
Once your faux floral hoop chandelier is complete and hung, step back and admire the soft, dreamy ambiance it brings to your chosen space. This unique piece of hanging decor adds a personalized touch of elegance and whimsy. It serves as a beautiful focal point, enhancing the room's overall aesthetic.
Practical Questions About This Project
Can the colors of the flowers and ribbons be customized?
Yes, the faux flowers, greenery, and ribbons can be chosen in any colors or styles to match your specific room decor or personal preference.
What size wooden hoop is best for this project?
A wooden craft hoop approximately 12-14 inches in diameter is recommended for creating this floral chandelier.
How long does it take to make this floral hoop chandelier?
The estimated active time for this project is between 45 and 80 minutes, which excludes unattended drying and curing times.
Where is this floral hoop chandelier best displayed?
This elegant hanging accent is ideal for adding a dreamy touch to a nursery, bedroom, or living space.
Is this craft project suitable for beginners?
Yes, this project is classified as easy and is beginner-friendly, making it accessible for those new to crafting.
Search Dollar Tree for faux florals supplies.

Leave a Reply