
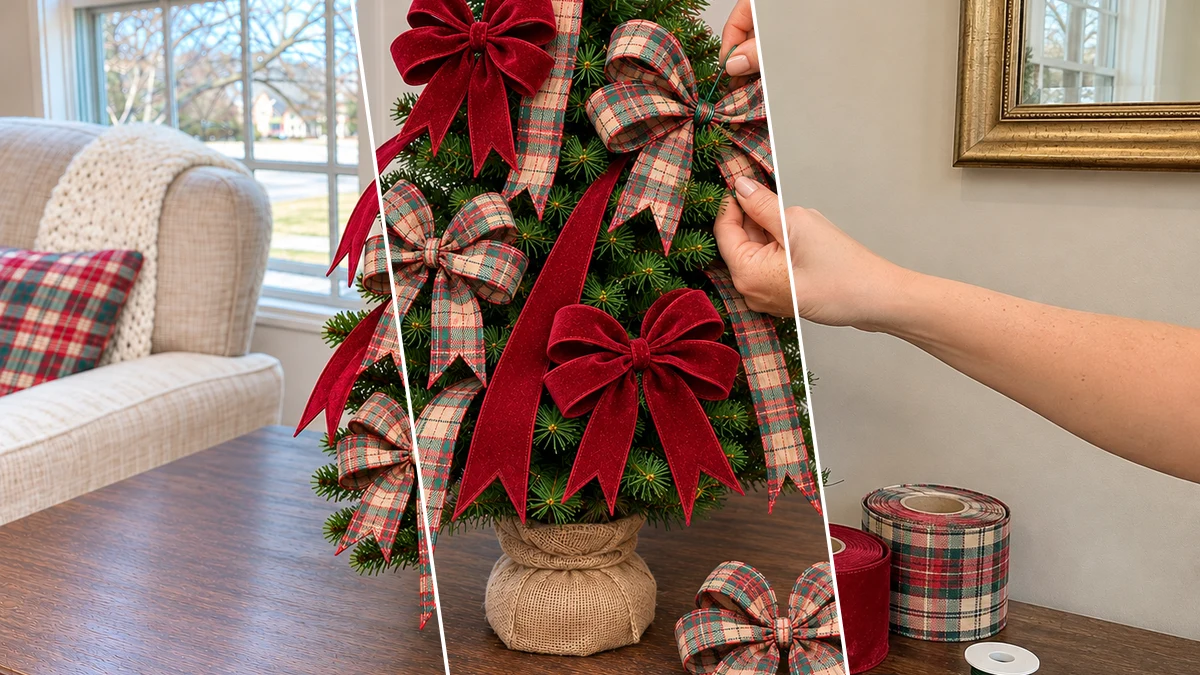
A festive tabletop Christmas tree can be created using wired velvet and plaid ribbons. This project details how to adorn a small artificial tree with elegant ribbon cascades and bows. It is suitable for holiday home decor or as a seasonal centerpiece.
Project at a Glance
- Difficulty: Easy
- Estimated active time: 25 minutes to 45 minutes (drying and curing waits not included)
- Estimated component cost: Budget-friendly (reusable tools and general supplies excluded)
- Main material: Ribbon
- Suggested placement: Tabletop
About This Ribbon Cascade Christmas Tree
This project transforms a small artificial Christmas tree into a festive display using only wired ribbons. The design features long, flowing ribbon tails that cascade down the branches, complemented by fluffy, multi-loop bows. This approach creates a full, textural look for holiday decor.
The process involves cutting and shaping wired velvet and plaid ribbons, then securing them to the tree. No glue is needed, simplifying the assembly. This craft is classified as easy, making it accessible for many skill levels.
The estimated active time for this project is 25 to 45 minutes, excluding any unattended drying or curing. The component cost is budget-friendly, not including reusable tools or general supplies, which makes it one of the easiest Christmas tree ribbon ideas to try this season.
Materials for DIY Tabletop Christmas Tree with Cascading Velvet and Plaid Ribbons
- Small Artificial Christmas Tree
- Wired Velvet Ribbon (coordinating color)
- Wired Plaid Ribbon (coordinating pattern)
- Floral Wire or Pipe Cleaners
- Scissors
Need another material? Browse current craft supplies and deals.
How to Decorate a Tabletop Christmas Tree with Cascading Ribbons
Decorating a tabletop Christmas tree with ribbons involves a few distinct steps, from preparing the tree to attaching the final bows. Following these instructions will guide the process of creating a balanced and visually appealing display. Ensure all materials are gathered before beginning.
Step 1: Prepare Your Artificial Tree
Begin by taking your artificial Christmas tree out of its packaging and fully fluffing all the branches. Ensure the tree is stable in its base. Lay out all your materials within easy reach on your workspace.
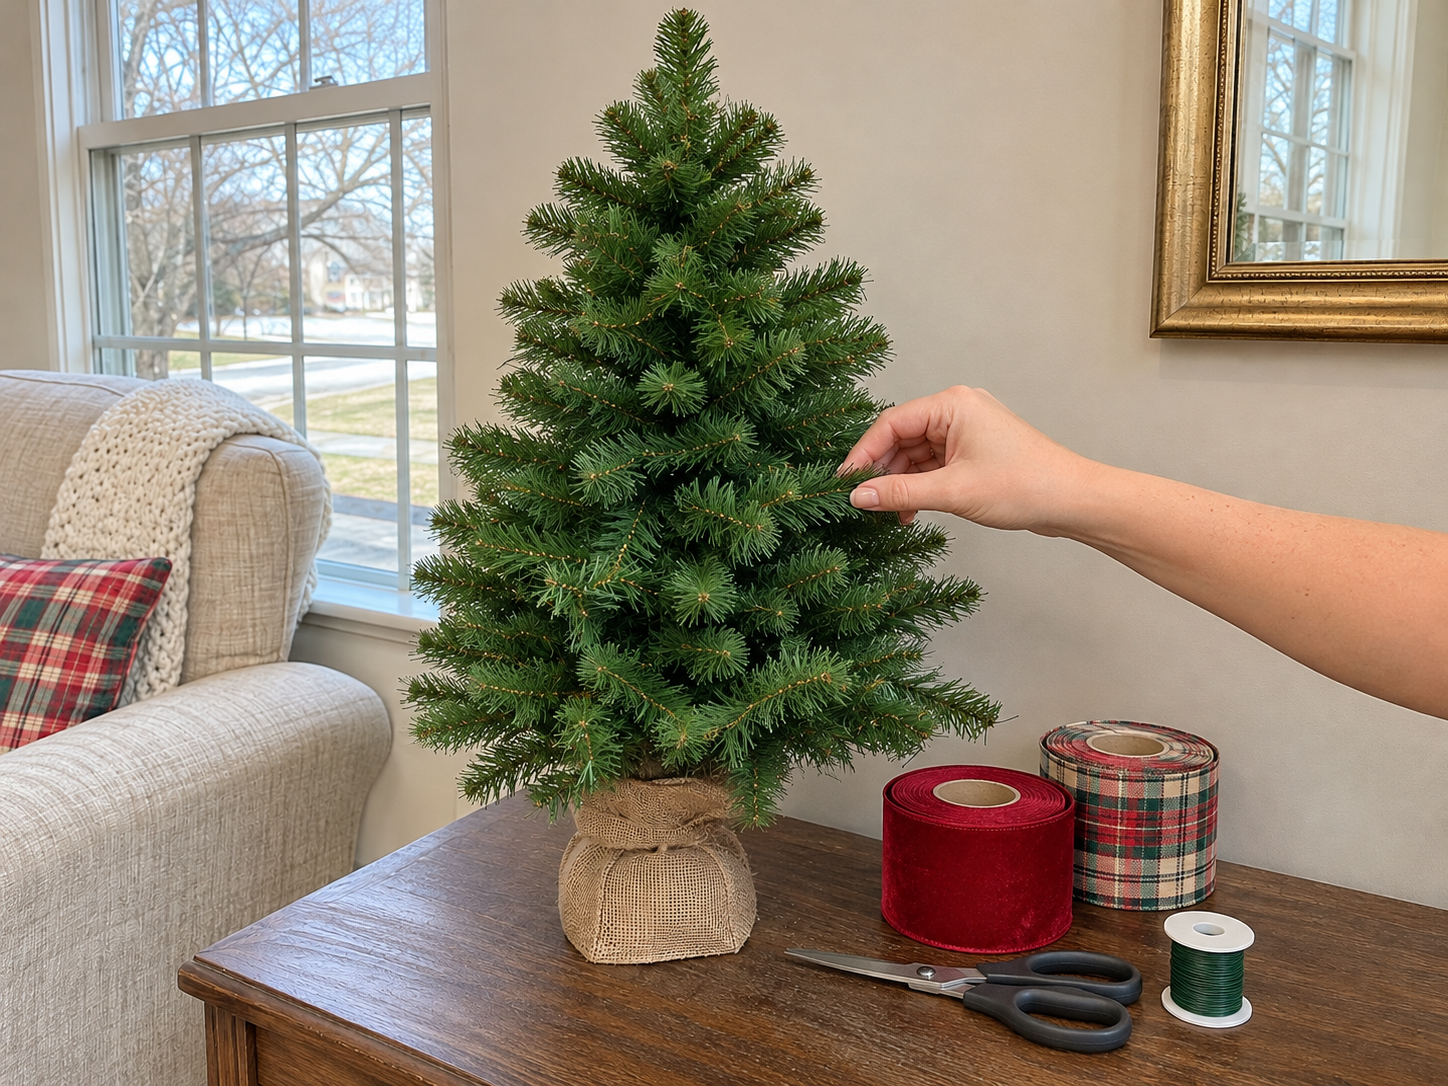
Step 2: Cut Ribbon for Cascading Tails
Unroll your velvet and plaid wired ribbons. Measure and cut several long pieces from each roll, varying the lengths from about 1.5 feet to 3 feet, depending on your tree size. Create a V-notch at each end of the cut ribbon pieces by folding the ribbon in half lengthwise and cutting at an angle from the fold towards the edge.

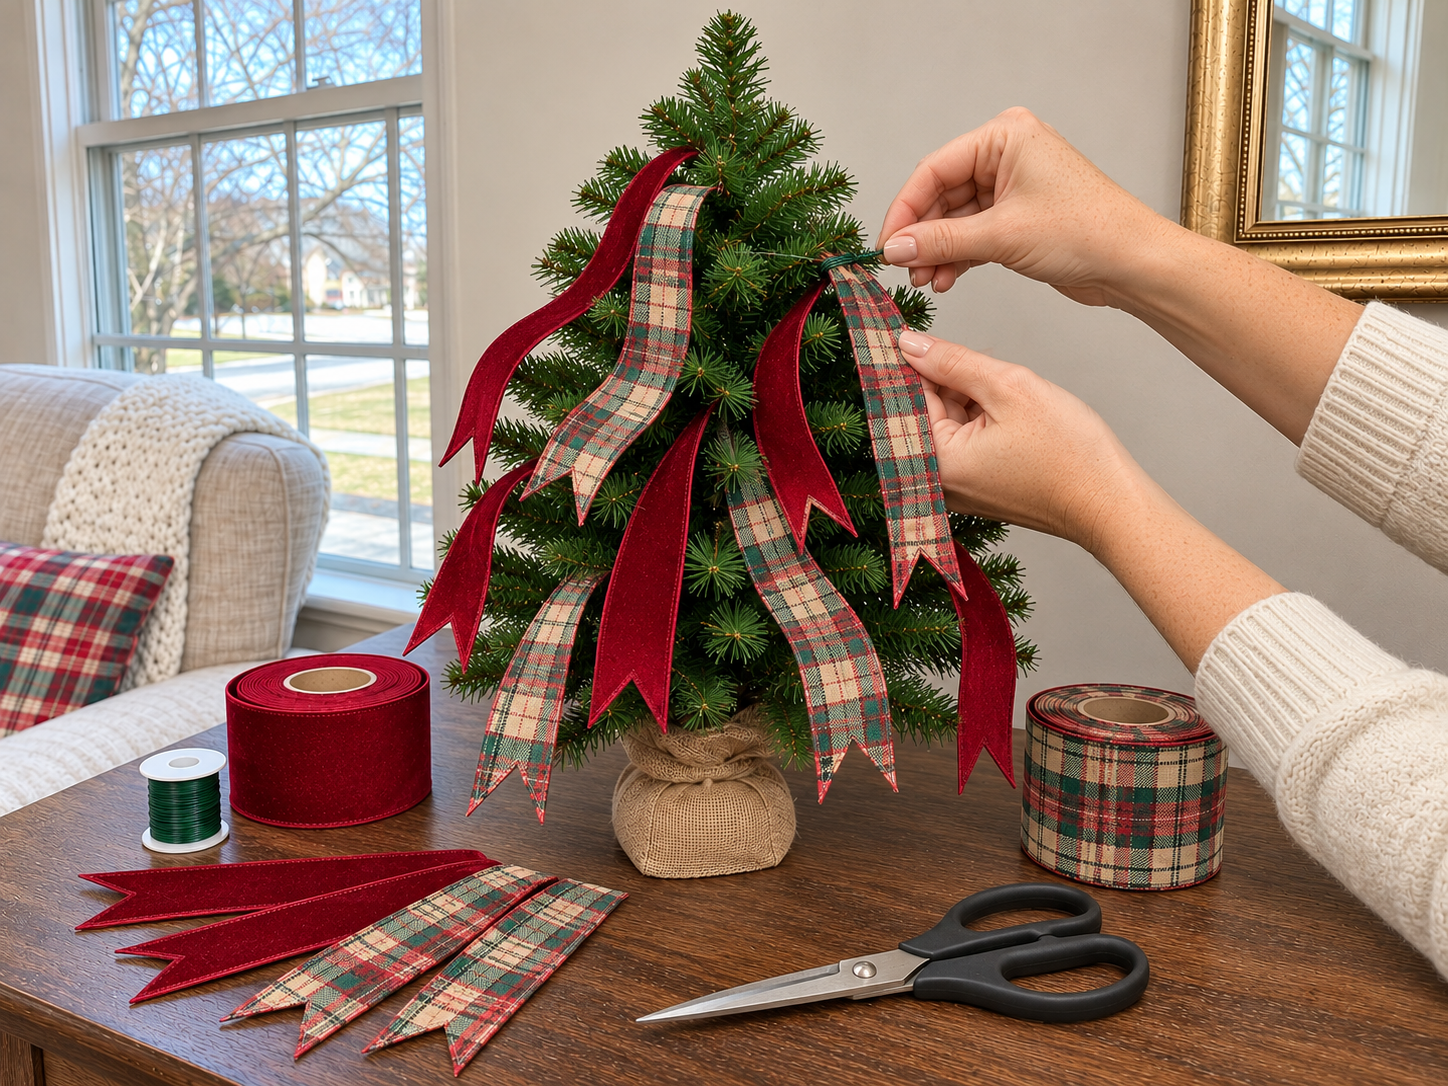
Step 3: Drape Cascading Ribbon Tails
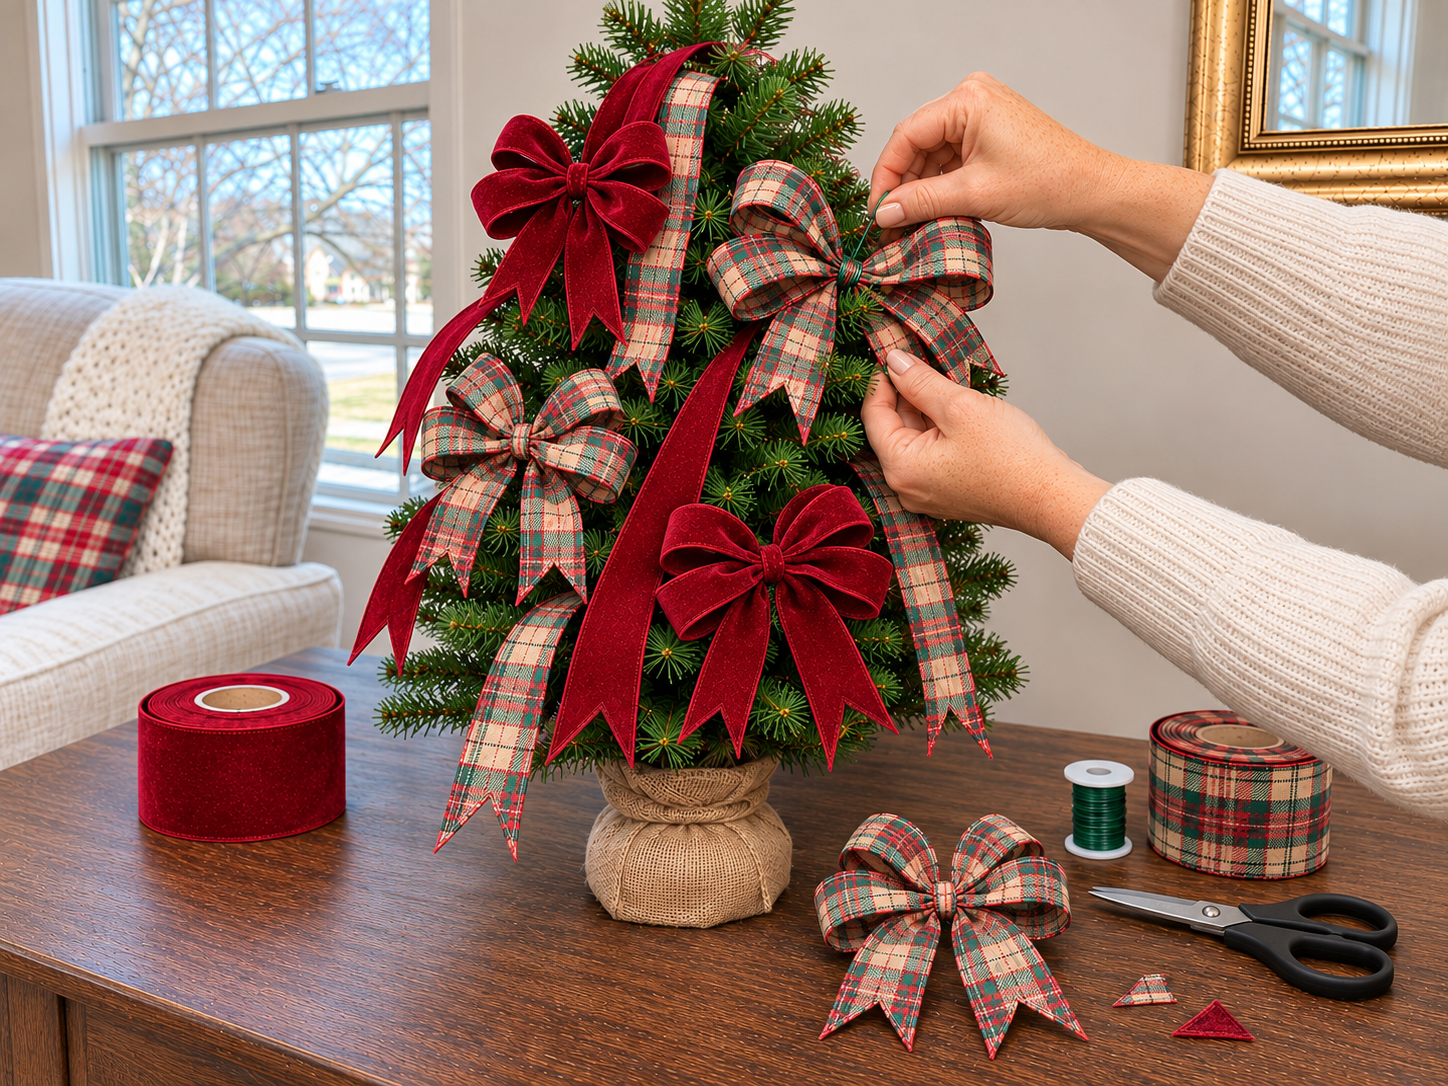
Starting from the top of the tree, select a long ribbon tail and attach it to a branch using a piece of floral wire or pipe cleaner, twisting it securely around the branch and the ribbon's center point. Let the ribbon drape naturally down the tree. Continue attaching tails, alternating between velvet and plaid patterns, and varying their starting points and lengths to create a harmonious cascade.


Step 4: Create Fluffy Ribbon Bows
Now, create several fluffy multi-loop bows. Take a length of wired ribbon (velvet or plaid) and form a series of loops, pinching the center to secure. Twist a piece of floral wire or pipe cleaner tightly around the pinched center to hold the loops together. You can combine both ribbon types in one bow for added texture and visual interest. Aim for 5-7 bows depending on the tree's size and desired fullness.
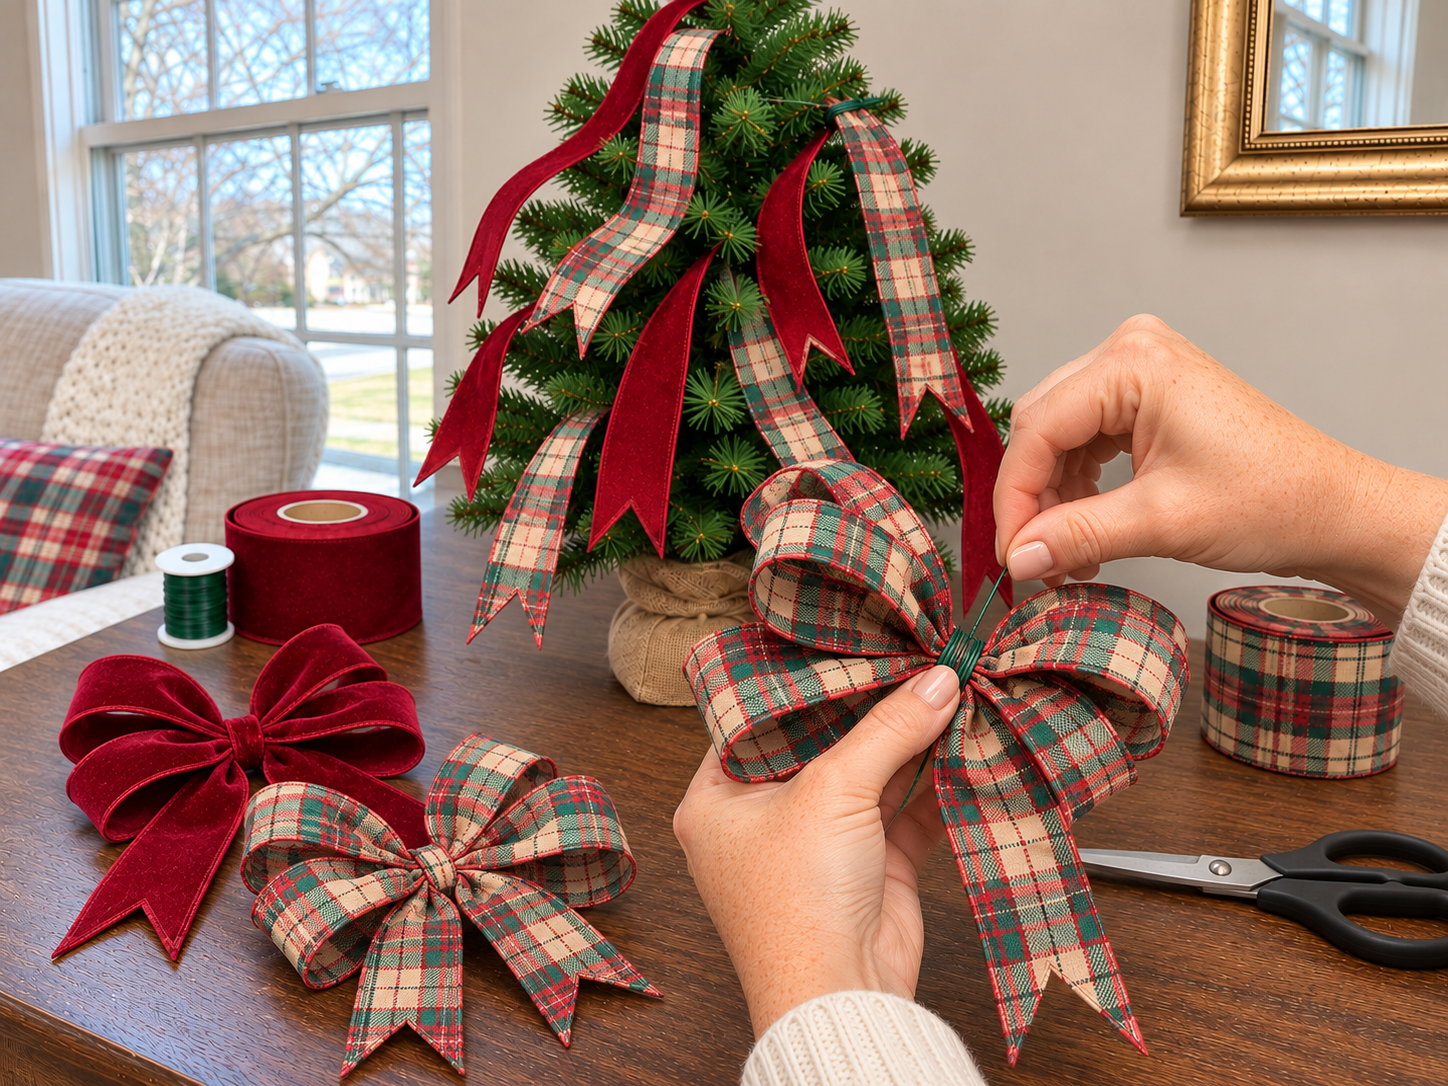
Step 5: Attach Ribbon Bows to Tree
Take your prepared bows and begin attaching them to the tree. Tuck each bow into the branches, ensuring the floral wire at the back wraps securely around a branch. Distribute the bows evenly around the tree, varying their positions and depths to create visual interest and cover any gaps. Ensure they complement the cascading ribbon tails.
Step 6: Final Fluffing and Adjustments
Once all your ribbon tails and bows are attached, take a moment to step back and view your tree from all angles. Gently fluff any flattened ribbon loops and adjust the cascading tails to ensure they fall beautifully. Make any final tweaks to achieve a balanced, full, and visually appealing ribbon cascade Christmas tree.

Displaying Your Ribbon Cascade Christmas Tree
The completed ribbon cascade Christmas tree offers a festive and unique piece of holiday decor. Its elegant design, featuring velvet and plaid ribbons, makes it suitable as a centerpiece or an accent in any room. This decorative tree can enhance your seasonal display for many holidays to come.
Related project collection: DIY Chunky Yarn Christmas Tree Trio for Tabletop Holiday Decor
Practical Questions About This Project
What size artificial Christmas tree is suitable for this ribbon decoration?
A small artificial Christmas tree is suitable for this ribbon decoration. The instructions are designed for a tabletop size, but the concept can be adapted for larger trees by adjusting ribbon lengths and quantities.
Is glue required to attach the ribbons to the tree?
No, glue is not required to attach the ribbons to the tree. Floral wire or pipe cleaners are used to secure both the cascading ribbon tails and the bows to the branches.
How many ribbon bows are recommended for this project?
It is recommended to aim for 5 to 7 ribbon bows, depending on the size of the tree and the desired fullness of the decoration.
Can this ribbon cascade technique be applied to a full-size Christmas tree?
Yes, this ribbon cascade technique can be applied to a full-size artificial Christmas tree. The instructions use a small tabletop tree, but the concept scales up by increasing the amount of ribbon and the number of bows.
Browse ribbon supplies at Dollar Tree.

Leave a Reply