
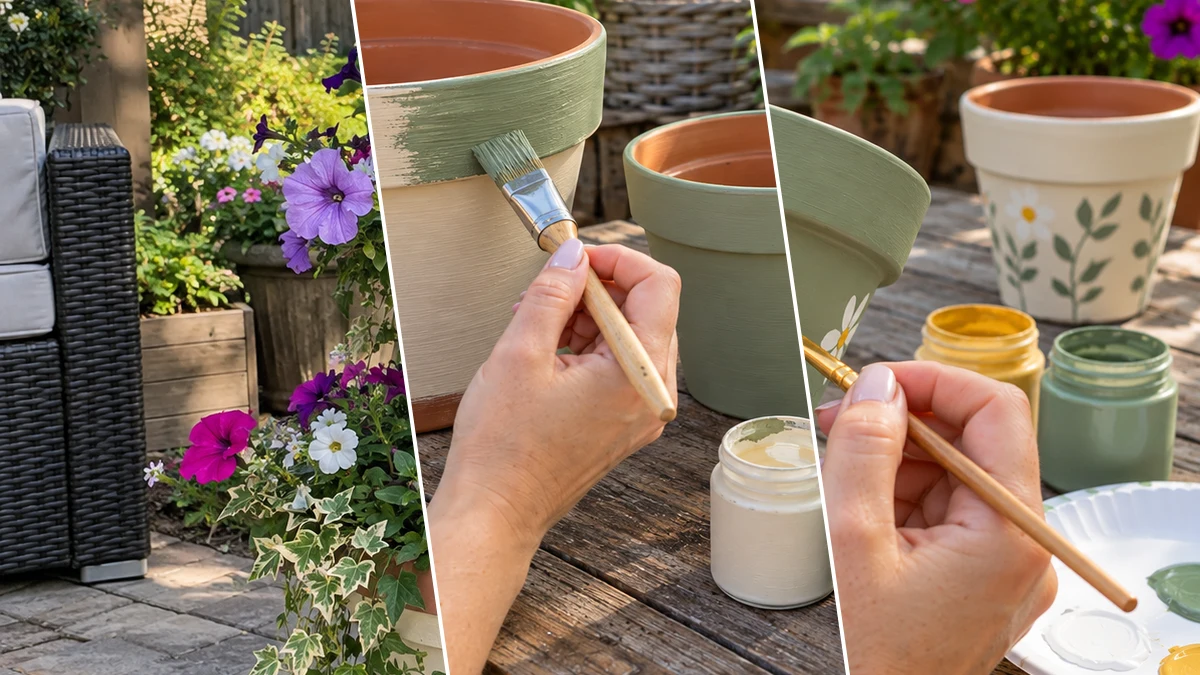
Welcome spring and summer to your outdoor spaces with a beautiful tiered flower display. This DIY stacked terracotta pot tower features pots painted in inviting cream and sage green, ready to showcase colorful annuals and trailing ivy. It's a charming way to add vertical interest and vibrant blooms to your patio or garden.
Project at a Glance
- Difficulty: Easy
- Estimated active time: 75 minutes to 115 minutes (drying and curing waits not included)
- Estimated component cost: $35 to $70 (reusable tools and general supplies excluded)
- Main material: Clay
- Suggested placement: Patio, Garden
Why a Stacked Terracotta Pot Flower Tower is Perfect for Your Outdoor Space
A stacked terracotta pot flower tower offers a unique and visually appealing way to display multiple plants in a compact footprint. This vertical gardening solution is ideal for patios, balconies, or small garden areas where ground space is limited. The tiered design allows for a diverse arrangement of flowering annuals and trailing plants, creating a lush, multi-level focal point.
Beyond its space-saving advantages, a DIY flower tower provides an opportunity for creative expression. Painting the terracotta pots in custom colors, such as the cream and sage green seen here, allows the planter to complement existing outdoor decor. Adding delicate hand-painted details transforms simple pots into a personalized piece of garden art.
Materials for Painted Terracotta Pot Flower Tower for Garden & Patio Decor
- 3 Terracotta Pots (varying sizes, nesting)
- Acrylic Craft Paint (cream, sage green, green, blue, yellow)
- Assorted Paint Brushes (flat, detail)
- Clear Outdoor Sealant (spray or brush-on)
- Potting Soil
- Flowering Annuals (e.g., Petunias in various colors, small white flowers)
- Trailing Ivy
Need another material? Browse current craft supplies and deals.
How to Create Your Stacked Terracotta Pot Flower Tower
Transform simple terracotta pots into a stunning tiered planter with these straightforward steps. This project involves painting, sealing, and then carefully assembling the pots into a stable structure. Soon, your outdoor space will feature a vibrant display of layered blooms.
Step 1: Prepare and Base Coat Pots
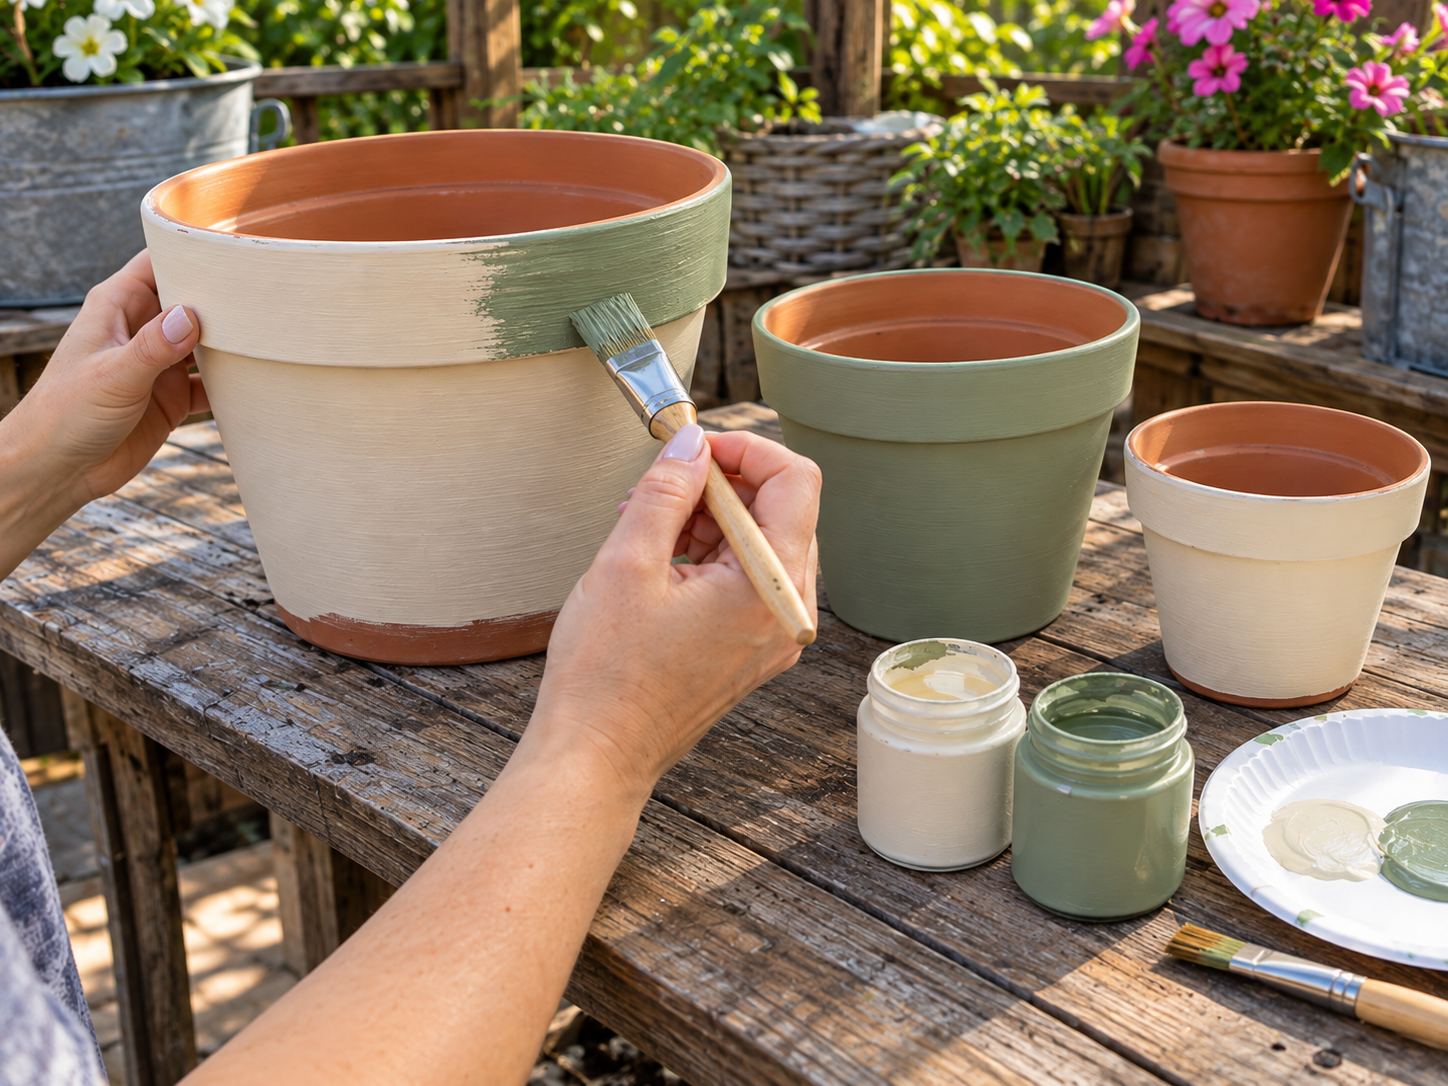
Begin by thoroughly cleaning all three terracotta pots, ensuring they are free of dust and debris. Allow them to dry completely. Apply a base coat of cream acrylic paint to the largest pot, covering all outer surfaces. Next, apply a base coat of sage green acrylic paint to the middle-sized pot. Leave the smallest pot in its natural terracotta finish.
Step 2: Add Decorative Details
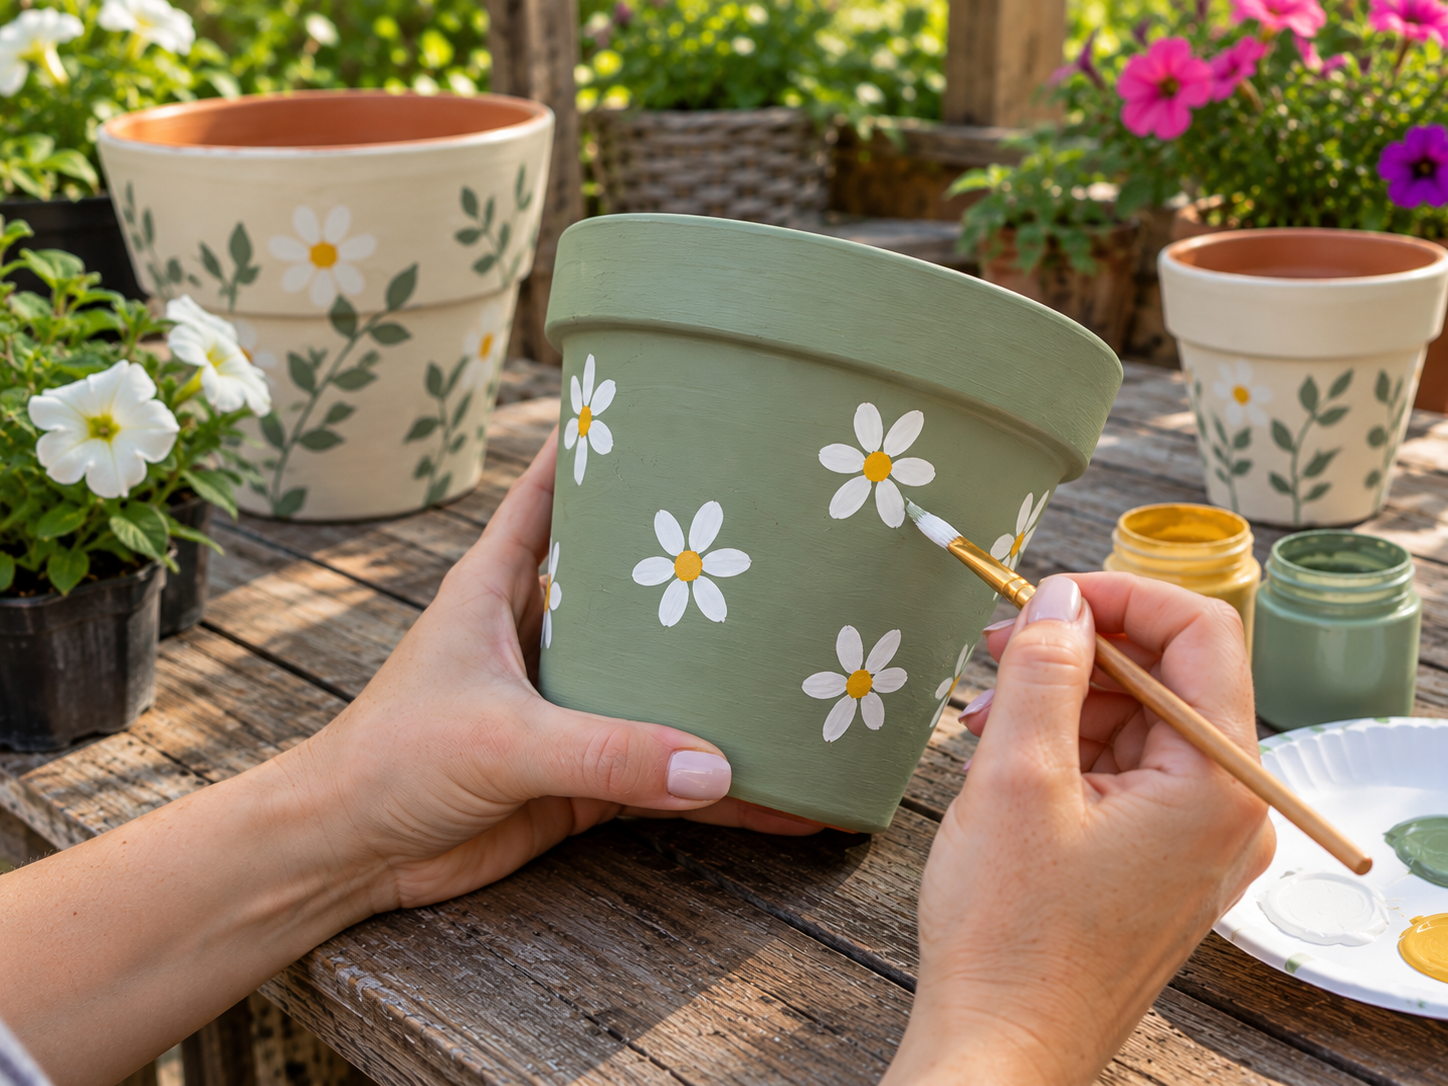
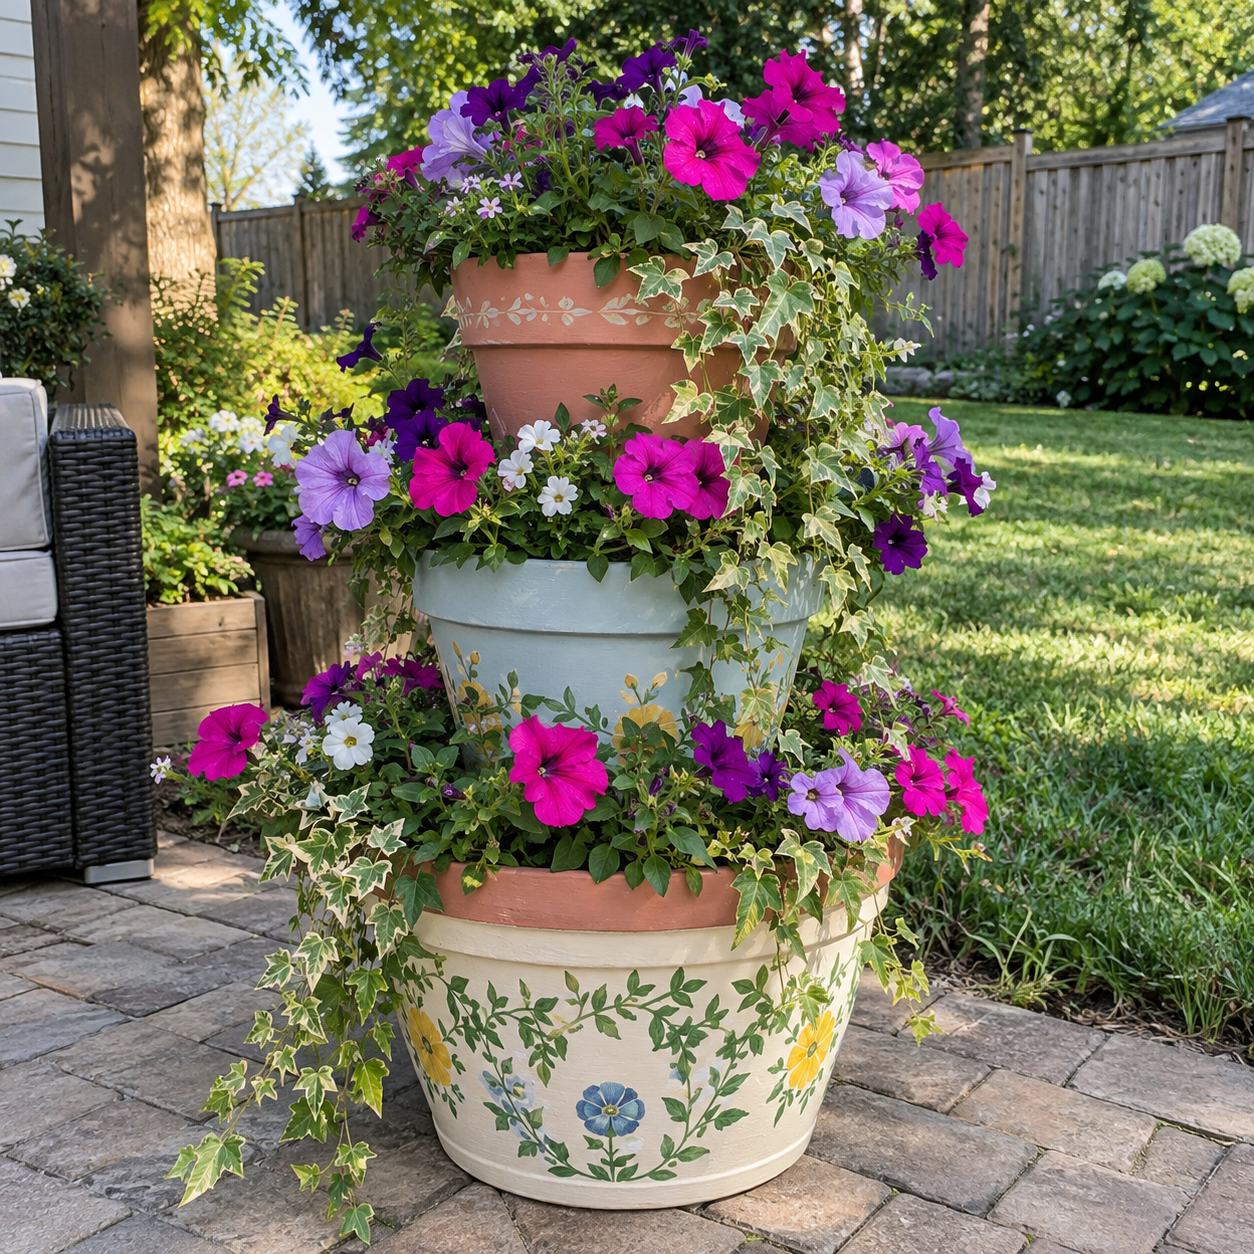
Once the base coats are dry, it's time to add decoration. Using a fine-tipped brush and green acrylic paint, hand-paint delicate vines wrapping around the cream base of the largest pot. Then, add small blue and yellow flowers along the vines. For the smallest (top) pot, you may optionally add a subtle decorative stencil pattern around its rim with cream or white paint, as seen in the inspiration image. The middle pot remains solid sage green.
Step 3: Seal and Cure
After all paint has thoroughly dried (check product instructions for specific drying times, usually 24 hours), apply a clear outdoor sealant to all painted surfaces of the pots. This step is crucial for protecting your painted designs from weather elements and moisture, especially since the planter will be outdoors. Apply according to product directions, ensuring even coverage. Allow the sealant to cure completely before proceeding.


Step 4: Assemble the Tiered Structure
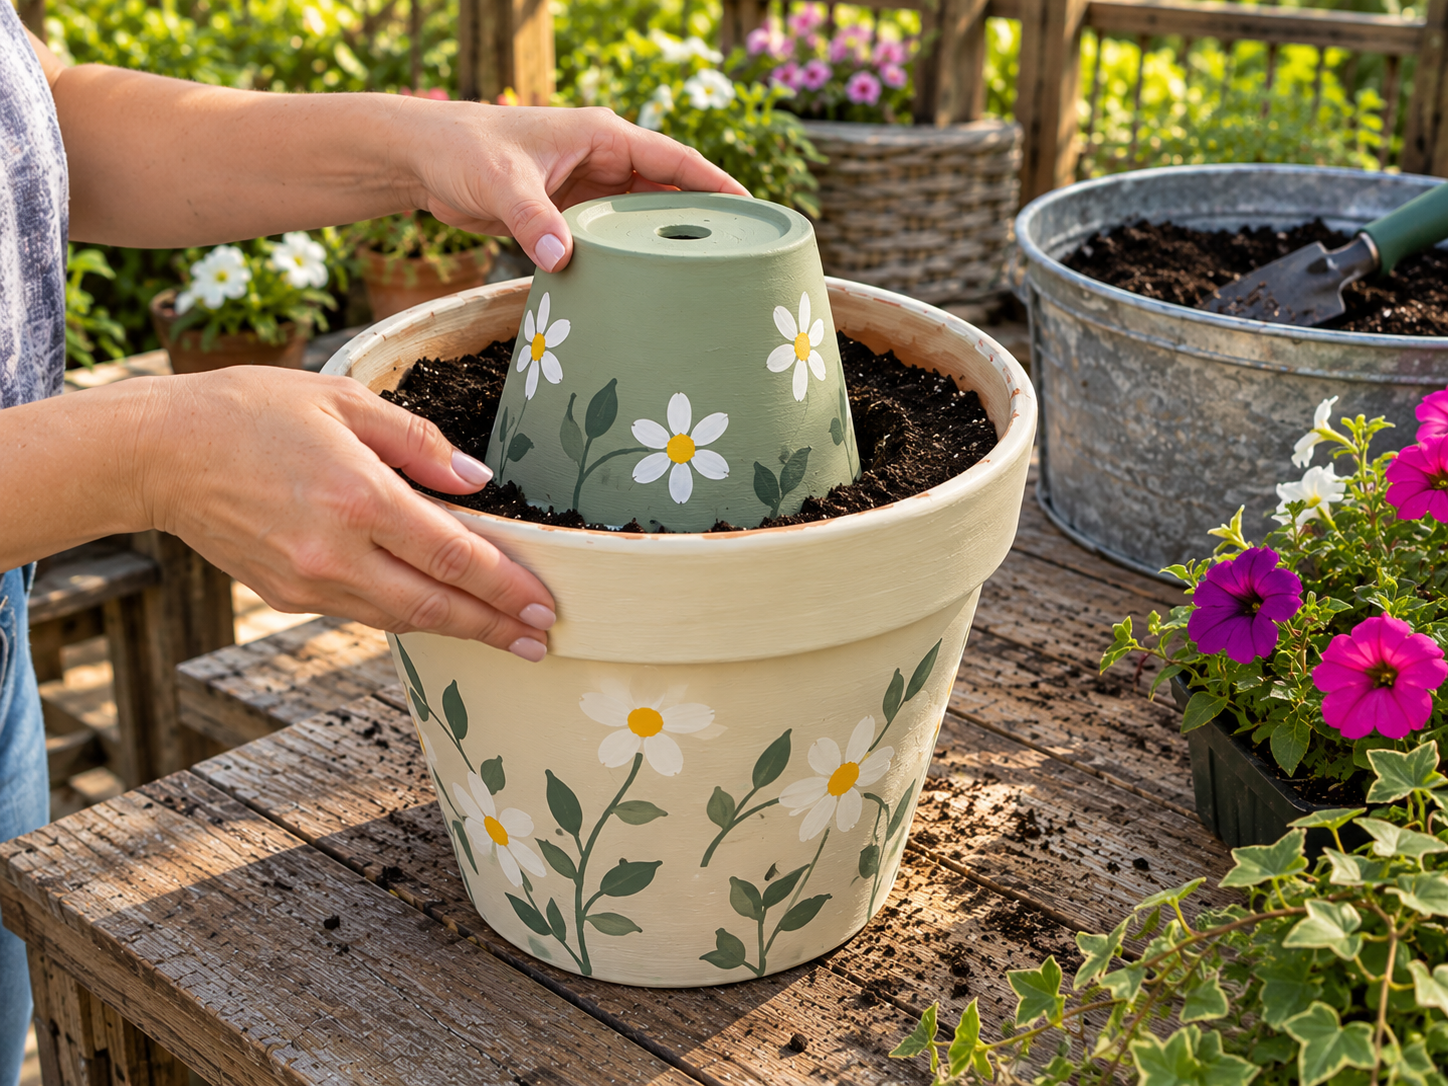
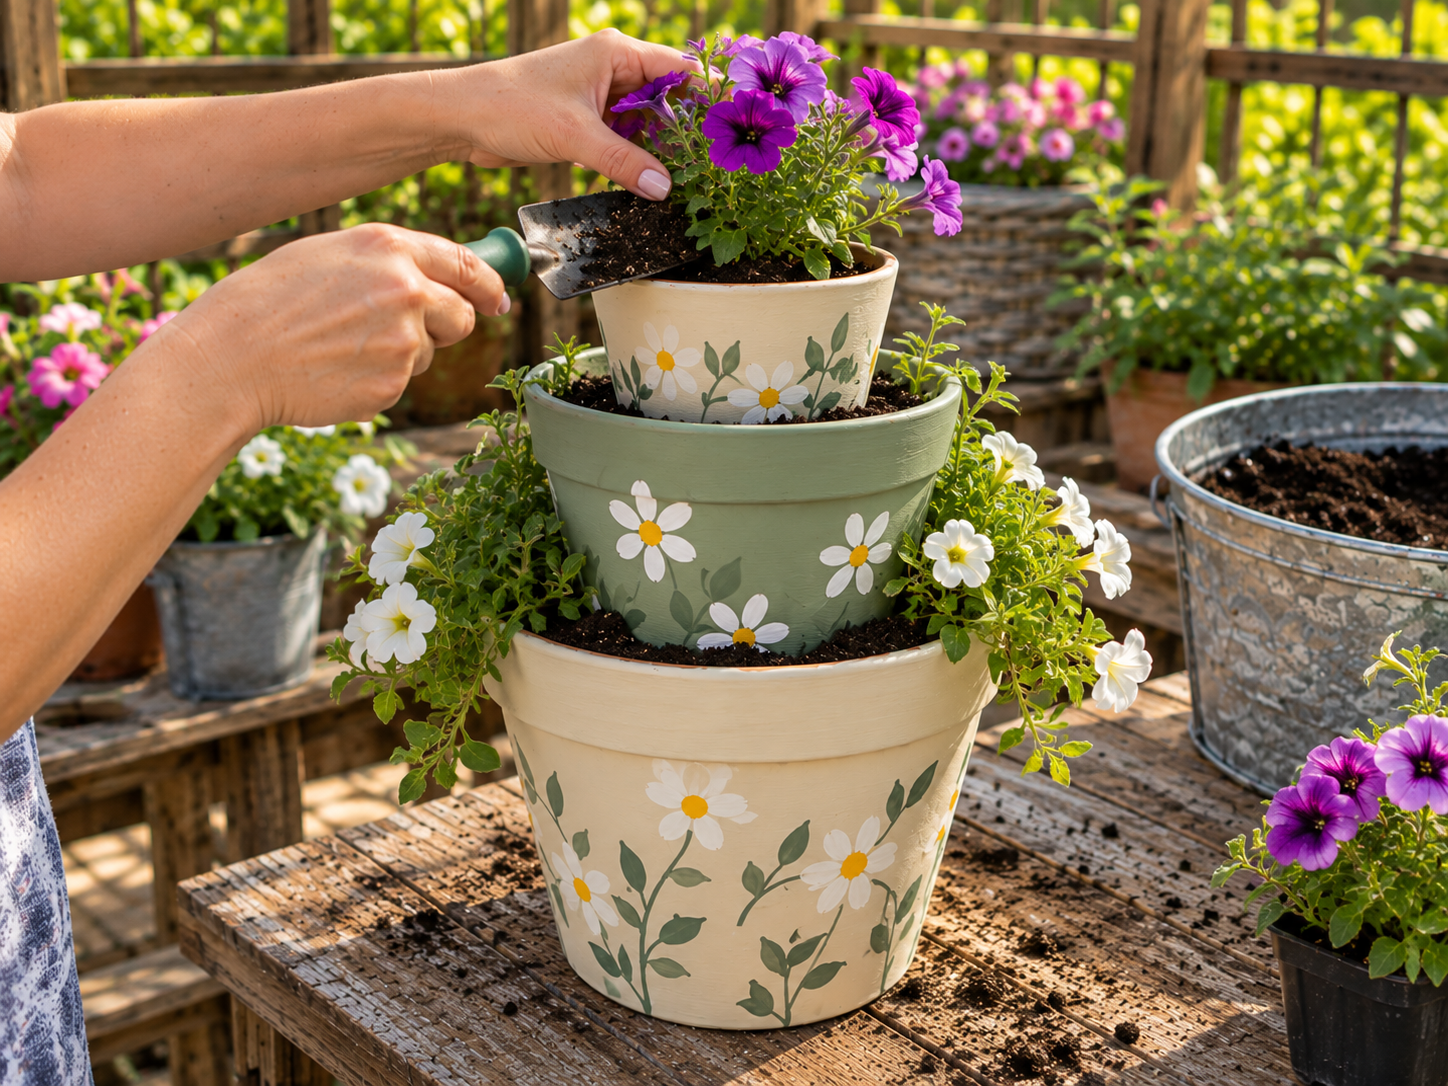
Choose the final location for your planter tower. Place the largest pot right-side up. Fill the bottom of the largest pot about halfway with potting soil. Take the middle-sized pot, invert it (turn it upside down), and carefully nest it into the potting soil within the largest pot, pressing down gently to secure it. Repeat this process with the smallest pot, inverting it and nesting it into the soil of the middle tier, creating a stable, three-tiered structure ready for planting.
Step 5: Plant Your Garden Tower
With the tower assembled, it's time to plant! Fill the planting areas of each tier with additional potting soil. Carefully arrange your chosen flowering annuals, such as vibrant purple and magenta petunias and small white accent flowers, along with variegated trailing ivy. Gently loosen the root balls of your plants before placing them. Once all plants are in place, water them thoroughly until water drains from the bottom of the largest pot.
Displaying Your Finished Terracotta Pot Flower Tower
Once your stacked terracotta pot flower tower is planted and watered, it is ready to brighten your patio or garden. This charming tiered display provides a beautiful home for your favorite seasonal flowers and trailing greenery. Enjoy the vibrant colors and vertical interest it brings to your outdoor living area.
Related project collection: Whimsical Garden Terracotta Pot Wind Chime
Practical Questions About This Project
What types of plants work best in this tiered planter?
Flowering annuals like petunias, small white flowers, and trailing ivy are suitable choices for this tiered planter, as they thrive in the individual tiers and create a cascading effect.
Is this flower tower suitable for indoor or outdoor use?
This planter is designed for outdoor use, as indicated by the application of a clear outdoor sealant, which protects the painted designs from weather elements and moisture.
What kind of paint and sealant are recommended for this project?
Acrylic craft paint is used for decorating the pots, and a clear outdoor sealant is applied afterward to protect the painted surfaces from outdoor conditions.
How many terracotta pots are needed for this project?
Three terracotta pots of varying, nesting sizes are required to create the stacked, tiered structure of this flower tower.
How are the pots stacked to create the tiered structure?
The middle and smallest pots are inverted (turned upside down) and carefully nested into the potting soil within the larger pots to create a stable, three-tiered structure.
Search Dollar Tree for clay supplies.

Leave a Reply