
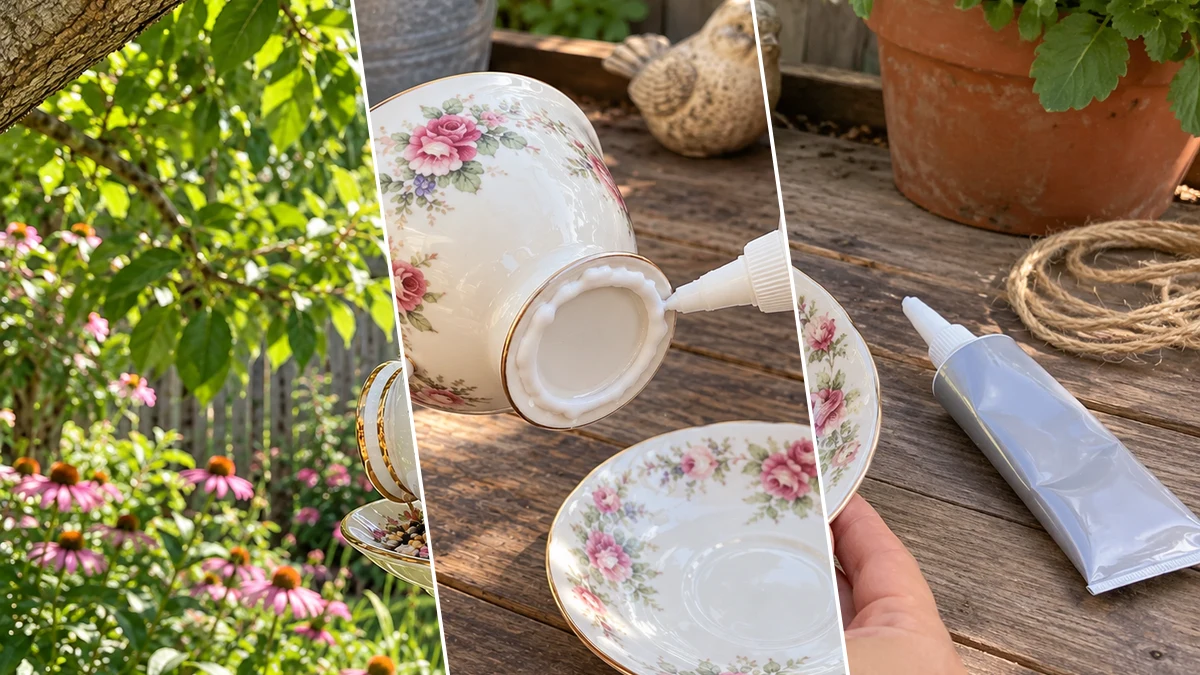
Create a charming hanging bird feeder for your garden using a repurposed teacup and saucer. This DIY project offers a whimsical touch to your outdoor space and provides a feeding station for local birds. It's an easy craft to complete, perfect for adding seasonal decor during spring and summer.
Project at a Glance
- Difficulty: Easy
- Estimated active time: 20 minutes to 40 minutes (drying and curing waits not included)
- Estimated component cost: $3 to $5 (reusable tools and general supplies excluded)
- Suggested placement: Garden
Why This Teacup Bird Feeder is a Charming Garden Addition
A teacup and saucer bird feeder offers a unique way to enhance your outdoor decor while also supporting local wildlife. This charming piece provides a stable platform for birdseed, inviting a variety of birds to your garden. Its whimsical design adds a touch of vintage appeal, making it a delightful focal point in any outdoor setting.
Ideal for spring and summer, this project repurposes common items into a functional and decorative piece. The use of a strong outdoor adhesive ensures durability for outdoor display. This easy craft is a practical choice for anyone looking to add character to their garden or patio.
Materials for DIY Repurposed Teacup and Saucer Bird Feeder for Garden Decor
- Vintage-style Teacup and Saucer (matching)
- Strong Outdoor Adhesive (e.g., E6000 Outdoor, Gorilla Glue Clear Grip)
- Jute Rope or Natural Twine
- Birdseed
- Drill with Ceramic/Tile Bit (e.g., diamond-tipped)
- Safety Glasses
Need another material? Browse current craft supplies and deals.
Crafting Your Repurposed Teacup Bird Feeder
This DIY project involves assembling a teacup and saucer with outdoor adhesive and drilling holes for hanging. Follow these steps to create a sturdy and charming bird feeder. Ensure all adhesive curing times are observed for best results.
Step 1: Prepare Teacup and Saucer
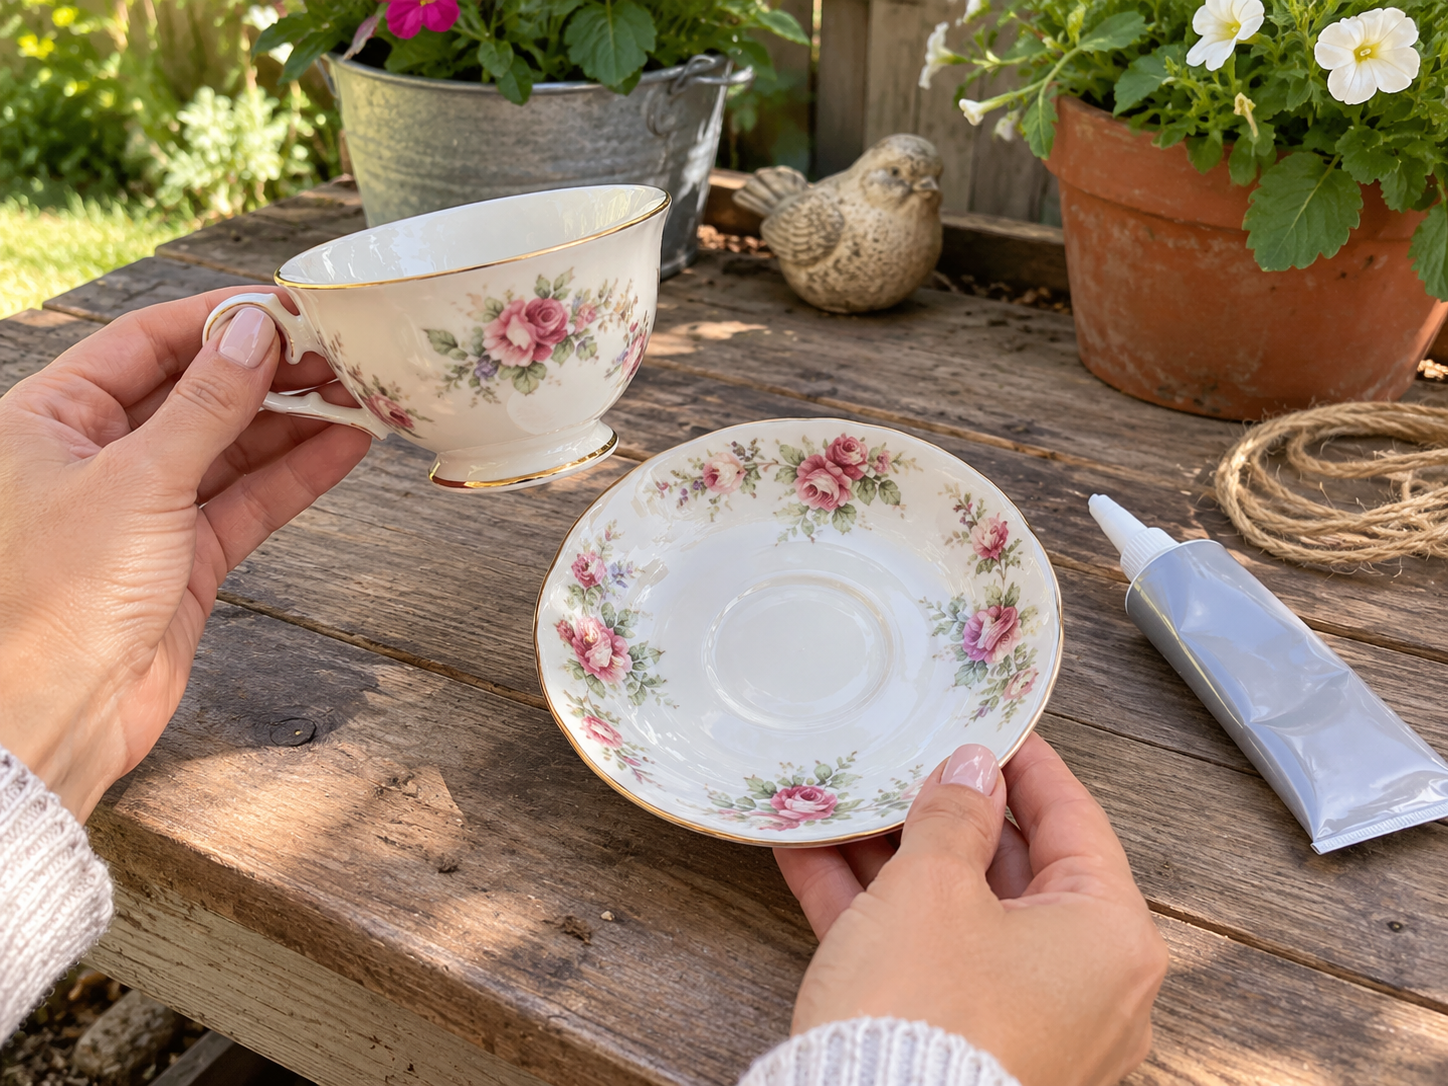
Begin by thoroughly cleaning your teacup and saucer. Use warm, soapy water to remove any dust, dirt, or residues, then rinse completely and allow them to dry fully. Inspect both pieces for any cracks or chips that could compromise their strength, especially if they are delicate vintage items.
Step 2: Drill Saucer Hanging Holes
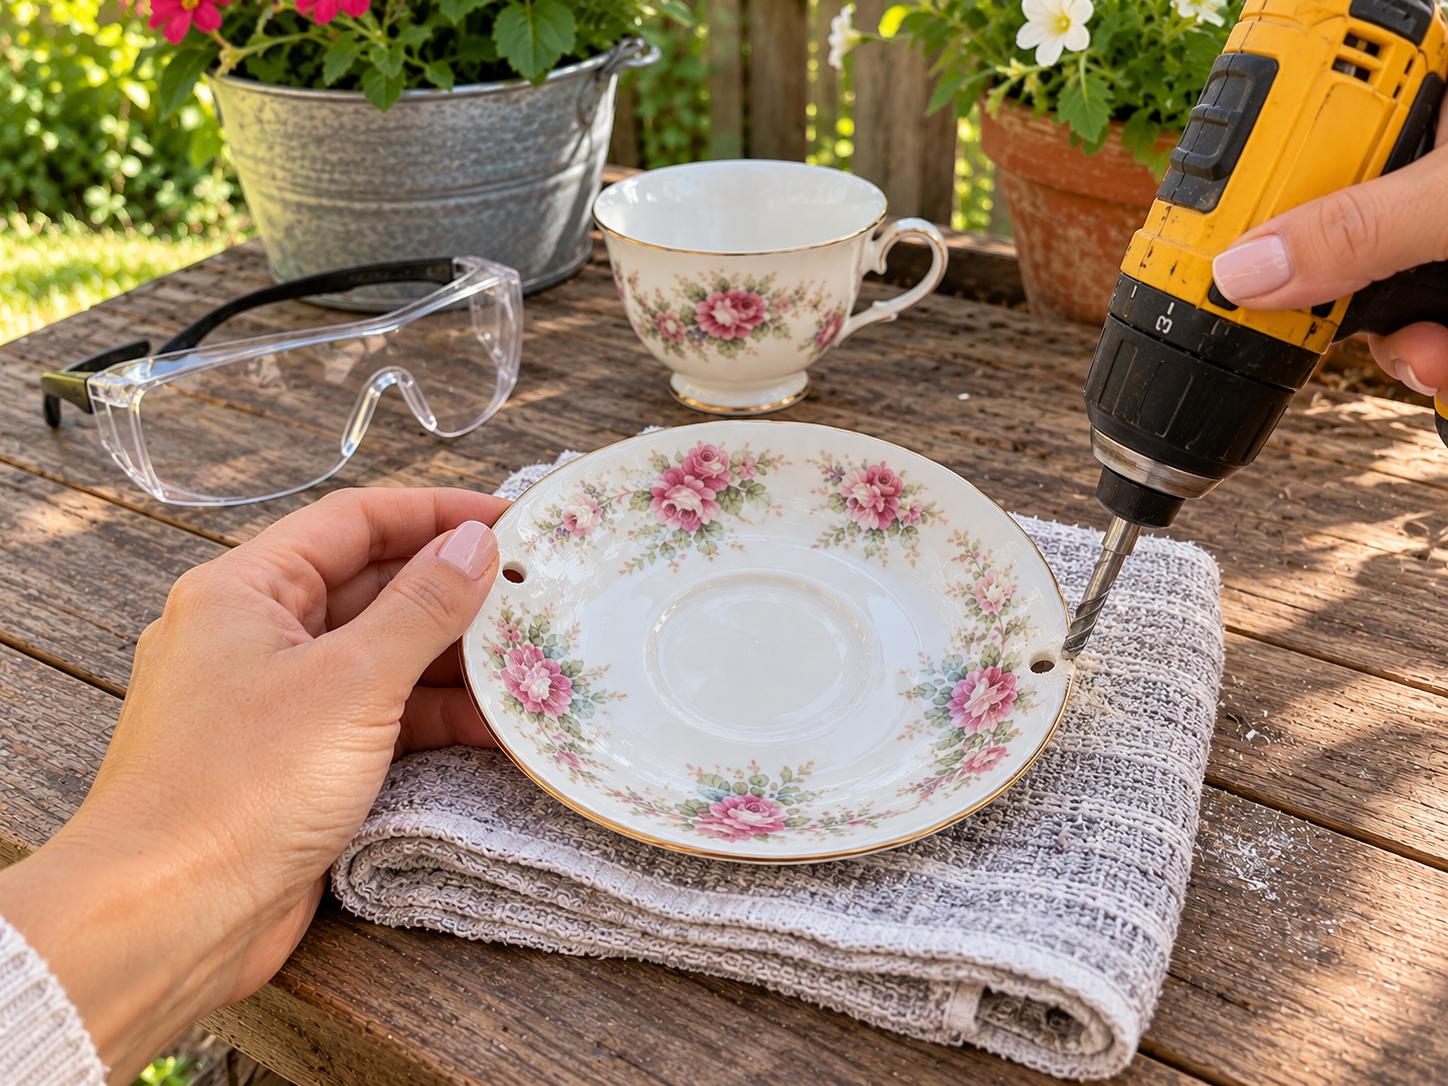
Wearing safety glasses, carefully mark two small points on the saucer's rim, opposite each other, where the rope will be threaded. Using a drill fitted with a ceramic or tile bit, slowly drill a small hole at each marked point. Apply light, steady pressure and use water to keep the bit cool as you drill to prevent cracking the porcelain.
Step 3: Glue Teacup to Saucer
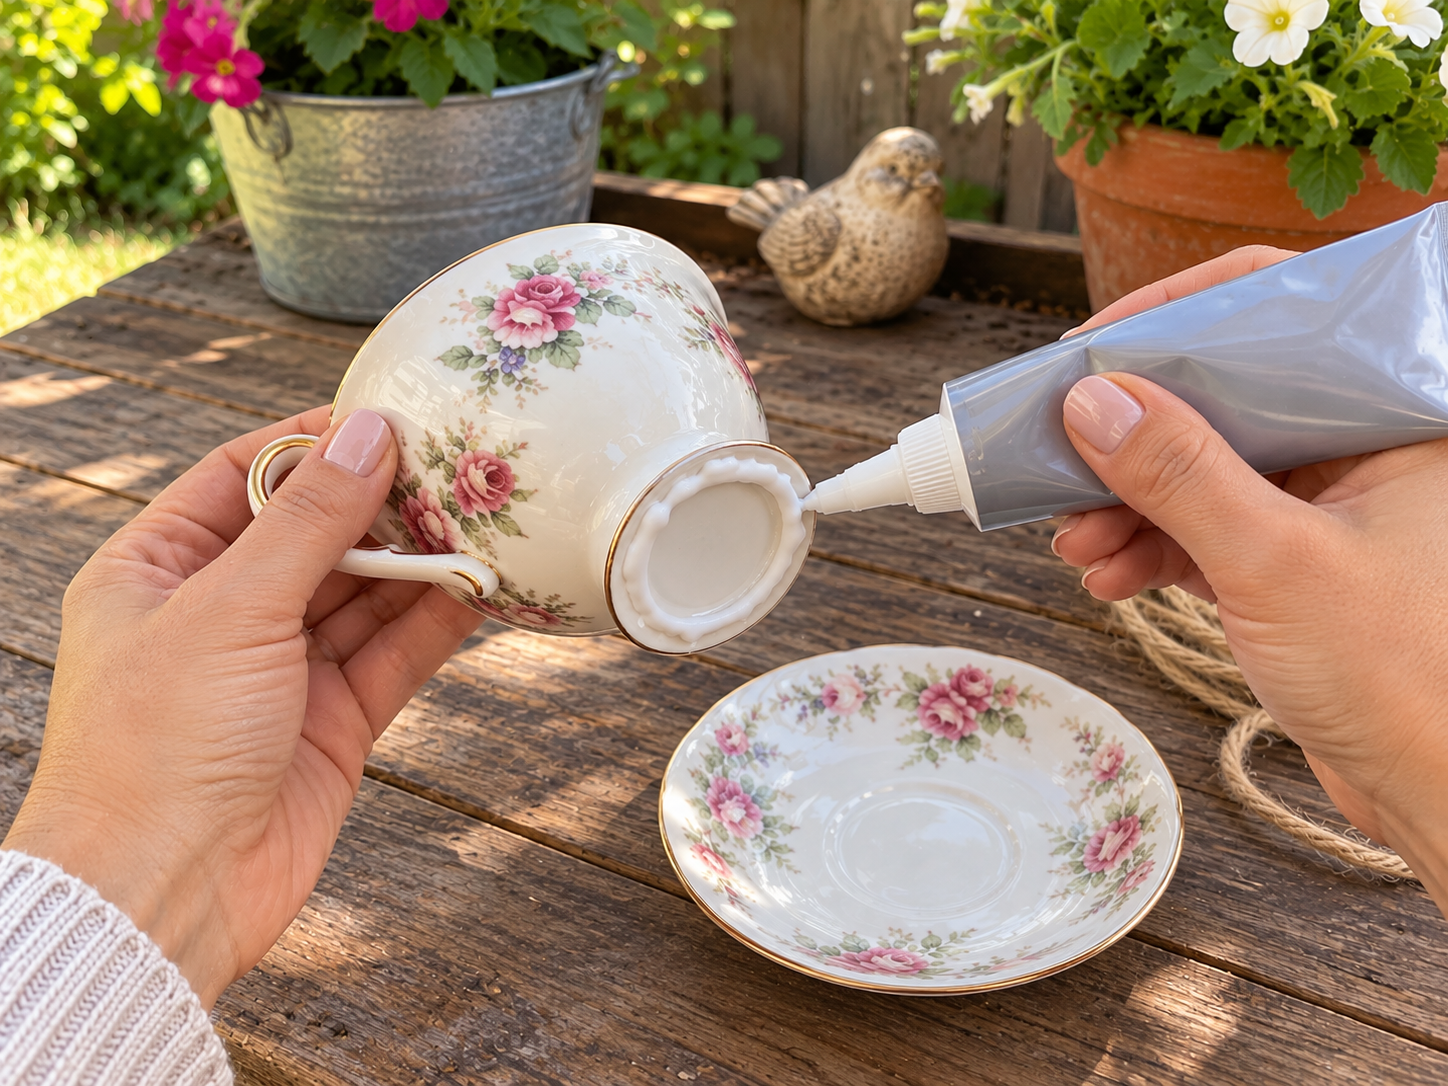
Apply a generous amount of strong outdoor adhesive to the bottom rim of the teacup. Carefully center the teacup off-center on the saucer, ensuring it's at an angle that allows easy access to the birdseed when hung. Press firmly for a few moments to create a good bond. Wipe away any excess adhesive that squeezes out.


Step 4: Attach Rope Hanger
Cut a length of jute rope (approximately 2-3 feet, depending on desired hanging length). Thread one end of the rope down through one of the drilled holes in the saucer, then up through the other hole. Bring both ends of the rope up and securely tie them around the teacup's handle, creating a sturdy hanging loop. Ensure the knots are tight and the saucer is balanced.
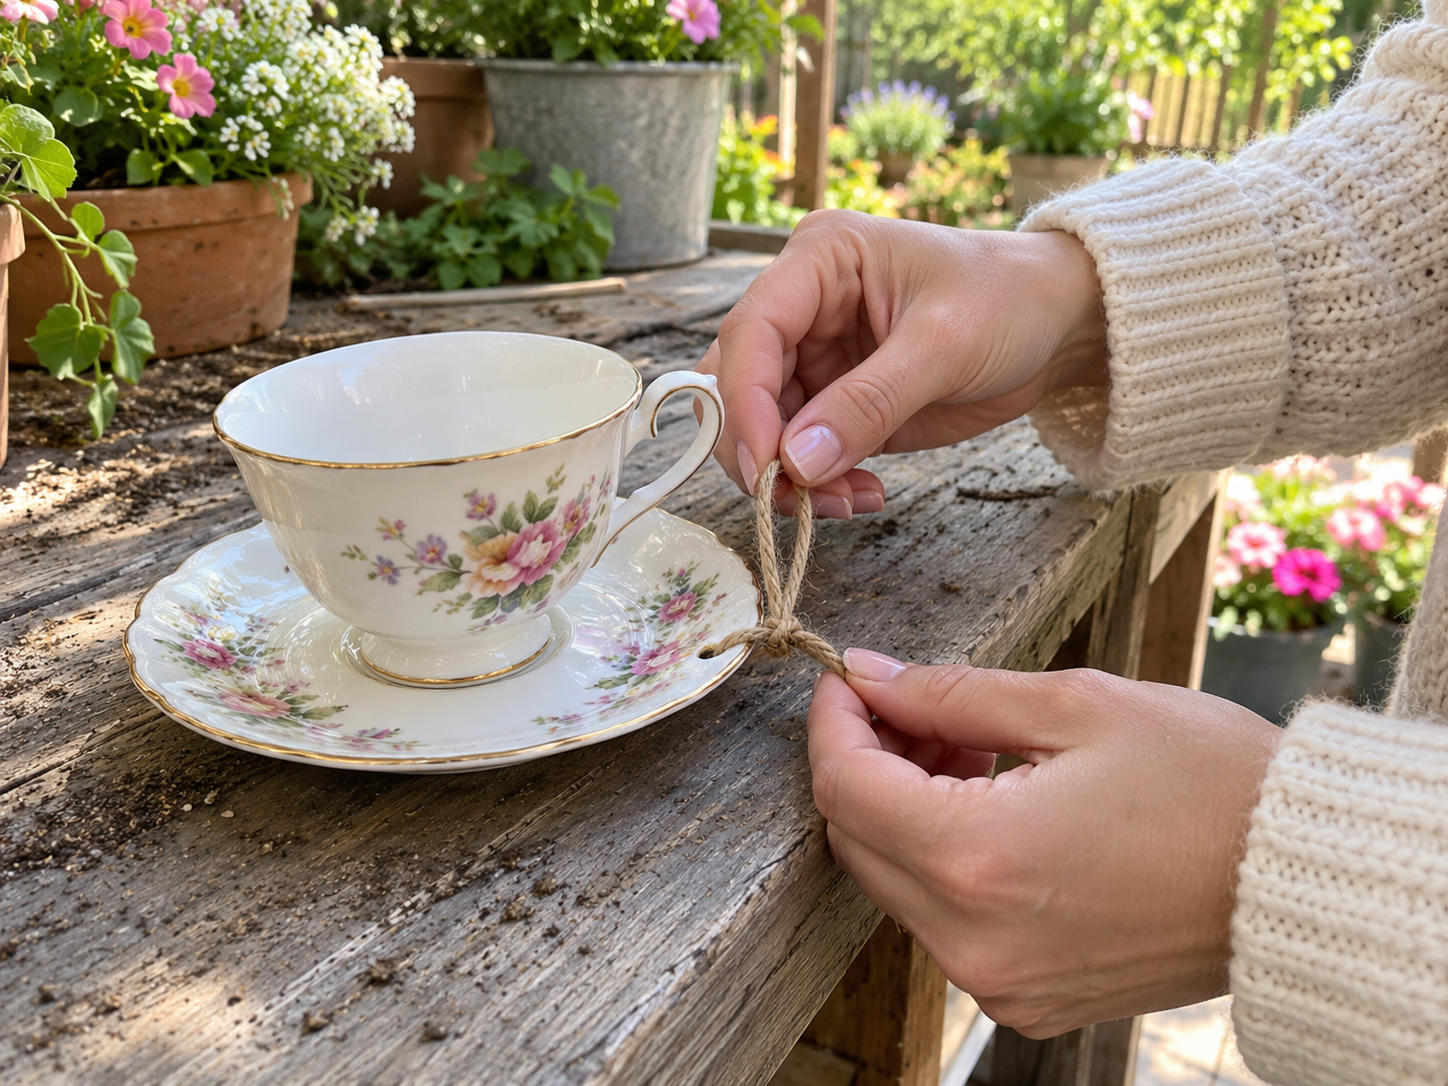
Step 5: Cure and Fill Feeder
Allow the outdoor adhesive to fully cure according to the manufacturer's instructions, which may take 24-72 hours. This is crucial for a strong, weather-resistant bond. Once cured, carefully pour birdseed into the teacup and onto the saucer, ensuring a generous, inviting supply for your feathered friends.
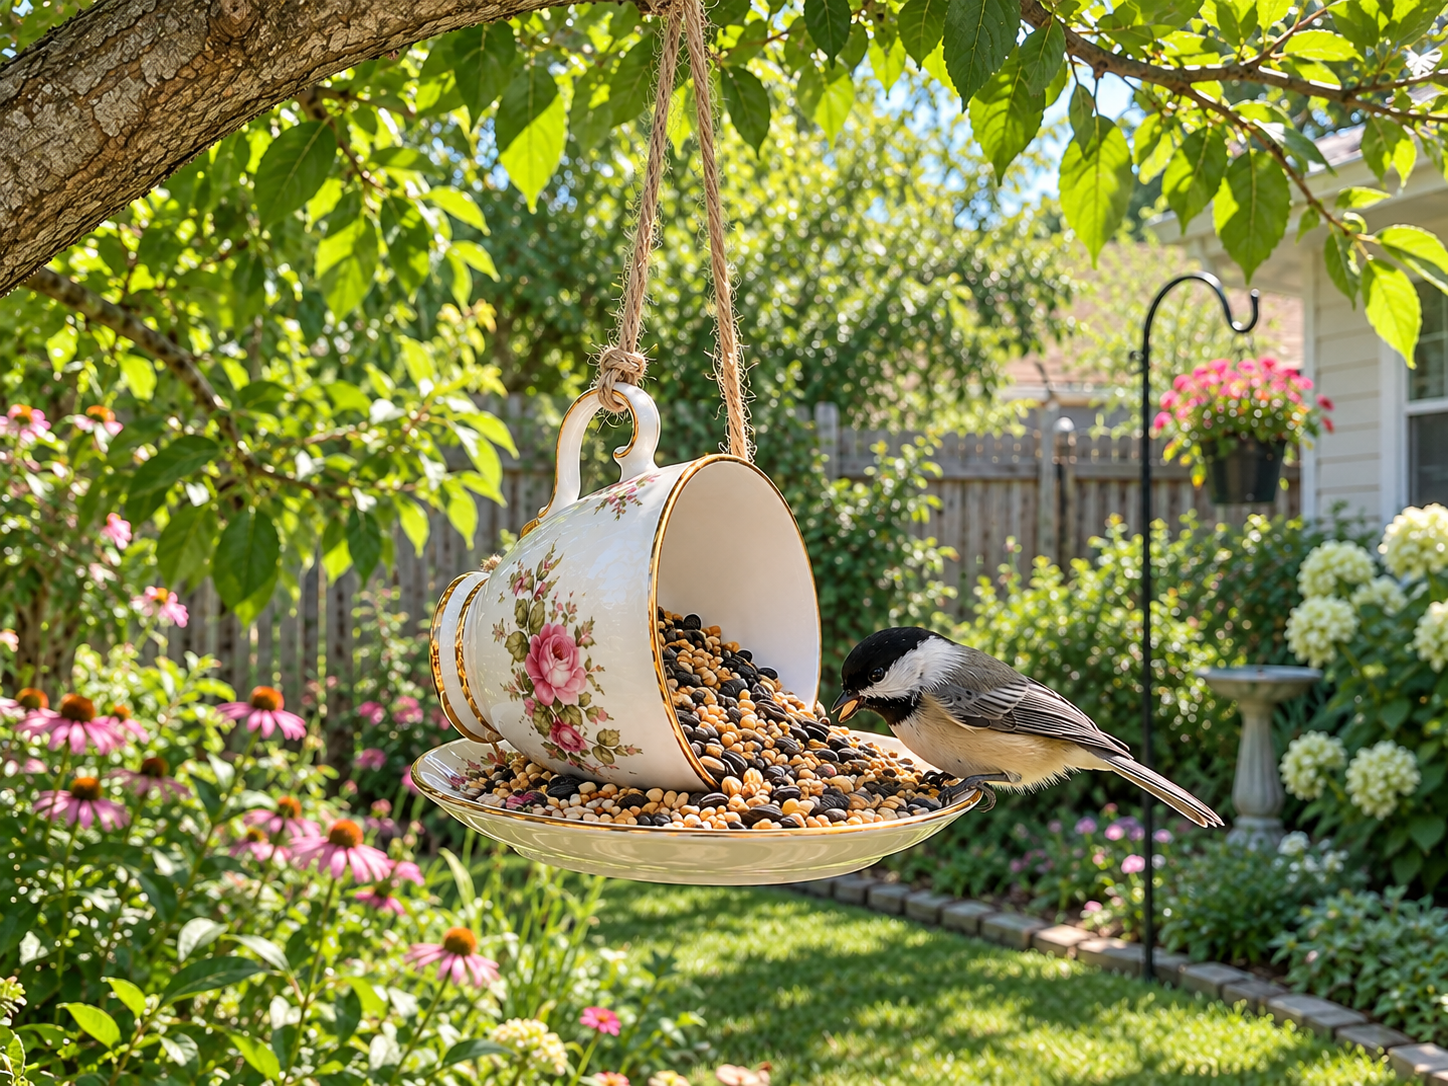
Step 6: Hang Your Bird Feeder
Choose a sturdy tree branch in your garden, ideally one that offers some protection from predators and elements, but is still easily visible for birdwatching. Hang your new teacup and saucer bird feeder securely by its jute rope loop. Sit back, relax, and enjoy watching the local birds visit your charming new feeder!
Displaying Your Repurposed Teacup Bird Feeder
Once your teacup bird feeder is complete and fully cured, select a suitable spot in your garden to hang it. Fill it with birdseed and enjoy watching the local birds visit your new, charming feeding station. This handmade addition brings both beauty and life to your outdoor space.
Related project collection: Charming Dollar Tree Fairy Garden House DIY
Practical Questions About This Project
What type of teacup and saucer are recommended for this project?
A vintage-style teacup and matching saucer are recommended to achieve the intended aesthetic. Ensure both pieces are clean and free of cracks or chips before starting.
What kind of adhesive is best for outdoor use?
A strong outdoor adhesive, such as E6000 Outdoor or Gorilla Glue Clear Grip, is specified for this project to ensure a durable and weather-resistant bond.
How should holes be drilled into the ceramic saucer?
Use a drill fitted with a ceramic or tile bit, such as a diamond-tipped bit. Wear safety glasses and apply light, steady pressure, using water to keep the bit cool to prevent cracking.
Where is the best place to hang this bird feeder?
Hang the feeder from a sturdy tree branch in your garden. Choose a location that offers some protection from predators and elements while remaining visible for birdwatching.
Why is the teacup glued off-center on the saucer?
Gluing the teacup off-center on the saucer ensures that birds can easily access the birdseed when the feeder is hung, providing a more functional feeding station.
Search Dollar Tree for spring & garden supplies.

Leave a Reply