
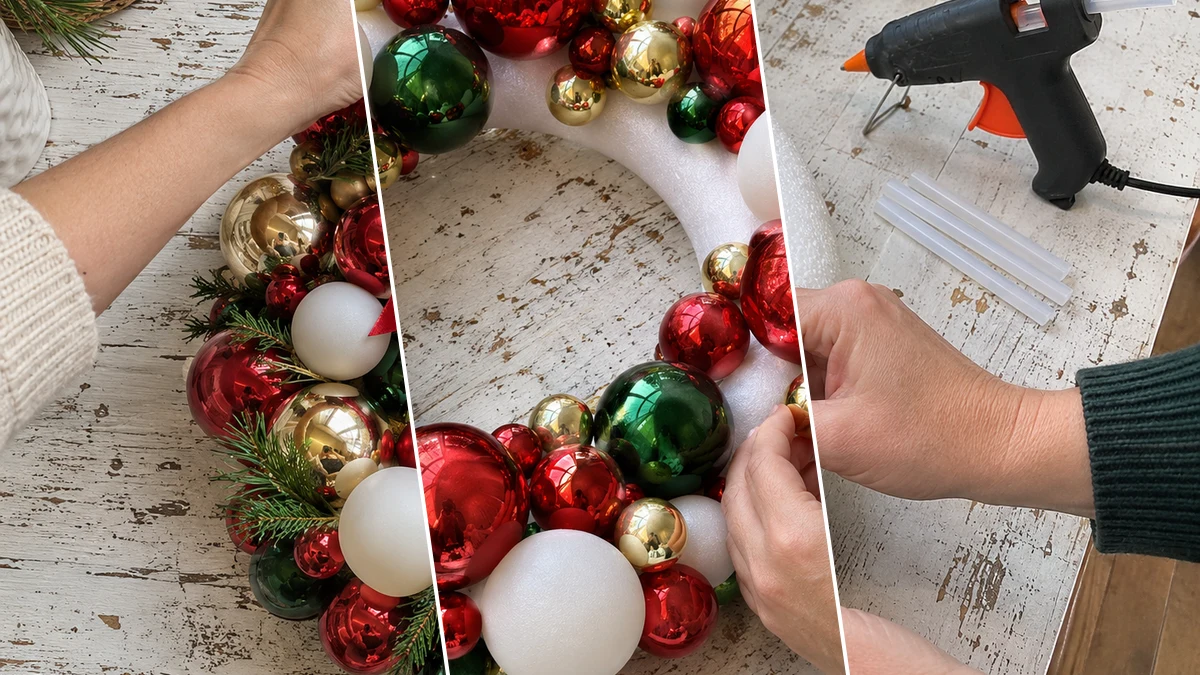
Create a festive focal point for your front door with a DIY shatterproof Christmas ornament wreath. This project combines classic red, gold, green, and matte white ornaments with faux pine sprigs for a full, traditional holiday look. It offers a welcoming display for the Christmas season.
Project at a Glance
- Difficulty: Easy
- Estimated active time: 50 minutes to 70 minutes (drying and curing waits not included)
- Estimated component cost: $10 to $15 (reusable tools and general supplies excluded)
- Main material: Plastic
- Suggested placement: Front Door, Wall
About Your Shatterproof Christmas Wreath
This Christmas wreath combines numerous shatterproof ornaments in a dense cluster, creating a vibrant display of traditional holiday colors. The mix of red, gold, green, and matte white ornaments, along with faux pine sprigs, gives the wreath a full and inviting appearance. Designed for a front door or wall, it offers a cheerful greeting throughout the festive season.
The estimated active time for this project is 50 to 70 minutes, excluding any unattended drying or curing time. The estimated component cost is between $10 and $15, excluding reusable tools and general supplies.
Materials for Shatterproof Christmas Ornament Wreath for a Festive Front Door
- Foam Wreath Form
- Shatterproof Christmas Ornaments (assorted sizes, red, gold, green, matte white)
- Faux Pine Sprigs
- Red Satin Ribbon
- Hot Glue Gun & Glue Sticks
- Floral Wire
Need another material? Browse current craft supplies and deals.
Assembling Your Shatterproof Christmas Ornament Wreath
Creating this festive ornament wreath involves a straightforward process of layering. Begin by covering the foam wreath form with larger ornaments, then fill in the gaps with smaller ones. Finish by adding faux pine sprigs and a decorative ribbon bow for a complete holiday look.
Step 1: Cover Wreath Base with Large Ornaments
Begin by heating your hot glue gun. Select the largest shatterproof ornaments and apply a generous bead of hot glue to the cap of each ornament. Press firmly onto the foam wreath form, ensuring the cap is against the foam for a secure bond. Continue to attach the large ornaments, distributing colors and finishes evenly, until the majority of the foam is covered. Focus on the front and outer edges first.
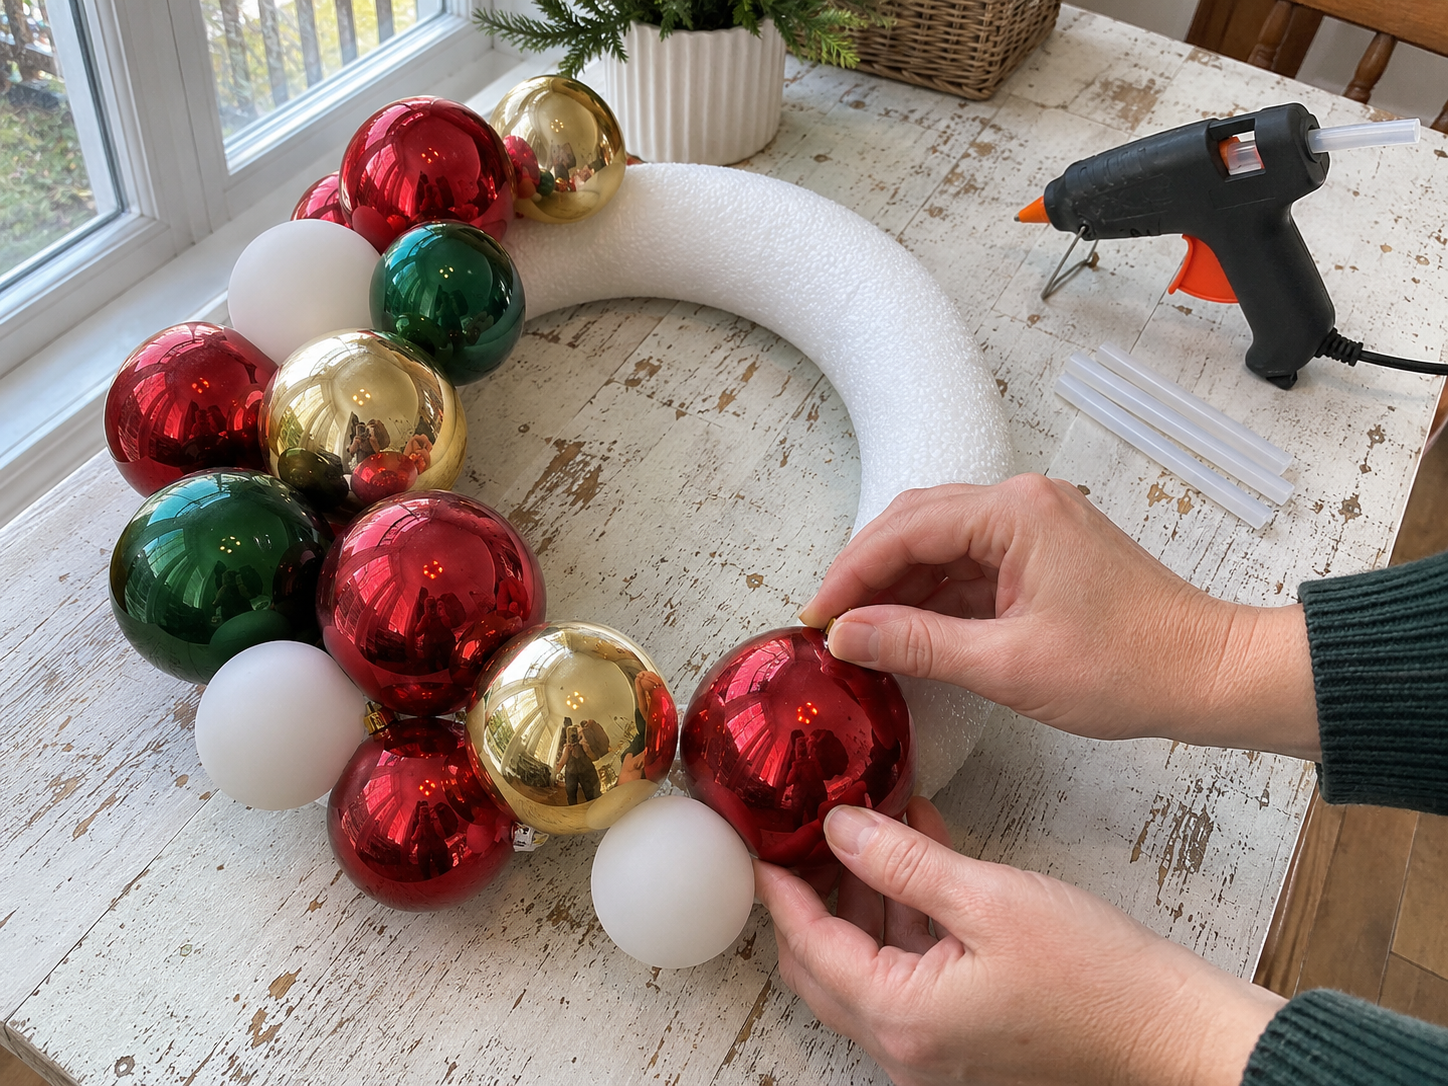
Step 2: Fill Gaps with Smaller Ornaments
Once the larger ornaments are securely in place, use medium and small-sized ornaments to fill in all visible gaps. Apply hot glue to the cap or a side of the ornament, then tuck it tightly between the larger balls. Experiment with angles and depths to create a full, dimensional look that completely conceals the foam form. Vary colors and finishes for visual interest.
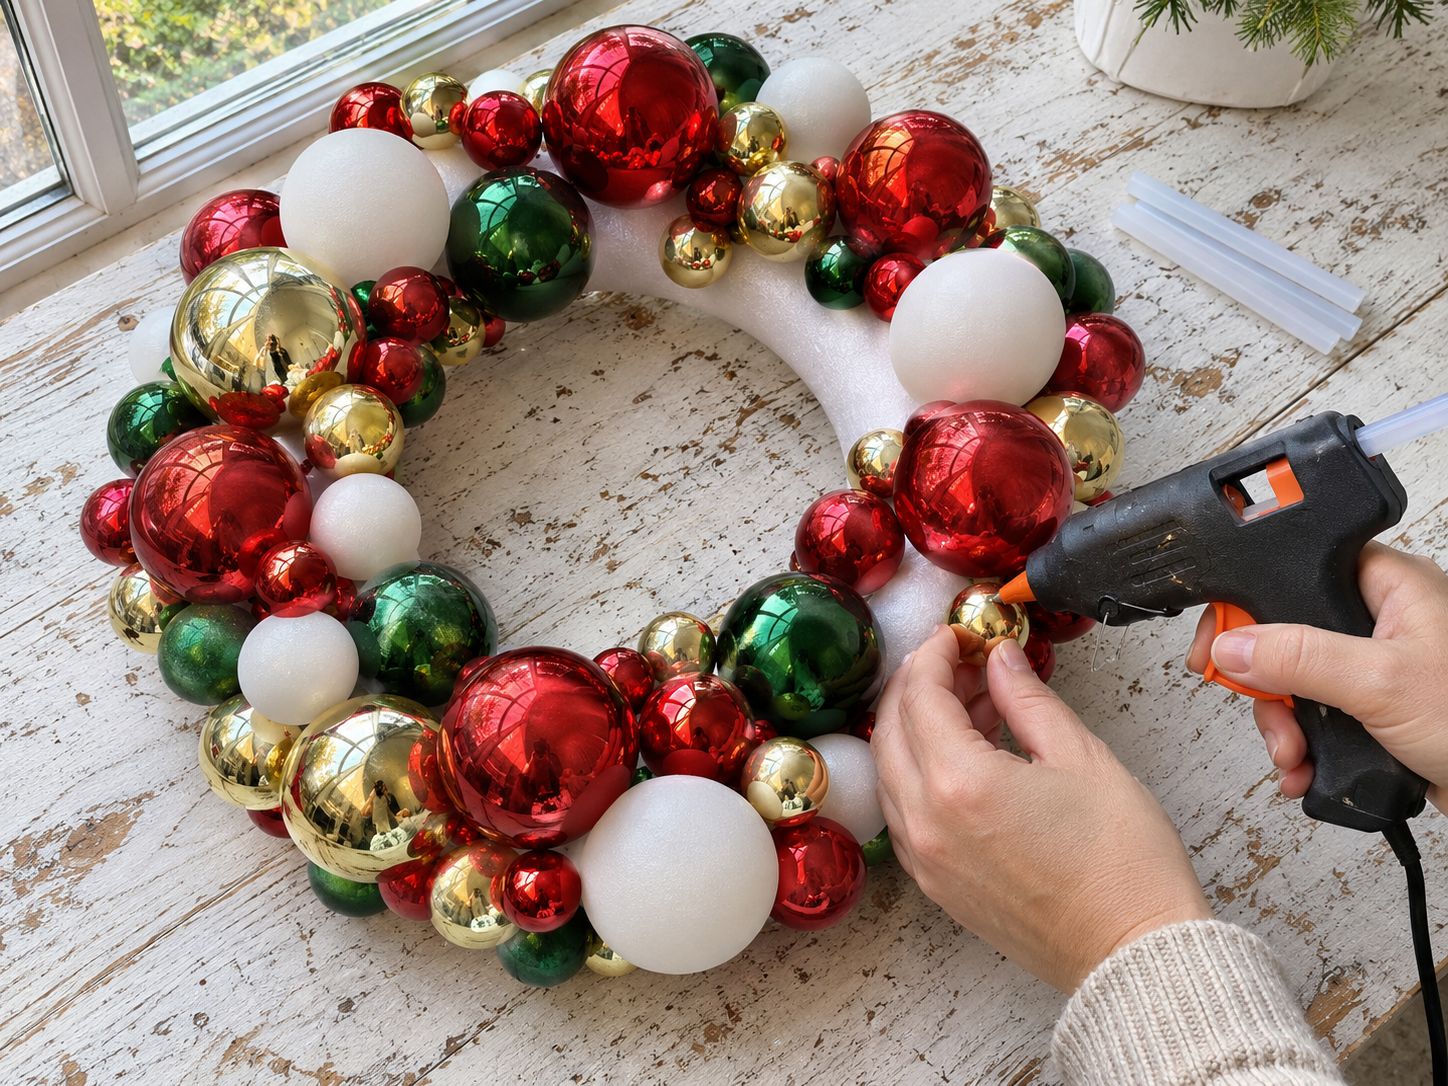
Step 3: Integrate Faux Pine Sprigs
Once the ornament base is complete, cut your faux pine sprigs into smaller sections if necessary. Apply a dab of hot glue to the base of each sprig and carefully tuck them into the small spaces between the ornaments. Distribute them evenly around the wreath to add texture and a natural, festive touch, ensuring they are securely glued in place and pointing outwards.
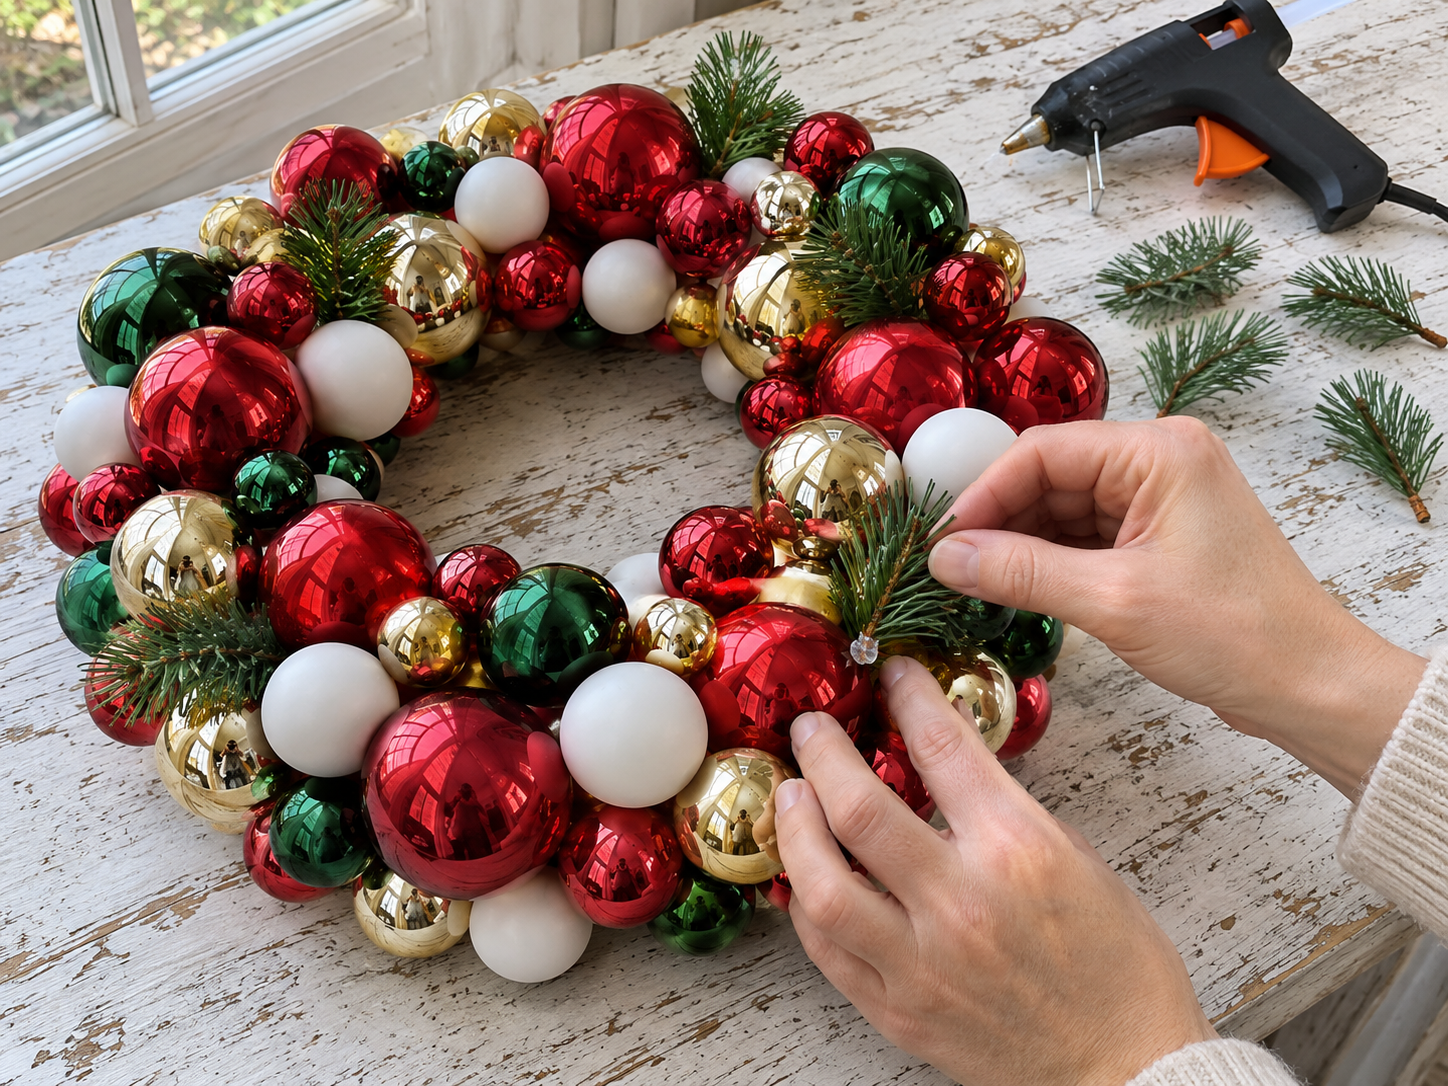


Step 4: Create and Attach Ribbon Bow & Hanger
Cut a long piece of red satin ribbon. Create a multi-loop bow and secure its center with floral wire or a small piece of ribbon. Then, form a hanging loop from another piece of ribbon or the remaining length of the bow ribbon, securing it with floral wire to the top of the wreath form, hidden among the ornaments. Finally, use hot glue to attach the decorative bow over the floral wire at the top of the wreath, ensuring it hides the hanger attachment point and any visible wire.

Displaying Your Festive Ornament Wreath
Once assembled, this shatterproof Christmas ornament wreath provides a durable and festive decoration. Hang it on your front door or an interior wall to welcome guests and spread holiday cheer throughout the season. The rich colors and textures create a warm and inviting atmosphere.
Related project collection: DIY Peppermint Candy Christmas Wreath for Festive Holiday Door Decor
Practical Questions About This Project
How are the ornaments attached to the wreath form?
Ornaments are attached using a hot glue gun, applying glue to the cap or side of each ornament and pressing it firmly onto the foam wreath form.
How can visible gaps be avoided when covering the wreath?
To avoid visible gaps, start with larger ornaments to cover the base, then fill in all remaining spaces with medium and small ornaments, tucking them tightly and varying angles for a full, dimensional look.
What is used to create the hanging loop for the wreath?
A hanging loop is formed from red satin ribbon and secured to the top of the wreath form with floral wire, hidden among the ornaments.
What is the estimated active time and component cost for this project?
The estimated active time is 50 to 70 minutes, excluding unattended drying. The estimated component cost is $10 to $15, excluding reusable tools and general supplies.
Search Dollar Tree for plastic supplies.

Leave a Reply