
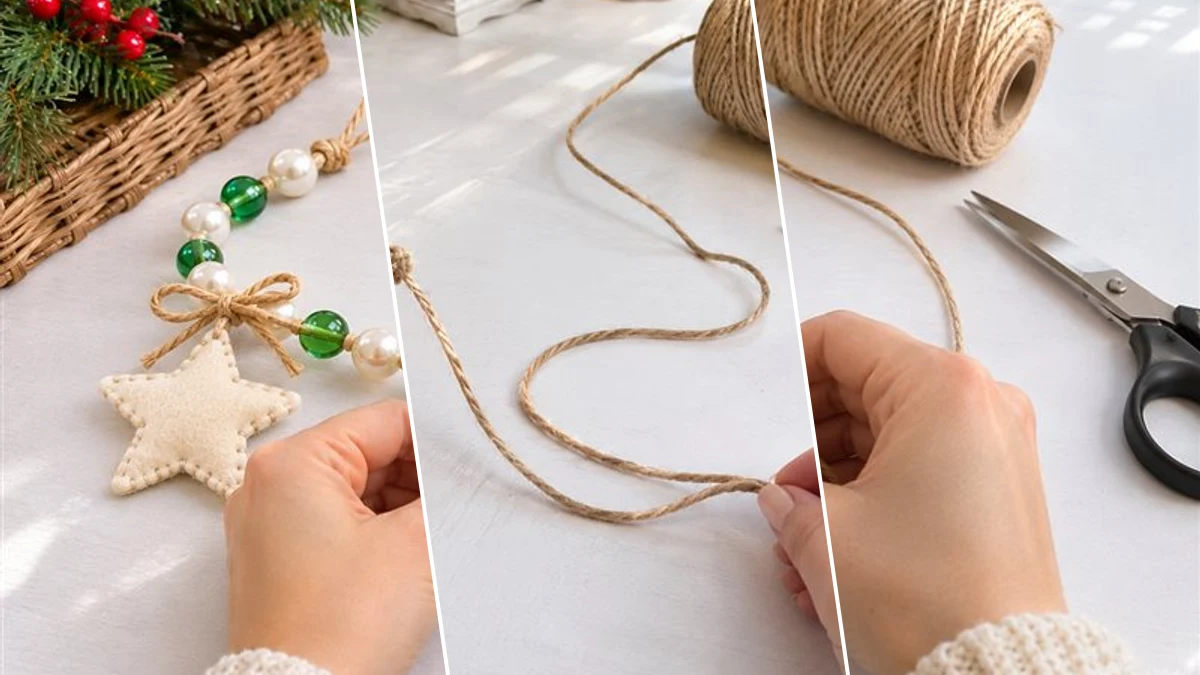
Transform your living room fireplace for the holidays by crafting a charming beaded Christmas garland swag. This beginner-friendly project combines pearl beads, green pony beads, and handmade felt stars on rustic jute twine. You can easily assemble this festive display in about 30 to 60 minutes for roughly 3 to 7 dollars.
Project at a Glance
- Difficulty: Easy
- Estimated active time: 30 minutes to 60 minutes (drying and curing waits not included)
- Estimated component cost: $3 to $7 (reusable tools and general supplies excluded)
- Main material: Jute Twine
- Suggested placement: Mantel, Window
Styling Your Handmade Holiday Garland Swag
Draping a handmade garland across your mantel or living room window adds instant holiday warmth to your home. Using budget-friendly Dollar Tree supplies like white pearl beads, green pony beads, and red berry clusters creates a traditional Christmas look without breaking your seasonal budget.
This indoor decoration is lightweight and holds up wonderfully throughout the entire winter season. Because it relies on simple stringing and secure twine bows instead of messy glues or complex sewing, it is also a wonderful craft to share with older kids or fellow holiday decorators.
Materials for DIY Beaded Christmas Garland Swag for a Festive Mantel
- Jute Twine
- White Pearl Beads and Green Pony Beads
- Cream Felt Sheets
- Faux Pine Picks and Red Berry Clusters
- Craft Wire
- Glue Dots
Need another material? Browse current craft supplies and deals.
How to Make Your Beaded Christmas Garland
Follow these five straightforward steps to measure your twine, string your beads, prep your felt stars and pine clusters, and assemble your finished mantel swag.
Step 1: Cut and Secure Twine Ends
Measure and cut your jute twine to fit the width of your mantel, leaving extra length on both ends for hanging loops. Tie a secure knot at one end to prevent the beads from sliding off while you work.

Step 2: String the Pearl and Pony Beads
Begin threading your beads onto the jute twine in a repeating pattern. Alternate between several white pearl beads and green pony beads to create the classic Christmas color scheme along the length of the garland.

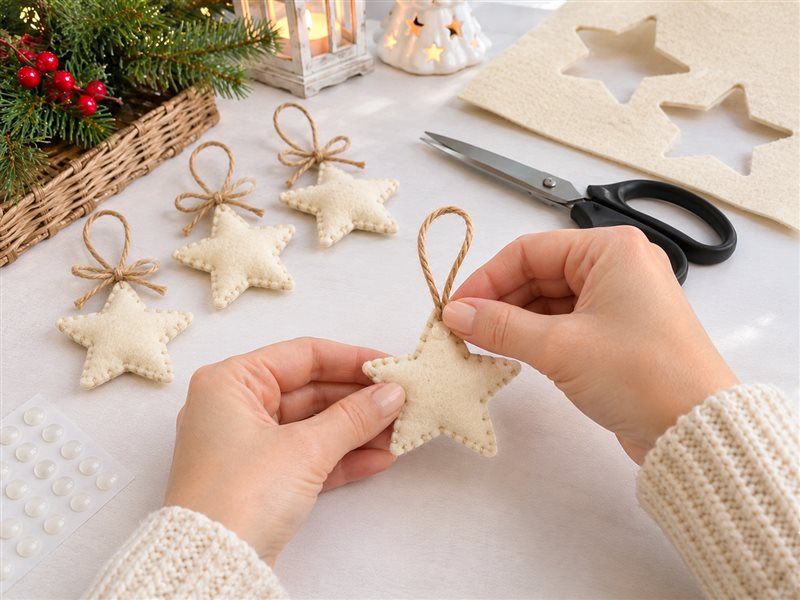
Step 3: Craft and Prepare Felt Stars
Cut star shapes out of cream felt sheets. Create small hanging loops using thin twine or thread and attach them securely to the top point of each felt star using glue dots.


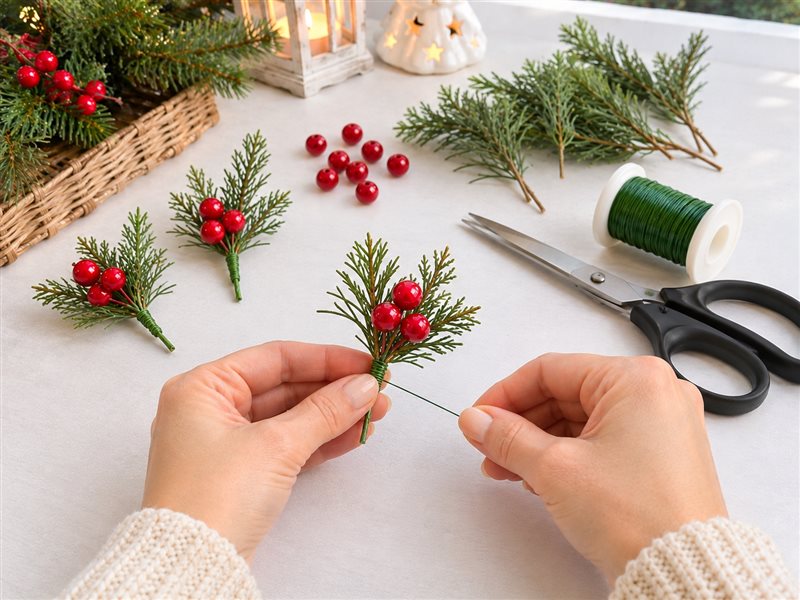
Step 4: Assemble Pine and Berry Clusters
Trim small sprigs from the faux pine picks. Group the pine needles together with small red bead berry clusters, securing the stems tightly using craft wire.
Step 5: Attach Embellishments to the Garland
Intersperse your prepared felt stars and pine-berry clusters along the beaded twine. Tie them securely in place using small jute twine bows, spacing them evenly to create a balanced swag look.
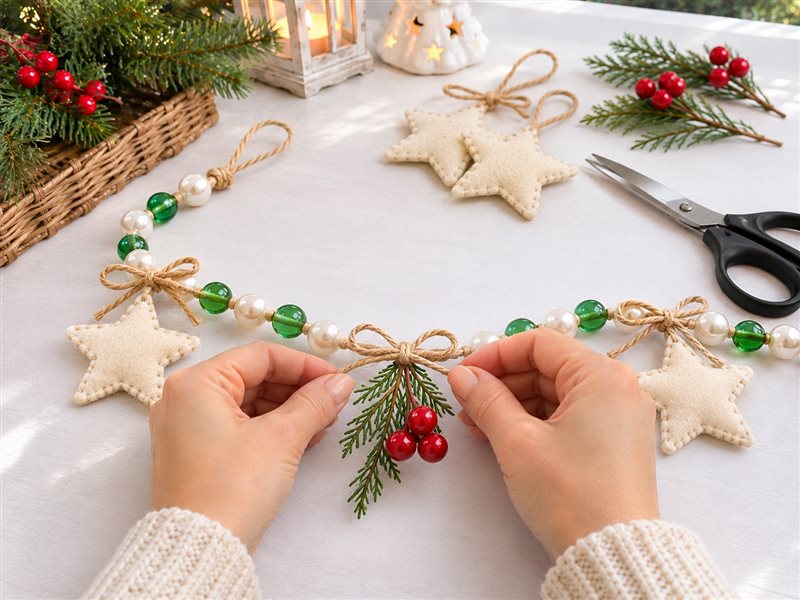
Enjoy Your Custom Holiday Display
Once your garland is fully assembled with its pine sprigs and felt stars, hang it securely across your mantel or window frame. It brings a cozy, handcrafted touch to your holiday living space that you can easily pack away and enjoy for years to come.
Related project collection: DIY Dorm Christmas Decor Set: Lighted Tree, Ornament Jar, & Garland for Small Spaces
Practical Questions About This Project
How long does it take to make this Christmas garland swag?
This project takes about 30 to 60 minutes of active crafting time from start to finish.
What materials do I need to make the garland?
You will need jute twine, white pearl beads, green pony beads, cream felt sheets, faux pine picks, red berry clusters, craft wire, and glue dots.
How much does it cost to build this holiday swag?
The total project cost typically ranges between 3 to 7 dollars depending on what supplies you already have on hand.
Is this craft suitable for beginners or kids?
Yes, it is very beginner-friendly. Kids can easily help with the beading and stringing steps, though an adult should handle cutting the craft wire.
Where is the best place to hang the finished garland?
It is designed to hang gracefully across a fireplace mantel or along a living room window frame indoors.
Search Dollar Tree for jute twine supplies.

Leave a Reply