
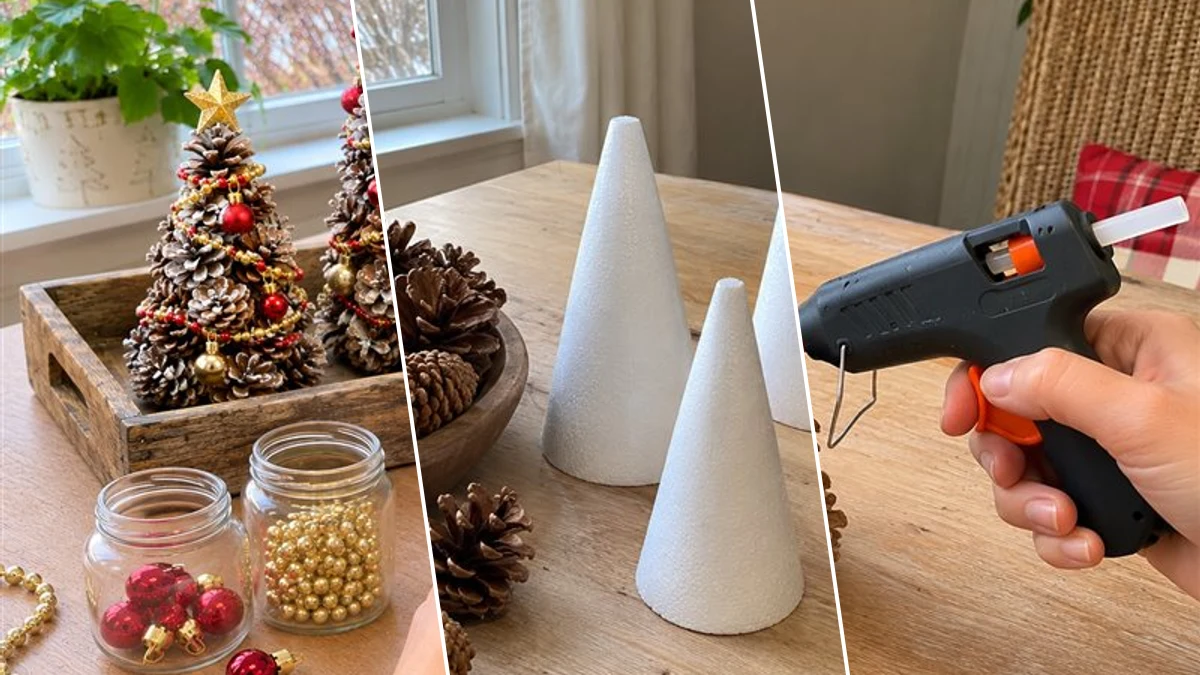
Bring the magic of a winter wonderland indoors with these enchanting DIY Frosted Pinecone Christmas Trees. This easy craft transforms natural pinecones and foam cones into charming miniature holiday decor, perfect for adding a rustic yet festive touch to any room. With a dusting of 'snow' and a sprinkle of glitter, these little trees will sparkle beautifully on your mantel, shelf, or as a delightful centerpiece. Get ready to create a truly unique and budget-friendly display that captures the spirit of the season.
Project at a Glance
- Difficulty: Easy
- Estimated active time: 75 minutes to 120 minutes (drying and curing waits not included)
- Estimated component cost: $6 to $19 (reusable tools and general supplies excluded)
- Main material: Wood
- Suggested placement: Tabletop, Mantel, Shelf
Why These Frosted Pinecone Trees Are Your Next Holiday Project
These frosted pinecone Christmas trees offer a delightful blend of rustic charm and festive sparkle, making them a versatile addition to your holiday decorations. They're ideal for creating a cozy winter scene on your mantelpiece, acting as a charming centerpiece for your dining table, or even adorning a bookshelf with a touch of seasonal cheer. Their compact size allows for easy placement in various spots around your home, instantly transforming any space into a festive haven.
Gathering pinecones is part of the fun! You can collect them from your yard or local park, or purchase them from craft stores. If foraging, remember to clean and bake them as described in Step 1 to ensure they are pest-free and fully open. Once assembled and decorated, these trees are surprisingly durable. Made primarily from natural pinecones and foam, they will last for many holiday seasons when stored carefully in a dry, protected container. The hot glue ensures everything stays firmly in place, and the paint and glitter are sealed once dry, holding up well indoors.
One of the best aspects of this project is its affordability. Many materials, like pinecones, can be found for free, and the foam cones, paints, glitter, and mini ornaments are readily available at craft stores or dollar stores. The estimated cost for components ranges from $6 to $19, depending on how many trees you make and what supplies you already have on hand. The active crafting time is approximately 75 to 120 minutes, not including drying time for the paint, making it a perfect weekend afternoon activity.
Materials for DIY Frosted Pinecone Christmas Trees for a Sparkling Tabletop Display
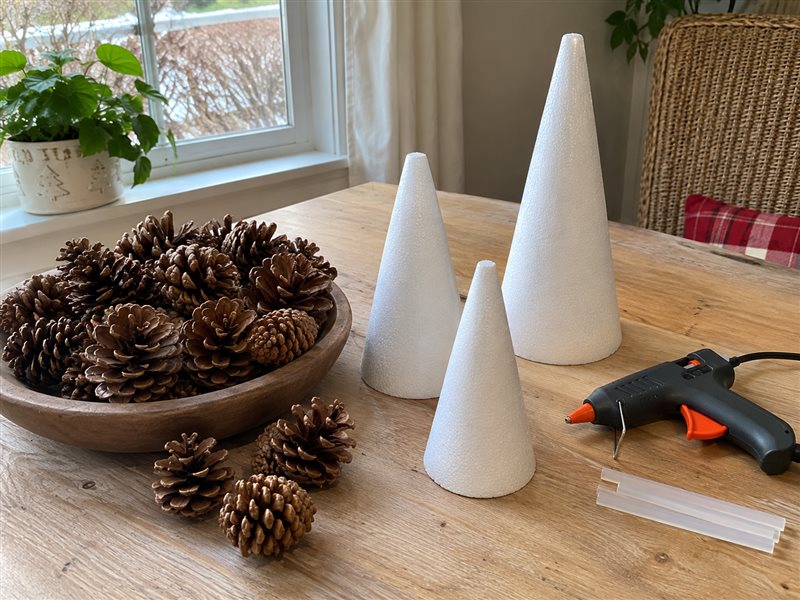
- Foam cone forms (various sizes)
- Assorted natural pinecones
- White and/or light green craft paint
- Fine glitter (white, silver, or iridescent)
- Hot glue gun and glue sticks
- Miniature Christmas ornaments and bead garlands
- Small gold star toppers
Need another material? Browse current craft supplies and deals.
How to Craft Your Frosted Pinecone Christmas Trees
Transform simple pinecones into dazzling miniature Christmas trees with these straightforward steps. We'll guide you through building sturdy cone forms, adding a beautiful frosted effect with paint and glitter, and finally, embellishing them with tiny ornaments and garlands. Gather your materials and get ready to create some truly special holiday decor.
Step 1: Gather Pinecones and Cones
Begin by ensuring your pinecones are clean and dry. If using natural pinecones, you may need to bake them at a low temperature (around 200°F / 95°C for 30-60 minutes) to remove any pests or sap and help them open fully. Select foam cones that will serve as the base for your trees, choosing a variety of heights for an appealing display.
Step 2: Build Pinecone Tree Forms
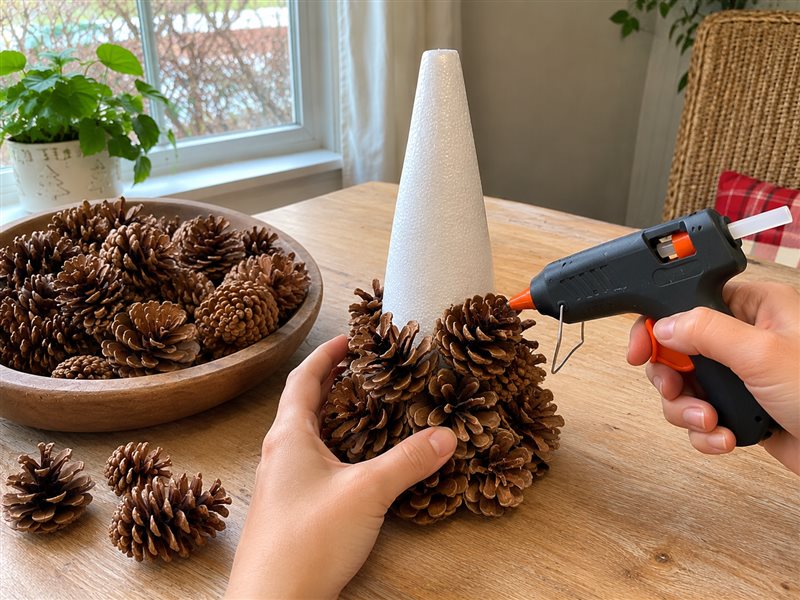
Using a hot glue gun, carefully attach the pinecones to the foam cones. Start from the base of the foam cone, working your way up in concentric circles. Overlap the pinecones slightly to ensure full coverage and a dense, natural tree shape. Vary the size of pinecones if desired for a more organic look, using smaller ones towards the top.
Step 3: Frost with Paint and Glitter
Once all pinecones are securely attached and the glue has cooled, it's time to add the 'frost' effect. Dip a dry brush or sponge lightly into white and/or light green craft paint and gently dab or dry-brush it onto the tips and edges of the pinecone scales. While the paint is still wet, liberally sprinkle fine glitter over the painted areas to create a sparkling, frosty appearance. Let dry completely according to paint instructions.



Step 4: Embellish with Garlands & Ornaments
Once the paint and glitter are completely dry, begin decorating. Gently wrap miniature bead garlands around each tree, securing the ends with a tiny dot of hot glue if needed. Then, strategically place and hot glue small Christmas ornaments onto the trees. Distribute them evenly for a balanced look, mixing different colors and finishes as desired.

Step 5: Crown with Gold Stars
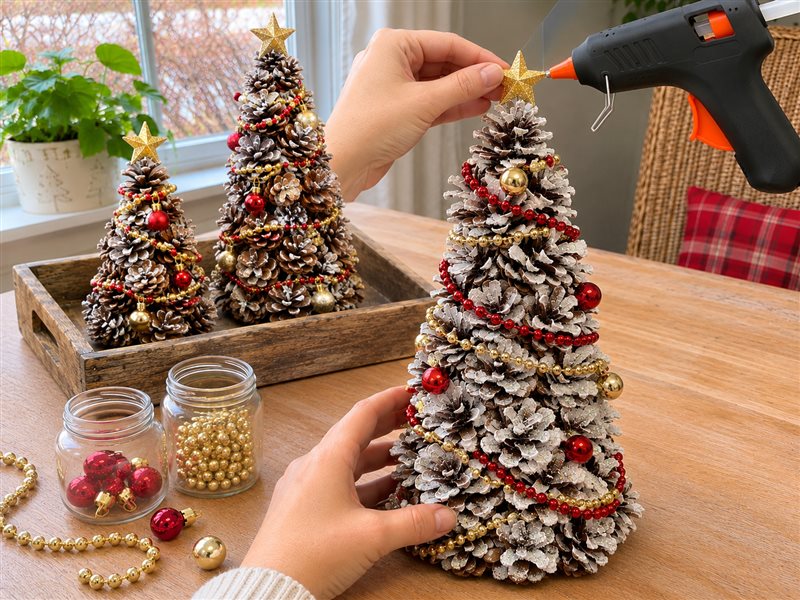
For the final touch, carefully attach a small gold star topper to the very peak of each pinecone tree. Use a generous dot of hot glue to ensure it's securely fastened and stands upright. Allow all glue to dry completely before handling or displaying your finished trees.
Your Finished Frosted Pinecone Christmas Trees
With your Frosted Pinecone Christmas Trees complete, you now have a charming and unique addition to your holiday decor. Place them on your mantel, use them as a festive centerpiece, or arrange them on a side table to bring a touch of winter magic into your home. These handmade treasures are sure to spark joy and compliments throughout the season.
Related project collection: DIY Beaded Cone Christmas Trees for Elegant Holiday Tabletop Decor
Practical Questions About This Project
Can I use different colors of paint or glitter?
Yes, you can absolutely customize the colors! While white and light green create a classic frosted look, silver, gold, or even subtle blues could add a different festive touch. Similarly, clear, silver, or gold glitter would also work beautifully.
How do I store these pinecone trees for next year?
To ensure your frosted pinecone trees last for many seasons, store them carefully in a sturdy box. Wrap them individually in tissue paper or bubble wrap to protect the delicate ornaments and glitter, and keep the box in a cool, dry place away from direct sunlight.
Can I use artificial pinecones for this project?
Yes, you can use artificial pinecones if you prefer. They won't require the cleaning or baking step, saving you a bit of time. However, natural pinecones often offer a unique texture and shape that adds to the rustic charm of the finished trees.
What kind of glue works best for attaching pinecones?
A hot glue gun is highly recommended for this project. It provides a strong, fast-drying bond that securely holds the pinecones to the foam cones and the small embellishments in place, making assembly quick and efficient.
Explore wood craft supplies at Dollar Tree.

Leave a Reply