
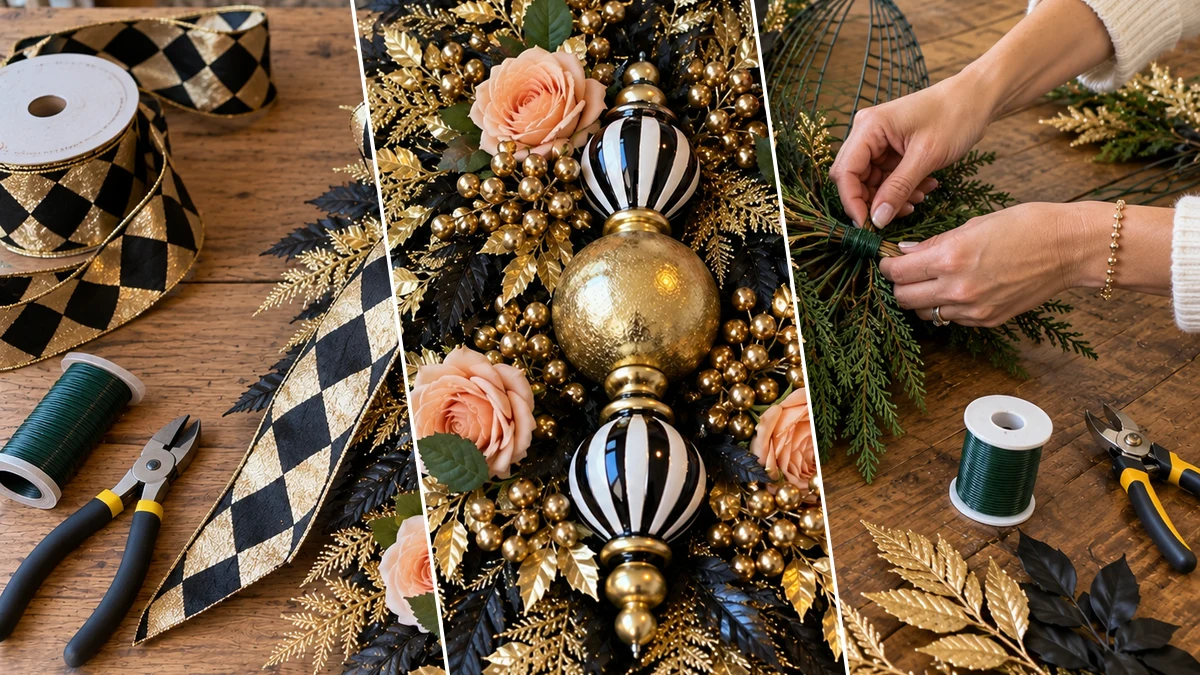
Add a touch of sophisticated holiday style to your front door with a DIY Black and Gold Harlequin Christmas Door Swag. This elegant teardrop design combines faux greenery, striking black and gold ornaments, and a distinctive harlequin ribbon. The project offers a luxurious look for the festive season. Craft a welcoming and opulent display with this unique holiday decor.
Project at a Glance
- Difficulty: Easy
- Estimated active time: 40 minutes to 70 minutes (drying and curing waits not included)
- Estimated component cost: $30 to $60 (reusable tools and general supplies excluded)
- Main material: Faux Florals
- Suggested placement: Front Door
Designing an Elegant Black and Gold Holiday Swag
A front door swag offers a distinctive alternative to a traditional wreath, providing an elongated silhouette that draws the eye. This particular design embraces a sophisticated black and gold palette, which stands out against typical holiday reds and greens. The addition of a bold harlequin ribbon introduces a classic, yet playful, pattern that enhances the luxurious feel of the piece.
The incorporation of faux greenery, ornaments, and decorative picks allows for a durable display that can be used season after season. Many of the components, such as the ornaments, ribbon, florals, and picks, can often be sourced from Dollar Tree, making this an accessible project. Subtle peach or blush roses soften the strong black and gold tones, adding an unexpected touch of warmth and elegance. This combination of elements creates a unique and opulent welcome for holiday guests.
Materials for DIY Black and Gold Harlequin Christmas Door Swag
- Assorted Faux Greenery Stems
- Assorted Finial & Sphere Ornaments (Black, White, Gold)
- Assorted Faux Decorative Picks (Gold Berries, Gold Leaves, Black Leaves)
- Faux Roses (Peach/Blush)
- Wired Ribbon (Black & Gold Harlequin Pattern)
- Floral Wire
- Hot Glue Gun & Glue Sticks
- Wire Cutters
Need another material? Browse current craft supplies and deals.
Assembling Your Black and Gold Harlequin Door Swag
Crafting this elegant door swag involves layering various faux elements to build a rich, textured display. Begin by establishing a sturdy teardrop base with greenery, then progressively add decorative details. Each step ensures a secure and visually balanced final piece for your holiday decor.
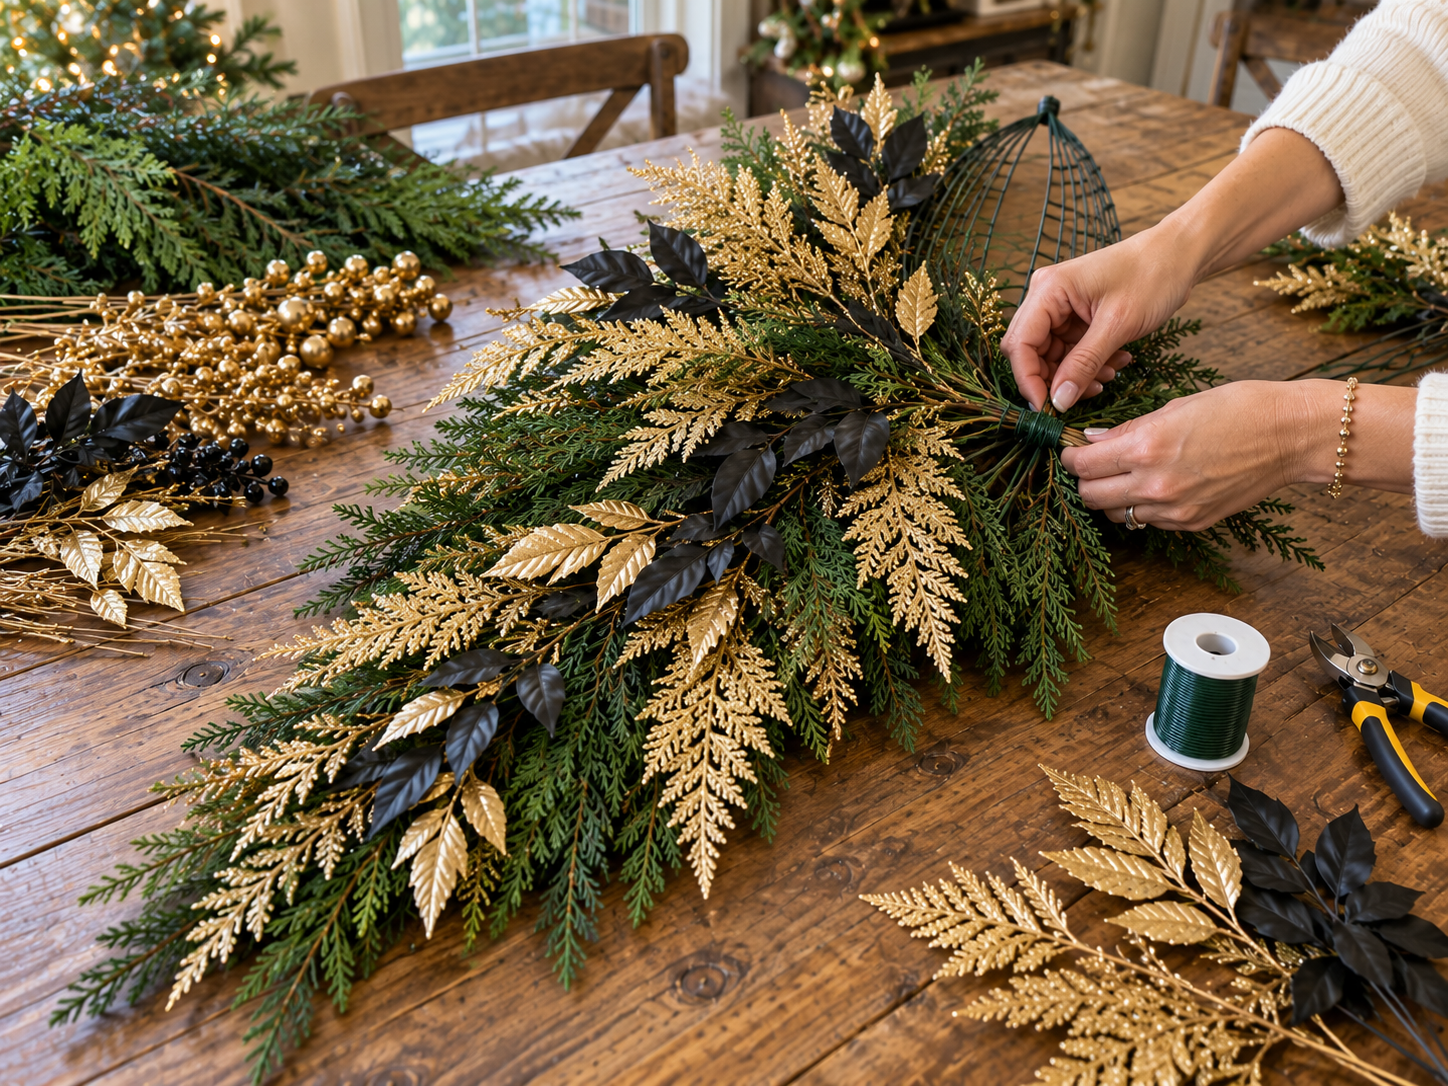
Step 1: Build the Greenery Swag Base
Begin by shaping your assorted faux greenery stems into a teardrop form. Overlap and securely bundle the stems together using floral wire, creating a dense and balanced foundation with a distinct tapered silhouette. Ensure the base is robust enough to support subsequent embellishments.
Step 2: Attach the Focal Ornaments
Carefully position the large finial and sphere ornaments along the central axis of the swag, arranging them in a stacked manner to create a dramatic focal point. Use floral wire to firmly attach each ornament to the greenery base, ensuring the wire is hidden within the stems. Double-check that all ornaments are balanced and securely fastened to prevent any movement.
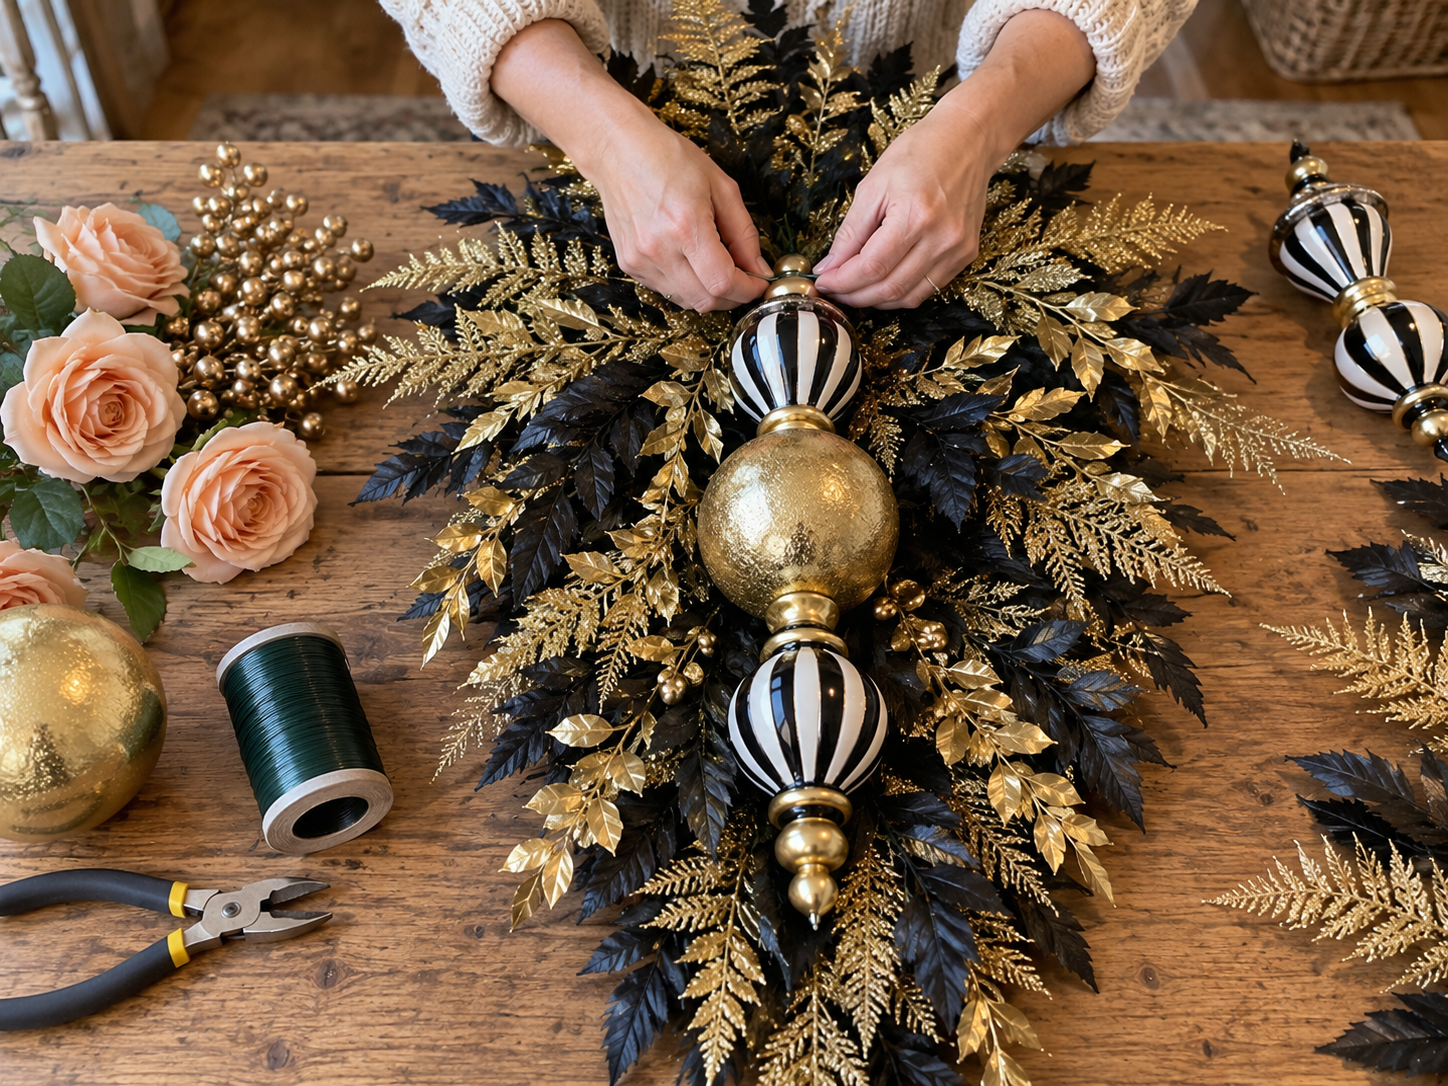
Step 3: Integrate Decorative Picks
Begin adding the gold berry picks, gold leaf picks, and black leaf picks into the greenery base. Tuck them deep into the swag, spreading them evenly to fill any gaps and introduce varied textures and shimmering accents. Gently bend the wire stems of the picks to follow the contour of the swag, securing them with hot glue or additional floral wire where necessary for extra stability.



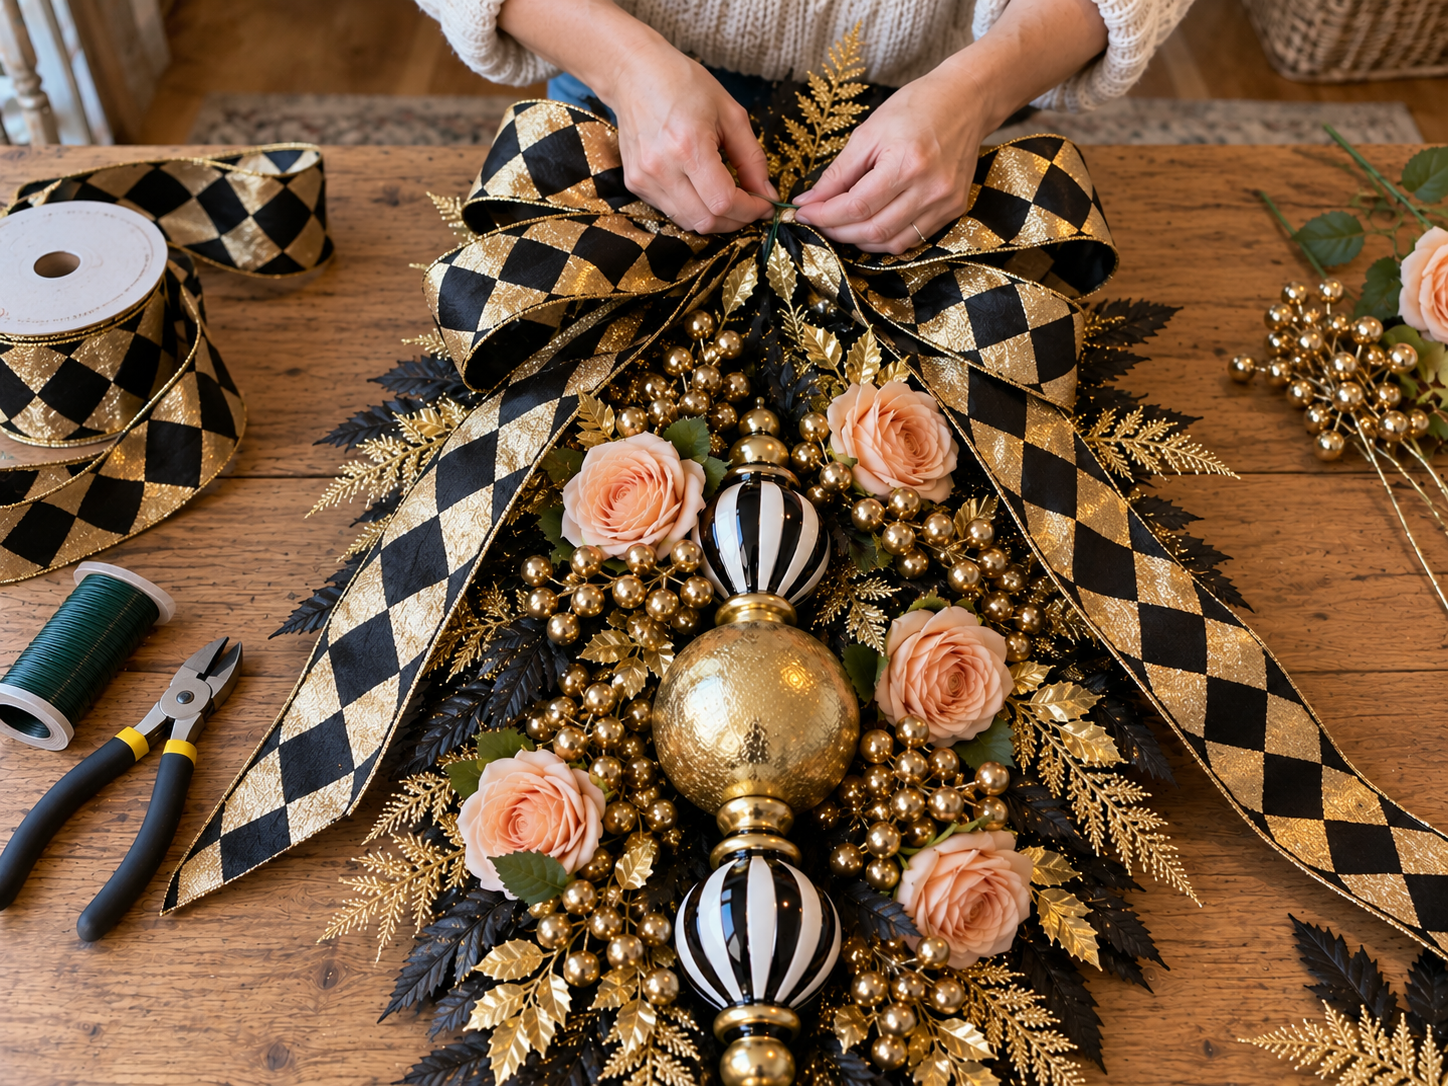
Step 4: Place the Faux Roses
Carefully position the peach or blush faux roses into strategic spots across the swag. Use a hot glue gun to secure each rose firmly, ensuring they complement the existing elements without overpowering the design. Distribute them thoughtfully to create visual balance and add a soft, elegant pop of color against the bold black and gold palette.

Step 5: Craft and Attach the Harlequin Bow
Fashion a large, multi-loop bow from the black and gold harlequin wired ribbon. Use floral wire to secure the center of the bow, ensuring it's cinched tightly, and leave long tails to cascade elegantly down the sides of the swag. Fluff and shape the loops for maximum volume and a luxurious appearance. Finally, securely wire the finished bow to the very top of the swag, ensuring it is centered, prominent, and perfectly integrated. Trim the ribbon tails to your desired length.
Displaying Your Elegant Harlequin Door Swag
With the final bow in place, your Black and Gold Harlequin Christmas Door Swag is ready to adorn your front door. This sophisticated piece offers a unique and welcoming statement for the holiday season. Enjoy the opulent touch it brings to your home's exterior.
Related project collection: DIY Dollar Tree Graduation Cap Door Hanger
Practical Questions About This Project
What type of greenery is used for the swag base?
Assorted faux greenery stems are used to create the dense, balanced teardrop foundation for the swag.
How are the main ornaments attached to the greenery?
The large finial and sphere ornaments are firmly attached to the greenery base using floral wire, with the wire hidden within the stems.
What kind of ribbon is recommended for the bow?
A large, multi-loop bow is fashioned from black and gold harlequin patterned wired ribbon.
Why are peach roses included in the black and gold design?
Peach or blush faux roses are strategically placed to add a soft, elegant pop of color and visual balance against the bold black and gold palette.
Is this holiday door swag suitable for outdoor display?
Yes, this elegant black and gold harlequin door swag is suitable for outdoor display, perfect for a front door.
Browse faux florals supplies at Dollar Tree.

Leave a Reply