
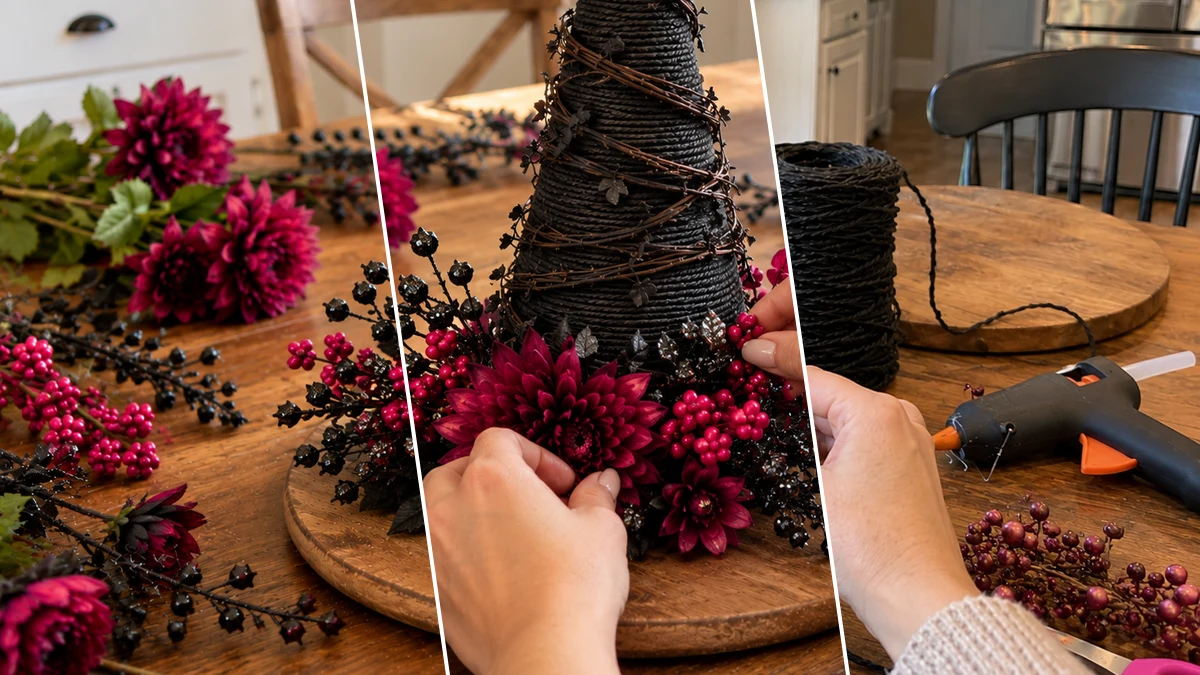
Create a charming Halloween witch hat centerpiece to add a festive touch to your seasonal table. This project transforms a simple foam cone into a whimsical display using black twine, decorative vines, and a vibrant arrangement of faux florals. It offers a cozy, handmade look perfect for fall gatherings and Halloween celebrations.
Project at a Glance
- Difficulty: Easy
- Estimated active time: 45 minutes to 75 minutes (drying and curing waits not included)
- Estimated component cost: $15 to $25 (reusable tools and general supplies excluded)
- Main material: Jute Twine
- Suggested placement: Dining Table
About This Halloween Witch Hat Centerpiece Project
This centerpiece features a twine-wrapped foam cone shaped like a witch hat, secured on a rustic round wooden base. It is adorned with black vine garland and a vibrant cluster of faux florals, including magenta mums, pink berry sprigs, and black glitter stems. A magenta snakeskin ribbon bow completes the festive design.
This decorative piece provides a cozy, homemade look, making it an ideal accent for Halloween table settings or a general fall seasonal display. It combines rustic elements with whimsical touches, suitable for a variety of festive home decor styles.
The project is classified as easy, with an estimated active crafting time of 45 to 75 minutes, excluding unattended drying and curing. The estimated component cost is between $15 and $25, excluding reusable tools and general supplies.
Materials for Rustic Halloween Witch Hat Centerpiece with Faux Florals for Festive Table Decor
- Black Foam Craft Cone
- Black Twine or Jute Rope
- Round Wooden Base (Plaque or Charger)
- Faux Floral Picks (Magenta Mums, Berry Sprigs, Black Glitter Stems)
- Decorative Black Vine Garland
- Wired Ribbon (Magenta/Black Snake Pattern)
- Hot Glue Gun & Glue Sticks
- Craft Scissors or Wire Cutters
Need another material? Browse current craft supplies and deals.
Step-by-Step Instructions for Your Witch Hat Centerpiece
Creating this Halloween witch hat centerpiece involves simple wrapping and assembly techniques. The process begins by transforming a foam cone into the hat base, then securing it to a wooden plaque. Next, decorative vines and faux florals are arranged to build a festive display, culminating with a statement ribbon bow.
Step 1: Wrap the Witch Hat Base
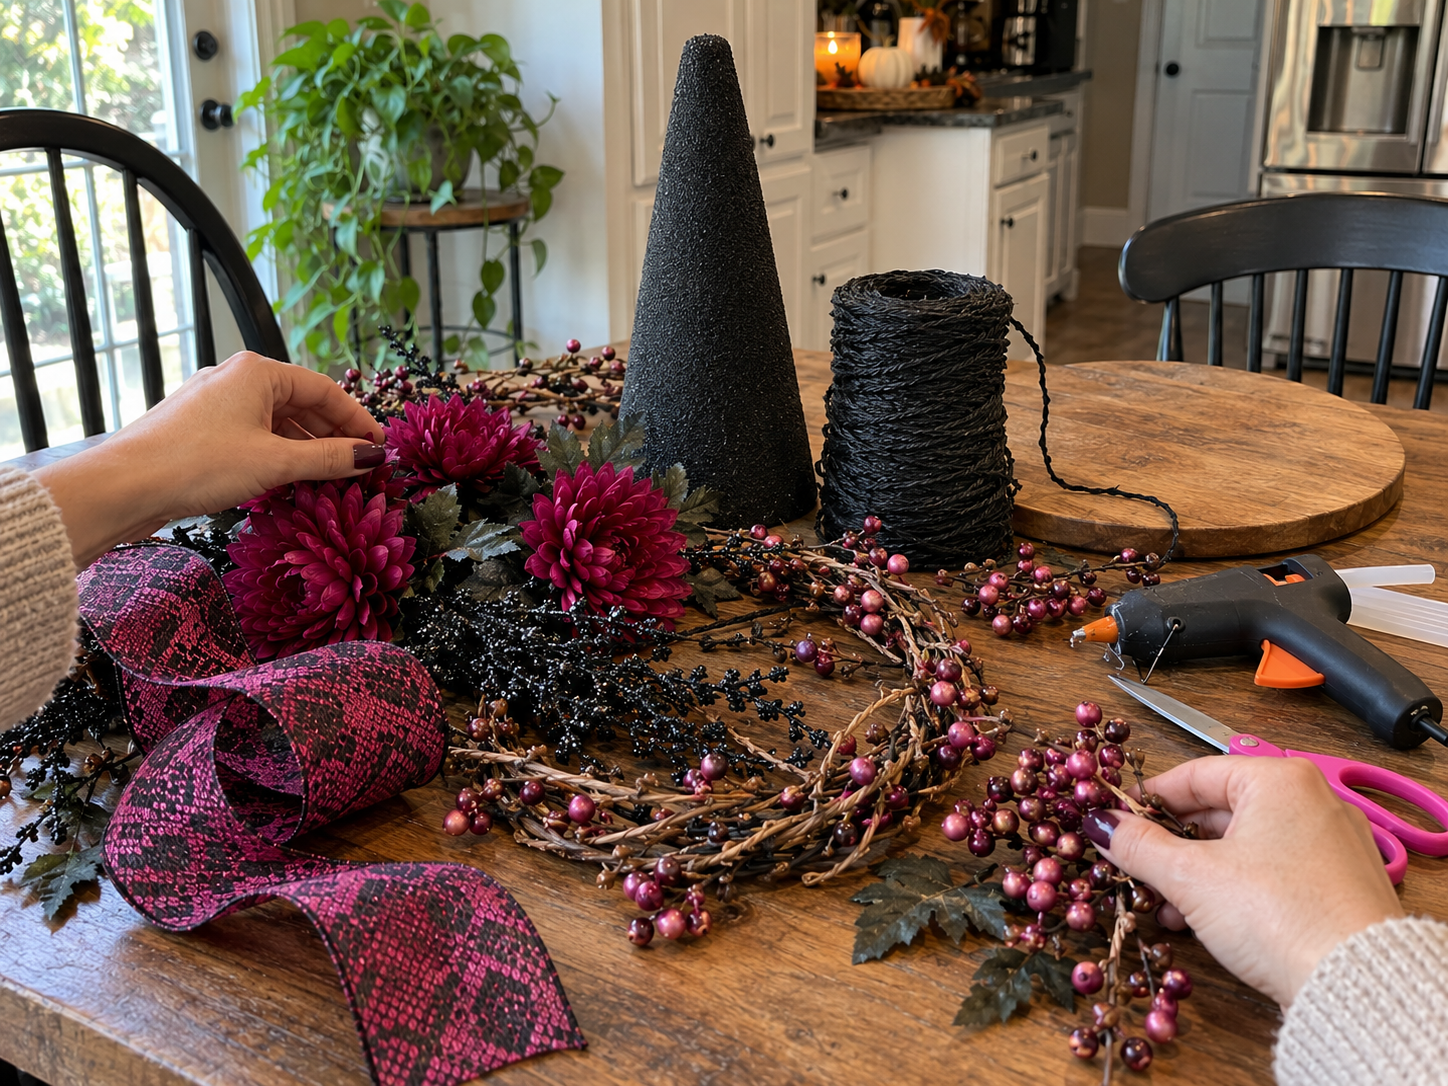
Begin by taking your black foam craft cone and start wrapping it tightly with black twine or jute rope from the tip downwards. Apply small dots of hot glue periodically to secure the twine as you wrap, ensuring there are no gaps and the cone is fully covered. Aim for a smooth, consistent wrap. Continue wrapping until the entire cone surface is covered.
Step 2: Secure Hat to Wooden Base
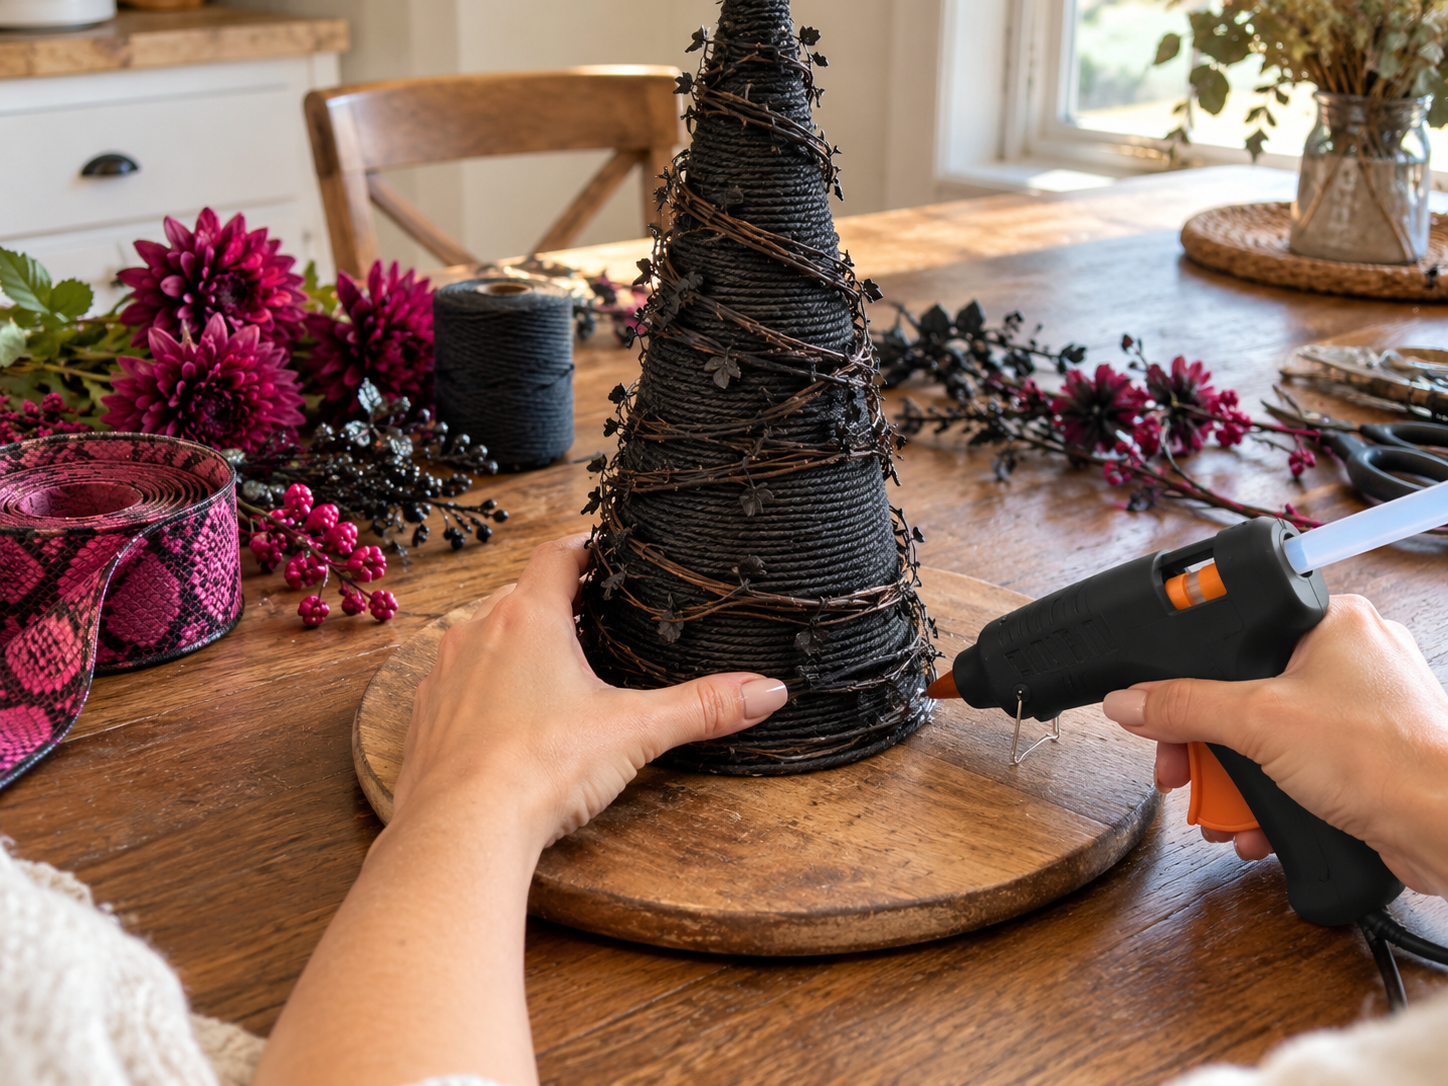
Once the foam cone is completely wrapped in twine, apply a generous amount of hot glue to the wider, flat base of the cone. Carefully center the wrapped cone onto the round wooden board and press down firmly. Hold it in place for a minute or two to ensure a strong, stable bond between the hat and its base.
Step 3: Add Decorative Vines
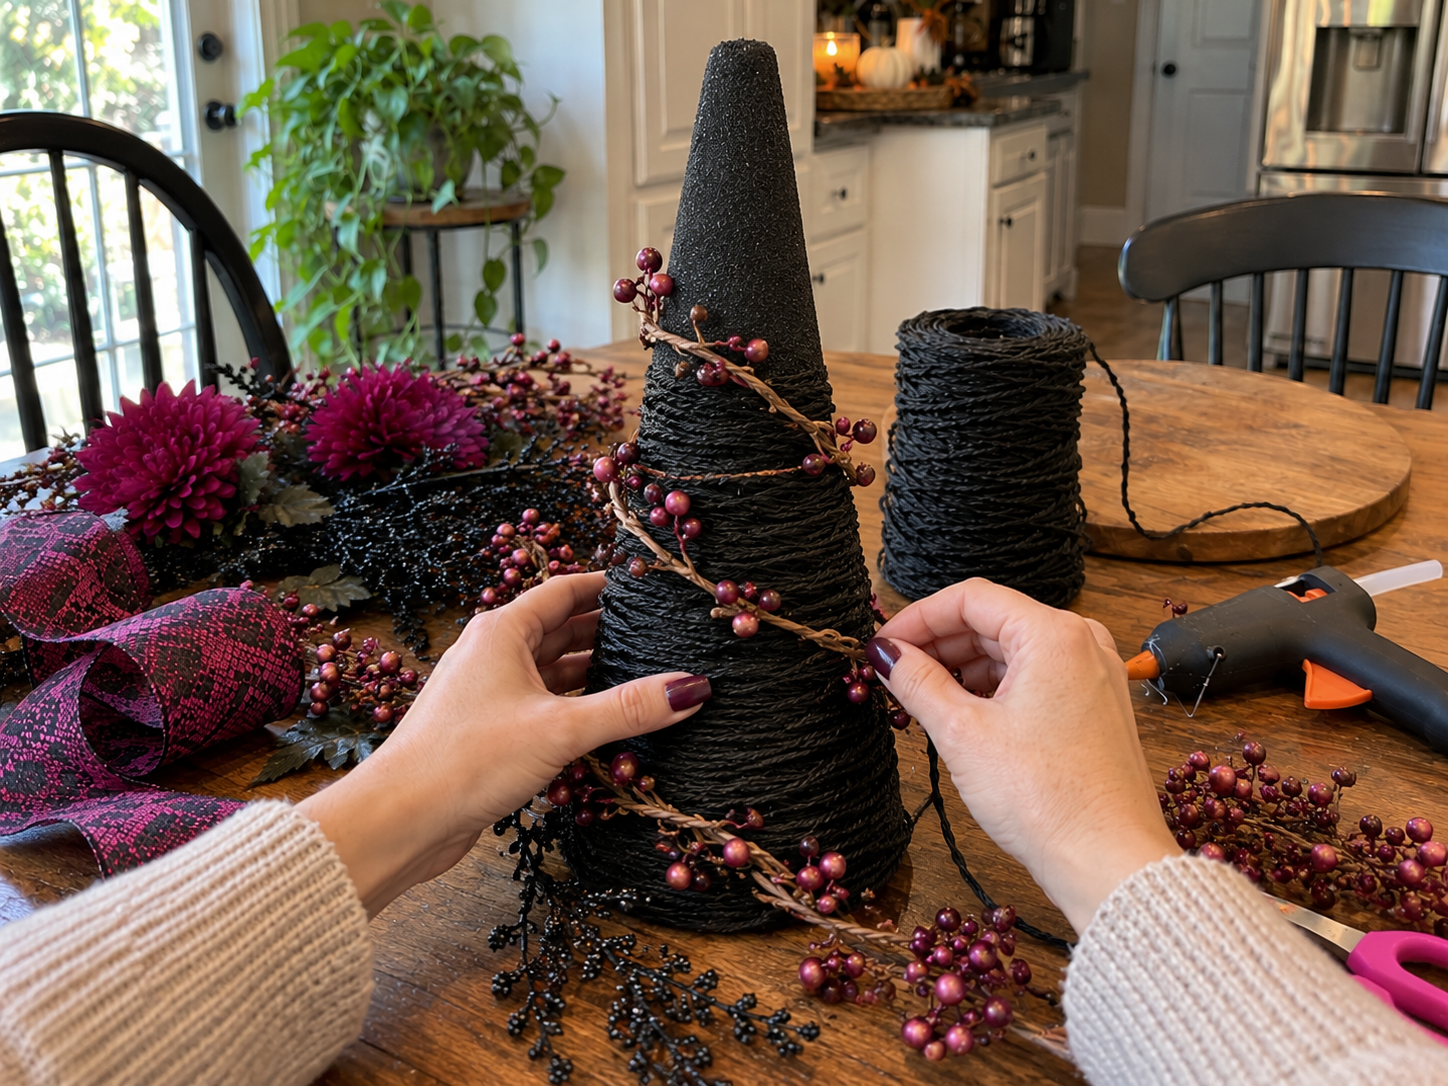
Take your black vine garland and begin to artfully wrap it around the twine-covered hat. Start at the base, securing one end with a small dot of hot glue. Wind the vine loosely upwards, allowing it to spiral and twist around the cone, and extend it onto the brim of the hat as desired. Secure the vine in a few places with small, discreet dots of hot glue to hold its position.


Step 4: Arrange Floral Embellishments
Now, it's time to add your faux floral picks. Use wire cutters to trim the stems of your magenta faux mums, berry sprigs, and black glitter stems to suitable lengths. Begin by hot gluing the larger mums around the base of the hat, then tuck and glue the smaller berry sprigs and black glitter stems strategically among them, filling out the arrangement. Create a clustered, abundant look.
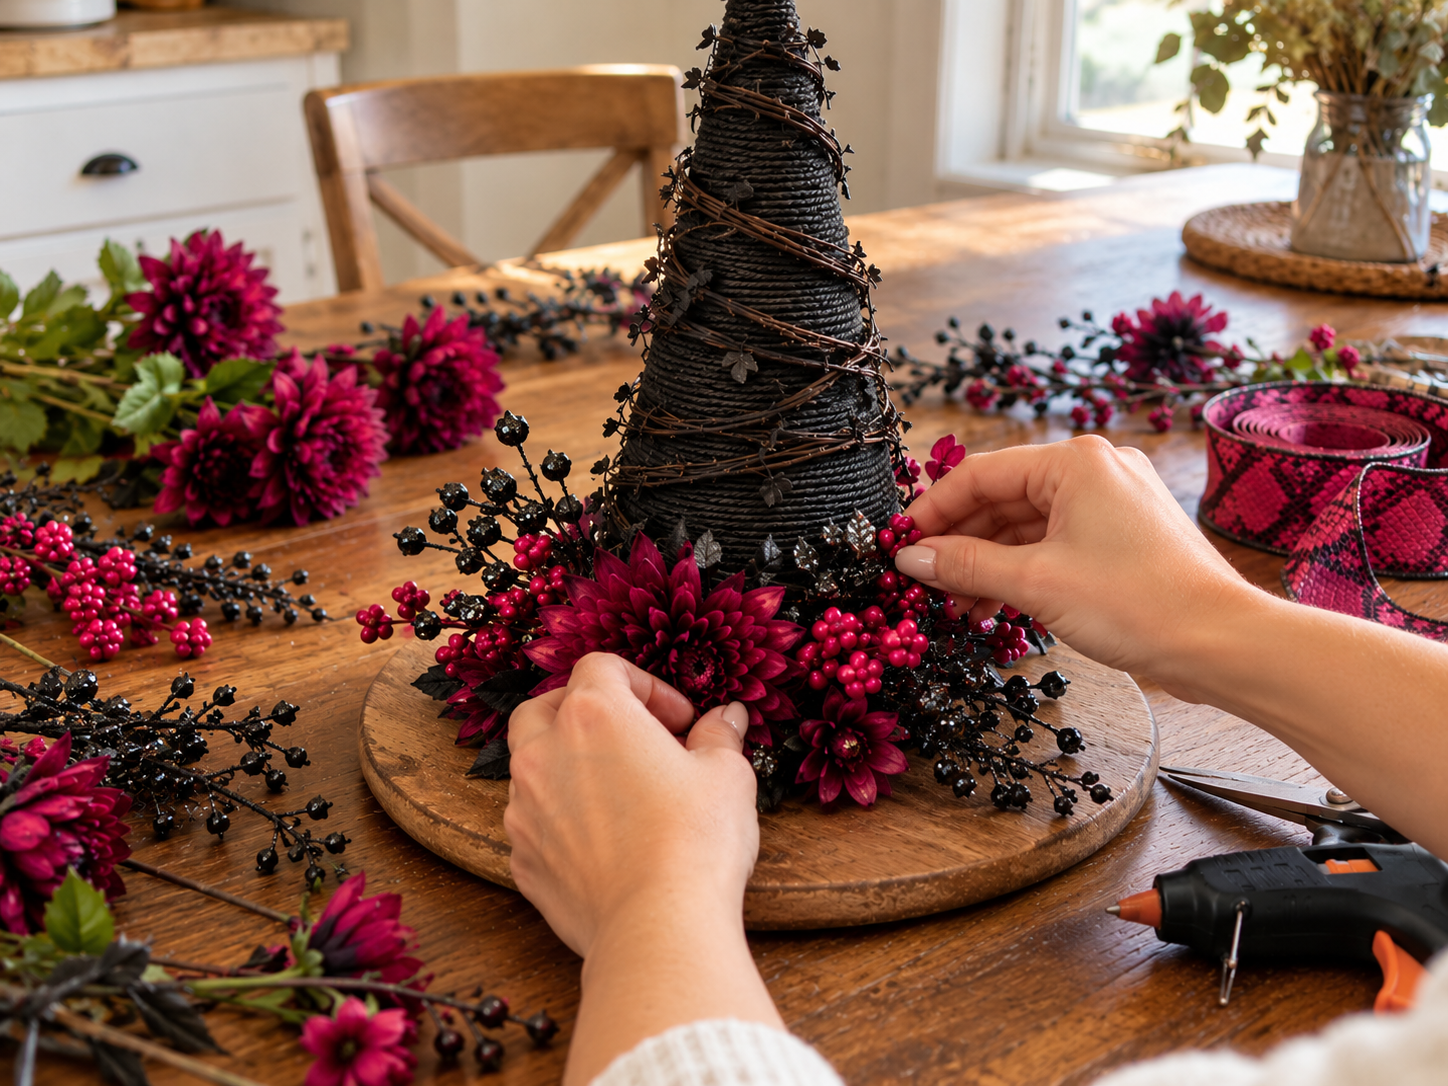
Step 5: Add the Finishing Ribbon Bow
Finally, create a decorative bow from your wired magenta and black snakeskin pattern ribbon. You can make a simple loop bow or a more elaborate multi-loop bow depending on your preference. Once fashioned, hot glue the finished bow securely onto the front of your floral arrangement, ensuring it integrates well with the other embellishments and adds a final touch of drama and elegance. Trim any excess ribbon tails to your desired length.
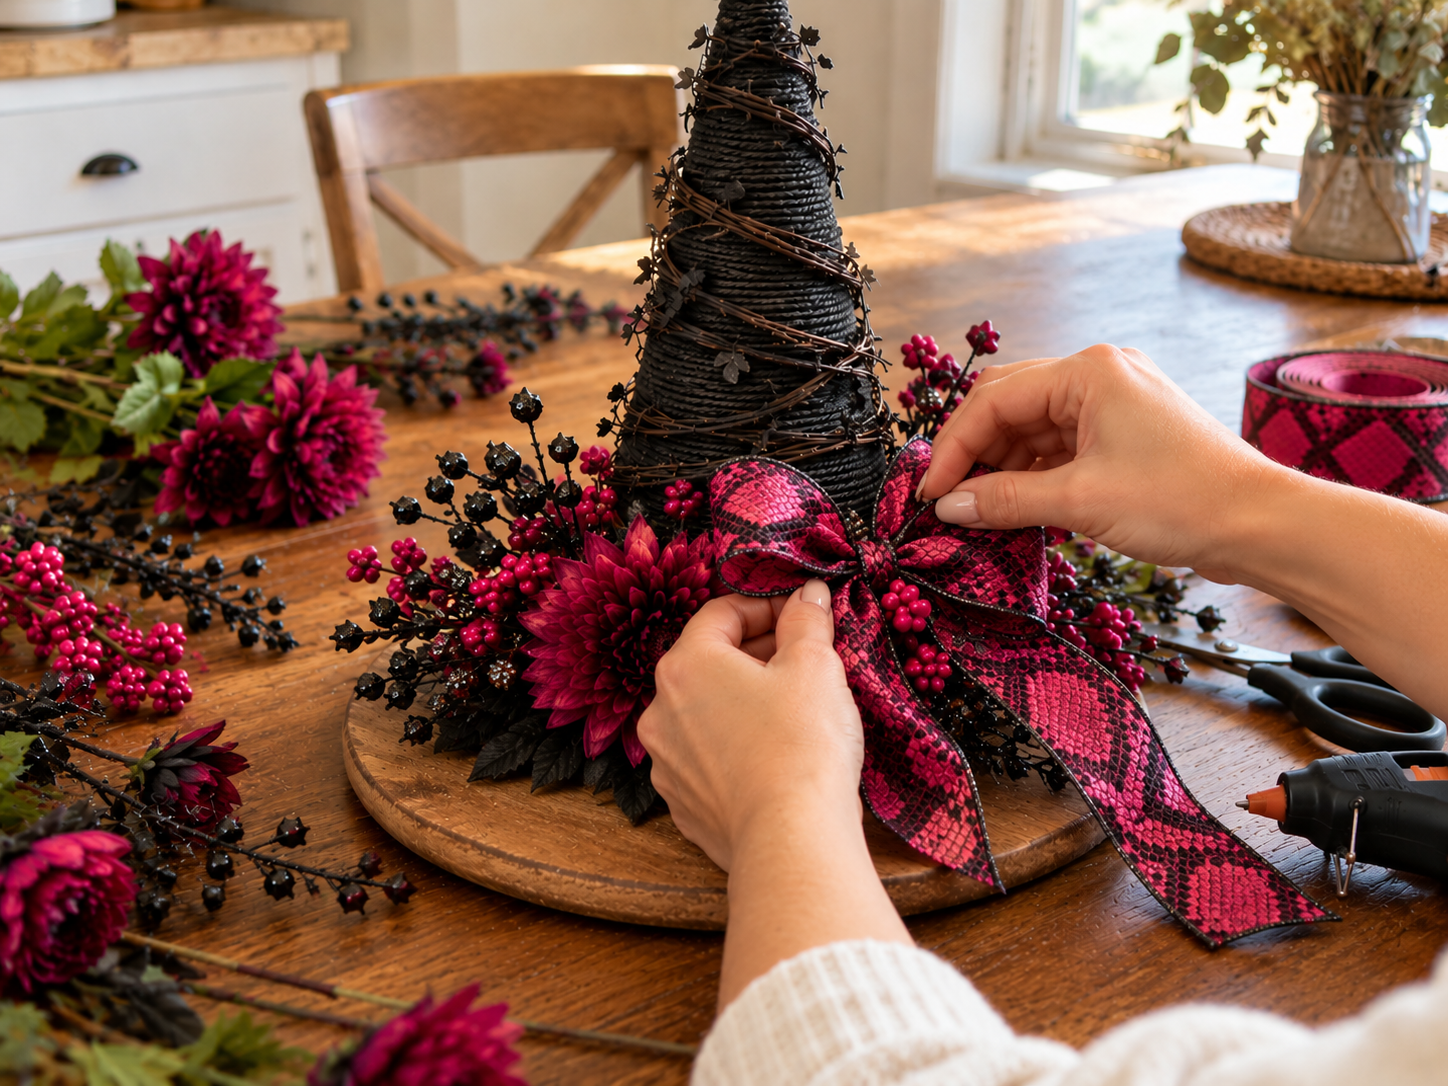
Displaying Your Completed Witch Hat Centerpiece
Once your Halloween witch hat centerpiece is complete, it is ready to be a focal point in your seasonal decor. Place it on your dining table, an entryway console, or a mantel to instantly add a touch of festive charm. This handcrafted piece brings a whimsical and cozy atmosphere to any Halloween celebration or fall display.
Related project collection: DIY Mini Witch Hat Treat Cones for Halloween Table Decor
Practical Questions About This Project
What type of base is best for this witch hat centerpiece?
A round wooden base, such as a plaque or charger, is recommended to provide a stable foundation for the witch hat and its floral embellishments.
How do you ensure the twine stays securely wrapped around the foam cone?
Small dots of hot glue should be applied periodically as you wrap the black twine or jute rope to secure it firmly to the foam cone, preventing it from unraveling.
Can different colors of faux flowers be used for the witch hat centerpiece?
Yes, the faux floral picks, such as magenta mums, berry sprigs, and black glitter stems, can be customized with other colors or types of flowers to match a specific Halloween theme or home decor style.
What is the recommended difficulty level for this craft?
This Halloween witch hat centerpiece project is classified as easy, making it suitable for beginner crafters looking for a festive seasonal decor idea.
How long does this project take to complete?
The estimated active crafting time for this centerpiece is between 45 and 75 minutes. This estimate excludes any unattended drying or curing time.
Browse jute twine supplies at Dollar Tree.

Leave a Reply