
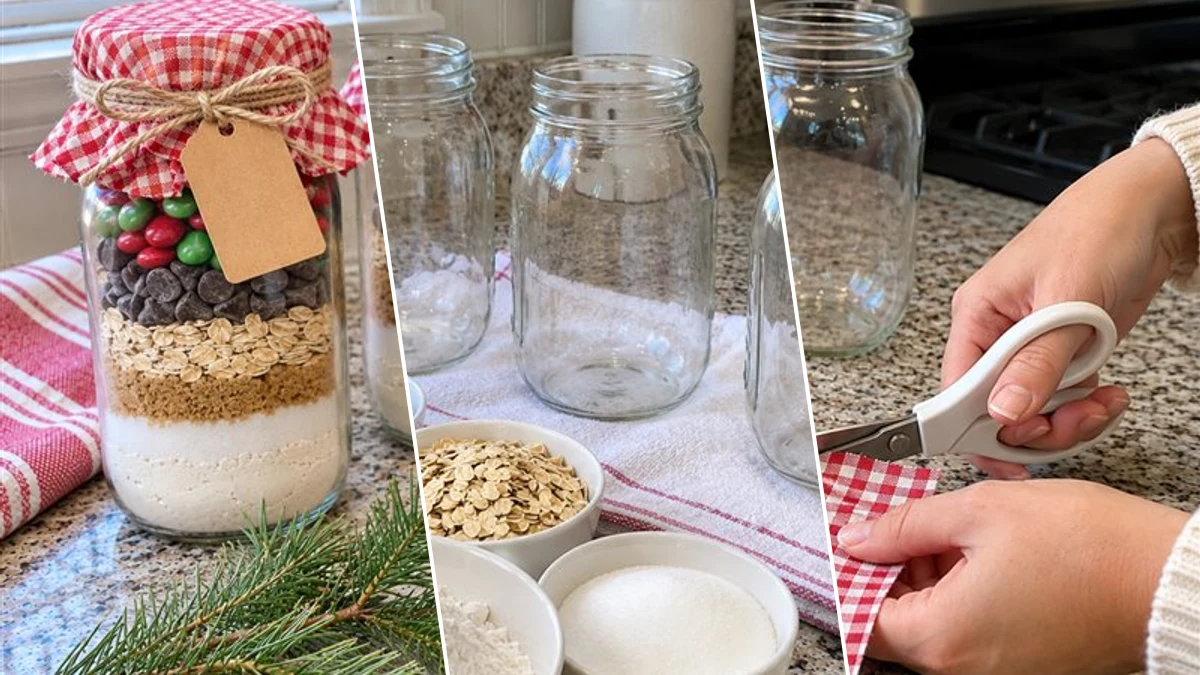
Looking for a heartfelt, handmade Christmas gift that's also quick and easy to assemble? These charming layered cookie mix jars are the perfect solution for neighbors, teachers, or anyone on your holiday list. Filled with dry cookie ingredients and festive candies, they're not only beautiful but also promise a delicious treat. We'll guide you through creating these delightful gifts in under 30 minutes.
Project at a Glance
- Difficulty: Easy
- Estimated active time: 15 minutes to 30 minutes (drying and curing waits not included)
- Estimated component cost: $10 to $20 (reusable tools and general supplies excluded)
- Main material: Glass
- Suggested placement: Kitchen Counter
The Charm of Homemade Christmas Cookie Gifts
There's something uniquely special about receiving a homemade gift during the holidays, and these layered cookie mix jars deliver that warmth beautifully. Each jar is a miniature masterpiece, showcasing distinct layers of flour, sugars, oats, chocolate chips, and vibrant red and green candies. They're a delightful visual treat before they even become cookies, adding a festive touch to any kitchen counter or gift basket.
Beyond their charming appearance, these cookie mix jars are incredibly practical. Once assembled, they can be stored in a cool, dry place for up to three months, making them ideal for preparing ahead of the busy holiday season. The recipient simply adds a few wet ingredients like butter and eggs, bakes, and enjoys fresh, homemade cookies. Plus, using readily available materials keeps the project budget-friendly, often costing less than $5 per jar for the ingredients and jar itself.
Materials for DIY Layered Christmas Cookie Mix Jars for Thoughtful Holiday Gifting
- Clear Mason Jars (3-pack or more)
- Dry Cookie Ingredients (flour, white sugar, brown sugar, rolled oats, chocolate chips)
- Festive Candy Pieces (red and green M&M's or similar)
- Red-and-White Gingham Fabric (or pre-cut lid toppers)
- Jute Twine
- Blank Kraft Paper Gift Tags
- Funnel (optional, but highly recommended)
Need another material? Browse current craft supplies and deals.
Assembling Your Layered Cookie Mix Jars
Creating these beautiful cookie mix jars is a straightforward process that's perfect for crafters of all skill levels. The key is careful layering and gentle compacting to achieve those distinct, eye-catching bands of ingredients. Gather your materials, and let's start building these delightful gifts.
Step 1: Prepare Jars and Ingredients
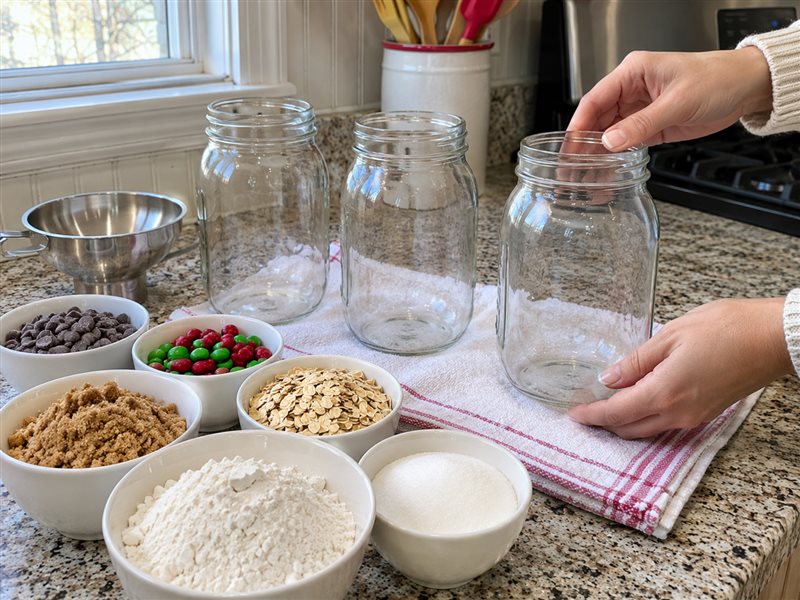
Begin by thoroughly washing your mason jars, lids, and bands with warm, soapy water. Rinse them completely and allow them to air dry upside down on a clean towel, or dry them manually to ensure no moisture remains. Measure out all your dry cookie ingredients (flour, white sugar, brown sugar, rolled oats, chocolate chips, and candy pieces) and place them in separate bowls for easy access.
Step 2: Cut Fabric Toppers
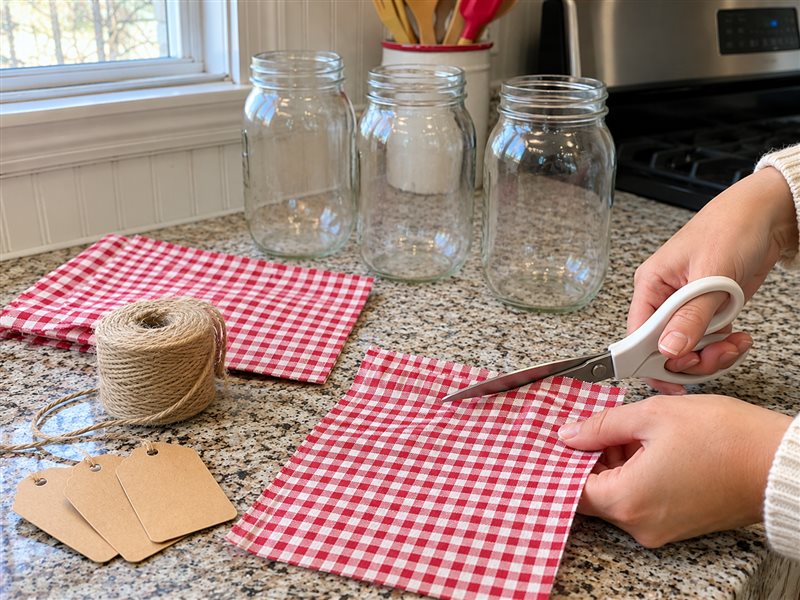
Take your red-and-white gingham fabric and cut it into squares that are roughly 6-8 inches per side, or large enough to cover the jar opening with a generous overhang (about 2-3 inches on all sides) when centered. This allows for gathering and tying around the jar rim. If you are using pre-cut fabric circles or decorative napkins, ensure they are the right size.
Step 3: Layer Dry Ingredients
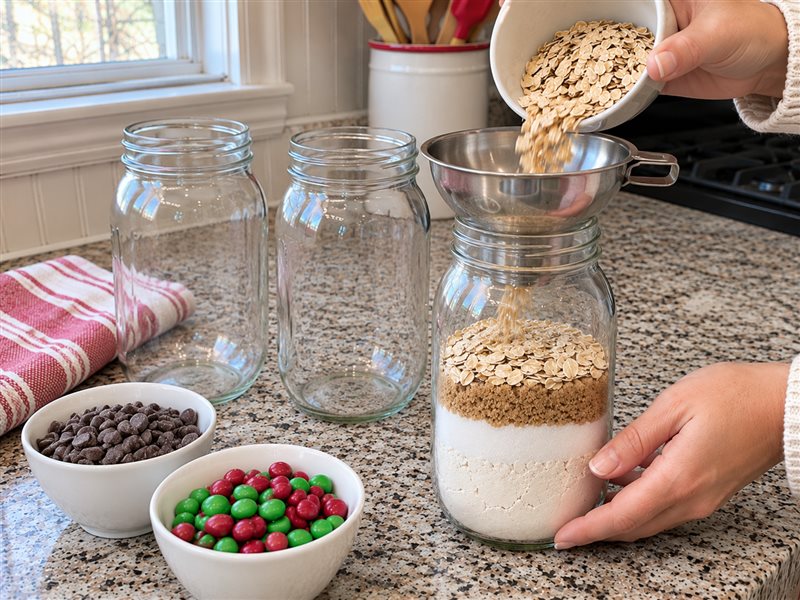
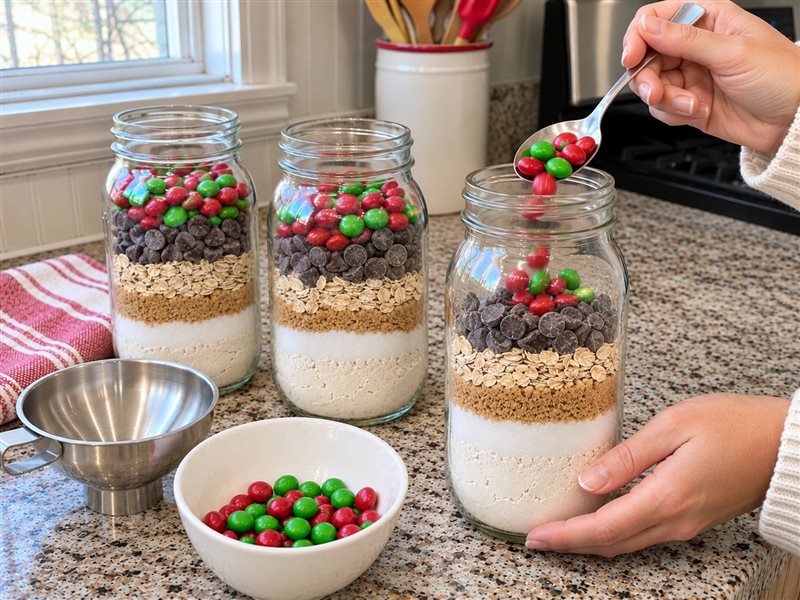
Starting with the flour, carefully pour or spoon the first dry ingredient into the bottom of one of the clean mason jars. Use a funnel if desired to keep the sides of the jar clean. Gently tap the jar on the counter or use the back of a spoon to compact the layer evenly and prevent settling later. Repeat this process for the white sugar, then the brown sugar, and finally the rolled oats, creating distinct and visually appealing layers.


Step 4: Add Topping Layers
Once the rolled oats layer is complete, continue adding the remaining ingredients. Carefully add a layer of chocolate chips, distributing them evenly. Finish by adding a vibrant top layer of red and green candy pieces. Ensure there is about 1 inch of headspace left at the top of the jar, underneath the rim, to accommodate the fabric lid and prevent spillage.
Step 5: Finish with Fabric & Tag
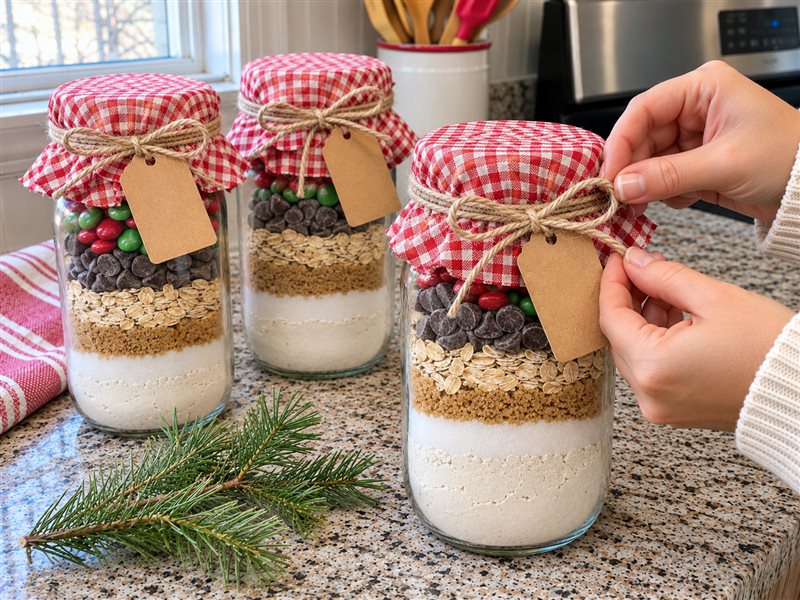
Place one of your cut gingham fabric squares over the opening of each jar, centering it. Gather the edges of the fabric around the jar's rim, allowing it to drape naturally. Take a length of jute twine (about 18-24 inches) and wrap it securely around the neck of the jar, over the gathered fabric. Tie a double knot to hold the fabric in place, then create a decorative bow. Before tightening the bow, thread a blank kraft paper gift tag onto one of the twine ends. Finally, trim any excess twine for a neat finish.
Share Your Homemade Holiday Cheer
With your layered Christmas cookie mix jars complete, you're ready to spread holiday joy! These thoughtful, handmade gifts are sure to be appreciated by friends, family, and neighbors alike. Enjoy the satisfaction of crafting something beautiful and delicious this season.
Related project collection: DIY Layered Hot Cocoa Mix Mason Jar Christmas Gift for Neighbors and Teachers
Practical Questions About This Project
How long do these cookie mix jars last?
When stored in a cool, dry place away from direct sunlight, these layered cookie mix jars will remain fresh for up to three months. This makes them an excellent make-ahead gift for the busy holiday season.
Can I customize the ingredients or candies?
Yes, you can certainly customize the ingredients. While the recipe is balanced, you could swap out chocolate chips for white chocolate or nuts, or use different colored candies to match a specific theme. Just ensure the dry ingredients maintain similar volumes for layering.
What size mason jars work best?
Standard wide-mouth quart-sized (32 oz) mason jars work perfectly for this recipe, allowing enough space for all the dry ingredients and creating impressive, distinct layers. Smaller jars could be used for mini mixes, but you'd need to adjust ingredient quantities accordingly.
Do I need to include the recipe with the jar?
Yes, it's highly recommended to include a small recipe card with baking instructions and a list of wet ingredients the recipient needs to add. While the tags are blank, you can easily attach a small card with a hole punch and additional twine.
Browse glass supplies at Dollar Tree.

Leave a Reply