
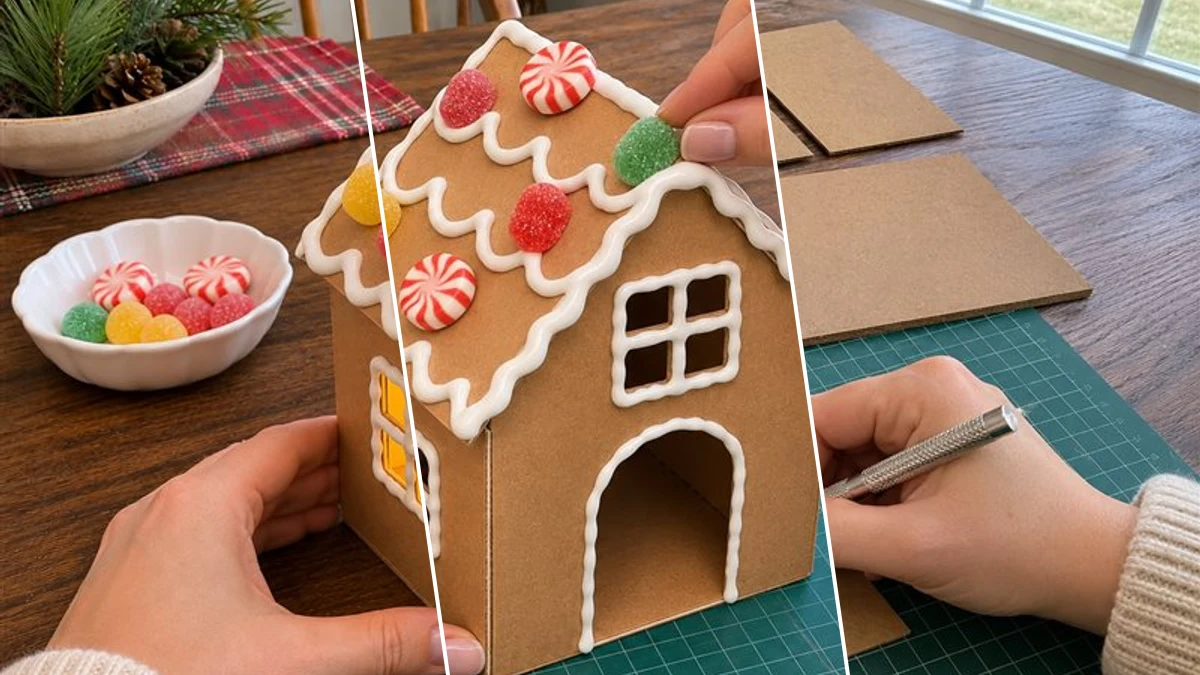
Bring a touch of holiday magic to your home with this charming DIY cardboard gingerbread house. Adorned with 'icing' and craft candies, its cut-out windows glow warmly with battery-operated tea lights. This easy project creates a delightful, festive centerpiece perfect for Christmas.
Project at a Glance
- Difficulty: Easy
- Estimated active time: 20 minutes to 30 minutes (drying and curing waits not included)
- Estimated component cost: $5 to $12 (reusable tools and general supplies excluded)
- Main material: Paper
A Festive Glow for Your Holiday Table
There's something uniquely enchanting about a gingerbread house, and this DIY version captures that festive spirit without the baking fuss. Made from simple cookie-brown cardboard and decorated with puffy paint and craft candies, it’s a budget-friendly way to add whimsical charm to your Christmas decor. The warm glow from battery-operated tea lights peeking through its windows creates an inviting atmosphere, perfect for cozy winter evenings.
Unlike traditional gingerbread houses, this craft is durable and lasts for many seasons when stored carefully. It's designed for indoor use, making it an ideal centerpiece for your dining table, a festive accent on a mantel, or a welcoming touch on an entryway console. The use of battery-operated tea lights ensures safety, so you can enjoy its gentle flicker worry-free.
Expect to spend about 20-30 minutes on the active crafting, plus drying time for the puffy paint. The finished house will be approximately 6-8 inches tall and 8-10 inches wide, a perfect size to make a statement without overwhelming your space. With materials costing around $5-12, it's an accessible project for crafters of all skill levels.
Materials for Easy Cardboard Gingerbread House Candle Holder for Your Christmas Centerpiece
- Cookie-brown Cardboard or Foam Board
- Craft Knife and Cutting Mat
- Ruler and Pencil
- Hot Glue Gun and Glue Sticks
- White Puffy Paint
- Assorted Craft Candies (e.g., plastic gumdrops, peppermint swirls)
- Battery-operated Tea Lights
Need another material? Browse current craft supplies and deals.
Craft Your Glowing Gingerbread House
Ready to build your own festive gingerbread house? Gather your materials and follow these simple steps to create a charming, glowing centerpiece. You'll be amazed at how quickly this delightful holiday decoration comes together.
Step 1: Cut All House Panels and Openings
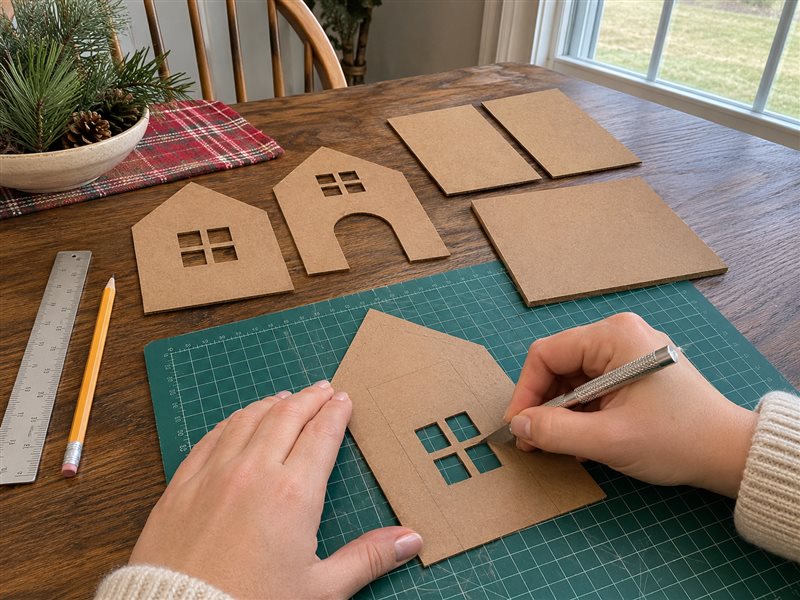
On your cookie-brown cardboard or foam board, measure and mark the pieces for your gingerbread house: a rectangular base, four wall panels (two shorter for the front/back, two taller for the sides that will meet the roof peak), and two rectangular roof panels. Use a ruler and pencil for accuracy. Carefully cut out all pieces using a craft knife on a cutting mat. For the front and back wall panels, mark and cut out window and door shapes. For the side panels, mark and cut out window shapes.
Step 2: Glue Together House Walls and Roof
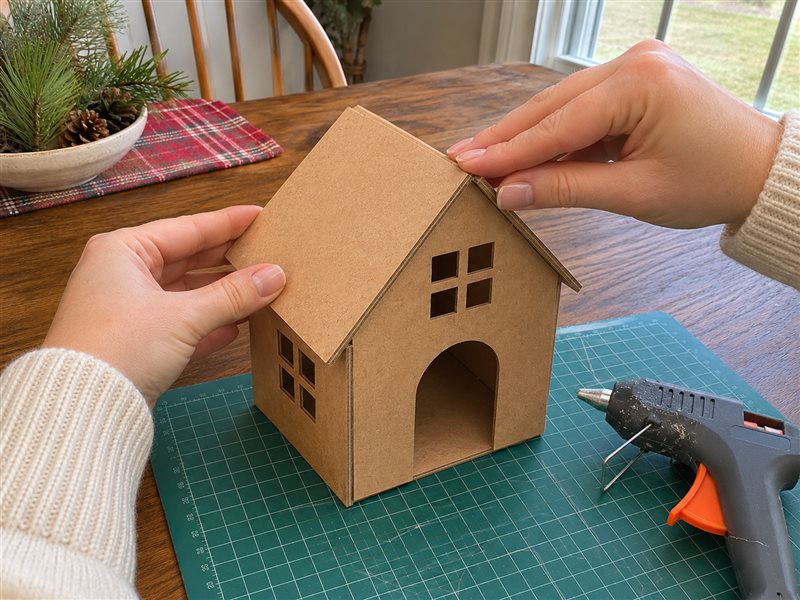
Begin by hot gluing the four wall panels to the rectangular base. Apply a bead of hot glue along the bottom edge of each wall piece and firmly press it onto the base, ensuring corners meet squarely. Once the walls are secure, apply hot glue along the top edges of the walls and the side edges of the roof panels to attach the pitched roof. Hold the roof pieces in place until the glue cools and sets, creating a sturdy house structure.
Step 3: Decorate with White Puffy Paint
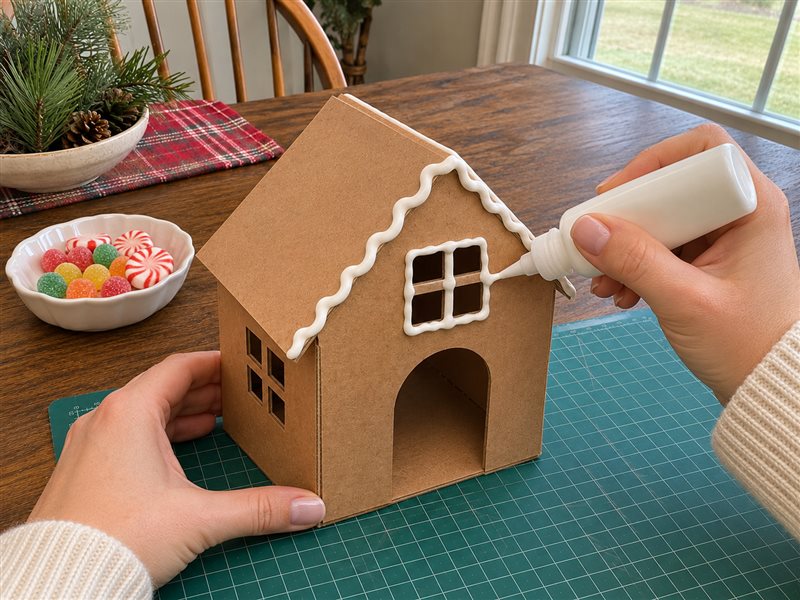
Now it's time to add the classic gingerbread house "icing" details. Using white puffy paint, carefully trace along all the roof edges, the perimeter of each window, and around the door frame. You can also add decorative dots or scallops along the bottom edge of the house, similar to a snowy trim. Allow the puffy paint to dry completely according to the product's instructions, which may take several hours.


Step 4: Embellish with Craft Candies
Once the puffy paint is fully dry, it's time to add the festive candy embellishments. Apply small dots of hot glue to the back of your assorted craft candies (gumdrops, peppermint swirls, candy canes) and carefully press them onto the roof and around the door. Place gumdrop-style candies along the peak of the roof and peppermint swirls decoratively on the roof slopes and for the doorknob.
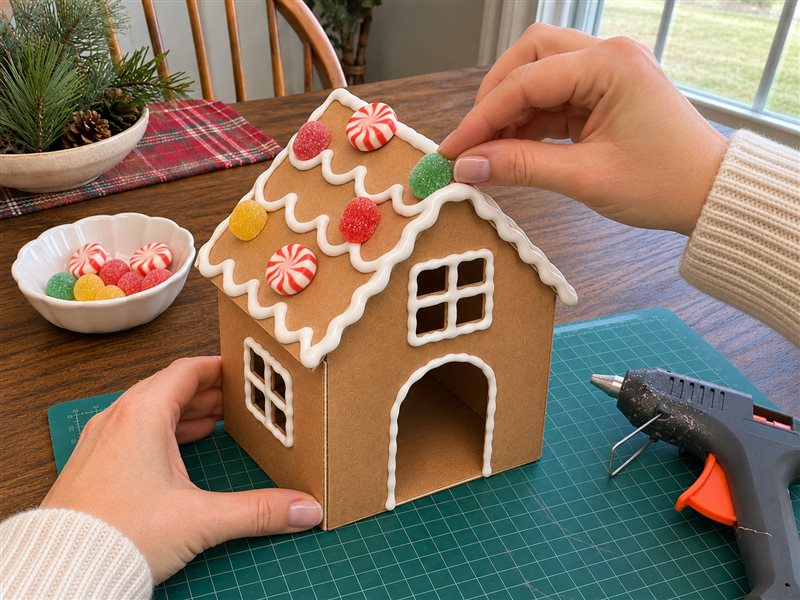
Step 5: Insert Battery Tea Lights
For the final touch, turn on your battery-operated tea lights and place them inside the gingerbread house through the open base. Position them so their flickering glow illuminates the cut-out windows, creating a cozy and magical effect. Your DIY Cardboard Gingerbread House Candle Holder is now ready to be displayed as a festive centerpiece!
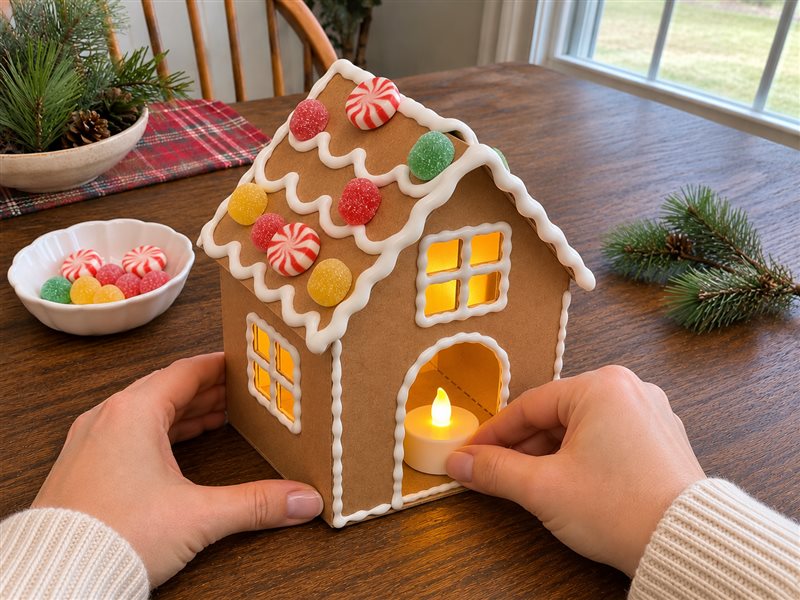
Enjoy Your Festive Creation
Congratulations, your beautiful cardboard gingerbread house is complete! Display it proudly as a charming centerpiece or a cozy accent piece throughout the holiday season. Its warm glow and whimsical details are sure to bring smiles.
Related project collection: DIY Cardboard Gingerbread House Luminary for Christmas Tabletop Decor
Practical Questions About This Project
What kind of cardboard or foam board works best for this project?
Cookie-brown cardboard or foam board is ideal, as it gives your house that classic gingerbread look. Many crafters find Dollar Tree foam board works wonderfully for this.
Is it safe to use real candles inside the cardboard gingerbread house?
No, for safety reasons, it's crucial to only use battery-operated tea lights inside your cardboard gingerbread house. Real flames pose a fire hazard with cardboard.
How long does the white puffy paint take to dry?
White puffy paint typically requires several hours to dry completely. Always refer to the specific product's instructions for the most accurate drying time.
Can I use different types of craft candies for decoration?
Absolutely! Feel free to use any assorted craft candies you like, such as plastic gumdrops, peppermint swirls, or small candy canes, to personalize your gingerbread house.
How durable is this cardboard gingerbread house, and how should I store it?
When handled with care, your cardboard gingerbread house can last for many holiday seasons. Store it in a sturdy box in a dry place to protect it from dust and damage.
Explore paper craft supplies at Dollar Tree.

Leave a Reply