
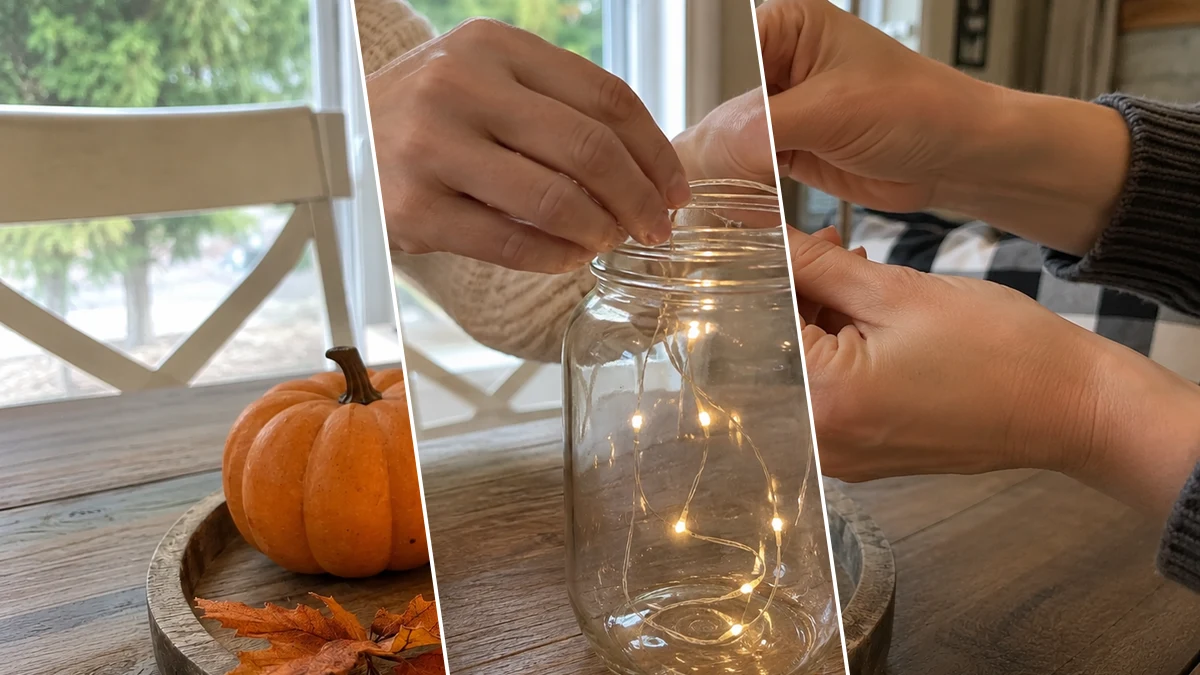
Create a charming rustic ghost lantern to illuminate your home with a cozy, spooky glow this Halloween and fall season. This project transforms a simple mason jar into a festive display piece using gauzy fabric, warm fairy lights, and rustic embellishments. It is an easy way to add a handmade touch to your seasonal decor.
Project at a Glance
- Difficulty: Easy
- Estimated active time: 15 minutes to 30 minutes (drying and curing waits not included)
- Estimated component cost: $5 to $10 (reusable tools and general supplies excluded)
- Main material: Glass
- Suggested placement: Shelf, Dining Table
Styling Your Rustic Ghost Mason Jar Lantern
This rustic ghost lantern brings a blend of cozy charm and subtle spookiness to your Halloween and fall arrangements. The combination of translucent gauze, warm fairy lights, and natural jute twine creates an inviting glow, while the buffalo plaid ribbon and faux greenery add a touch of farmhouse-inspired warmth. It is designed to complement existing rustic or farmhouse decor themes effortlessly.
Consider placing this illuminated ghost lantern as a centerpiece on a dining table or coffee table, where its soft light can enhance evening gatherings. It also makes a welcoming accent on an entryway console, a kitchen shelf, or as part of a festive tiered tray display. The compact size of a mason jar makes it versatile for various indoor placements.
Materials for DIY Rustic Ghost Mason Jar Lantern for Cozy Halloween Fall Tables
- Large Clear Glass Jar or Mason Jar
- Battery-Operated Fairy Lights (Warm White)
- White Gauze, Cheesecloth, or Medical Wrap
- Black Craft Foam or Cardstock
- Jute Twine
- Black-and-White Buffalo Plaid Ribbon
- Small Faux Greenery Pick (Eucalyptus & Berries)
- Hot Glue Gun and Glue Sticks
- Scissors
Need another material? Browse current craft supplies and deals.
Assembling Your Rustic Ghost Mason Jar Lantern
Transform a simple mason jar into a delightful rustic ghost lantern with these straightforward steps. This project involves wrapping, gluing, and decorating to create a charming seasonal accent. Follow the guide to assemble your own illuminated ghost display.
Step 1: Prepare the Jar and Lights
Begin by thoroughly cleaning your large clear glass jar or mason jar with soap and water, then dry it completely. Once dry, carefully unspool the battery-operated fairy lights and gently place them inside the jar. Ensure the battery pack is positioned so it's accessible for turning the lights on and off, usually near the opening.
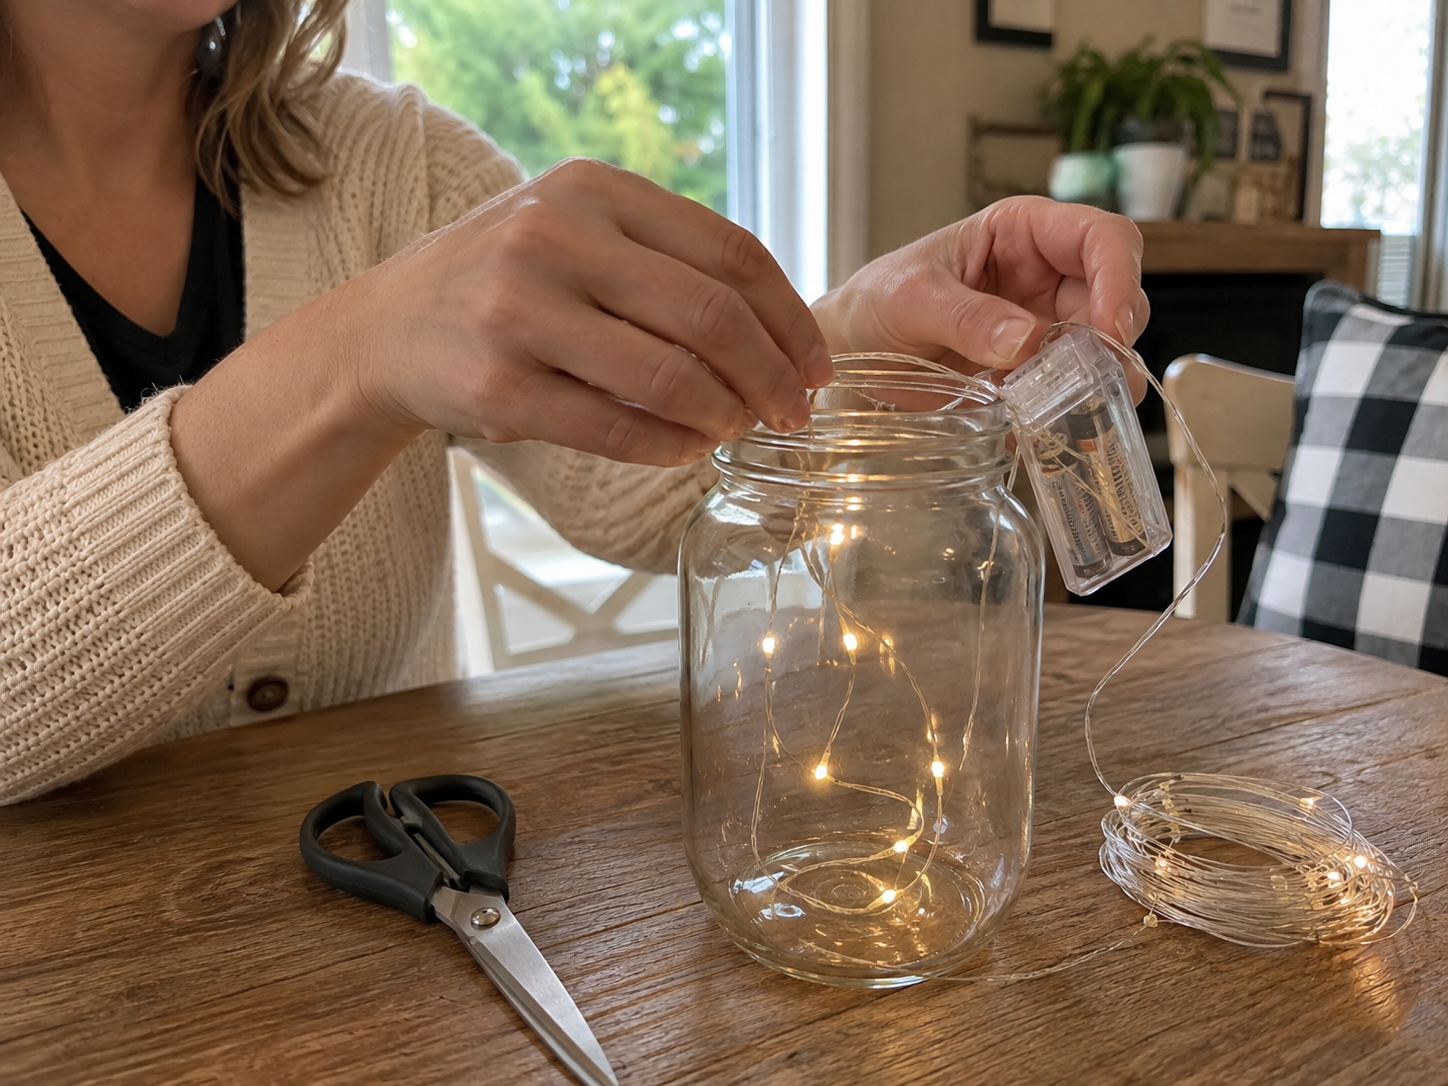
Step 2: Drape the Ghost Body
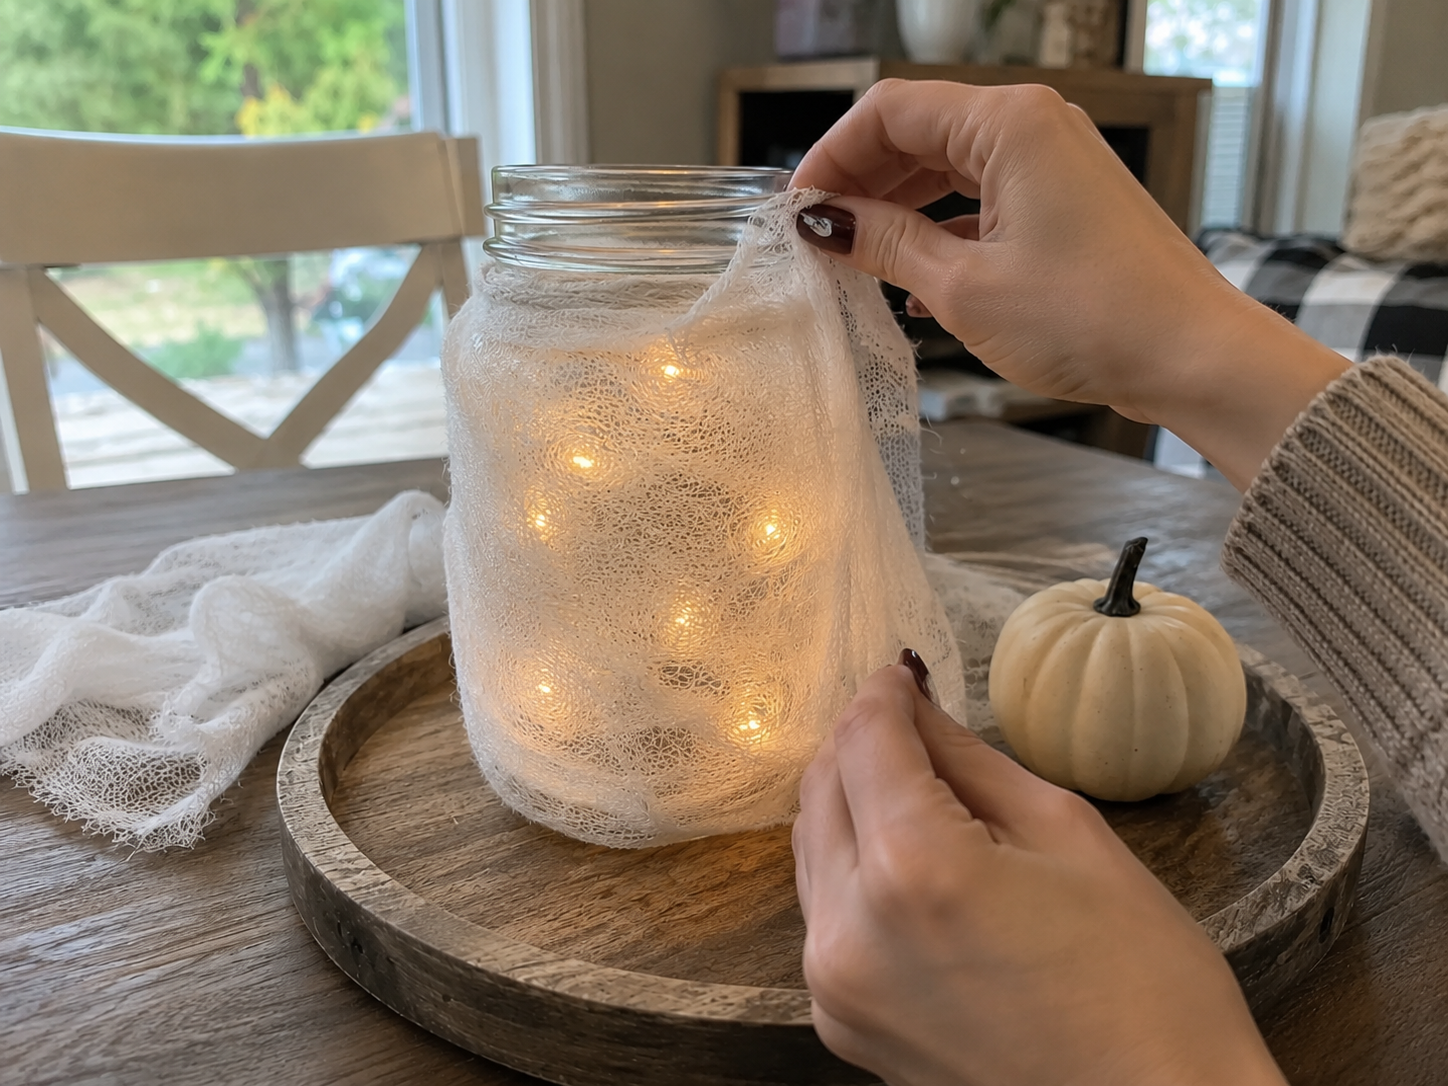
Take your white gauze, cheesecloth, or medical wrap and begin loosely wrapping it around the outside of the jar. Overlap the fabric to create a mummified or ethereal ghostly effect. Make sure the material is not wrapped too tightly or densely, so the warm glow of the fairy lights can still easily shine through. Secure the ends of the fabric with a small dab of hot glue if necessary, or simply tuck them neatly under existing layers.
Step 3: Create the Ghost Face
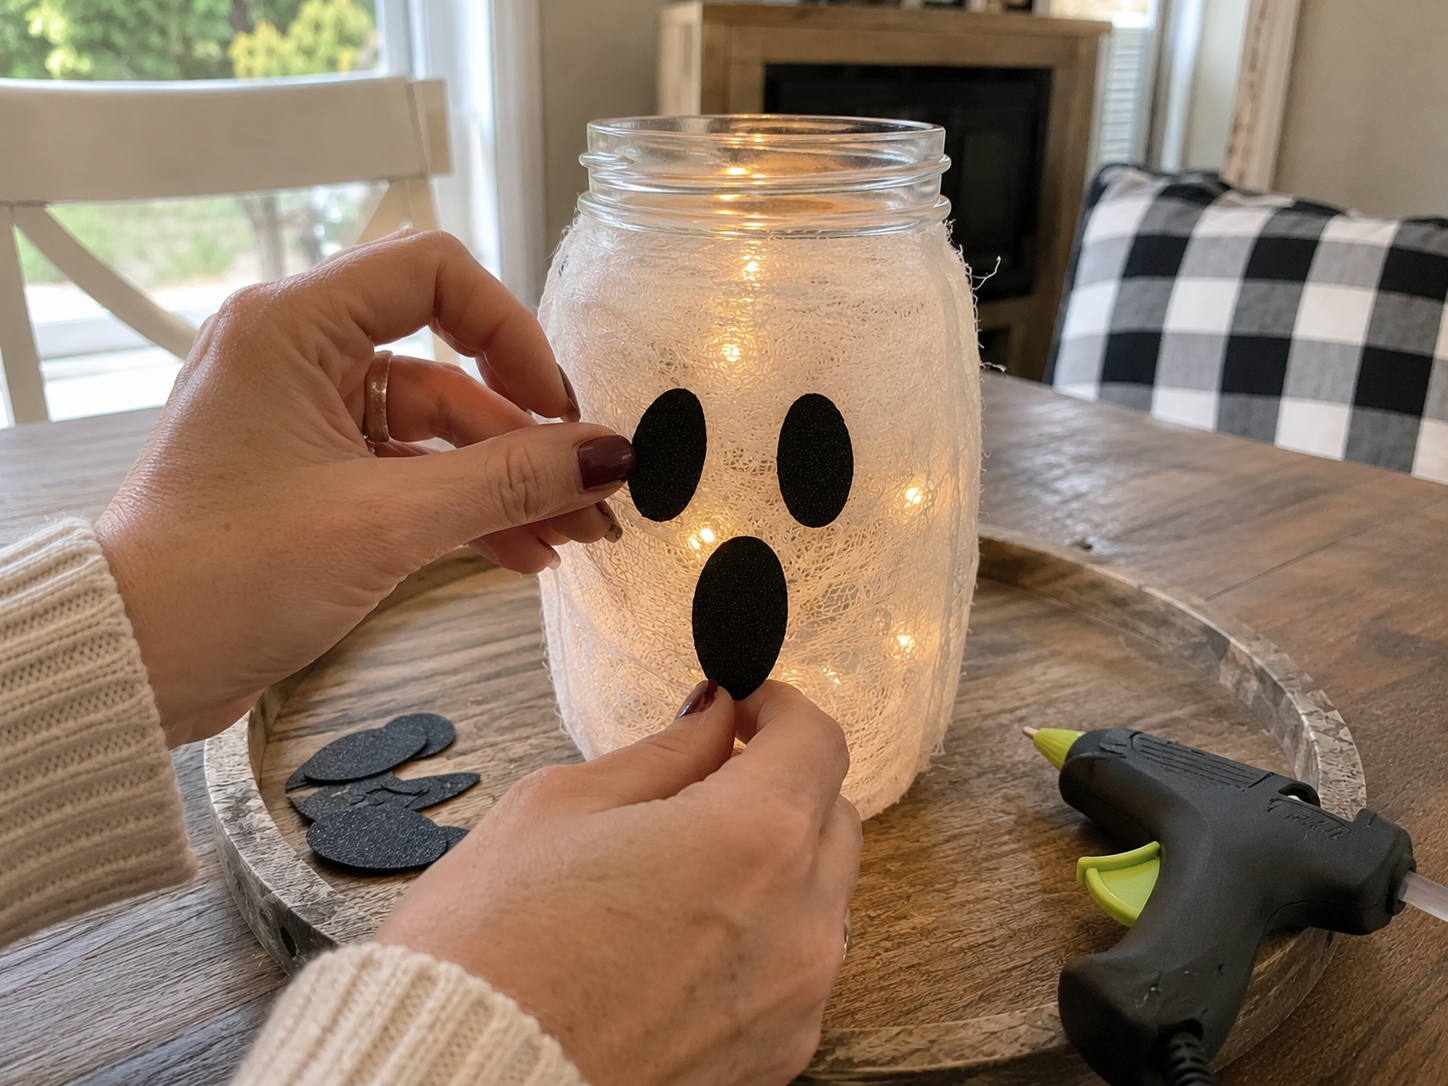
From your black craft foam or cardstock, cut out two small oval shapes for the eyes and one slightly larger oval for the mouth. Arrange these shapes on the front of the gauze-wrapped jar to create a simple ghost face. Experiment with spacing and alignment until you're happy with the look. Once the placement is finalized, use a hot glue gun to firmly attach each black oval piece to the gauze-covered jar.


Step 4: Wrap the Jar's Neck
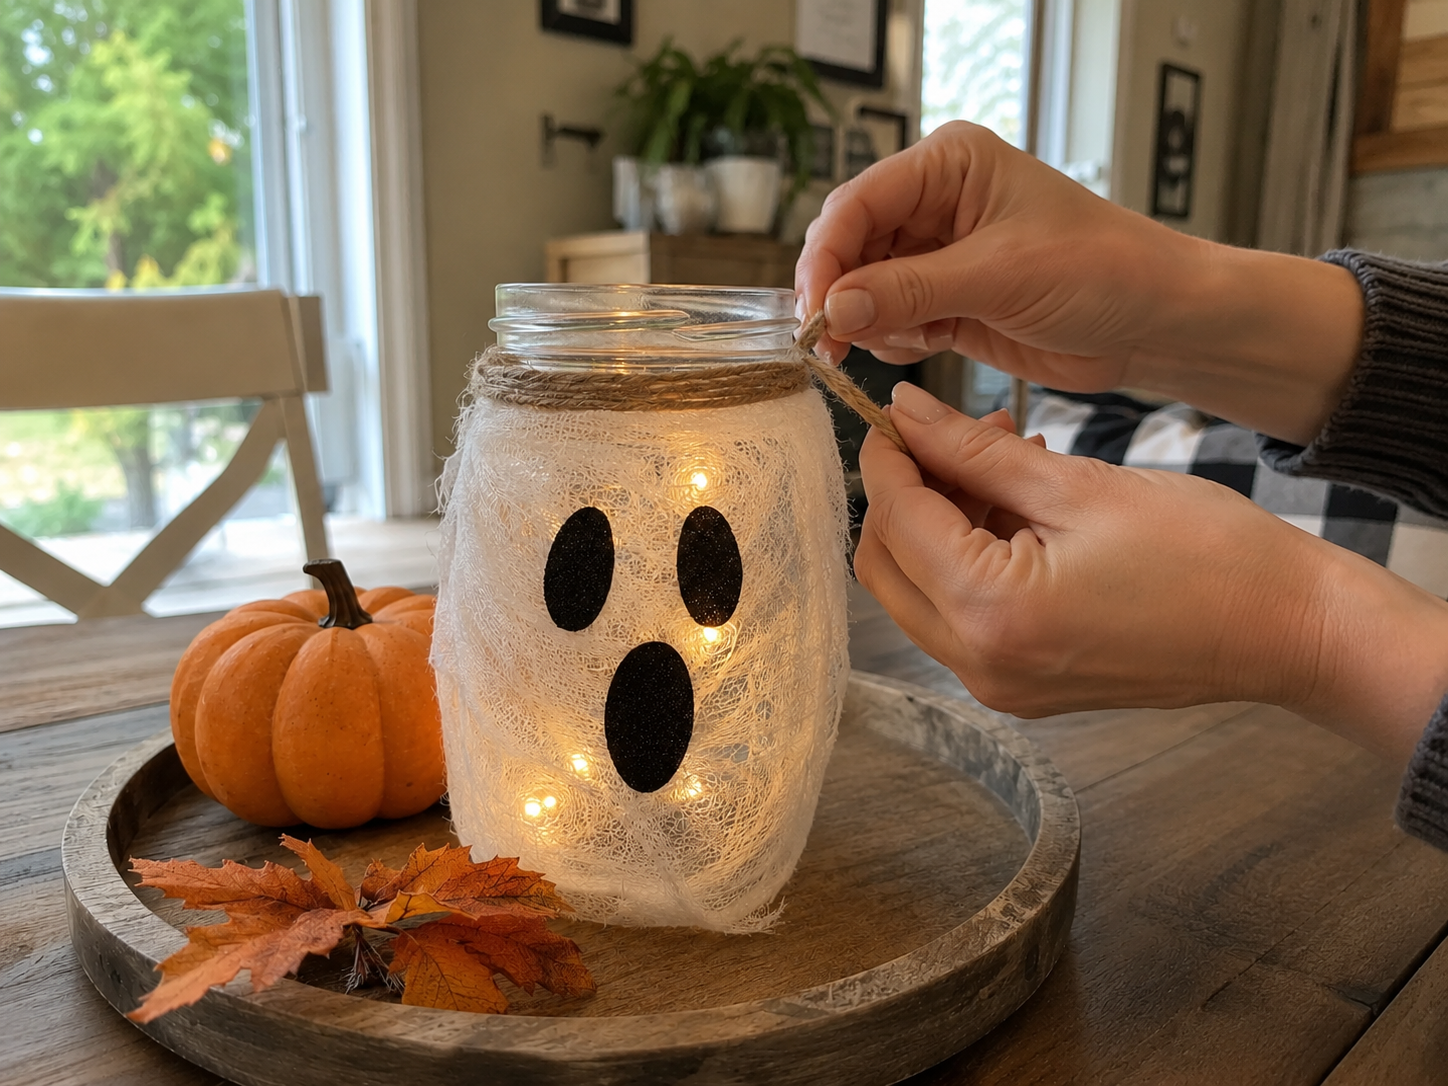
Measure and cut a length of jute twine, typically around 24-30 inches, depending on how many wraps you desire. Apply a small dot of hot glue near the top rim of the jar's neck to secure one end of the twine. Carefully begin wrapping the twine around the neck of the jar, keeping the wraps tight and neat, spiraling downwards slightly if desired. Once you've achieved your desired thickness, secure the other end of the twine with another small dot of hot glue and trim any excess.
Step 5: Attach the Decorative Bow
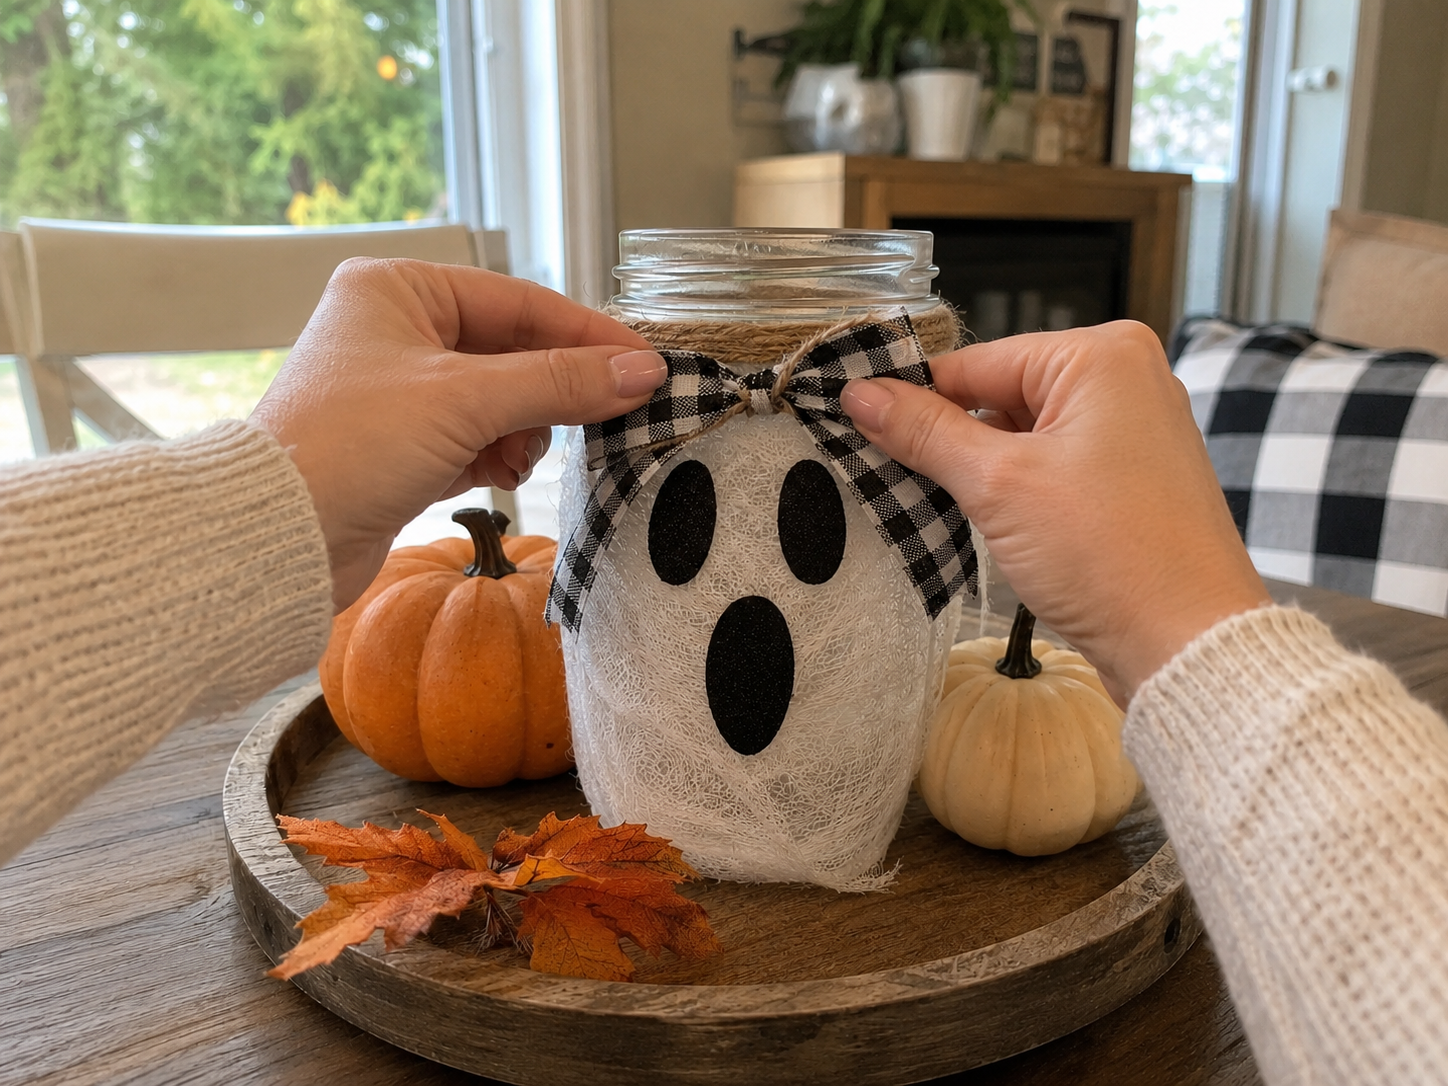
Cut a piece of black-and-white buffalo plaid ribbon about 12-18 inches long. Form a simple bow, or a double-loop bow if you prefer, and secure its center by tying it tightly with a small piece of jute twine or by applying a tiny dab of hot glue. Once your bow is formed, apply hot glue to its back and carefully attach it to the front of the jar, centered on the jute-wrapped neck, allowing the ribbon tails to drape gracefully downwards.
Step 6: Add Greenery Embellishment
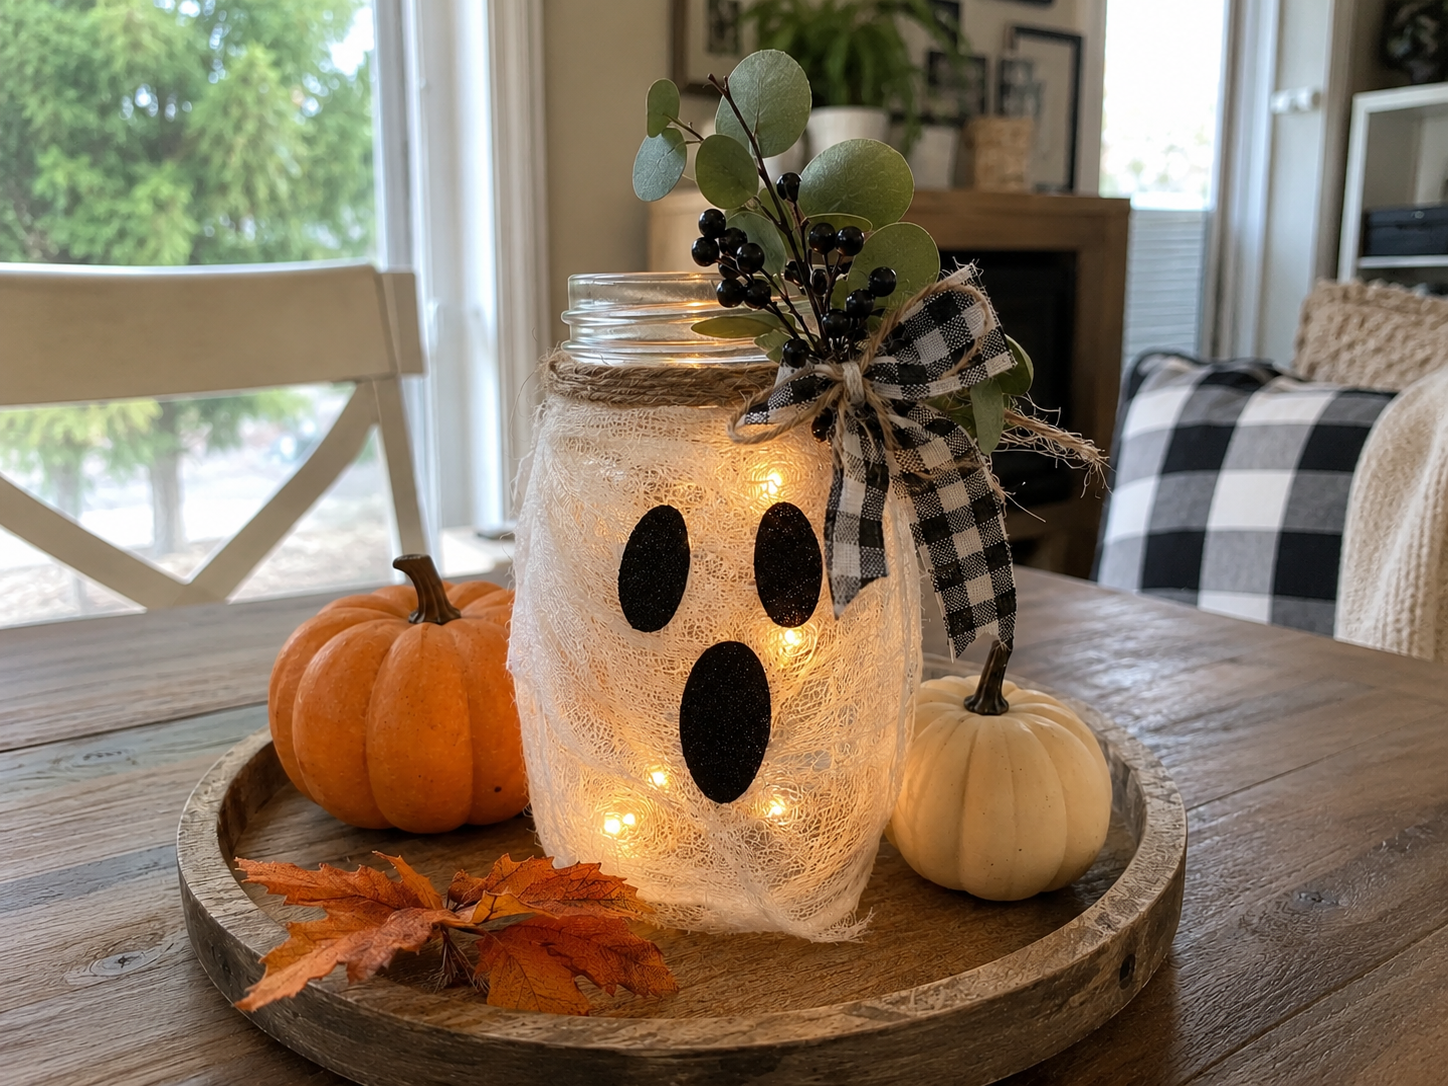
Take your small faux greenery pick, featuring eucalyptus leaves and black berry stems, and trim any excess stem length if it appears too long or cumbersome. Gently tuck the greenery pick behind or slightly beneath the buffalo plaid bow, arranging it so the leaves and berries elegantly frame the bow and extend upwards. Use a small dab of hot glue to secure the stem firmly in place, ensuring it looks naturally integrated with the bow and adds a cozy, rustic touch to your ghost lantern.
Enjoy Your Rustic Ghost Lantern
Once assembled, your rustic ghost mason jar lantern is ready to cast a warm, spooky glow throughout your home. This charming piece adds a unique, handmade touch to your Halloween or fall decor. Enjoy its inviting ambiance in any room.
Related project collection: 25 Easy Dollar Tree Fall & Halloween Crafts to Cozy Up Your Home
Practical Questions About This Project
Where can this ghost lantern be displayed?
This rustic ghost lantern is suitable for indoor display on a dining table, entryway table, shelf, or as part of a tiered tray arrangement. Its warm glow enhances various areas of a home.
What type of lights are best for this lantern?
Battery-operated warm white fairy lights are recommended. They provide a soft, inviting glow and are safe for use inside the jar without needing an electrical outlet.
Can other fabrics be used instead of gauze?
Yes, white cheesecloth or medical wrap are also suitable alternatives to gauze for creating the translucent, ethereal ghost body. The key is to use a material that allows the fairy lights to shine through.
How long does this craft take to make?
The estimated active time for assembling this rustic ghost mason jar lantern is between 15 and 30 minutes. This estimate excludes any unattended drying or curing time.
Search Dollar Tree for glass supplies.

Leave a Reply