
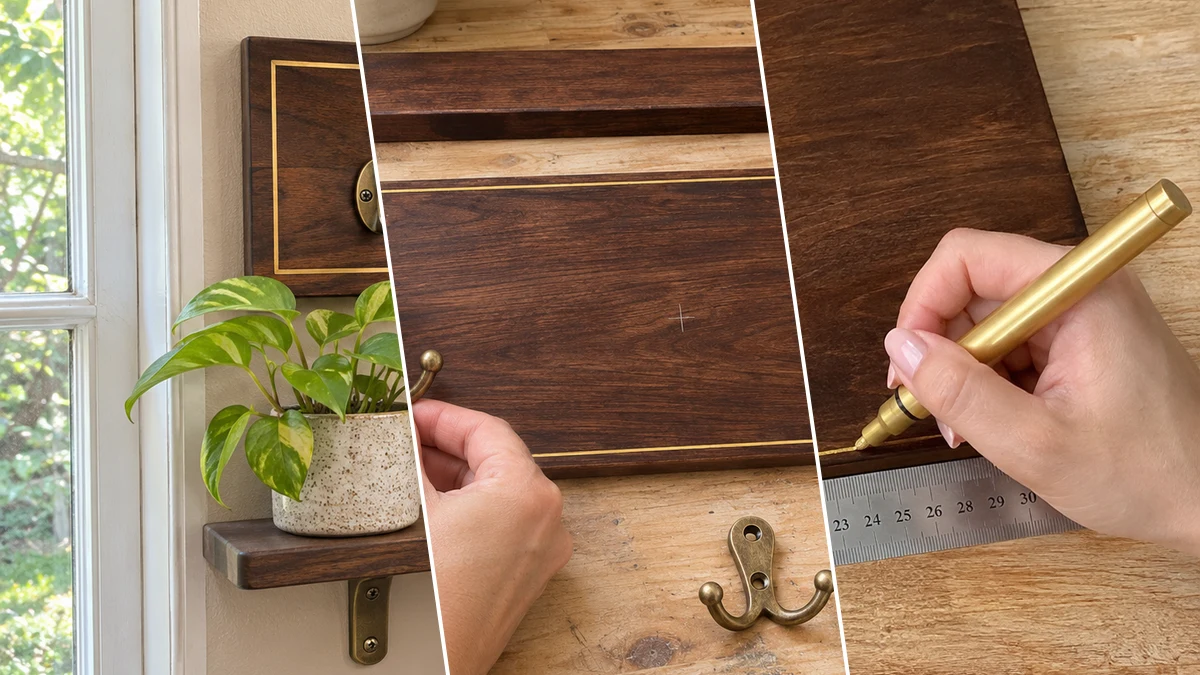
Keep your entryway organized and stylish with a DIY key rack and floating shelf. This project transforms simple wooden boards into a functional piece with a sophisticated walnut-stained finish and brass hooks. It provides a dedicated spot for keys, mail, and small decorative items right by your front door. Create a welcoming and clutter-free space with this easy-to-follow tutorial.
Project at a Glance
- Difficulty: Easy
- Estimated active time: 40 minutes to 50 minutes (drying and curing waits not included)
- Estimated component cost: $10 to $25 (reusable tools and general supplies excluded)
- Main material: Wood
- Suggested placement: Wall, Entryway
The Practical Appeal of a DIY Entryway Key Rack
An organized entryway sets a calm tone for your home, but often this space becomes a catch-all for keys, mail, and other small items. A dedicated key rack with a shelf can prevent daily clutter and ensure essential items are always within reach when you are heading out the door or returning home. This helps streamline your routine and reduces stress.
This DIY project offers a practical solution by combining a key organizer with a small floating shelf. The rich walnut-stained wood, elegant brass hooks, and subtle gold border create a custom, high-end appearance. The shelf provides extra space for mail, a small plant, or a coin dish, adding both functionality and decorative potential to your entryway.
Materials for DIY Walnut Stained Entryway Key Rack with Floating Shelf and Brass Hooks
- Rectangular Wooden Craft Boards (2)
- Dark Wood Stain
- Gold Paint Pen
- Brass Wall Hooks (4)
- Small L Brackets
- Rag
- Ruler
- Screwdriver
- Wall Anchors and Screws (for mounting)
Need another material? Browse current craft supplies and deals.
Crafting Your Walnut Stained Entryway Key Rack
Transform basic wooden boards into a sophisticated entryway organizer with these clear instructions. This easy project involves staining, adding decorative details, and simple assembly. Follow each step carefully to create a functional and stylish key rack with a floating shelf for your home.
Step 1: Stain and Prepare Wooden Boards
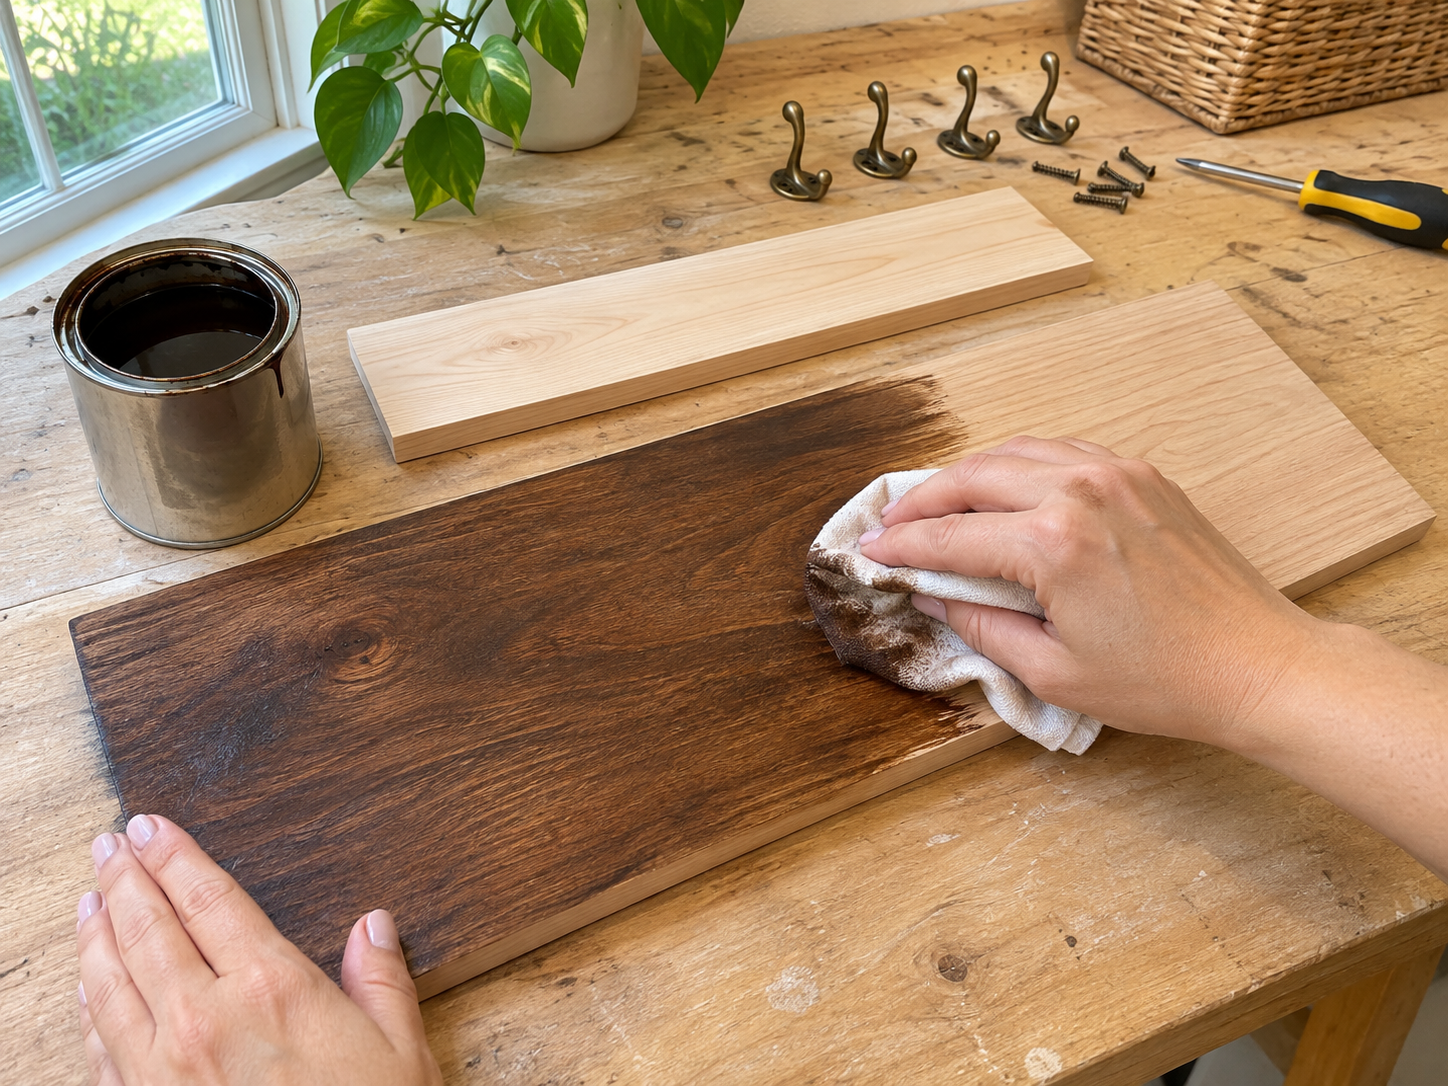
Begin by lightly sanding both rectangular wooden boards if they feel rough, then wipe them clean to remove any dust. Apply an even coat of dark wood stain, such as walnut, to all surfaces of both boards using a rag. Allow the stain to penetrate for a few minutes, then wipe off any excess with a clean rag to achieve a smooth, rich finish. Set them aside to dry completely according to the stain product's instructions.
Step 2: Add a Gold Border Detail
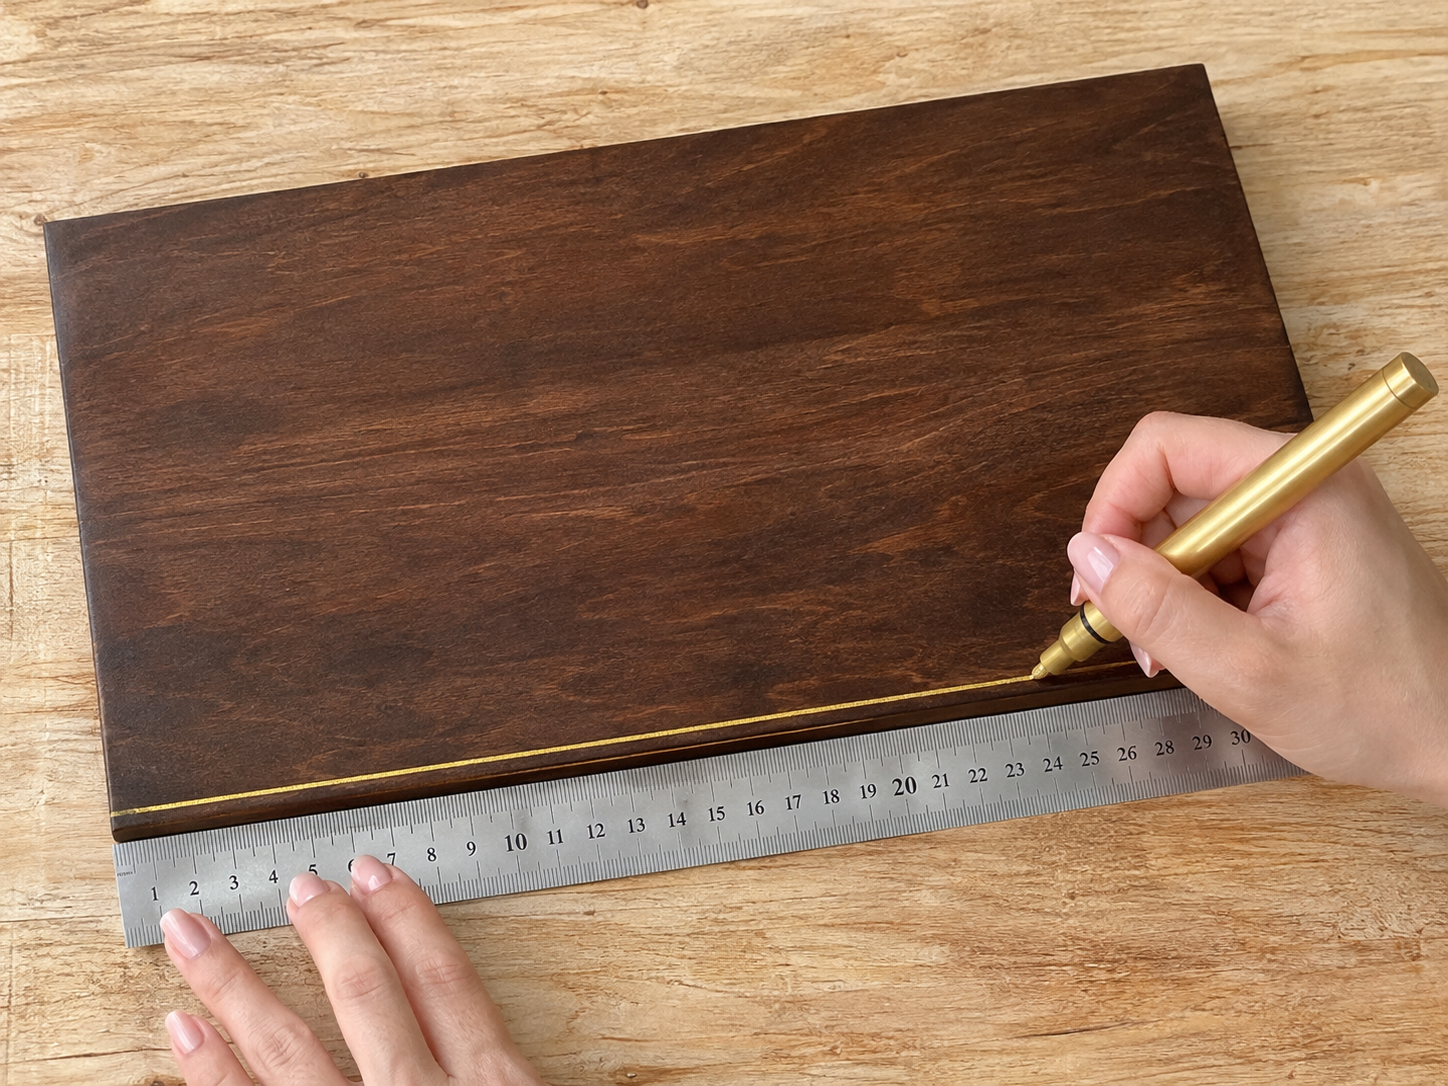
Once the larger stained board is fully dry, use a ruler and a gold paint pen to carefully draw a thin, even border line around its perimeter. This detail adds a touch of elegance and a custom, designer look. Allow the paint to dry thoroughly before proceeding.
Step 3: Install Brass Wall Hooks
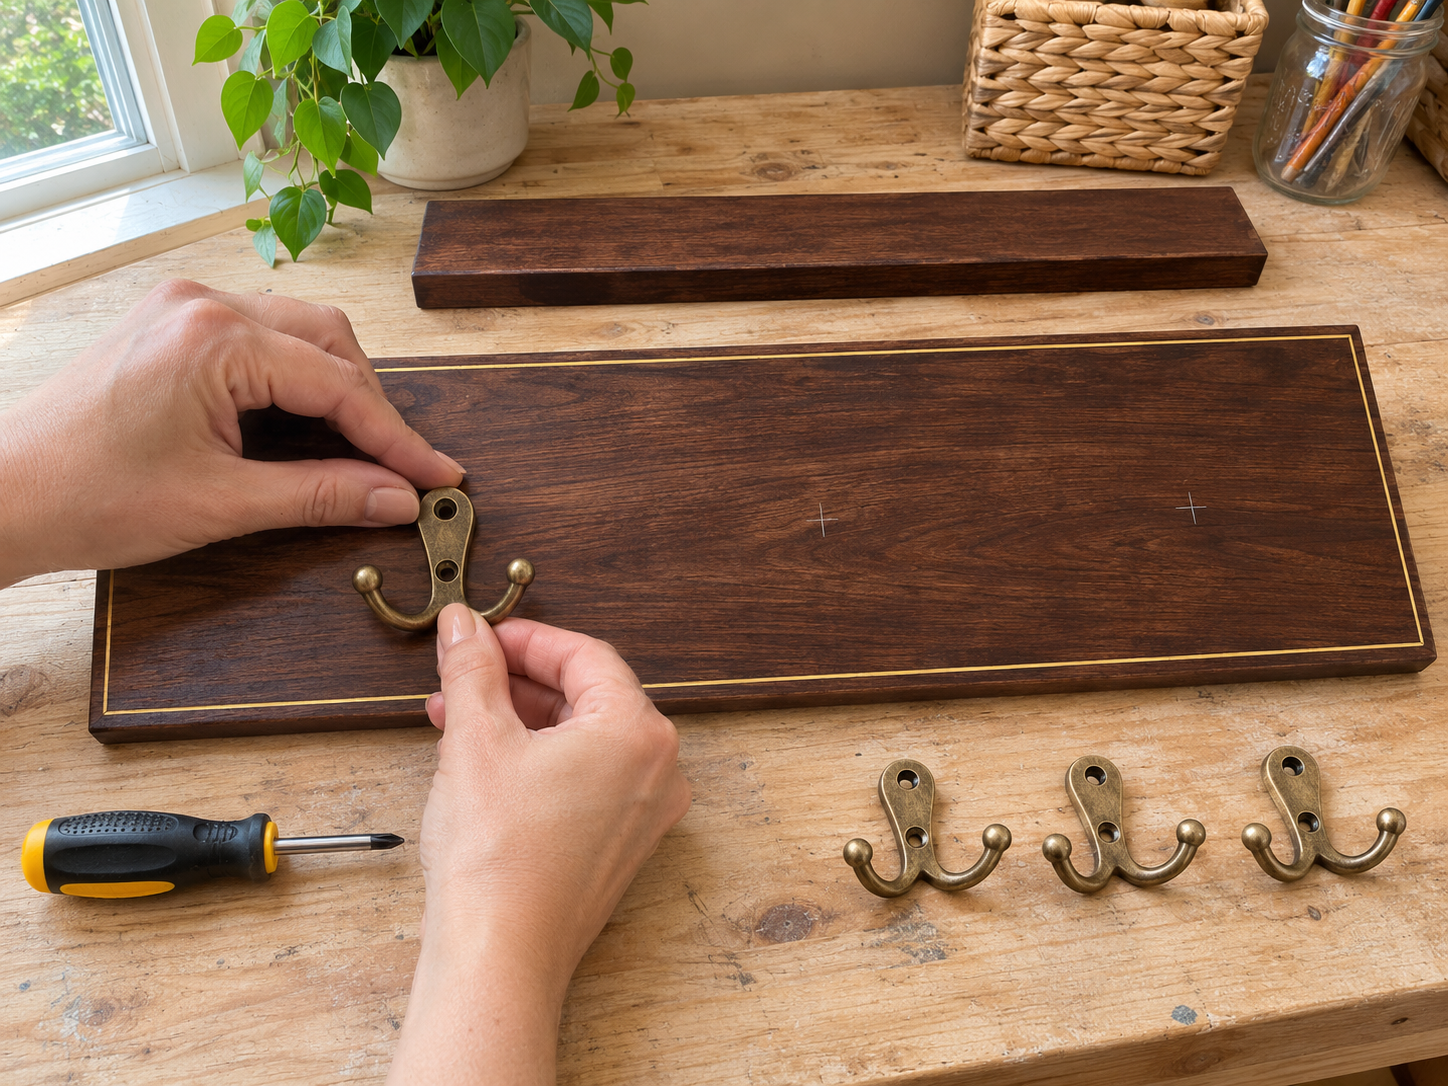
Measure and mark the desired positions for your four brass wall hooks on the main stained board, ensuring they are evenly spaced. For easier installation and to prevent wood splitting, you may pre-drill small pilot holes at each mark. Then, securely screw each brass hook into place using a screwdriver, making sure they are firmly attached and facing the desired direction.


Step 4: Attach the Floating Shelf
Carefully position the smaller stained board underneath the main board, centered, to serve as your floating shelf. Use small L brackets to secure the shelf. Attach the brackets to the back edge of the shelf and the underside of the main board with screws. Ensure the shelf is level and firmly attached, providing a stable surface for your items.
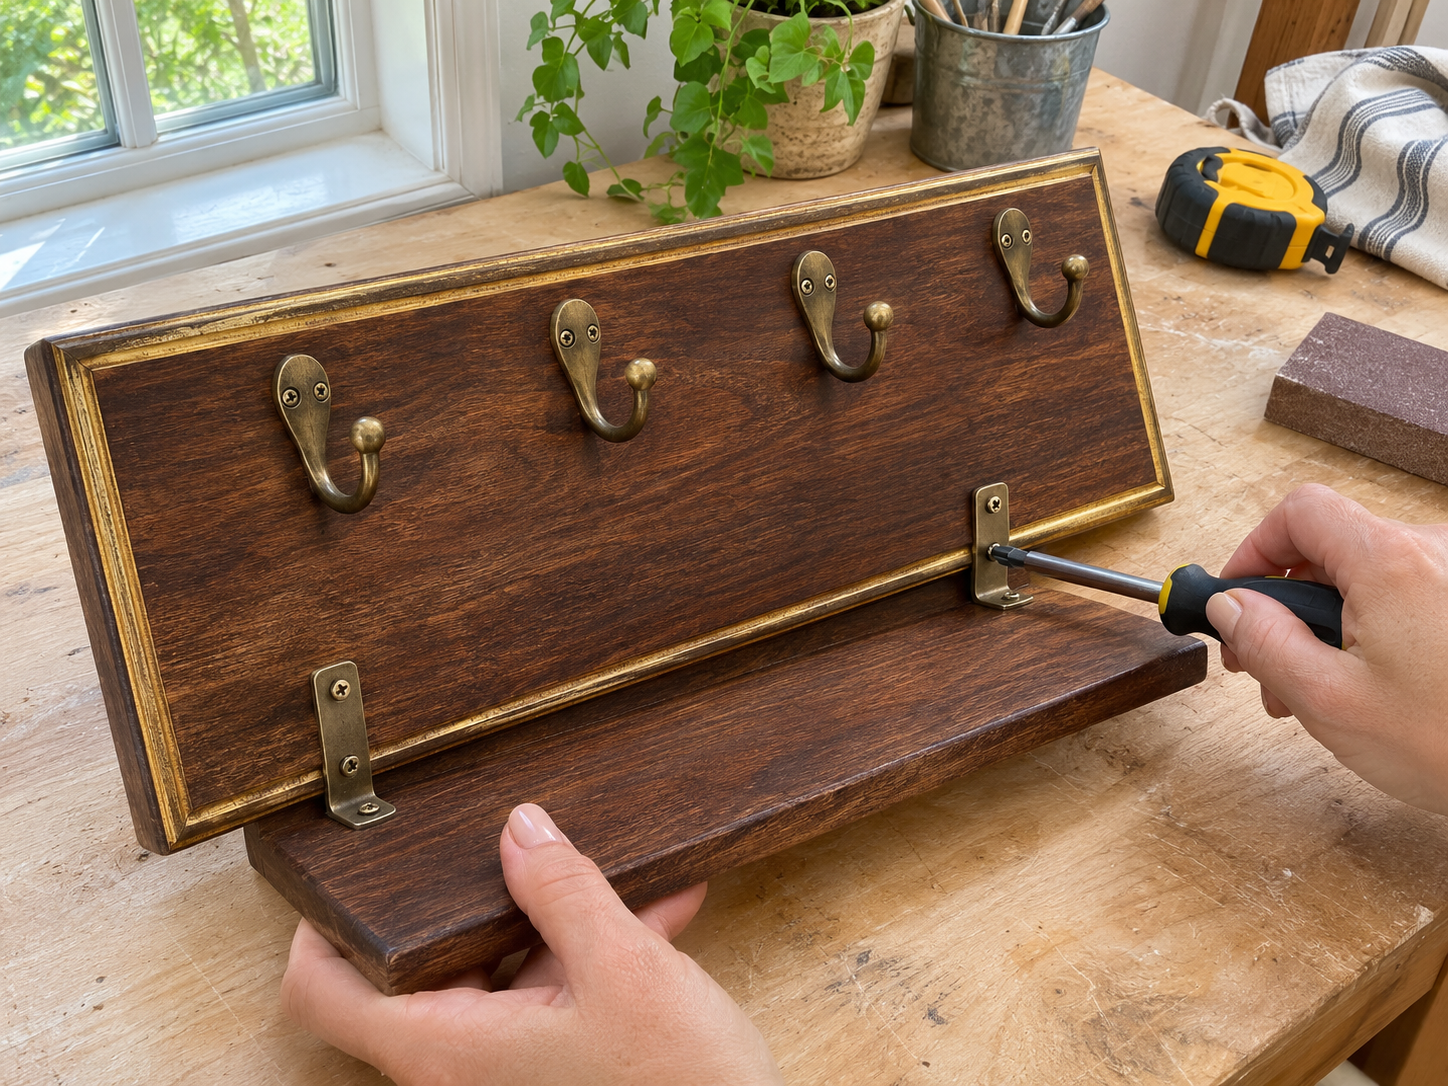
Step 5: Mount Key Rack to Wall
Select an ideal spot near your entryway. Mark the mounting points on your wall where the top key rack board will hang. Use a level to ensure it's straight. Install appropriate wall anchors if you're not drilling into studs, then securely screw the entire assembled key rack to the wall. Step back and admire your new functional and stylish entryway piece!
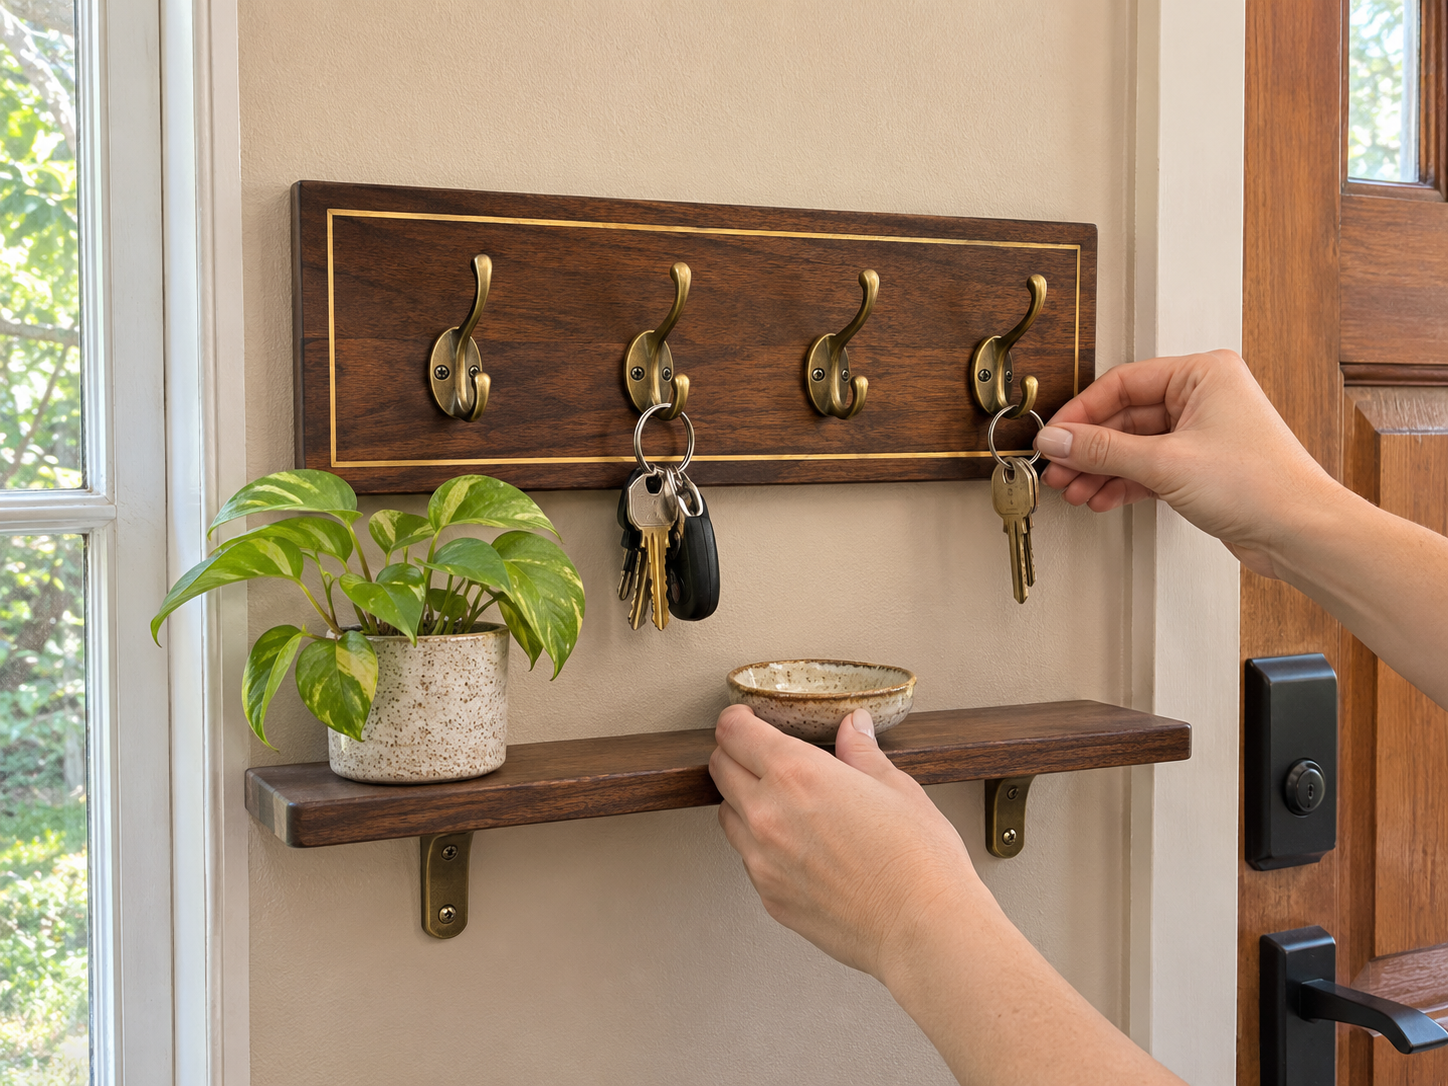
Enjoy Your Custom Entryway Key Rack
With these steps complete, your custom walnut-stained entryway key rack is ready to organize your space. This functional and decorative piece helps keep keys and small items tidy, reducing clutter by your front door. Enjoy the sophisticated touch it adds to your home's entry.
Related project collection: DIY Fluted Wood Wall Shelf with Dark Walnut Finish
Practical Questions About This Project
What type of wood boards are best for this project?
Rectangular wooden craft boards are suitable. The project uses two boards, one larger for the main panel and a smaller one for the shelf.
Can the key rack be customized with a different finish or color?
Yes, while the tutorial uses dark walnut stain and a gold paint pen, you can choose any wood stain or paint color to match your home decor.
What are the options for attaching the floating shelf?
Small L brackets are used to securely attach the shelf to the main board, ensuring it is level and stable.
What items can be stored on the floating shelf?
The floating shelf is designed to hold small decorative items, mail, or a coin dish. It can also accommodate a small plant, as shown in the final image instruction.
Is it possible to omit the gold border detail?
Yes, the gold border is an optional decorative detail. The key rack will still be functional and stylish without it if a simpler look is preferred.
Browse wood supplies at Dollar Tree.

Leave a Reply