
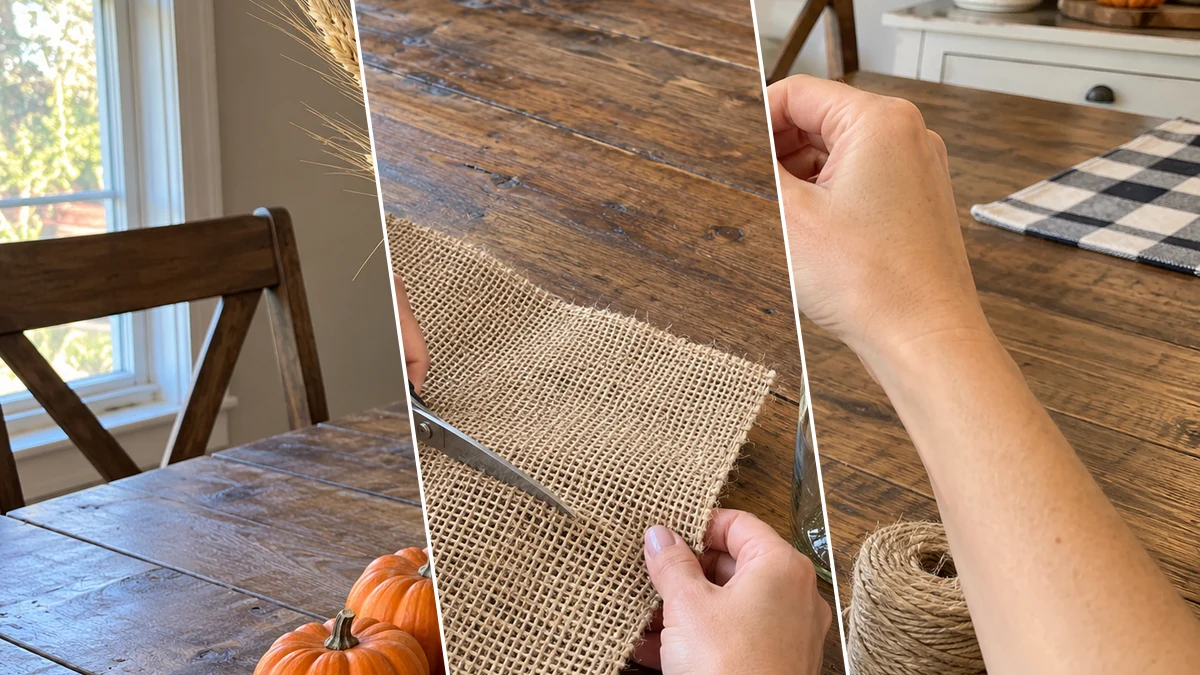
Add a touch of rustic charm to your autumn home decor or Thanksgiving table with a handmade burlap wine bottle centerpiece. This project transforms an ordinary empty bottle into a beautiful display using natural textures and warm fall colors. It is an easy and budget-friendly way to create a welcoming seasonal accent.
Project at a Glance
- Difficulty: Easy
- Estimated active time: 25 minutes to 35 minutes (drying and curing waits not included)
- Estimated component cost: $7 to $15 (reusable tools and general supplies excluded)
- Main material: Burlap
Why This Rustic Fall Centerpiece?
Creating your own seasonal decor allows for personalized touches that ready your home for gatherings and holidays. This burlap wine bottle centerpiece offers a blend of natural materials and simple design, making it a versatile piece for various fall settings. The combination of burlap, jute, dried wheat, and faux berries evokes a cozy, harvest-inspired atmosphere.
This craft is designed for accessibility, requiring only a few common materials and straightforward steps. It provides an opportunity to upcycle an empty glass bottle, giving it new purpose as a decorative element. The finished centerpiece can enhance a dining table, mantel, or entryway console, providing a focal point that celebrates the autumn season.
Materials for DIY Rustic Burlap Wine Bottle Centerpiece for Fall or Thanksgiving
- Empty Glass Bottle (e.g., wine bottle)
- Natural Burlap Fabric
- Hot Glue Gun & Glue Sticks
- Jute Twine
- Dried Wheat Stems
- Faux Berry Picks (orange/red)
- Scissors
Need another material? Browse current craft supplies and deals.
How to Make Your Burlap Wine Bottle Centerpiece
This project involves wrapping an empty glass bottle in burlap, securing it with hot glue, and then embellishing it with jute twine, dried wheat, and faux berries. Follow these steps to assemble your rustic fall centerpiece. The estimated active crafting time for this project is 25 to 35 minutes.
Step 1: Prepare Bottle and Cut Burlap
Thoroughly clean the empty glass bottle with soap and water, then dry completely. For a smoother finish, you can remove any labels by soaking the bottle in warm, soapy water. Measure the height of your bottle from just above the base to just below the neck. Cut a strip of natural burlap fabric to this height, ensuring it's long enough to wrap around the bottle with an overlap of about 1 inch (2.5 cm). Trim the edges of the burlap for a clean line if necessary.
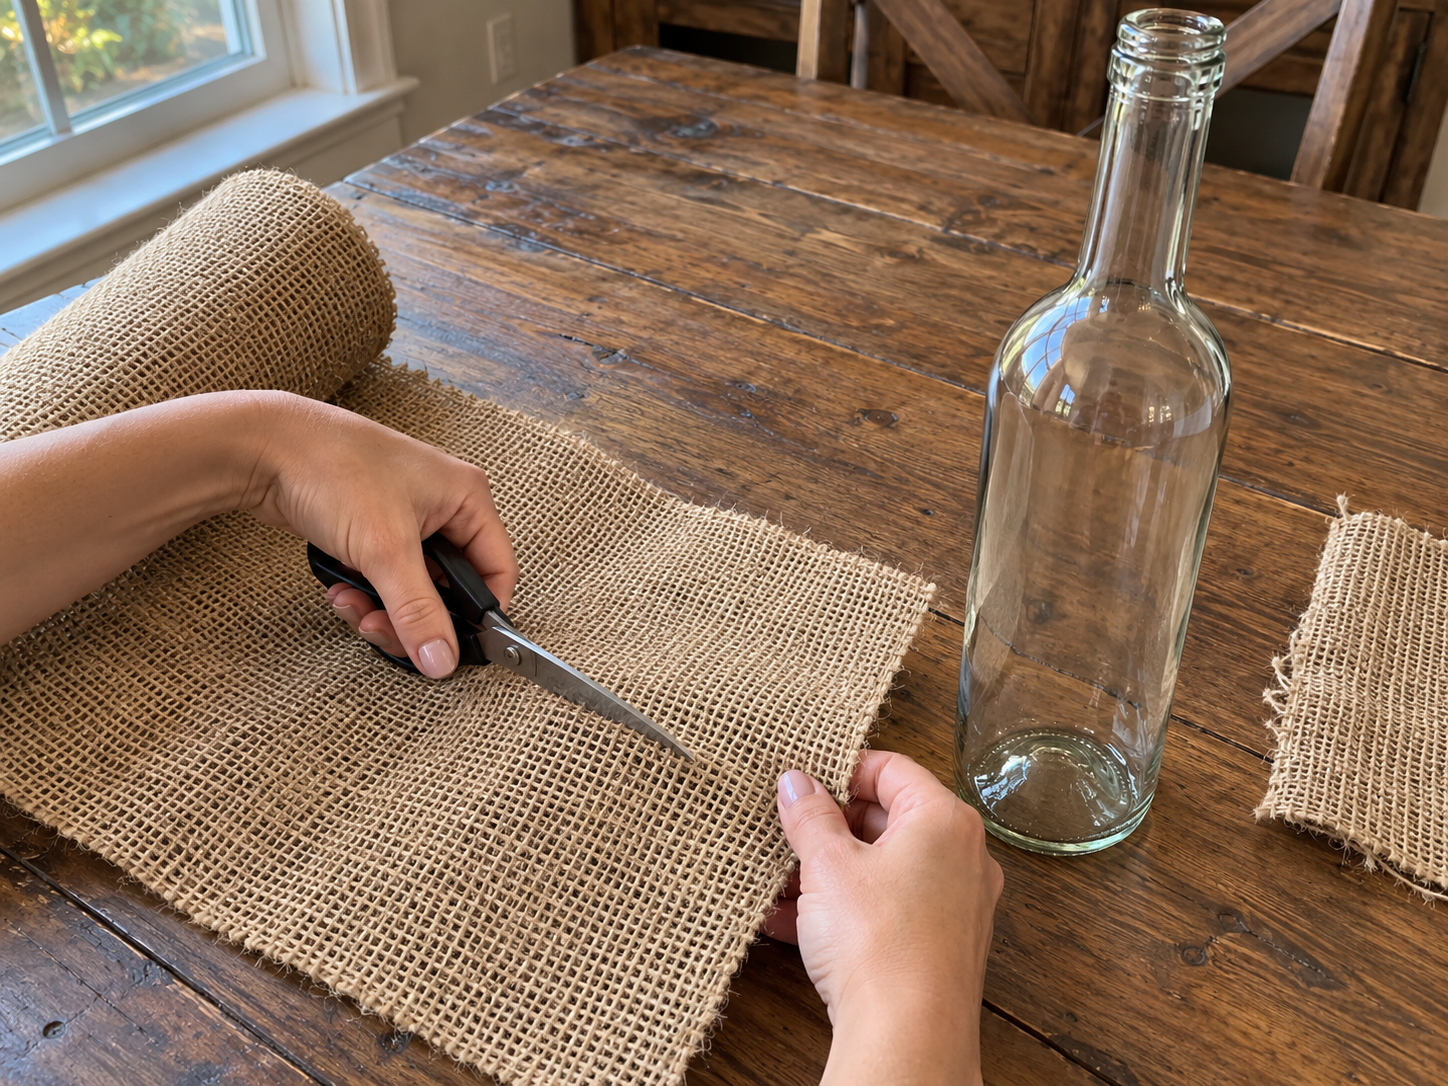
Step 2: Wrap and Secure Burlap
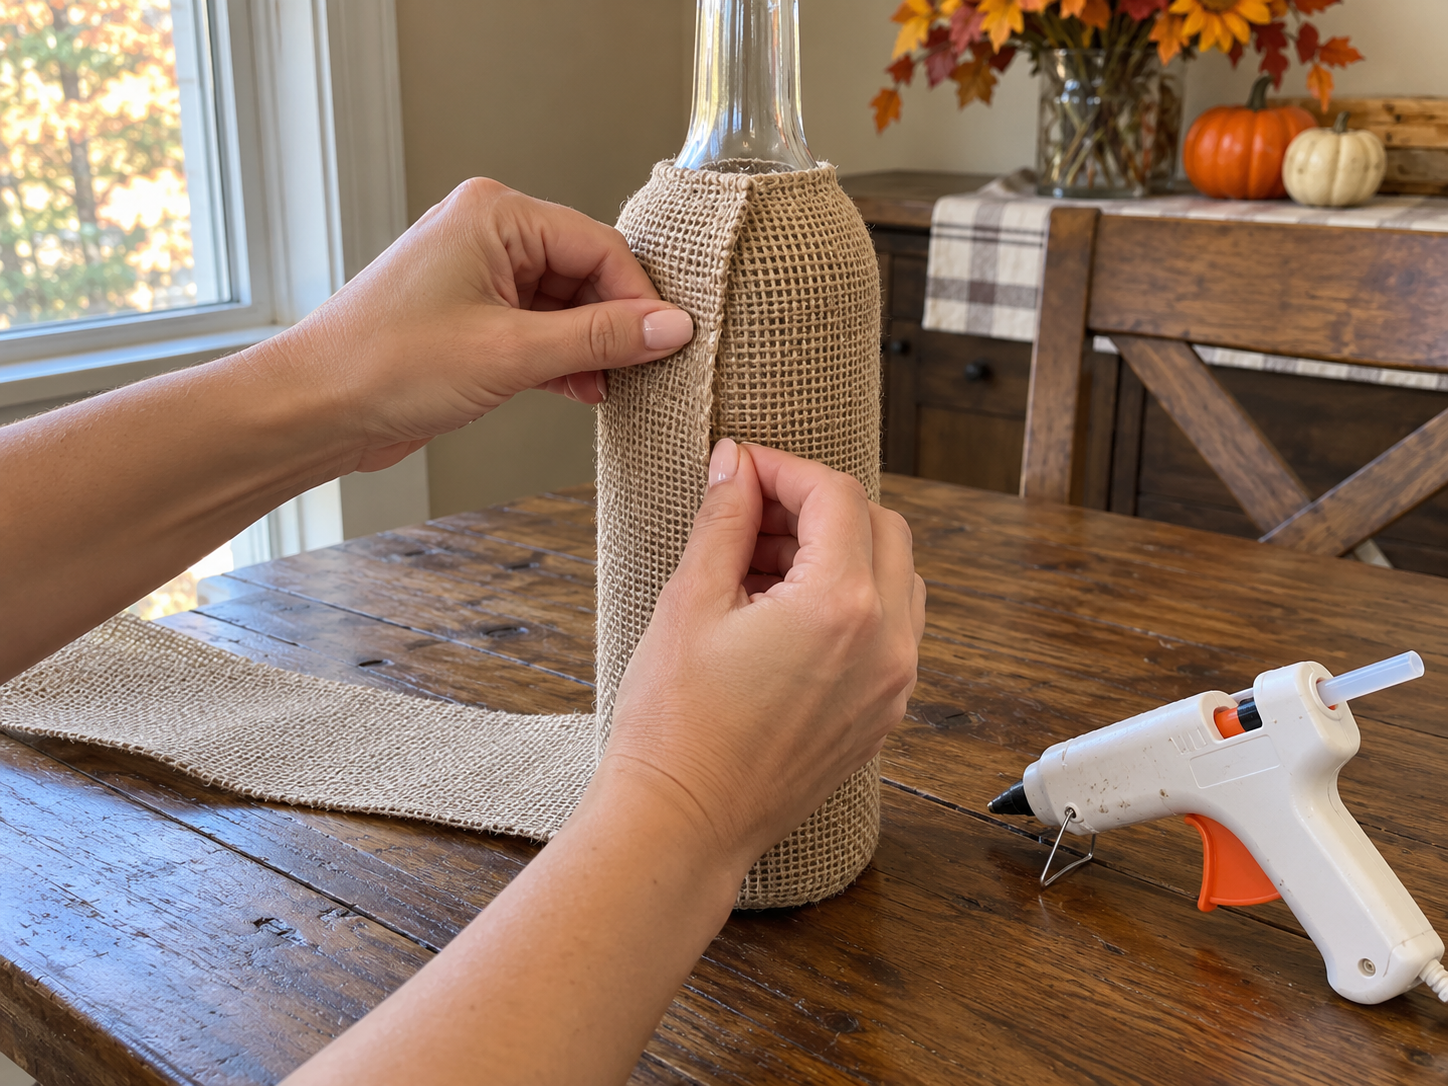
Apply a thin line of hot glue along one vertical edge of the burlap strip. Carefully align this edge with a seam or inconspicuous area on the bottle and press firmly to adhere. Begin wrapping the burlap tightly around the bottle, keeping it taut and straight. Once you've wrapped the entire circumference, apply another thin line of hot glue along the remaining unglued vertical edge of the burlap and overlap it slightly with the first glued edge, pressing down to secure. Ensure there are no major gaps or wrinkles. Trim any excess burlap from the top or bottom if needed to create a neat finish.
Step 3: Tie Jute Twine Bow
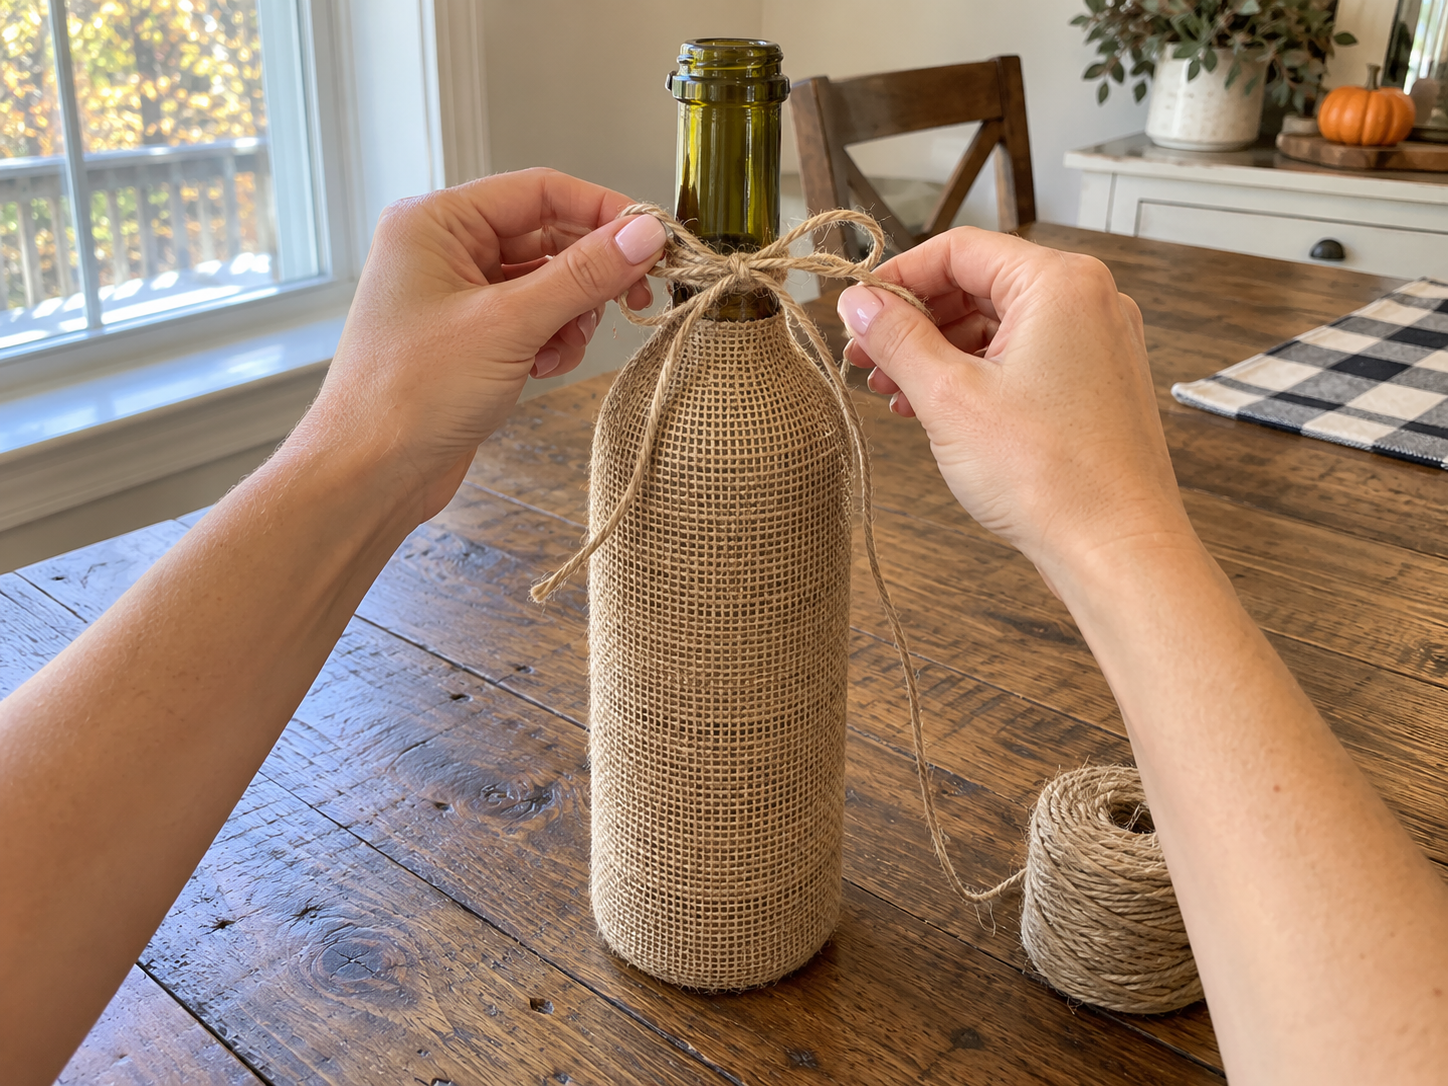
Take a length of jute twine, approximately 2-3 feet (60-90 cm) long, depending on desired bow size. Wrap the twine several times around the bottle's neck, just above the burlap, ensuring it is snug but not too tight. Tie a simple knot at the front, then form a decorative bow. Adjust the loops and tails of the bow until it looks pleasing and symmetrical. You can add a tiny dot of hot glue to the back of the knot or under the bow to keep it from slipping, if desired.


Step 4: Arrange Wheat and Berries
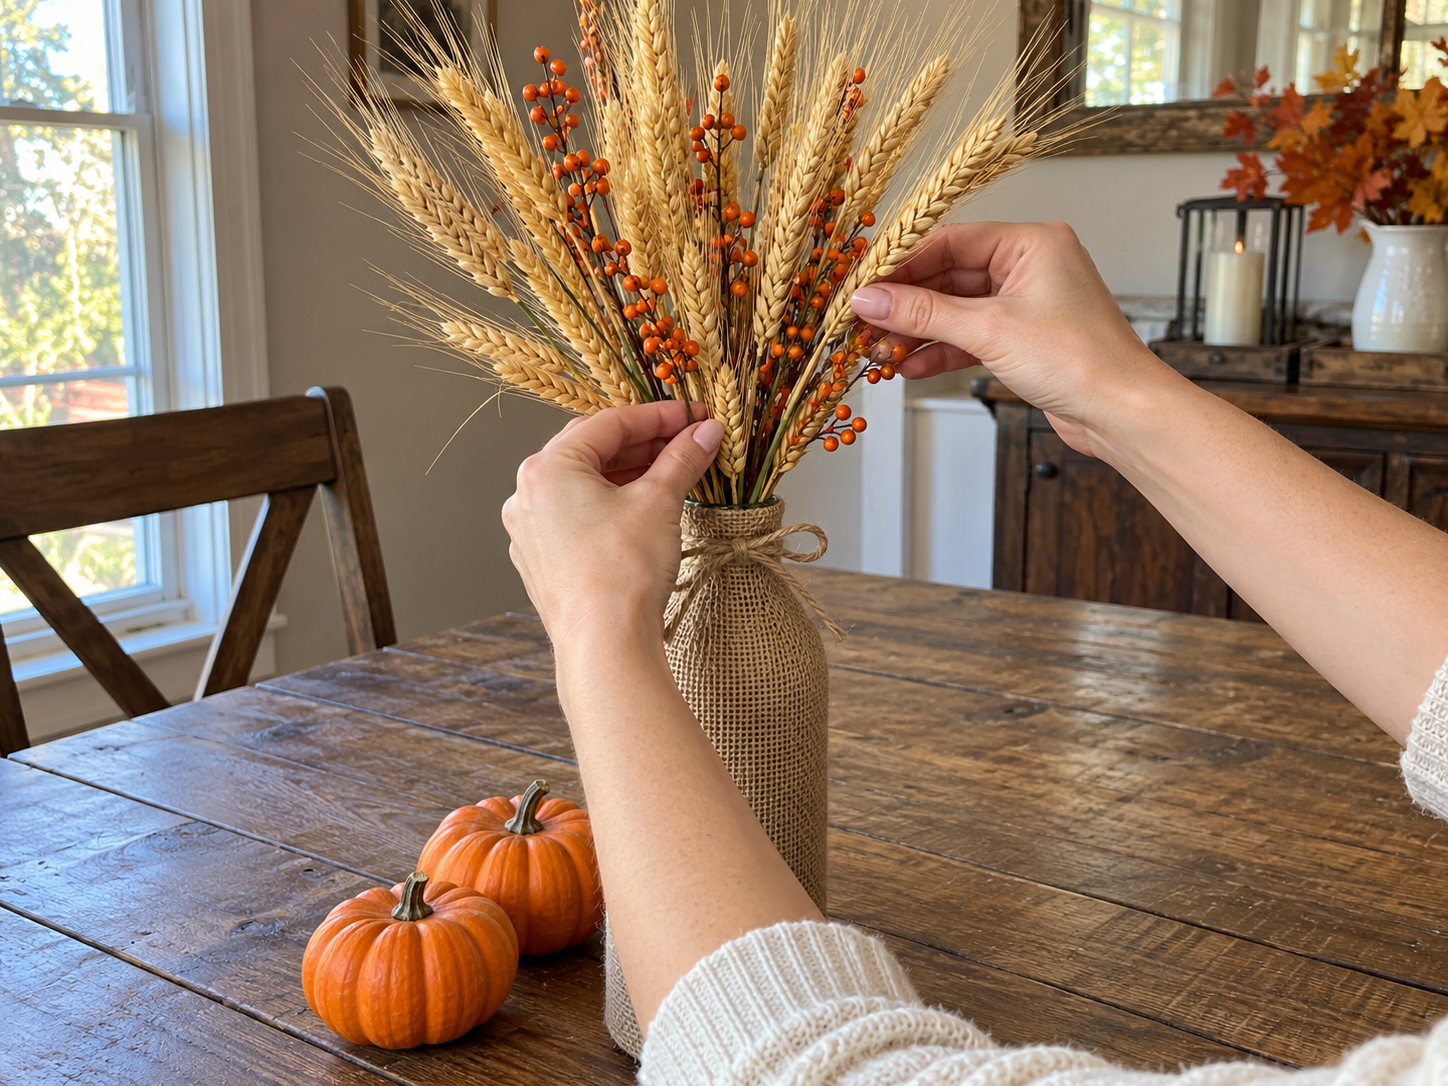
Gather your dried wheat stems and faux berry picks. Begin by inserting the wheat stems into the bottle, distributing them evenly to create a full, fan-like arrangement. Vary the heights slightly for a more natural look. Next, tuck the faux berry picks among the wheat stems, ensuring the bright orange berries provide pops of color throughout the arrangement. Step back and assess the arrangement from different angles, making any necessary adjustments to achieve a balanced and aesthetically pleasing centerpiece.
Enjoy Your Fall Centerpiece
With just a few materials and simple steps, you can create a beautiful rustic burlap wine bottle centerpiece ready for display. This charming decoration is perfect for adding autumnal warmth to your home or for enhancing your Thanksgiving table. Enjoy the cozy, harvest-inspired ambiance it brings to any space.
Related project collection: DIY Distressed Wooden Tray Fall Centerpiece for a Thanksgiving Table
Practical Questions About This Project
What type of bottle works best for this centerpiece?
Any tall, empty glass bottle, such as a wine bottle, can be used for this project.
How long does it take to make this burlap wine bottle centerpiece?
The estimated active crafting time for this project is 25 to 35 minutes, excluding unattended drying and curing.
Can this centerpiece be displayed outdoors?
This centerpiece is intended for indoor display.
How can the jute twine bow be secured to prevent slipping?
A tiny dot of hot glue can be applied to the back of the knot or under the bow to keep it in place, if desired.
What is the estimated cost to make this project?
The estimated component cost for this project is $7 to $15, excluding reusable tools and general supplies.
Search Dollar Tree for burlap supplies.

Leave a Reply