
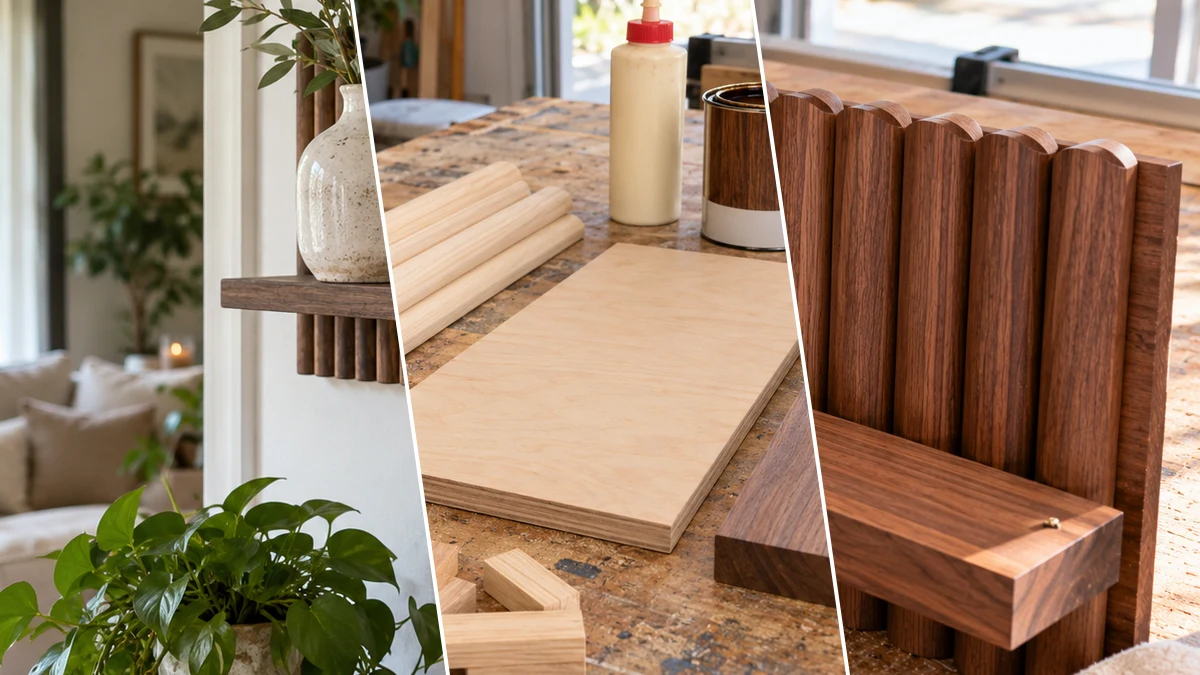
This tutorial guides the creation of a stylish wall-mounted shelf featuring a distinctive fluted back panel. Constructed from half-round wood dowels and a hardwood ledge, this piece offers both decorative appeal and functional storage. The rich dark walnut finish provides a sophisticated touch suitable for various interior styles. Learn how to build this unique shelf for your home.
Project at a Glance
- Difficulty: Advanced
- Estimated active time: 90 minutes to 120 minutes (drying and curing waits not included)
- Estimated component cost: $50 to $90 (reusable tools and general supplies excluded)
- Main material: Wood
- Suggested placement: Wall
Designing Your Fluted Wood Wall Shelf
A fluted wood wall shelf offers a blend of modern and classic aesthetics, making it a versatile addition to many interior designs. The distinctive texture created by the half-round dowels provides visual interest, while the dark walnut finish adds depth and sophistication. This design complements styles from neutral and modern to farmhouse-inspired decor.
This wall-mounted shelf is designed to provide both decorative appeal and practical storage. It serves as an ideal solution for displaying small decor items, organizing essentials, or adding a stylish focal point. Consider placing it in an entryway, living room, or bedroom to enhance the room's function and visual appeal.
Materials for DIY Fluted Wood Wall Shelf with Dark Walnut Finish
- Half-round wood dowels
- Plywood backer board
- Hardwood board for shelf ledge
- Strong wood glue
- Dark wood stain and sealer
- Wood screws (for shelf attachment & hanging hardware)
- Sandpaper (various grits)
- Wall-mounting hardware (e.g., keyhole hangers, French cleat, or heavy-duty D-rings)
Need another material? Browse current craft supplies and deals.
Building Your Fluted Wood Wall Shelf
This tutorial guides the assembly of a fluted wood wall shelf. The process involves precise cutting, careful assembly of the fluted panel, and finishing with stain and sealer. Follow these steps to construct a durable and attractive wall-mounted shelf for your home. An estimated active time of 90 to 120 minutes is expected, not including drying and curing.
Step 1: Cut and Prepare Wood Components
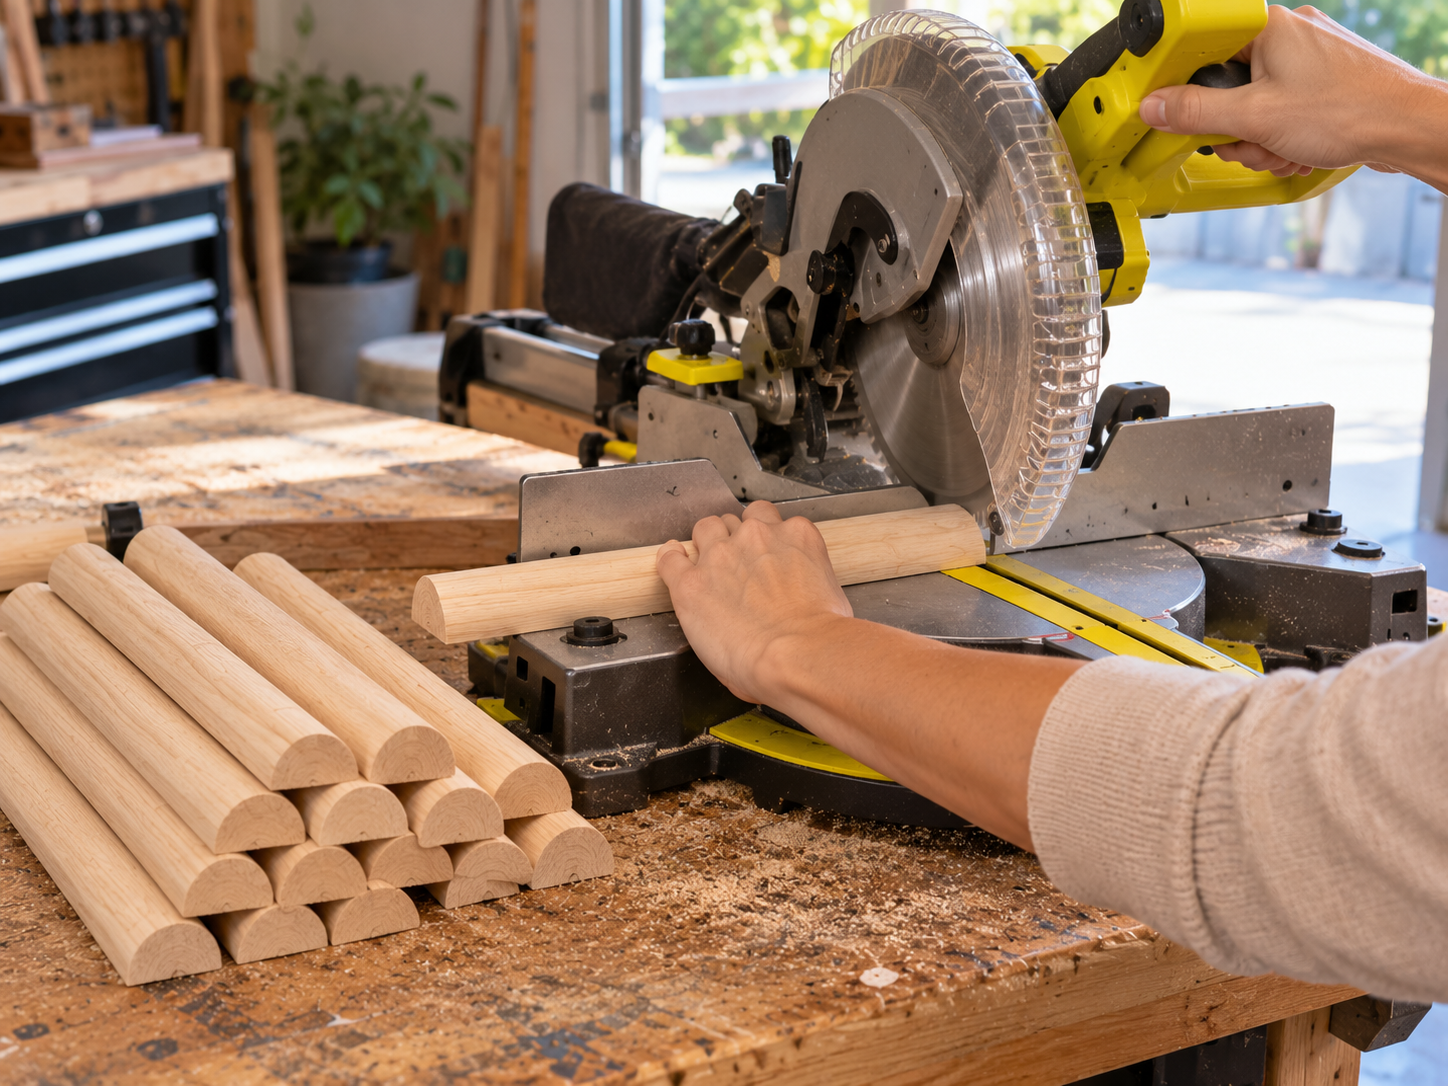
Begin by accurately measuring and cutting your wood components. Use a miter saw to cut the half-round dowels to the desired length for your fluted panel. Next, cut the plywood sheet to serve as the backer for the dowels, and the hardwood board for the shelf ledge to match your design specifications. Ensure all cuts are straight and precise for a professional finish.
Step 2: Sand All Wood Surfaces
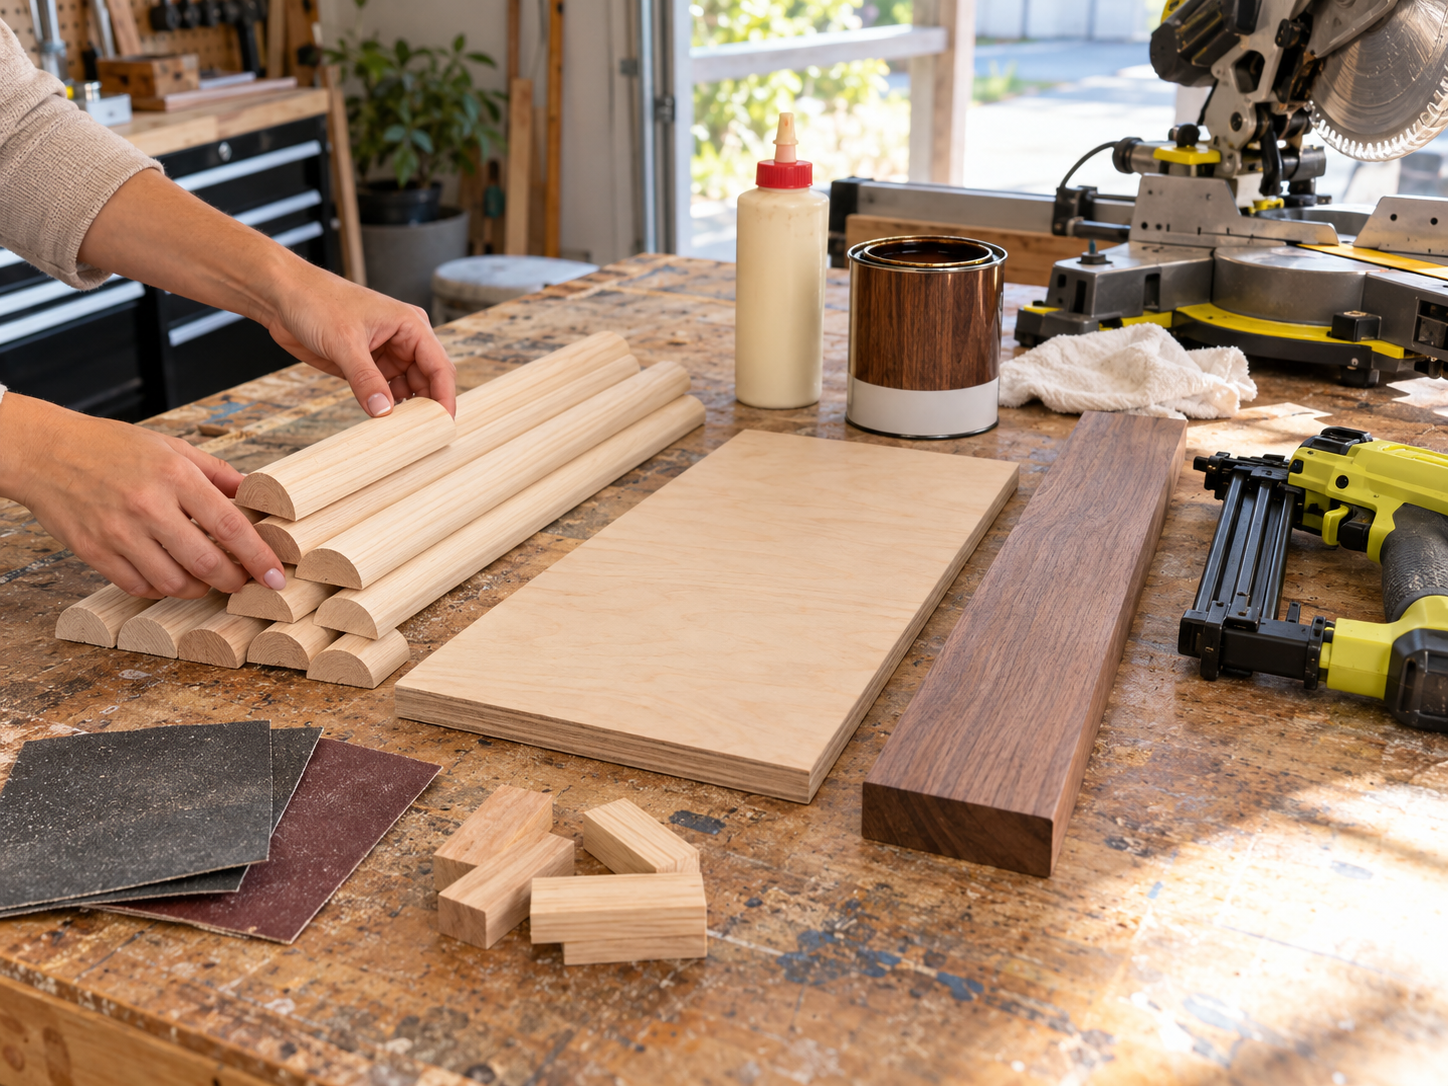
Thoroughly sand all cut edges and flat surfaces of the plywood backer, dowels, and shelf ledge. Start with a medium-grit sandpaper (e.g., 120-grit) to remove any saw marks or imperfections, then follow with a finer grit (e.g., 220-grit) for a smooth finish. Proper sanding is crucial for optimal glue adhesion and an even stain application.
Step 3: Assemble the Fluted Panel
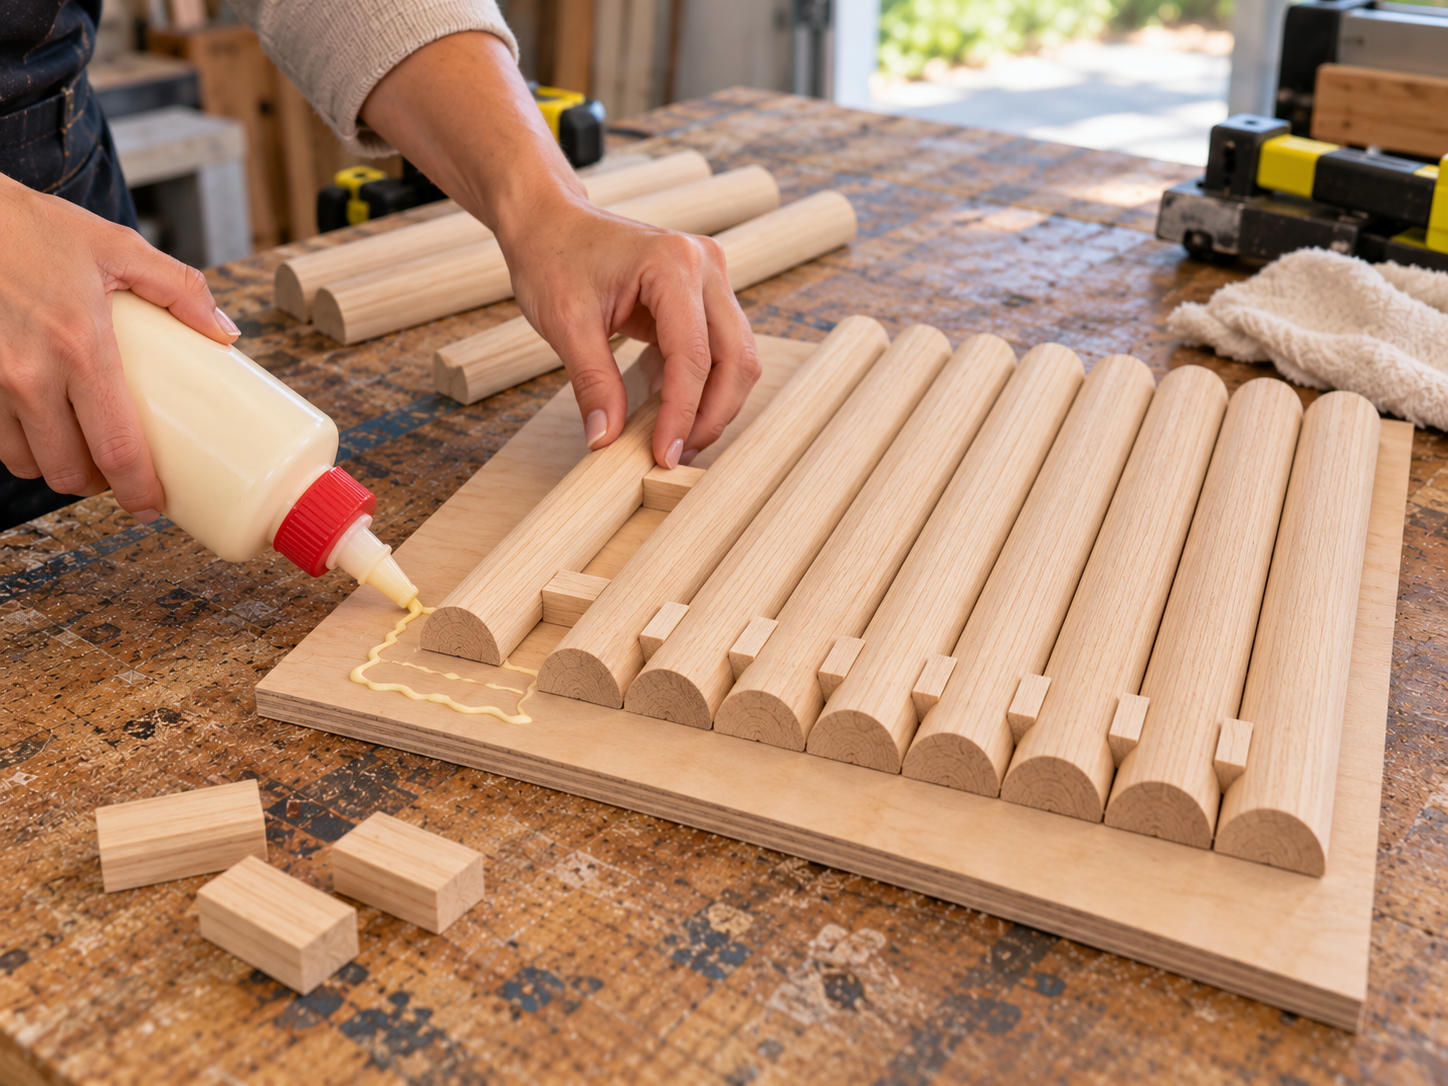
On a clean, flat surface, apply a thin, even layer of wood glue to the flat side of each half-round dowel. Carefully press each dowel onto the plywood backer board, starting from one end. Use small spacer blocks (e.g., thin wood strips or coins) between each dowel to maintain consistent spacing and a uniform fluted appearance. Clamp the assembly securely or weigh it down while the glue dries completely according to the manufacturer's instructions.


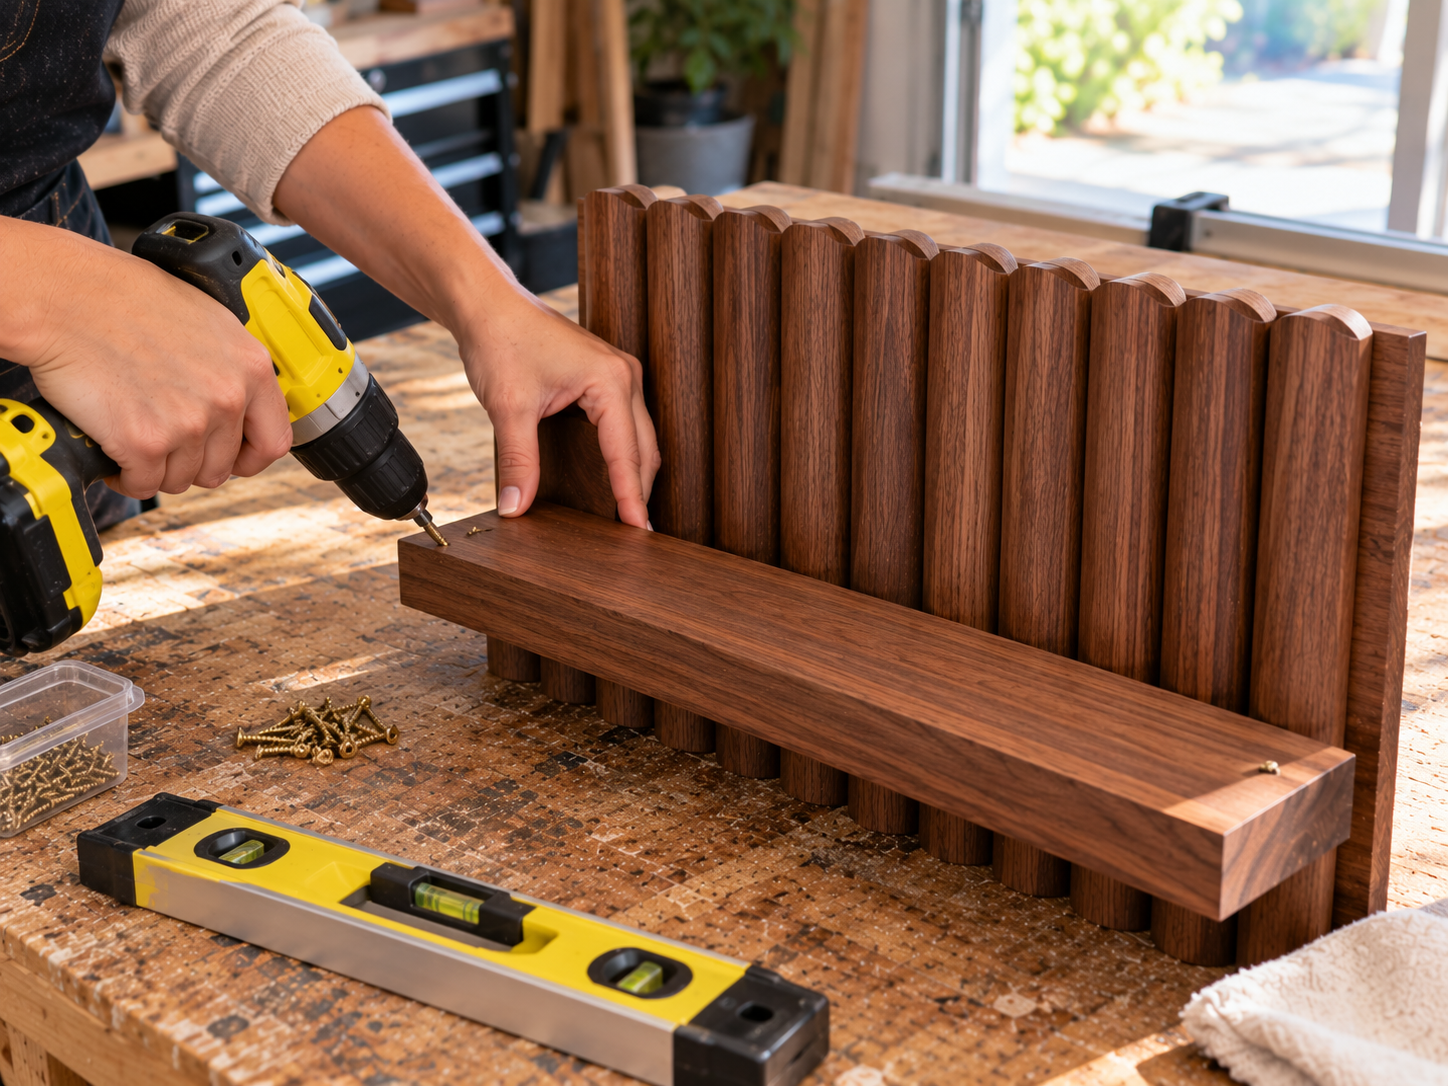
Step 4: Attach the Ledge Shelf
Once the fluted panel's glue has fully cured, position the hardwood ledge shelf along the bottom edge of the panel. Ensure it's flush and centered. Use wood screws to securely attach the shelf to the plywood backer from the underside or through the backer into the shelf, depending on your preferred method and if you plan to countersink and fill screw holes. Pre-drilling pilot holes will prevent splitting.
Step 5: Stain and Seal the Shelf
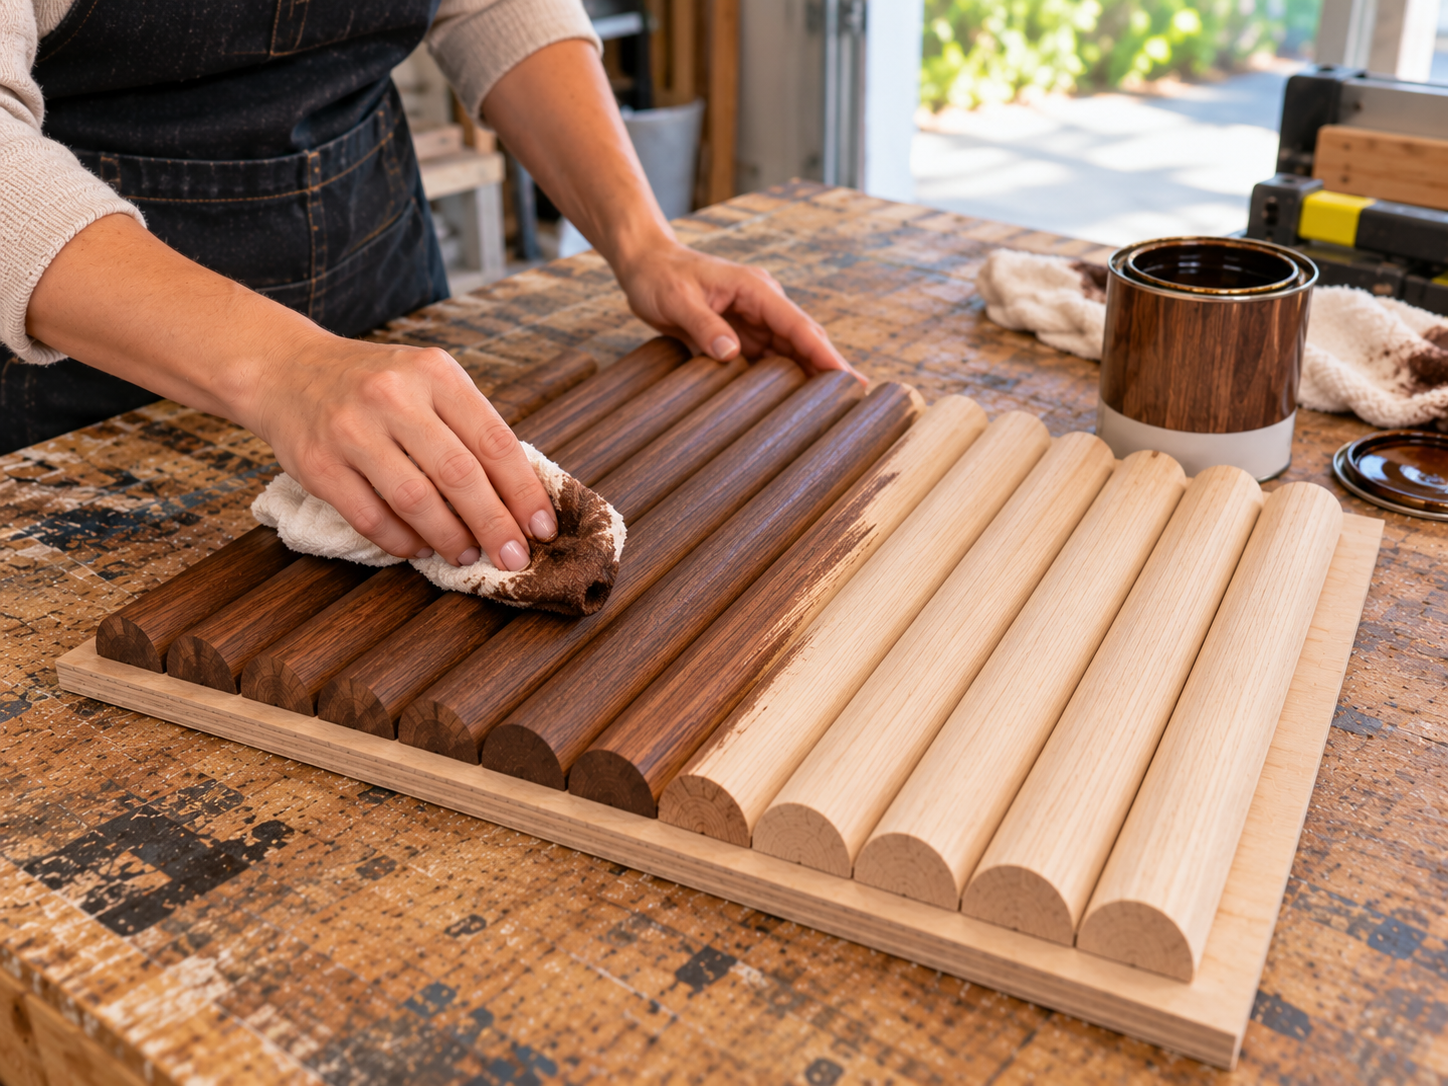
With the shelf fully assembled, it's time to apply your chosen dark wood stain. Apply the dark walnut stain evenly to all wood surfaces, following the grain. Use a clean cloth or foam brush. Allow the stain to penetrate for a few minutes, then wipe off any excess. After the stain has dried completely (refer to product instructions), apply a protective wood sealer or polyurethane to enhance durability and provide a lasting finish.
Step 6: Install Wall-Mounting Hardware
Once the stain and sealer are fully dry and cured, flip the shelf over and attach your chosen wall-mounting hardware to the back of the fluted panel. Options include keyhole hangers, a French cleat, or heavy-duty D-rings. Ensure the hardware is securely fastened with appropriate screws and spaced correctly for level installation on your wall. Consider the weight of the shelf and any items it will hold when selecting hardware.
Displaying Your Fluted Wood Wall Shelf
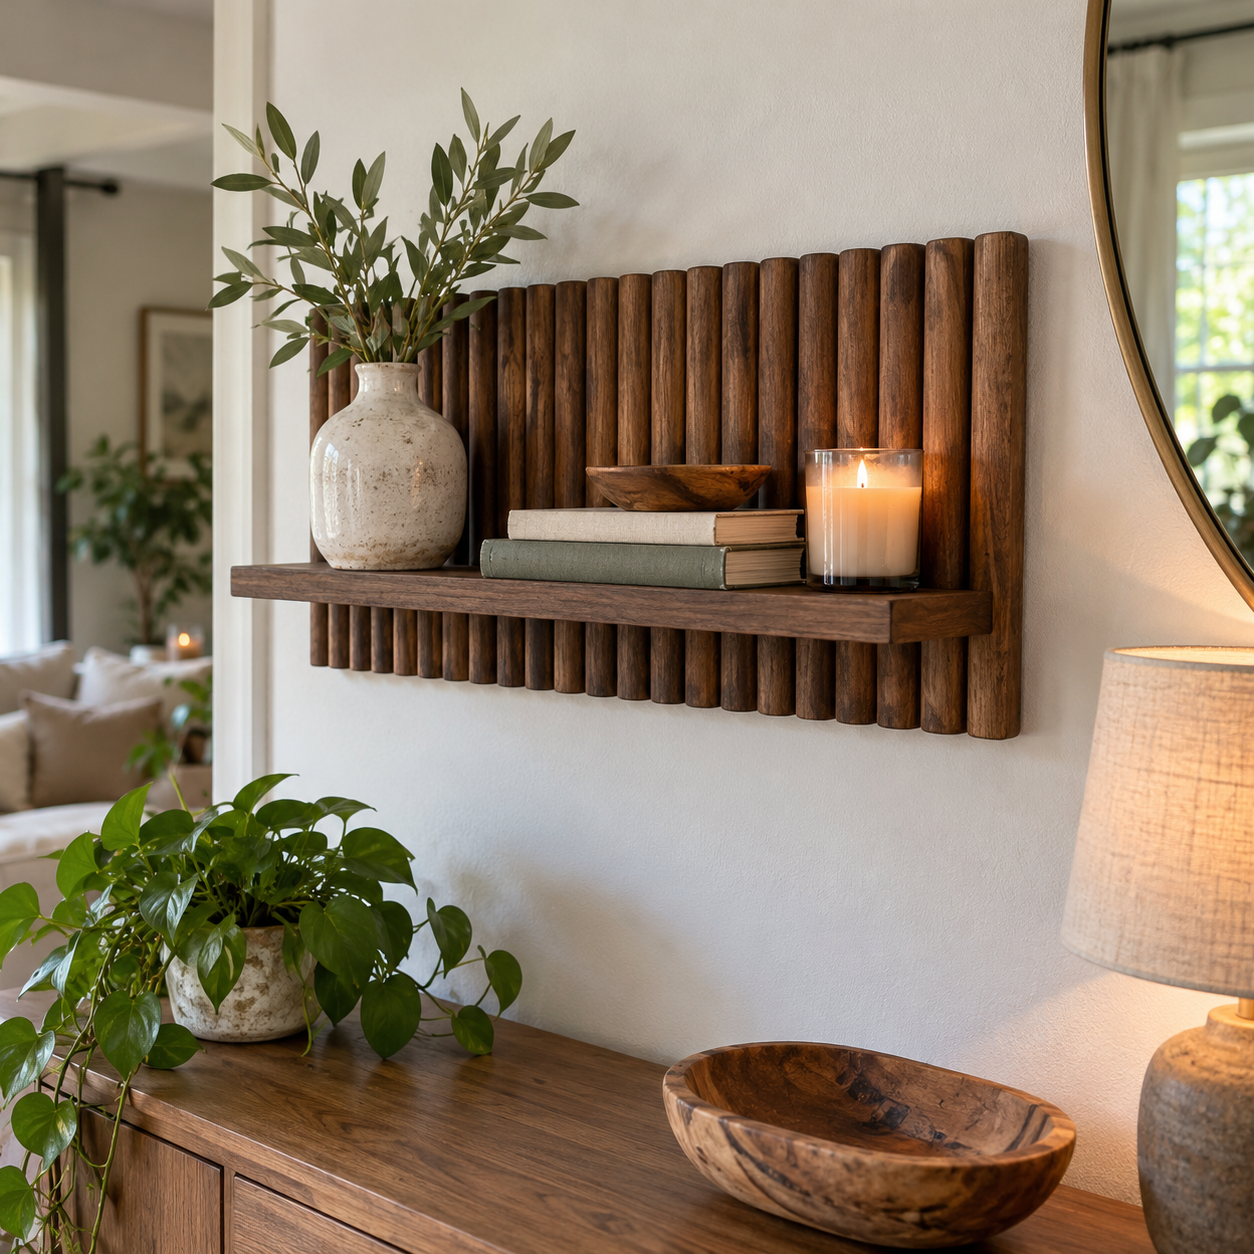
Once the wall-mounting hardware is securely installed, the fluted wood shelf is ready for display. This functional and decorative piece can enhance any room with its unique design and rich finish. Arrange your favorite small items to personalize the space and enjoy the added storage.
Related project collection: DIY Boho Yarn Pom-Pom Wall Hanging for a Cozy Bedroom or Living Space
Practical Questions About This Project
What is the estimated active time for this project?
The estimated active time for constructing this shelf is 90 to 120 minutes, excluding unattended drying and curing times.
What skill level is required to build this fluted wood shelf?
This project is classified as advanced due to the precision required for cutting and assembly.
What types of wood are used for this shelf?
The shelf uses half-round wood dowels for the fluted panel, a plywood backer board, and a hardwood board for the shelf ledge.
What kind of finish is applied to the wood?
A dark wood stain, specifically dark walnut, is applied to all wood surfaces, followed by a protective sealer for durability.
Where can this fluted wood shelf be placed?
This wall-mounted shelf is suitable for various indoor placements, including entryways, living rooms, and bedrooms, offering both decorative and functional uses.
Explore wood craft supplies at Dollar Tree.

Leave a Reply