
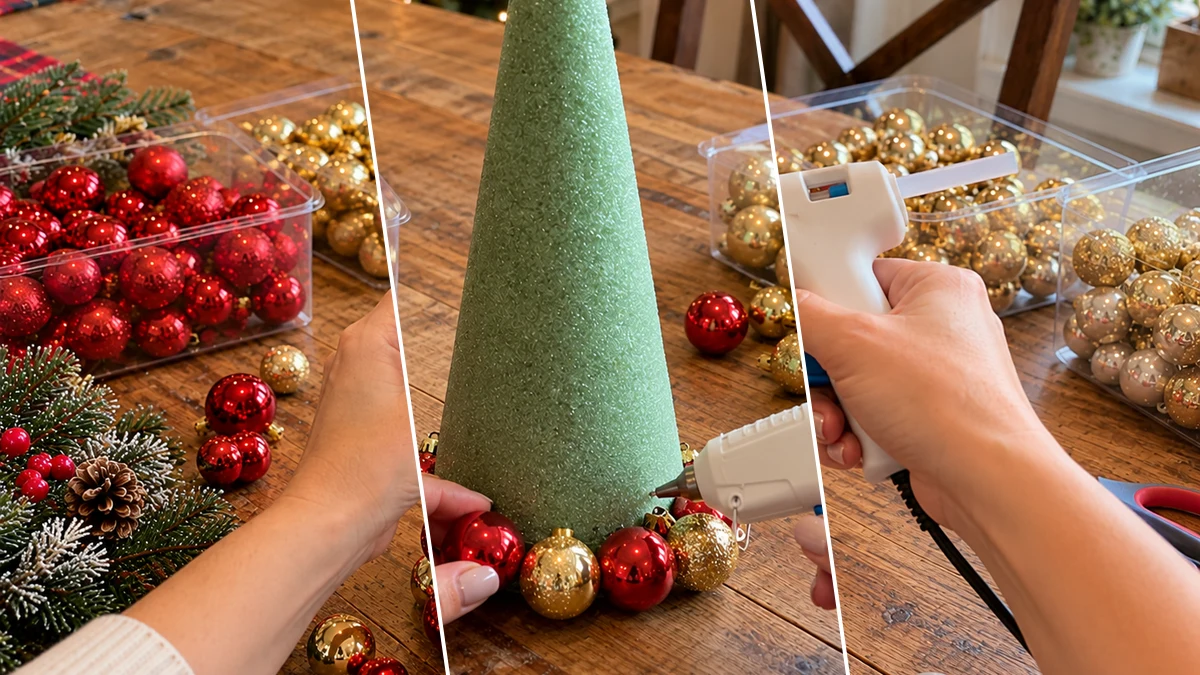
Create a beautiful tabletop Christmas centerpiece with a DIY ornament cone tree. This festive project uses a craft foam cone as its base, covered entirely with mini shatterproof ornaments in classic holiday colors. A glittering gold star elegantly tops the design, making it a perfect accent for seasonal decor.
Project at a Glance
- Difficulty: Easy
- Estimated active time: 25 minutes to 35 minutes (drying and curing waits not included)
- Estimated component cost: $5 to $10 (reusable tools and general supplies excluded)
- Main material: Foam
- Suggested placement: Tabletop
About This DIY Ornament Cone Tree Centerpiece
This ornament cone tree offers a charming and compact alternative to a traditional Christmas tree, ideal for tabletop display. Its design features a foam cone densely covered with mini shatterproof ornaments in red, gold, and champagne tones, creating a rich, textured surface. The finished piece is then crowned with a glittering gold star, establishing a festive focal point for any room.
This project is classified as easy, making it suitable for crafters looking for a straightforward holiday decoration. The estimated active crafting time is between 25 and 35 minutes, excluding unattended drying and curing. The estimated component cost is between $5 and $10, excluding reusable tools and general supplies.
Materials for DIY Christmas Ornament Cone Tree Centerpiece with Mini Ornaments
- Craft Foam Cone (9-12 inches tall)
- Assorted Mini Shatterproof Ornaments (red, gold, champagne)
- Glitter Gold Star Tree Topper Pick
- Hot Glue Gun
- Hot Glue Sticks
- Craft Mat or Protective Surface (optional)
Need another material? Browse current craft supplies and deals.
Assembling Your Ornament Cone Tree Centerpiece
Creating this ornament cone tree involves a straightforward process of attaching mini ornaments to a foam cone. The steps focus on ensuring full coverage and a secure finish for your festive display. Prepare your workspace and materials before beginning the assembly.
Step 1: Gather Supplies & Prep Surface
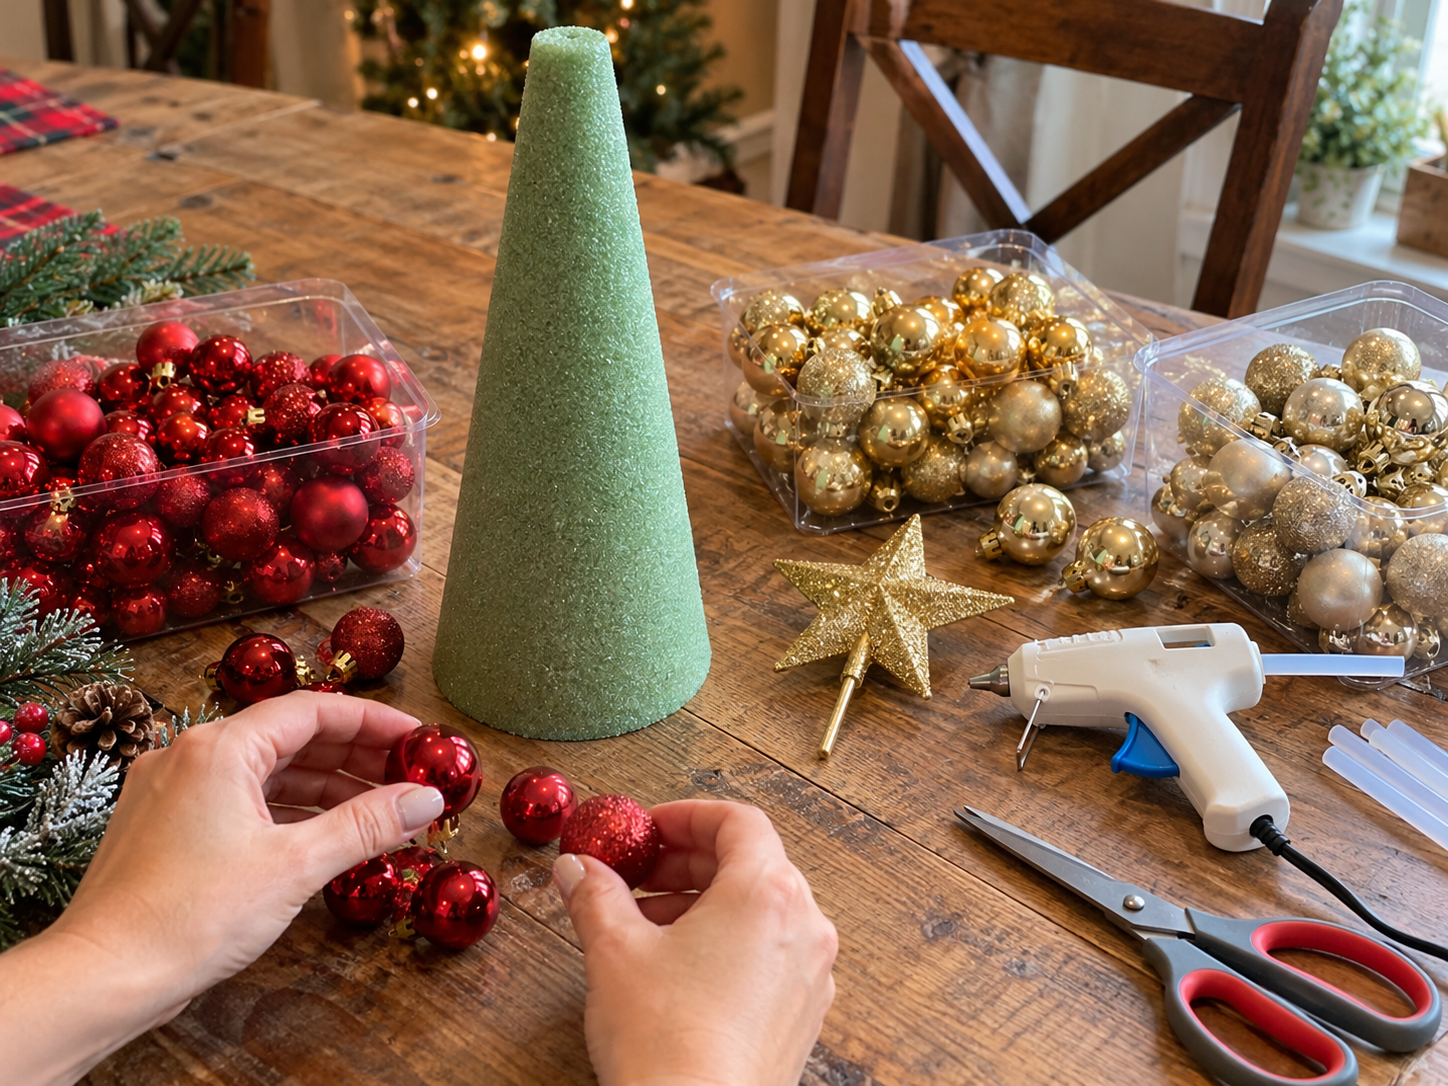
Begin by laying down a craft mat or protective surface on your work area to catch any stray glue or glitter. Unbox all your mini shatterproof ornaments and sort them by size and color if desired, making them easier to grab during assembly. Plug in your hot glue gun to preheat, ensuring it is ready for continuous use.
Step 2: Start the First Ornament Row
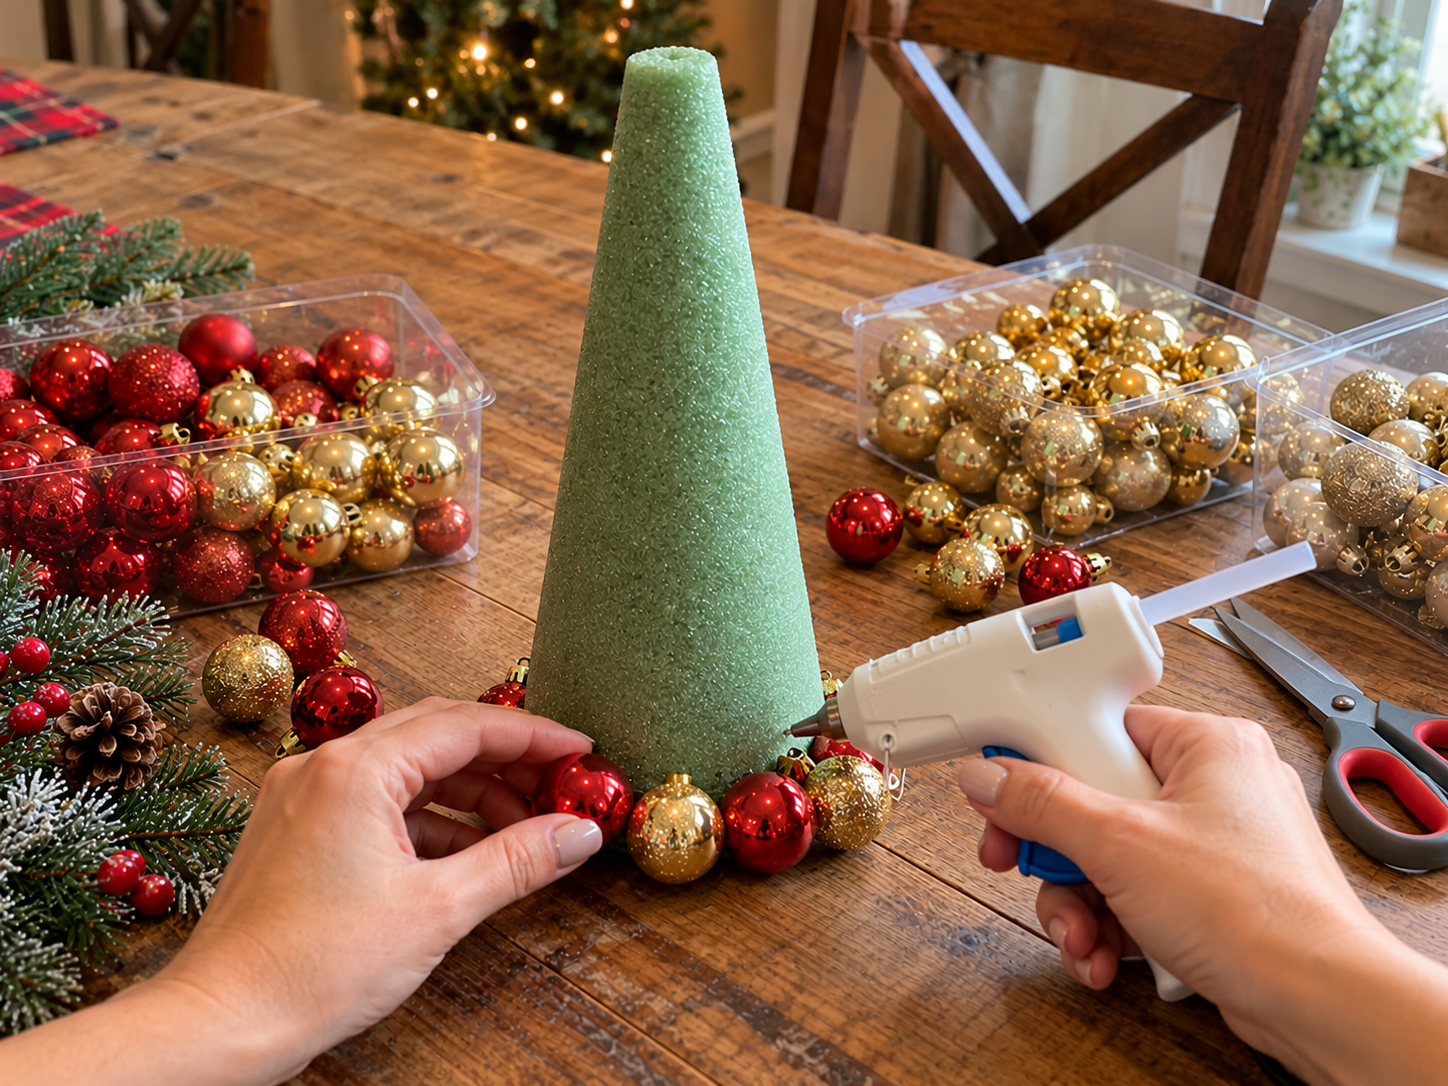
Starting at the very bottom edge of the foam cone, apply a dab of hot glue to the back of one of the larger mini ornaments. Press it firmly onto the cone, holding it in place for a few seconds until the glue sets. Continue this process, attaching ornaments tightly side-by-side around the entire base of the cone, ensuring no green foam is visible.
Step 3: Continue Gluing Rows Upwards
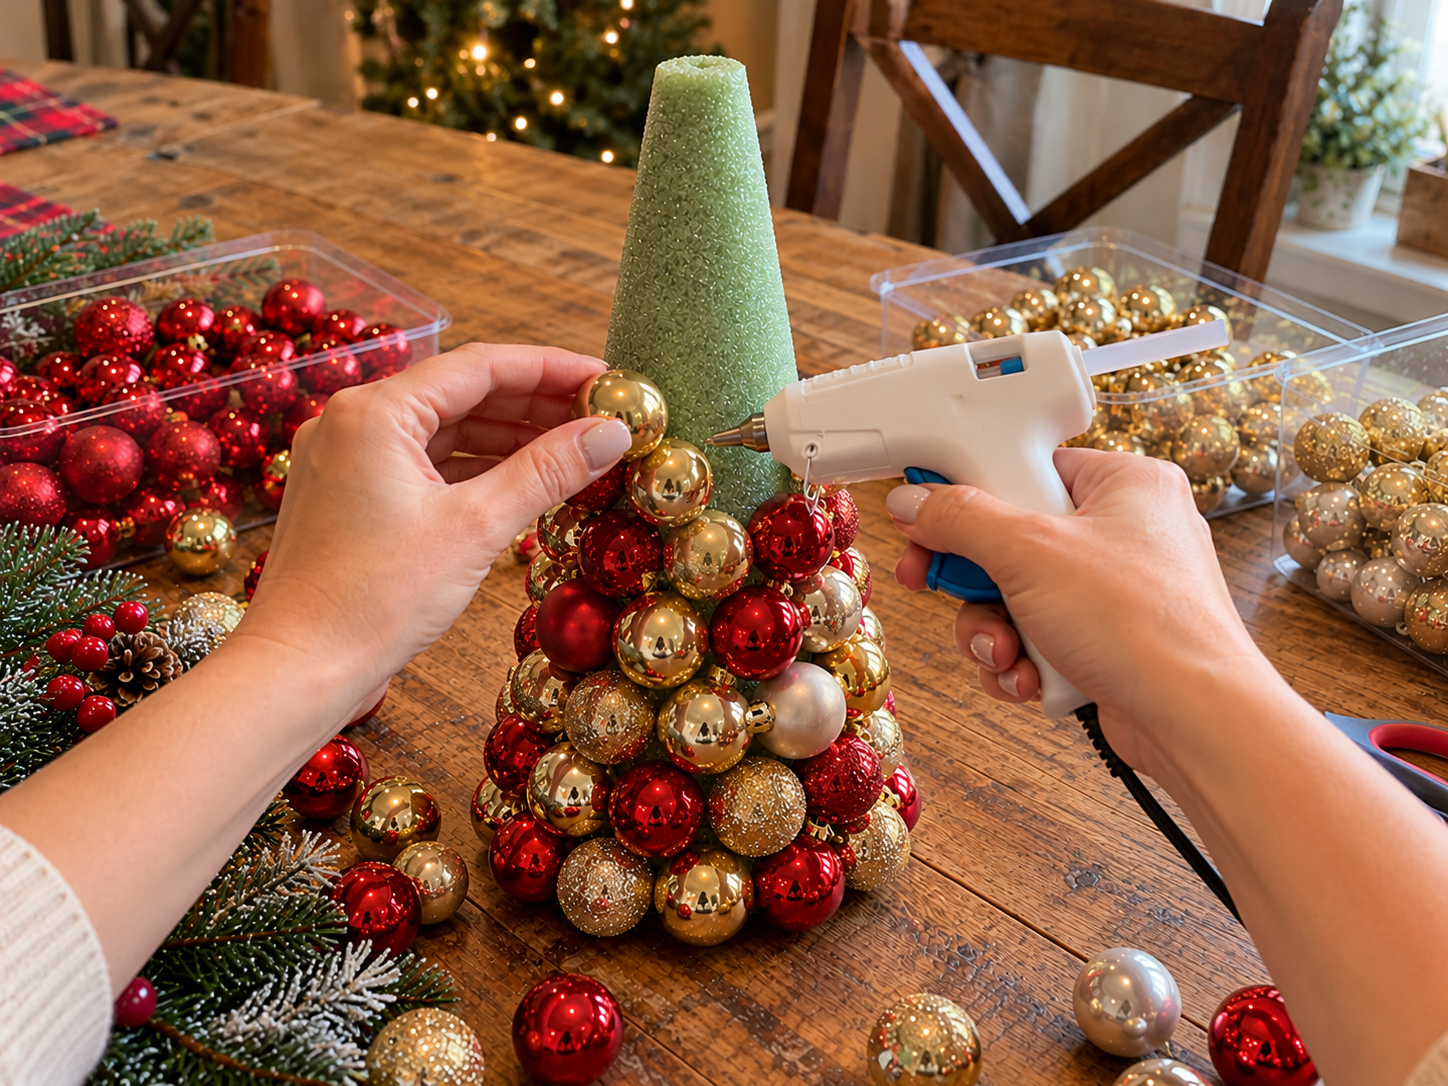
Once the first row is complete, begin the second row directly above the first. Stagger the ornaments slightly so they nestle into the gaps created by the ornaments below, covering the foam cone thoroughly. Vary the colors and textures (matte, shiny, glitter) as you go to create visual interest. Work your way up the cone, row by row, using slightly smaller ornaments as the cone narrows.


Step 4: Finish Top Rows & Fill Gaps
Continue attaching ornaments until the entire cone, up to the very top point, is covered. Pay close attention to any small gaps or visible foam, filling them with the smallest ornaments or even individual ornament caps if necessary. Step back periodically to assess coverage and ensure an even distribution of colors and sizes.

Step 5: Secure the Glitter Star Topper
Once the entire cone is covered in ornaments and the glue has set, take your glitter gold star tree topper pick. Apply a generous amount of hot glue to the pick's base, then carefully insert it firmly into the very top center of the foam cone. Hold it straight until the glue cools and the star is securely upright.

Enjoy Your Festive Ornament Cone Tree
Once the hot glue has fully cooled and set, your ornament cone tree centerpiece is ready for display. Place it on a mantel, shelf, or as the focal point of your holiday table. This festive decoration adds a touch of classic Christmas charm to your indoor seasonal decor.
Related project collection: DIY Dollar Tree Christmas Hurricane Centerpiece
Practical Questions About This Project
How are the ornaments attached to the foam cone?
Ornaments are hot-glued row by row, starting from the base and working upwards, ensuring the foam cone is completely covered.
Can different ornament colors be used for this project?
Yes, the tutorial specifies red, gold, and champagne, but varying colors and textures can be used to create visual interest.
What size foam cone is recommended for the ornament tree?
A craft foam cone that is 9-12 inches tall is recommended as the base for this project.
Where can this ornament cone tree be displayed?
This ornament cone tree is designed as a tabletop centerpiece, suitable for various indoor placements during the holiday season.
Search Dollar Tree for foam supplies.

Leave a Reply