
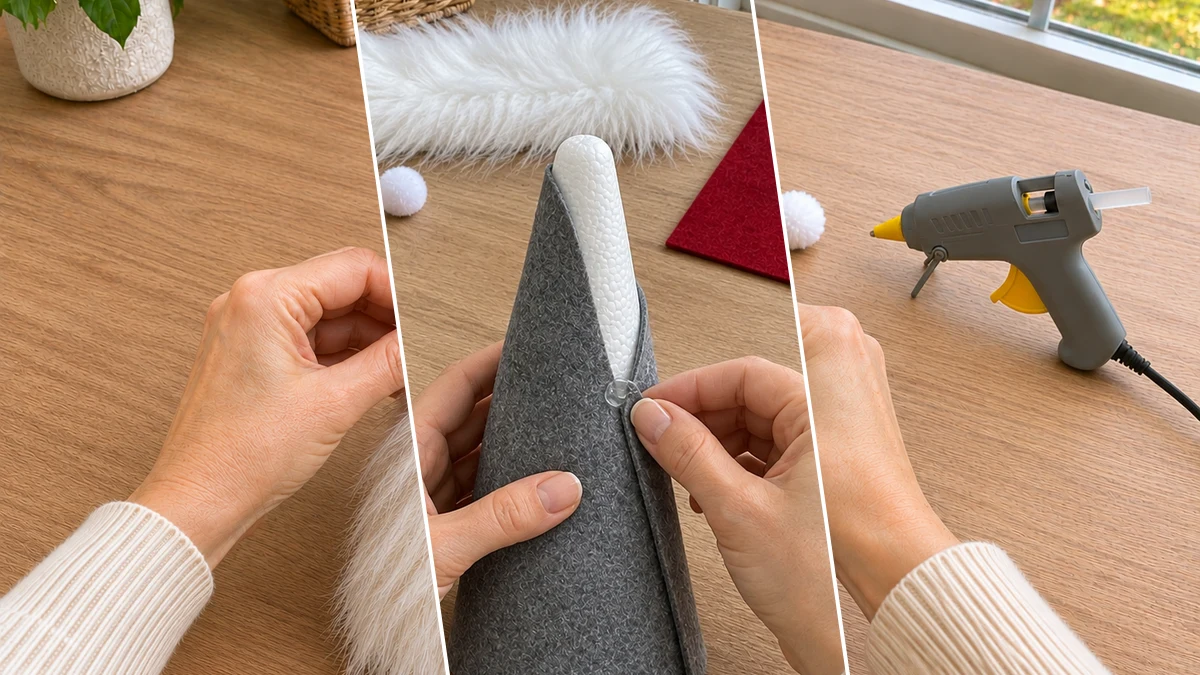
Create a charming Scandinavian Christmas gnome to add festive cheer to your home. This easy, no-sew project uses felt, faux fur, a foam cone, and a wood bead to craft a delightful holiday decoration. The gnome is ideal for display on a mantel, shelf, or tabletop. It offers a simple way to bring Nordic-inspired charm to your seasonal decor.
Project at a Glance
- Difficulty: Easy
- Estimated active time: 25 minutes to 35 minutes (drying and curing waits not included)
- Estimated component cost: a small amount (reusable tools and general supplies excluded)
- Main material: Felt
- Suggested placement: Mantel, Shelf, Tabletop
About This Scandinavian Christmas Gnome Project
This project guides the creation of a Scandinavian-style Christmas gnome, a popular figure in Nordic folklore known for bringing good luck. The design features a sturdy foam cone body, a soft faux fur beard, a simple wood bead nose, and a tall felt hat. These elements combine to form a recognizable and endearing holiday character. This no-sew craft is designed for ease of assembly.
The estimated active time for this project is 25 to 35 minutes, excluding unattended drying and curing. The estimated component cost is 3 to 5 USD, excluding reusable tools and general supplies. Once complete, this gnome is ideal for placement on a mantel, shelf, or tabletop, adding a touch of rustic or traditional charm to your Christmas decor.
Materials for Easy No-Sew Scandinavian Christmas Gnome with Felt & Faux Fur
- Foam Cone (various sizes)
- Gray Felt Fabric
- White Faux Fur Fabric
- Red Felt Fabric
- Natural Wood Bead (for nose)
- Small White Pom-pom
- Hot Glue Gun & Glue Sticks
- Sharp Scissors
Need another material? Browse current craft supplies and deals.
How to Assemble Your Scandinavian Christmas Gnome
Follow these steps to construct a charming Scandinavian Christmas gnome. The process involves covering a foam cone with felt, adding a faux fur beard and wood bead nose, and then crafting a felt hat. Hot glue is used for all assembly, making this a straightforward no-sew project.
Step 1: Shape the Gnome Body Base
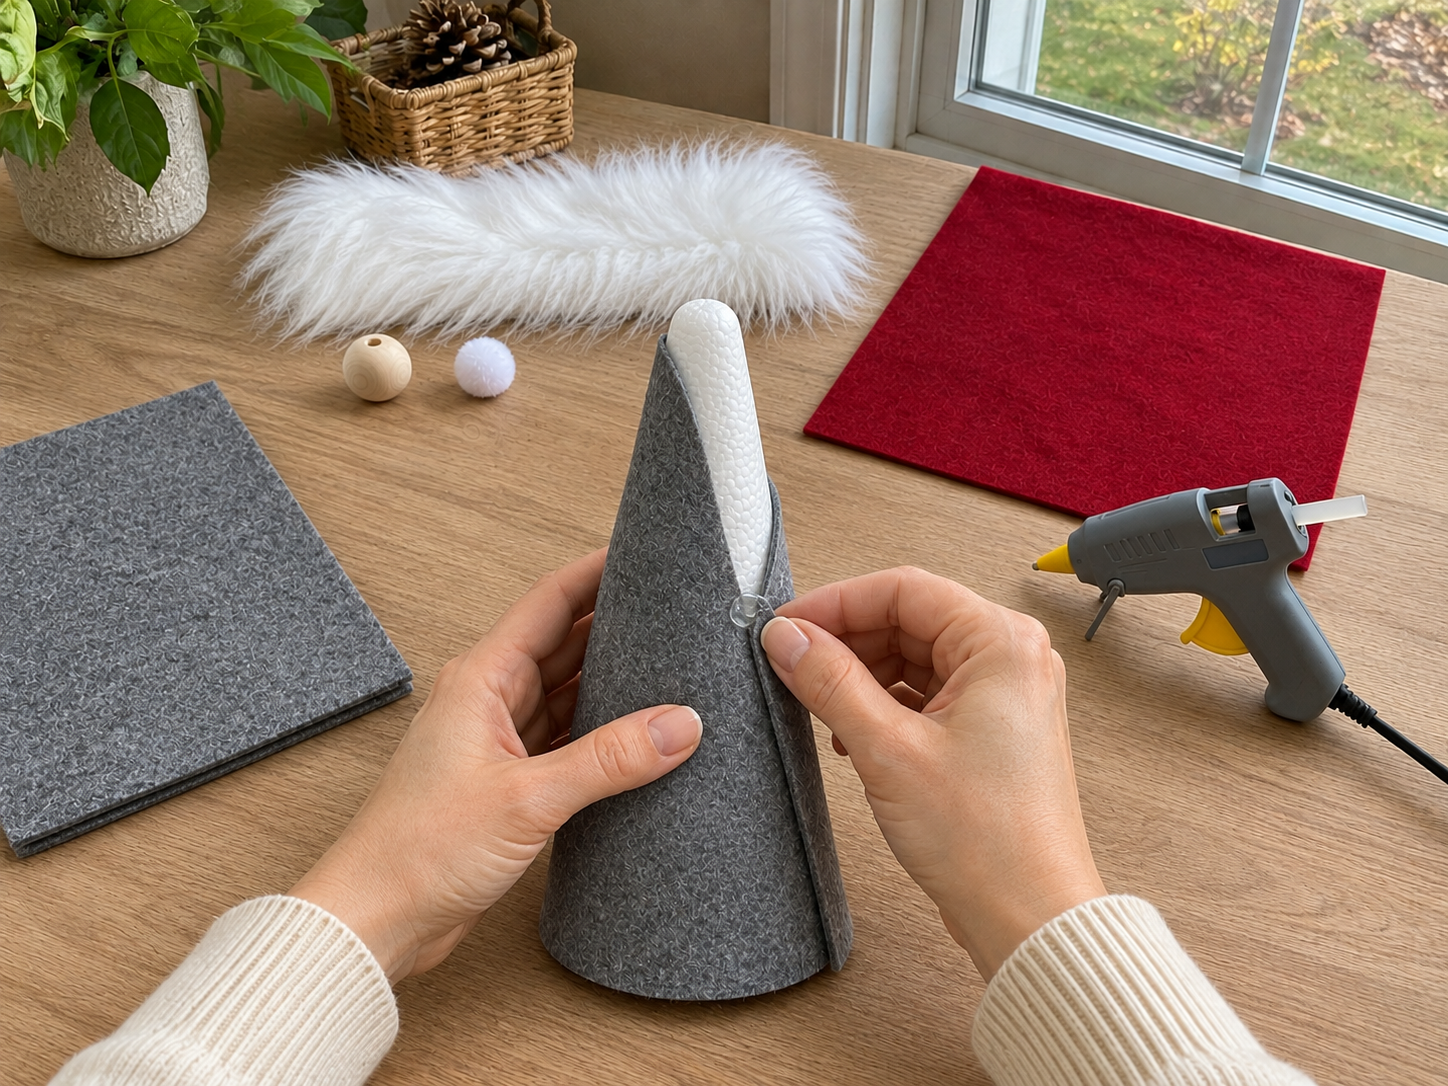
Begin by selecting a foam cone for your gnome's body. Measure and cut a rectangular piece of gray felt fabric large enough to entirely cover the foam cone, ensuring a slight overlap for gluing the seam. Apply a thin line of hot glue along one long edge of the felt. Carefully align the foam cone and roll it along the glued edge, pressing firmly to secure the felt. Continue to roll the cone, applying more glue along the seam as you go, until the cone is fully covered. Trim any excess felt from the bottom edge so the cone sits flat and the seam is neat.
Step 2: Attach the Fluffy Beard
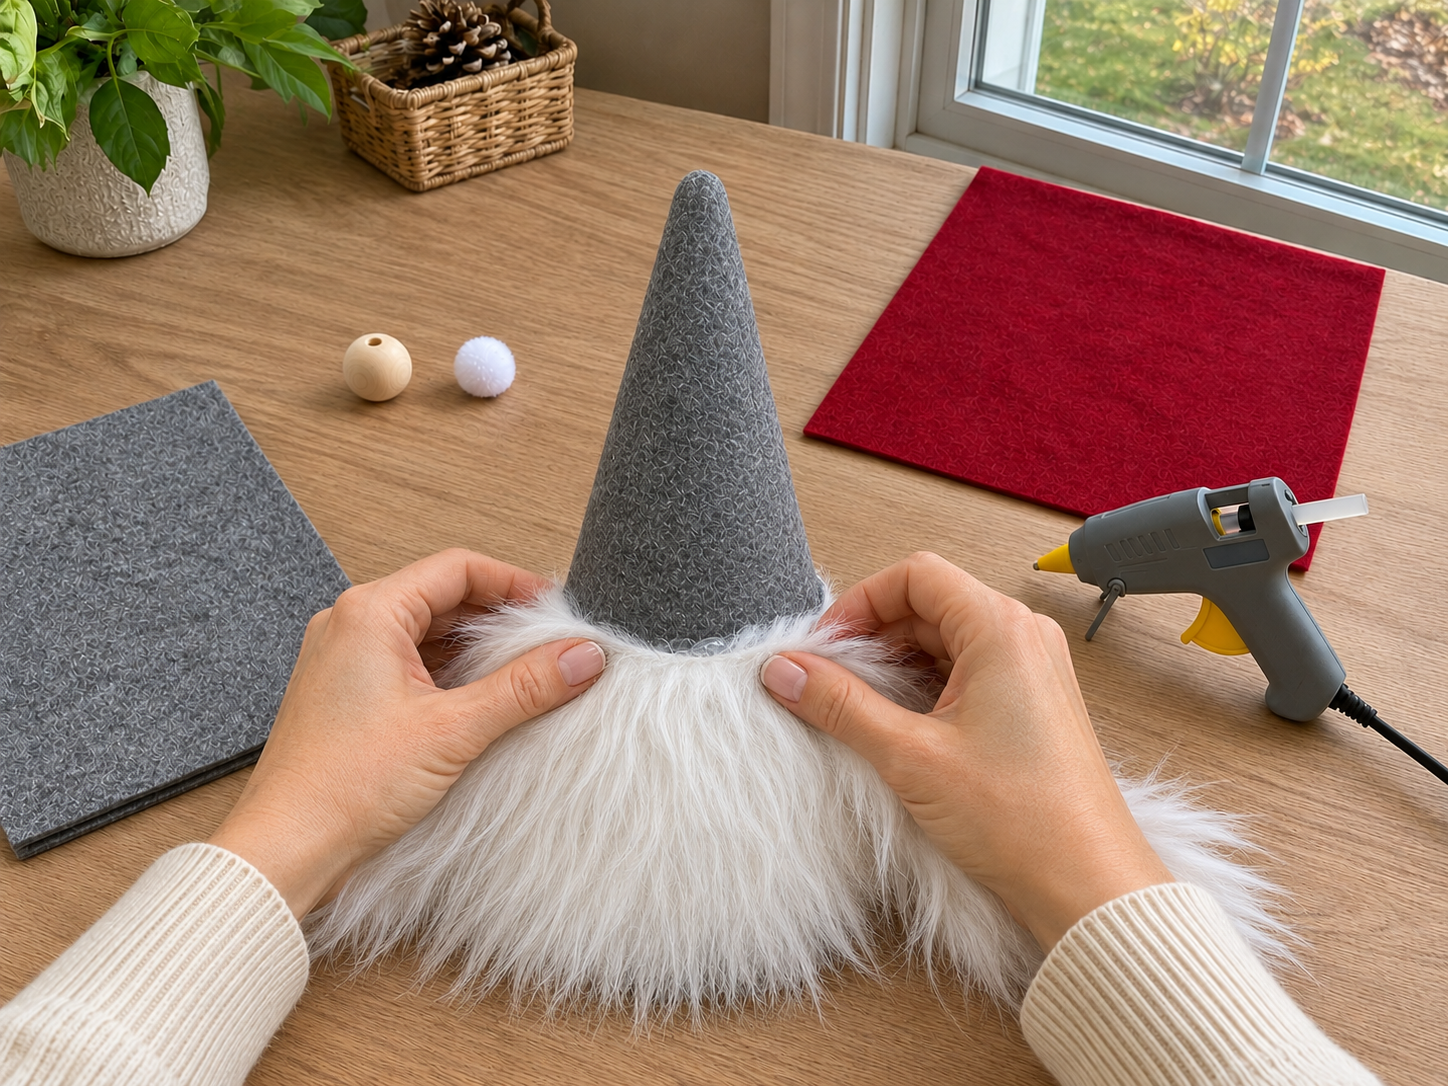
Next, prepare the gnome's beard. Cut a roughly triangular or trapezoidal shape from the white faux fur fabric. Ensure the fur pile runs downwards for a natural look. Apply a line of hot glue along the top straight edge of your cut faux fur piece. Carefully position and press the glued edge onto the front of the felt-covered cone, placing it to cover the lower half of the cone and extend slightly to the sides, just above where the bottom of the hat will eventually rest. Fluff the fur gently to conceal the glued edge and create a full beard effect.
Step 3: Position the Gnome's Nose
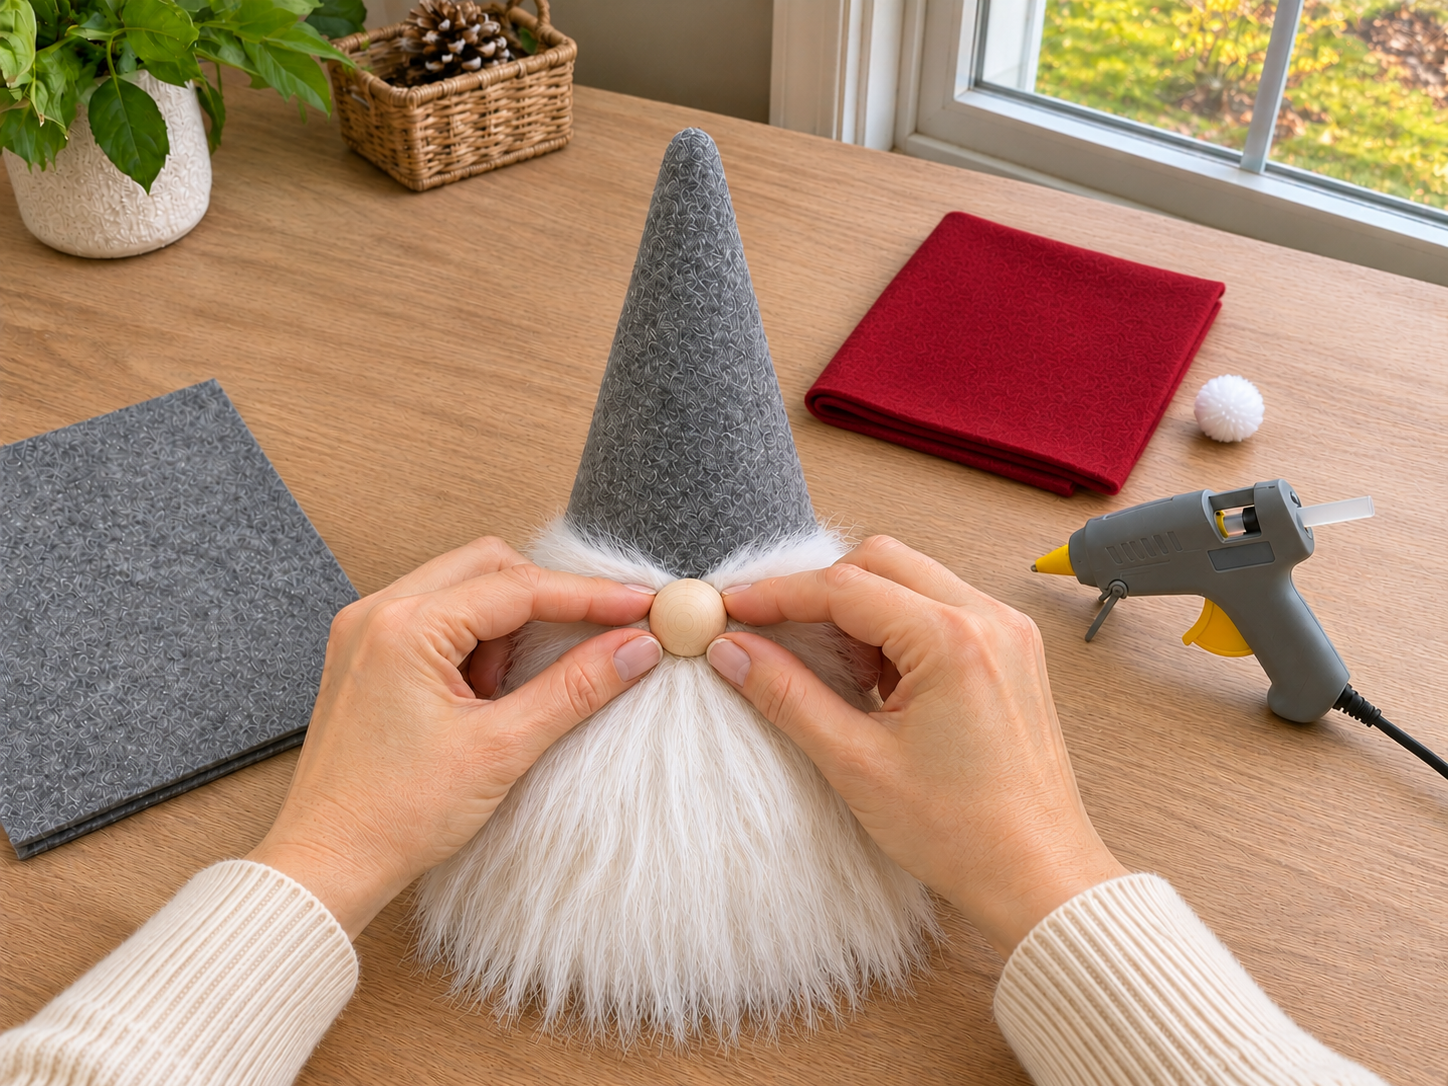
Select a natural wood bead to serve as the gnome's nose. Apply a small dab of hot glue to one side of the wood bead. Carefully press the bead onto the felt cone, positioning it just above the top edge of the faux fur beard, centered on what will be the gnome's face. Hold the bead firmly in place for a few seconds until the glue sets and the nose is securely attached.


Step 4: Craft the Iconic Hat
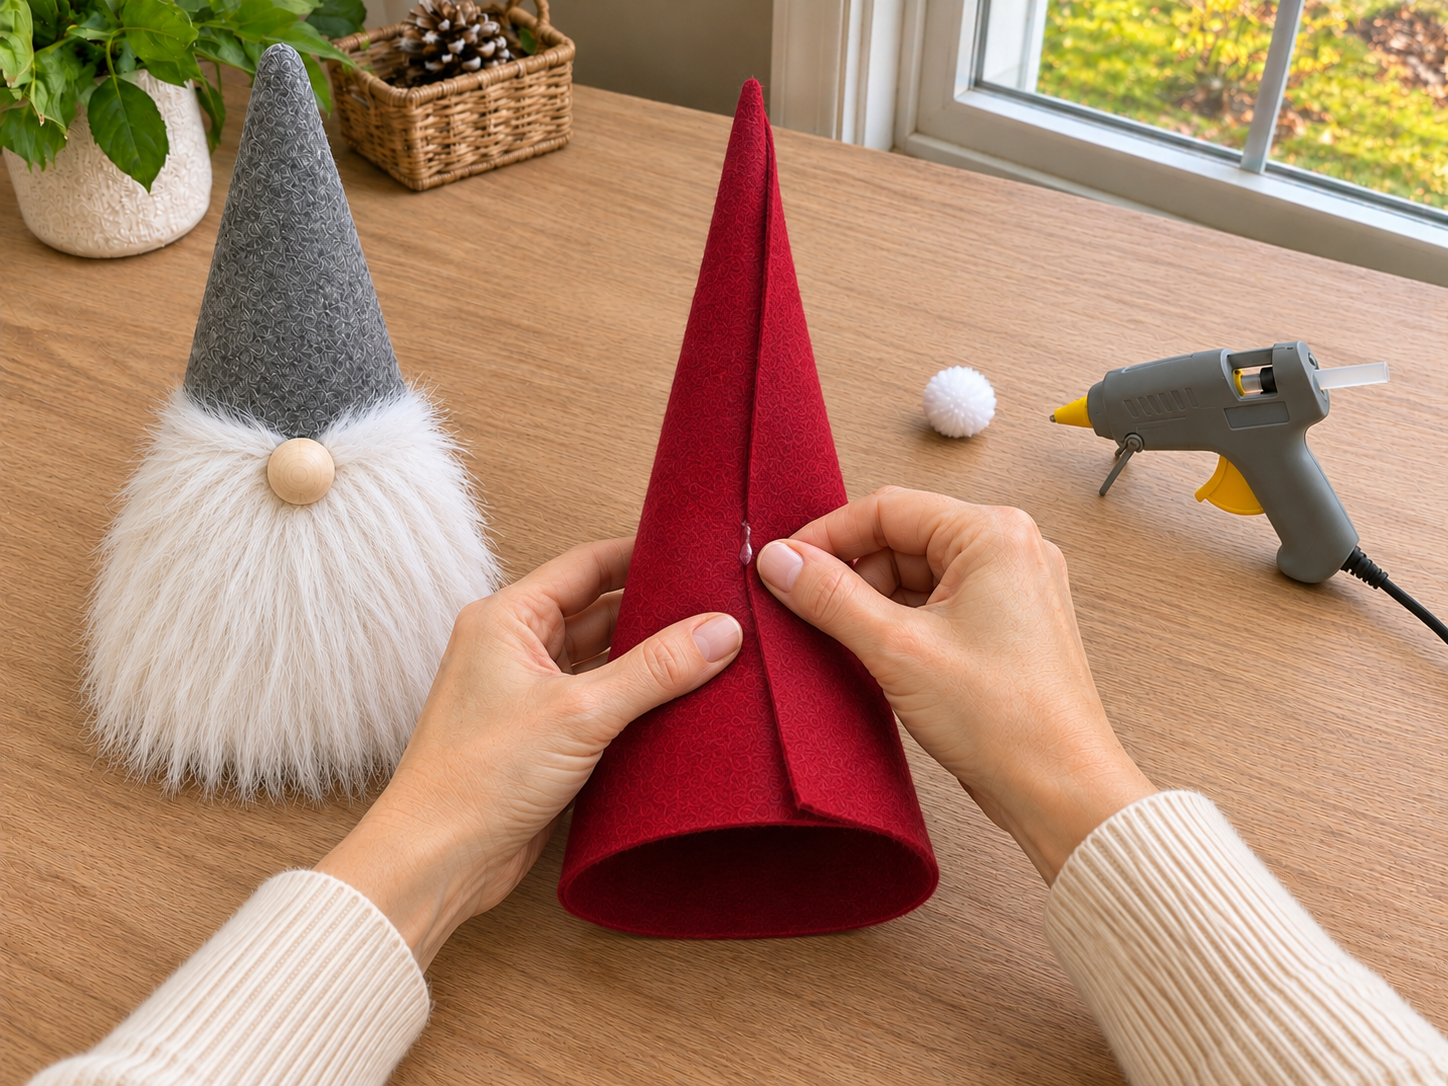
From your red felt fabric, cut a large, tall triangle shape for the gnome's hat. The base of the triangle should be wide enough to form a cone that fits comfortably over the top of your gnome's body. Form the triangle into a cone shape, overlapping the long edges, and secure the seam with a line of hot glue. Gently curve the peak of the hat if you desire a whimsical bend. Finally, attach a small white pom-pom to the very tip of the hat using a dab of hot glue, pressing firmly until it holds.
Step 5: Assemble and Display Your Gnome
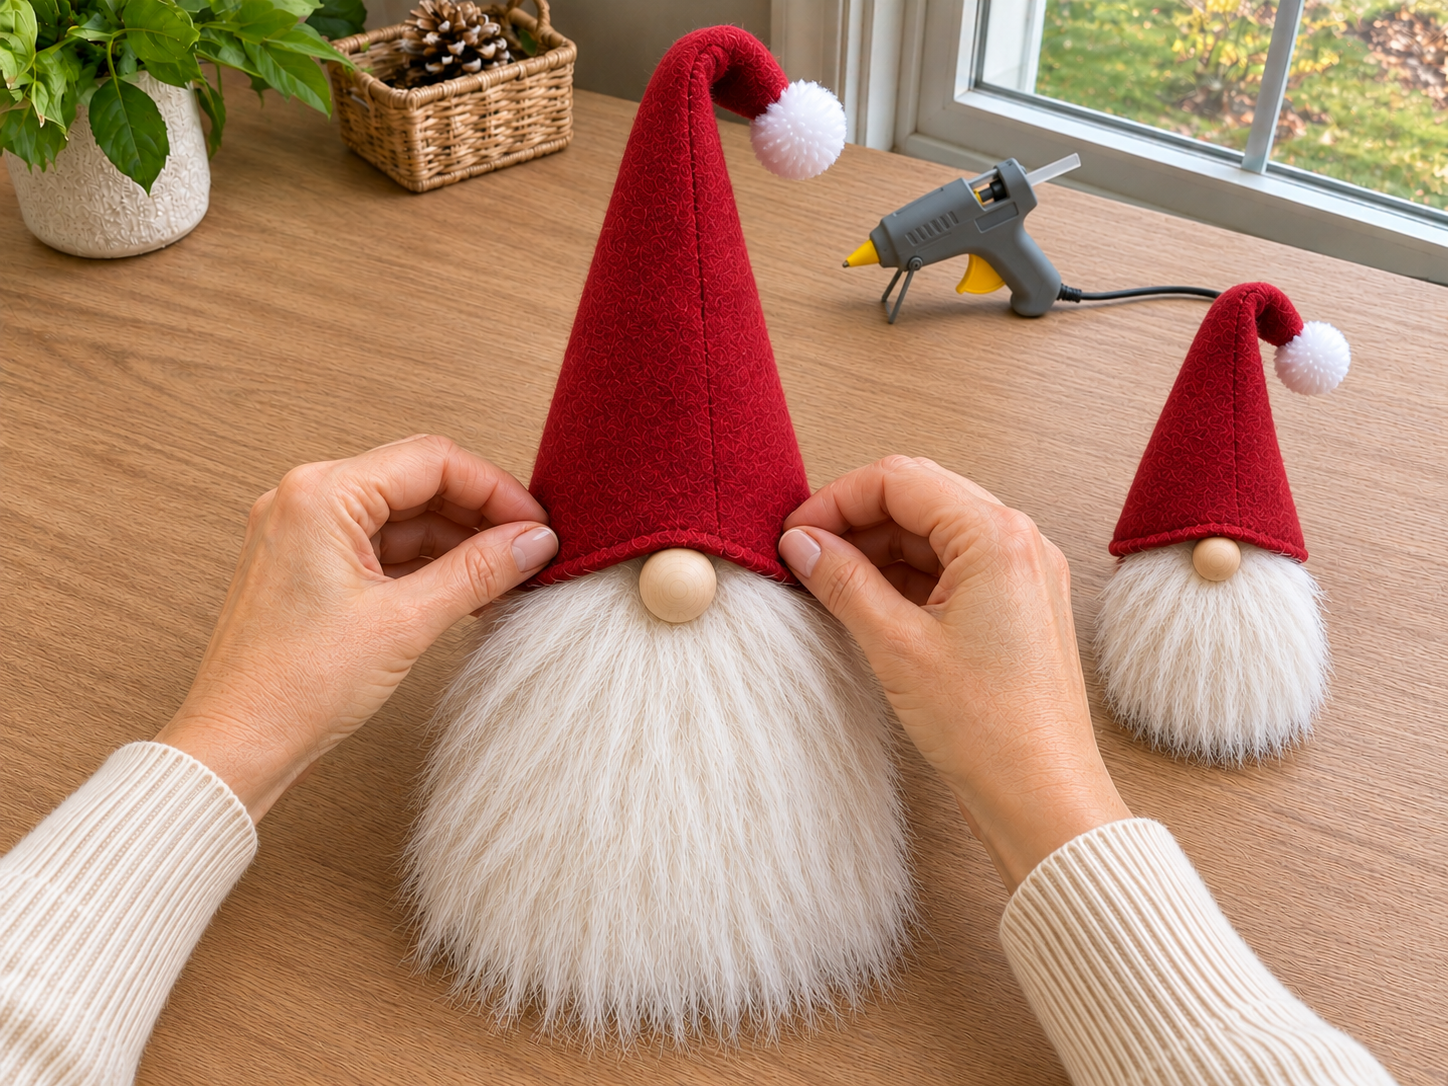
With all the individual components ready, it's time to bring your gnome to life! Gently place the completed red felt hat onto the top of the gnome's body. Adjust its position to ensure it sits securely and slightly covers the top edge of the wood bead nose, giving the gnome its characteristic look. The hat typically rests without needing additional glue, allowing for minor adjustments or removal if desired. Your adorable Scandinavian Christmas gnome is now complete and ready to add festive cheer to your holiday home decor!
Displaying Your Completed Christmas Gnome
With the hat in place, your Scandinavian Christmas gnome is complete and ready for display. Place it among other festive decorations on a mantel, shelf, or tabletop to enhance your holiday decor. This charming gnome adds a touch of Nordic tradition and warmth to any room.
Related project collection: DIY Scandinavian Wooden Bead Christmas Garland for Mantel or Shelf Decor
Practical Questions About This Project
Is this a no-sew Christmas gnome project?
Yes, this Scandinavian Christmas gnome is a no-sew project. All components are assembled using hot glue.
Where can this Christmas gnome be displayed?
This finished Christmas gnome is suitable for indoor display on a mantel, shelf, or tabletop, adding a festive touch to living rooms or other areas.
Can the size of the gnome be customized?
The size of the gnome can be customized by selecting a foam cone of a different size at the beginning of the project. This will scale the overall dimensions of the finished gnome.
What style does this Christmas gnome represent?
This gnome represents a Scandinavian or Nordic style, often associated with rustic, farmhouse, or traditional Christmas decor.
Browse felt supplies at Dollar Tree.

Leave a Reply