
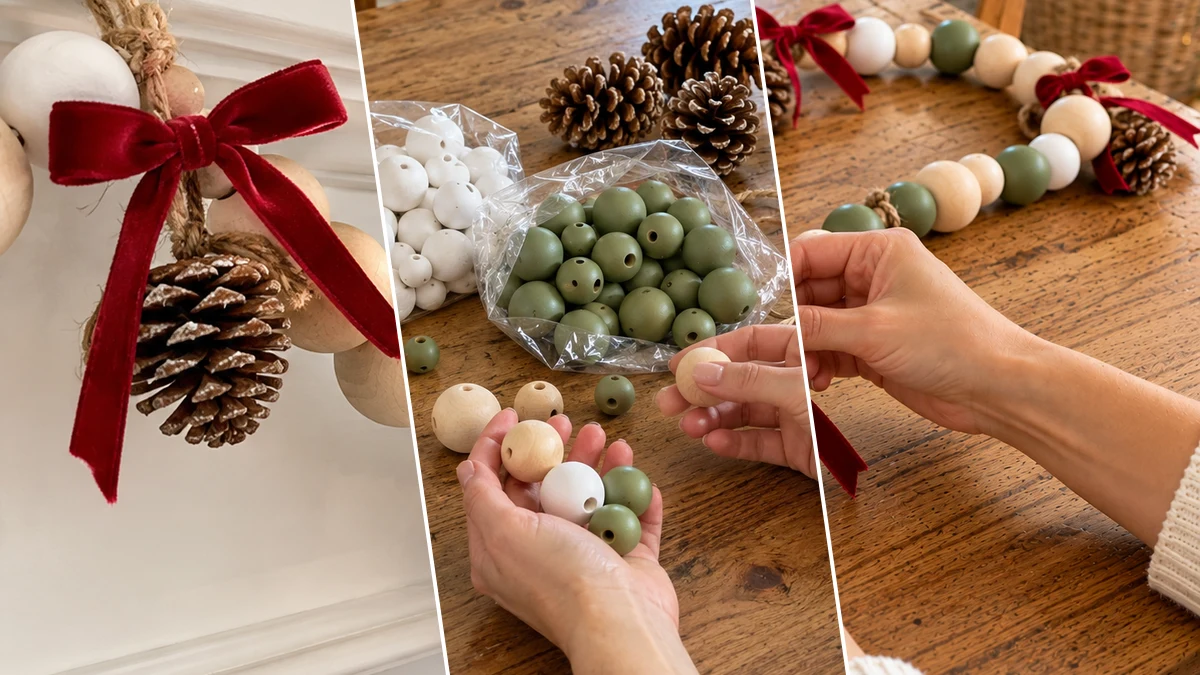
Create a charming Scandinavian-inspired Christmas garland to enhance your holiday home decor. This project features natural, white, and sage green wooden beads, accented with pinecones and festive red velvet ribbons. It is designed for draping across a mantel, shelf, or banister, adding a touch of rustic elegance. This easy craft is suitable for beginner crafters.
Project at a Glance
- Difficulty: Easy
- Estimated active time: 40 minutes to 60 minutes (drying and curing waits not included)
- Estimated component cost: $8 to $15 (reusable tools and general supplies excluded)
- Main material: Wood Beads
- Suggested placement: Mantel, Shelf
About This Scandinavian Christmas Garland Project
This DIY wooden bead garland offers a distinctive Scandinavian-inspired aesthetic, blending natural elements with a refined color palette of white and sage green. The addition of small pinecones and vibrant red velvet ribbons introduces classic Christmas accents, creating a rustic yet elegant piece suitable for various holiday settings. It provides a versatile decorative item that complements both traditional and modern seasonal displays.
The estimated active time for this project is between 40 to 60 minutes, excluding any unattended drying or curing periods for the painted beads. Component costs are estimated to be between $8 and $15, which does not include reusable tools or general craft supplies. This makes it an accessible option for adding handmade charm to your holiday decor without a significant time or financial commitment.
Materials for DIY Scandinavian Wooden Bead Christmas Garland for Mantel or Shelf Decor
- Unfinished Wooden Beads (various sizes)
- Acrylic Craft Paint (white, sage green)
- Jute Twine
- Red Velvet Ribbon
- Small Pinecones
- Scissors
- Hot Glue Gun & Glue Sticks (optional, for extra security)
Need another material? Browse current craft supplies and deals.
Crafting Your Scandinavian Wooden Bead Christmas Garland
Follow these clear steps to assemble a beautiful Scandinavian-inspired wooden bead garland. The process involves painting beads, threading them onto twine, and adding decorative elements like pinecones and ribbon bows. Take your time with each section to ensure a secure and visually appealing finish. This guide is designed for an easy crafting experience.
Step 1: Color the Wooden Beads
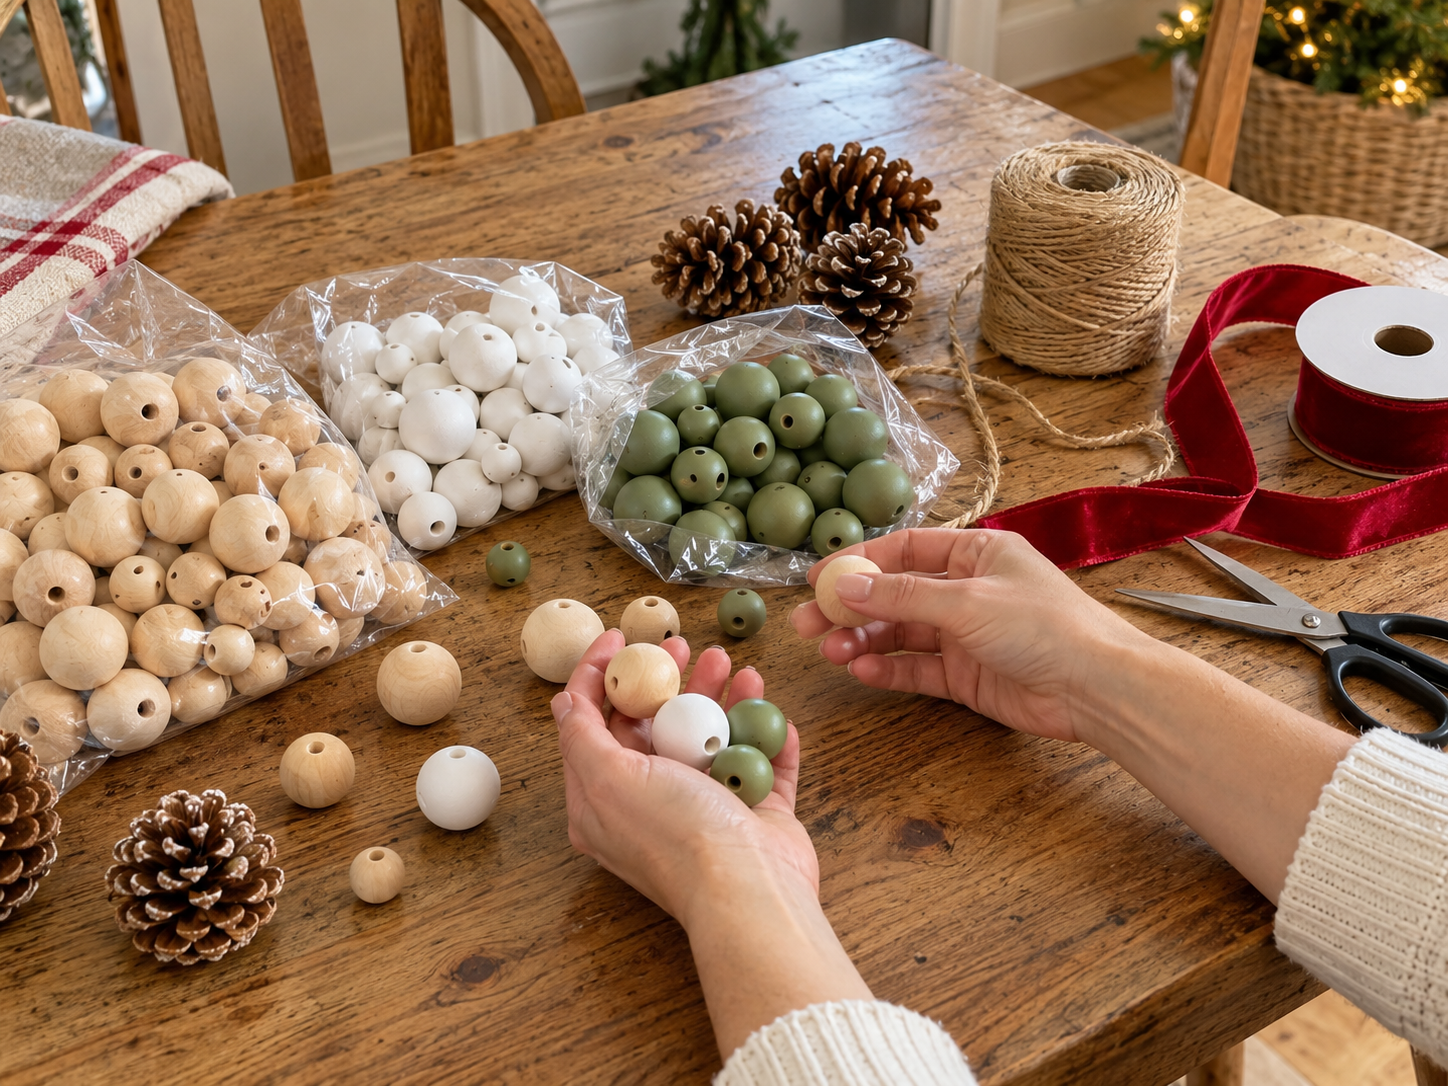
Begin by selecting the unfinished wooden beads you wish to paint. Using acrylic craft paint, carefully apply an even coat of white paint to some beads and sage green paint to others. You may need two coats for opaque coverage. Place the painted beads on a protected surface like parchment paper or a drying rack to dry thoroughly, following the paint manufacturer's recommended drying times. Leave some beads natural for contrast.
Step 2: Measure and Cut Twine
Unroll your jute twine and measure a length that is approximately 1-2 feet longer than your desired final garland length. This extra length accounts for knots and hanging loops. Use scissors to cut the twine cleanly. To prevent beads from sliding off, tie a sturdy double knot at one end of the twine, or secure it with a piece of tape.
Step 3: Thread Your Bead Pattern
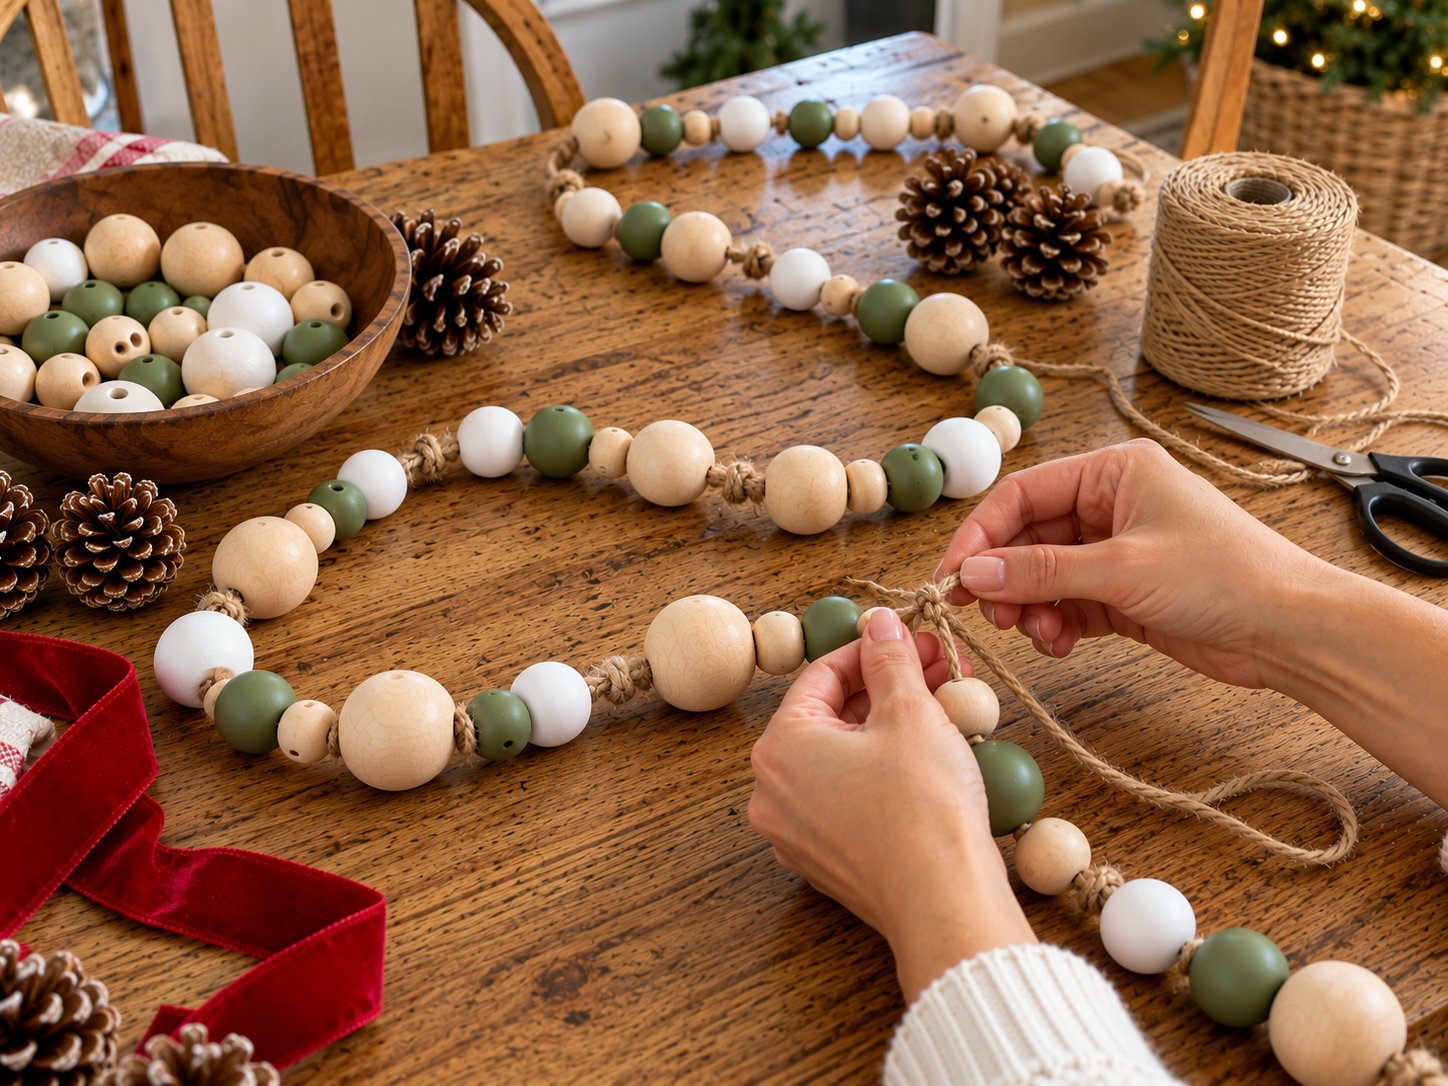
Starting from the unsecured end of your twine, begin threading the wooden beads. Follow a repeating pattern using your natural, white, and sage green beads. For example, you might thread a sequence like: natural, white, natural, sage green. Continue threading until you have a segment of beads that you wish to separate.


Step 4: Section Beads with Knots
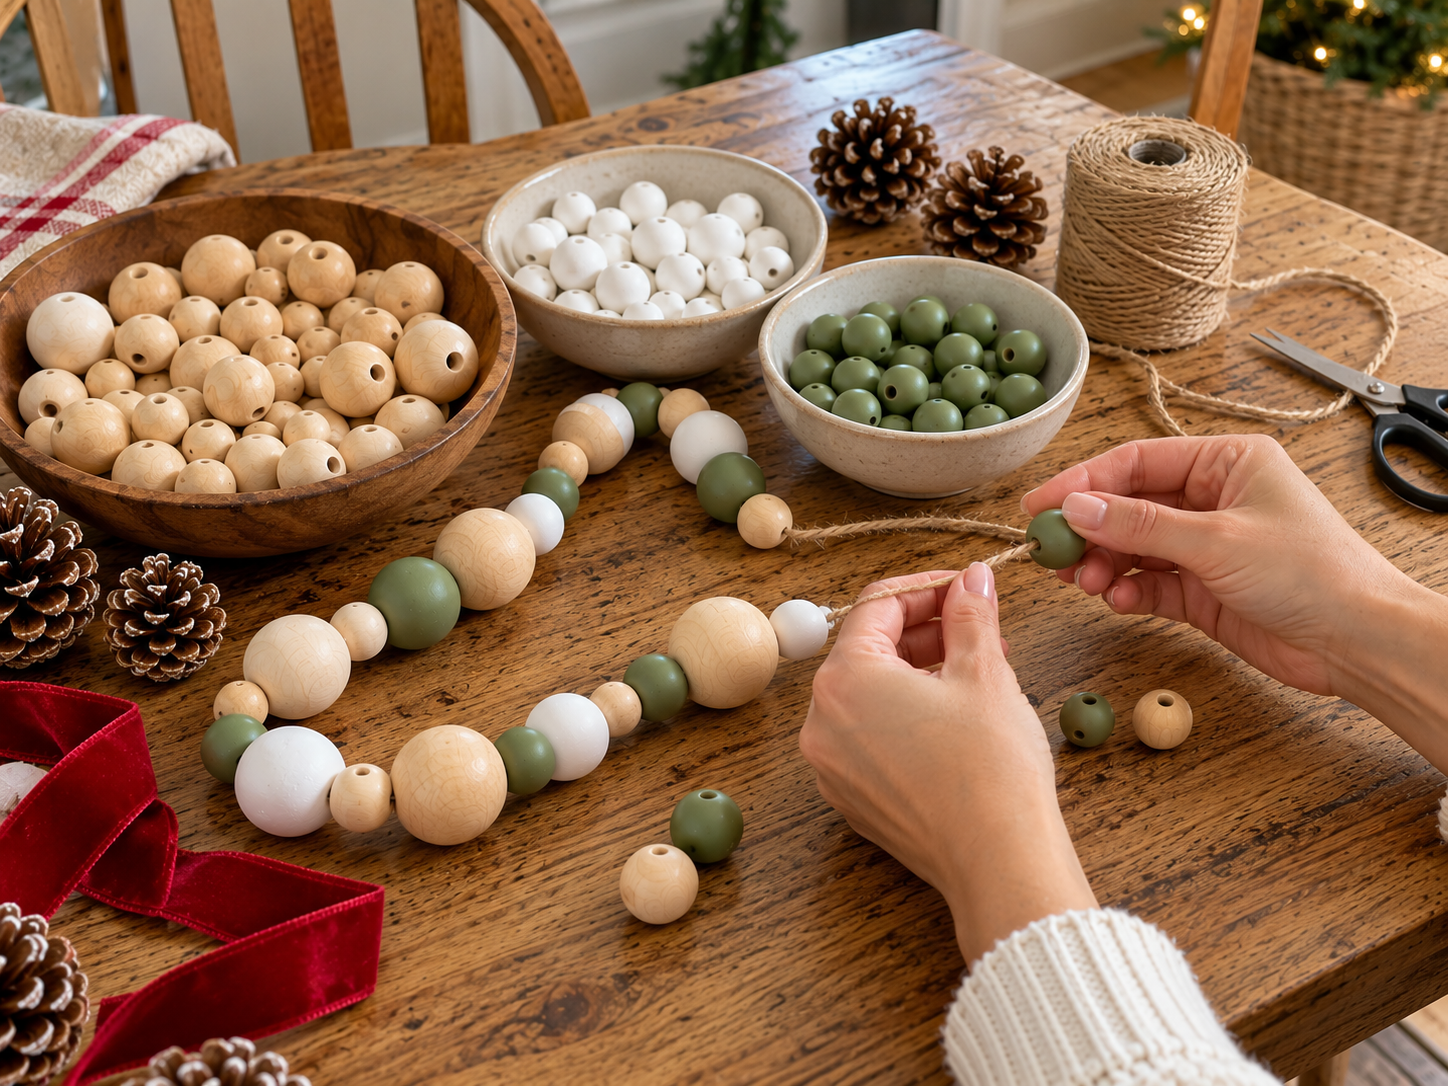
After threading a desired length or number of beads for one section, tie a tight knot directly against the last bead you threaded. Push the knot firmly against the bead to ensure it holds the segment in place. This creates a distinct separation between bead clusters. Continue threading more bead patterns and tying knots until your garland reaches the desired length, leaving enough twine at the end for a hanging loop.
Step 5: Secure Pinecones to Garland
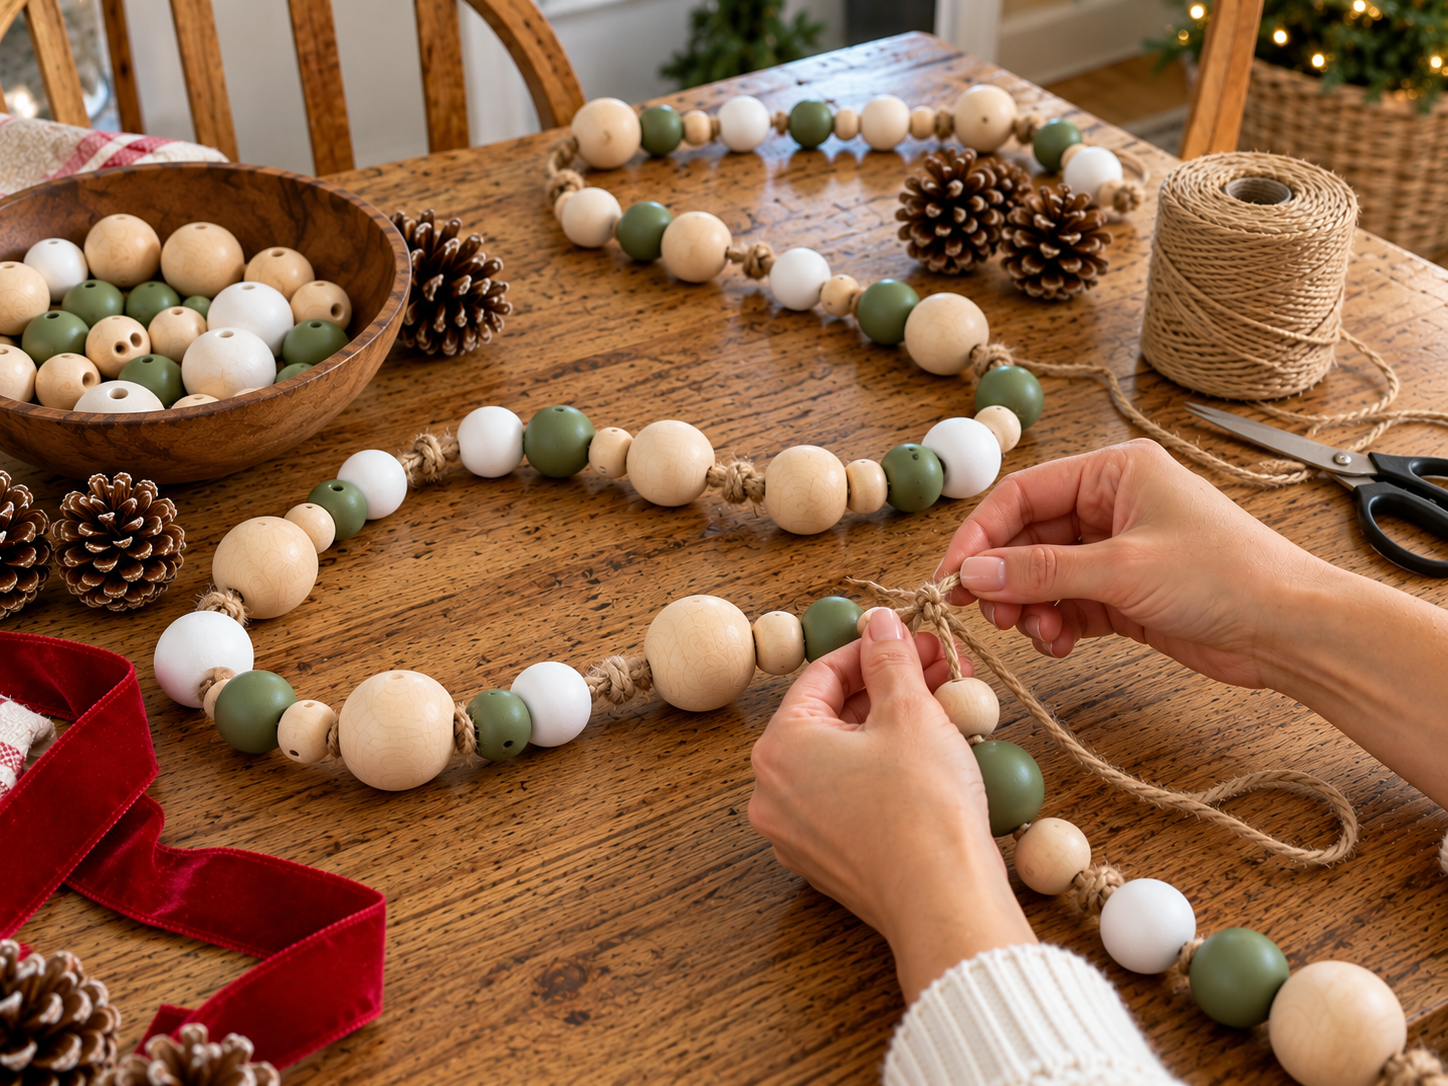
Now it's time to add the pinecones. Select various points along your garland, typically between the knotted bead sections, where you want to attach a pinecone. Take a pinecone and tie a short piece of jute twine around its base or stem. Then, tie this short piece of twine securely onto the main garland twine, allowing the pinecone to hang naturally. You can also use a small dab of hot glue to reinforce the twine around the pinecone for extra security, though tying alone works well.
Step 6: Tie and Attach Velvet Bows
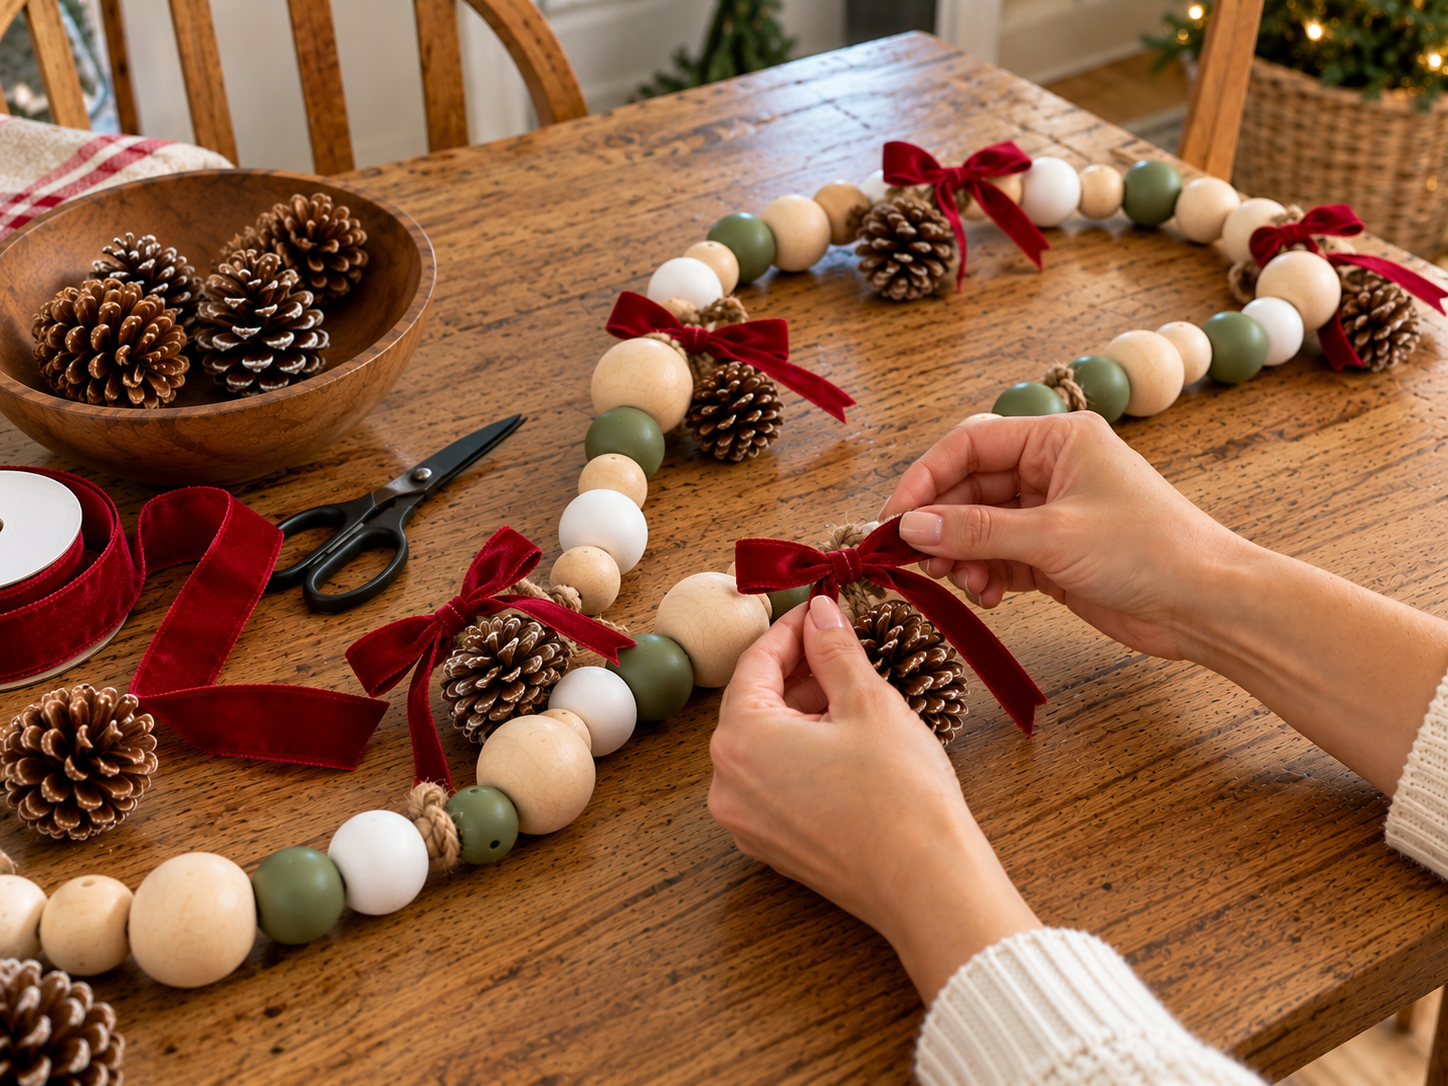
Cut several short lengths of red velvet ribbon. Tie small, neat bows, ensuring the loops are relatively even. Once tied, you can attach these bows to the garland. A simple method is to use the loose ends of the bow to tie it around the jute twine, usually near where a pinecone is attached, or at the end of a bead section. For a more secure and polished look, apply a small dot of hot glue to the back of the bow and press it gently onto the jute twine.
Step 7: Inspect and Display Your Garland
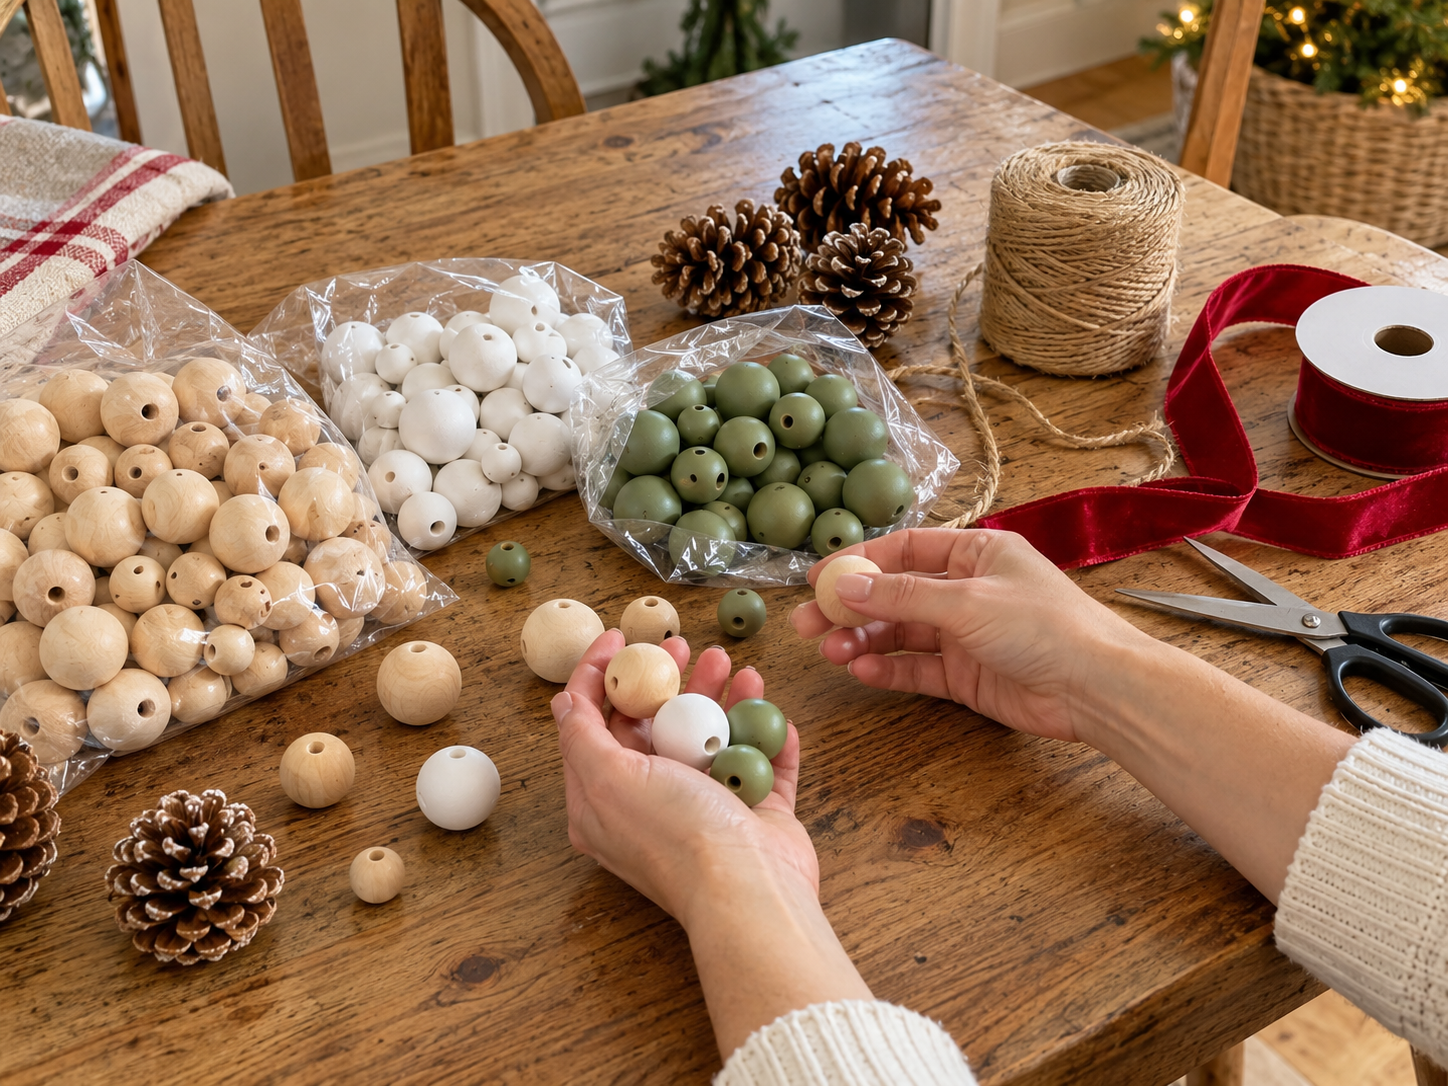
Once all your beads, pinecones, and bows are securely attached, give your garland a final inspection. Trim any excess jute twine from knots or attachments for a neat finish. At the open end of the garland, tie another sturdy double knot to complete it, creating a loop if desired for hanging. Your beautiful Wooden Bead Christmas Garland is now ready to adorn your mantel, shelf, or any festive space!
Enjoying Your Rustic Christmas Garland
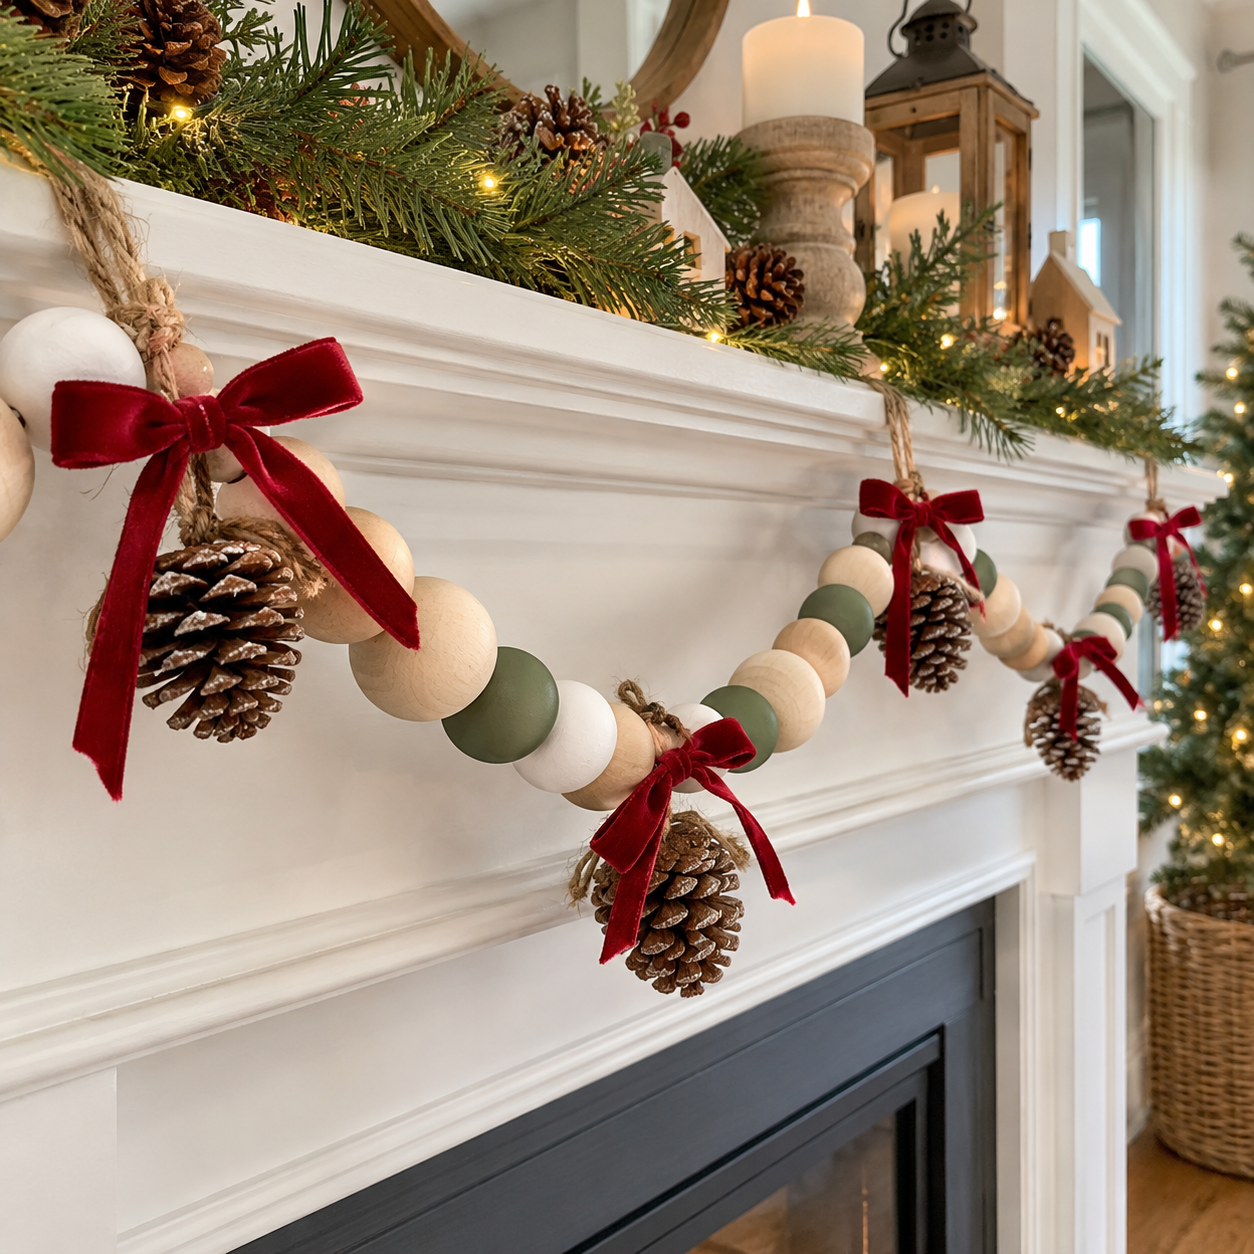
With the final touches complete, your handmade Scandinavian wooden bead Christmas garland is ready to display. Drape it across a mantelpiece, weave it through a banister, or use it to accent a shelf for a cozy, rustic holiday feel. This charming piece adds a unique, handcrafted element to your seasonal decorations.
Related project collection: DIY Faux Fall Leaf & Wooden Bead Garland for Rustic Mantel Decor
Practical Questions About This Project
What kind of beads are used for this garland?
Unfinished wooden beads in various sizes are used, with some painted white and sage green, and others left natural for contrast.
What is the recommended placement for this garland?
This garland is ideal for draping across a mantel, shelf, or banister, adding a rustic and elegant touch to holiday decor.
How are the different bead sections separated?
Small, tight knots are tied in the jute twine directly against the last bead of each segment to create distinct separations between bead clusters.
What are the main decorative accents on the garland?
Small pinecones and festive red velvet ribbon bows are used as decorative accents, attached between bead sections or near pinecones.
Can hot glue be used for securing elements?
Yes, a hot glue gun and glue sticks are listed as optional materials for extra security when attaching pinecones or ribbon bows.
Explore wood beads craft supplies at Dollar Tree.

Leave a Reply