
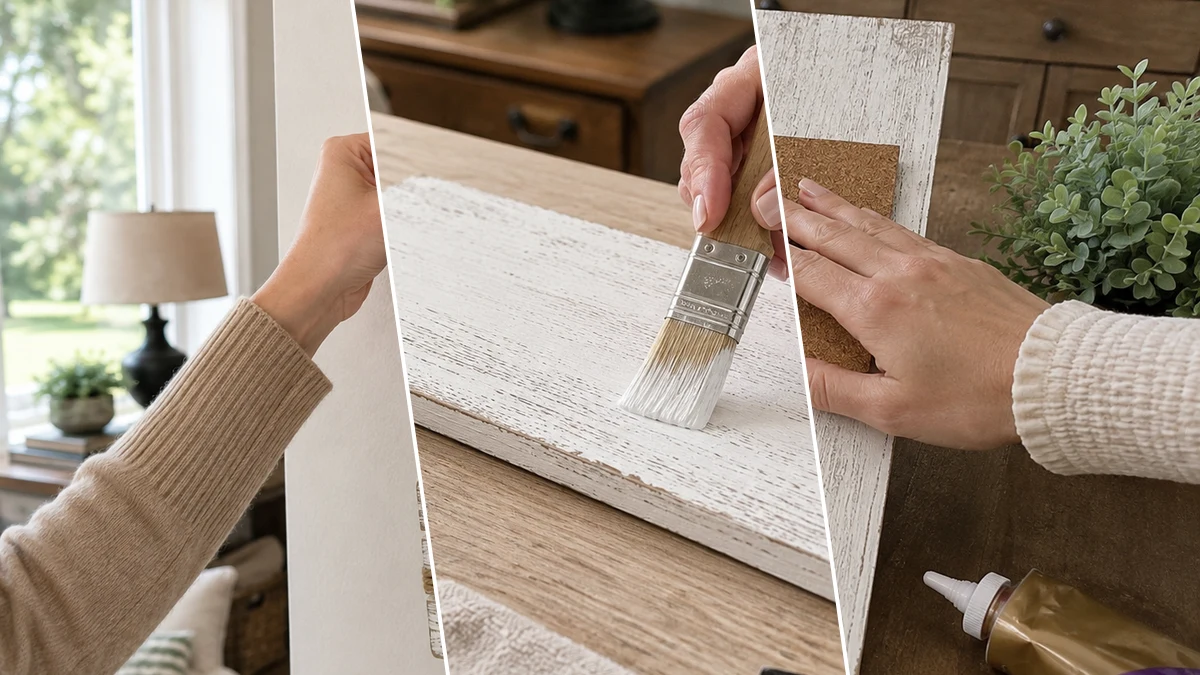
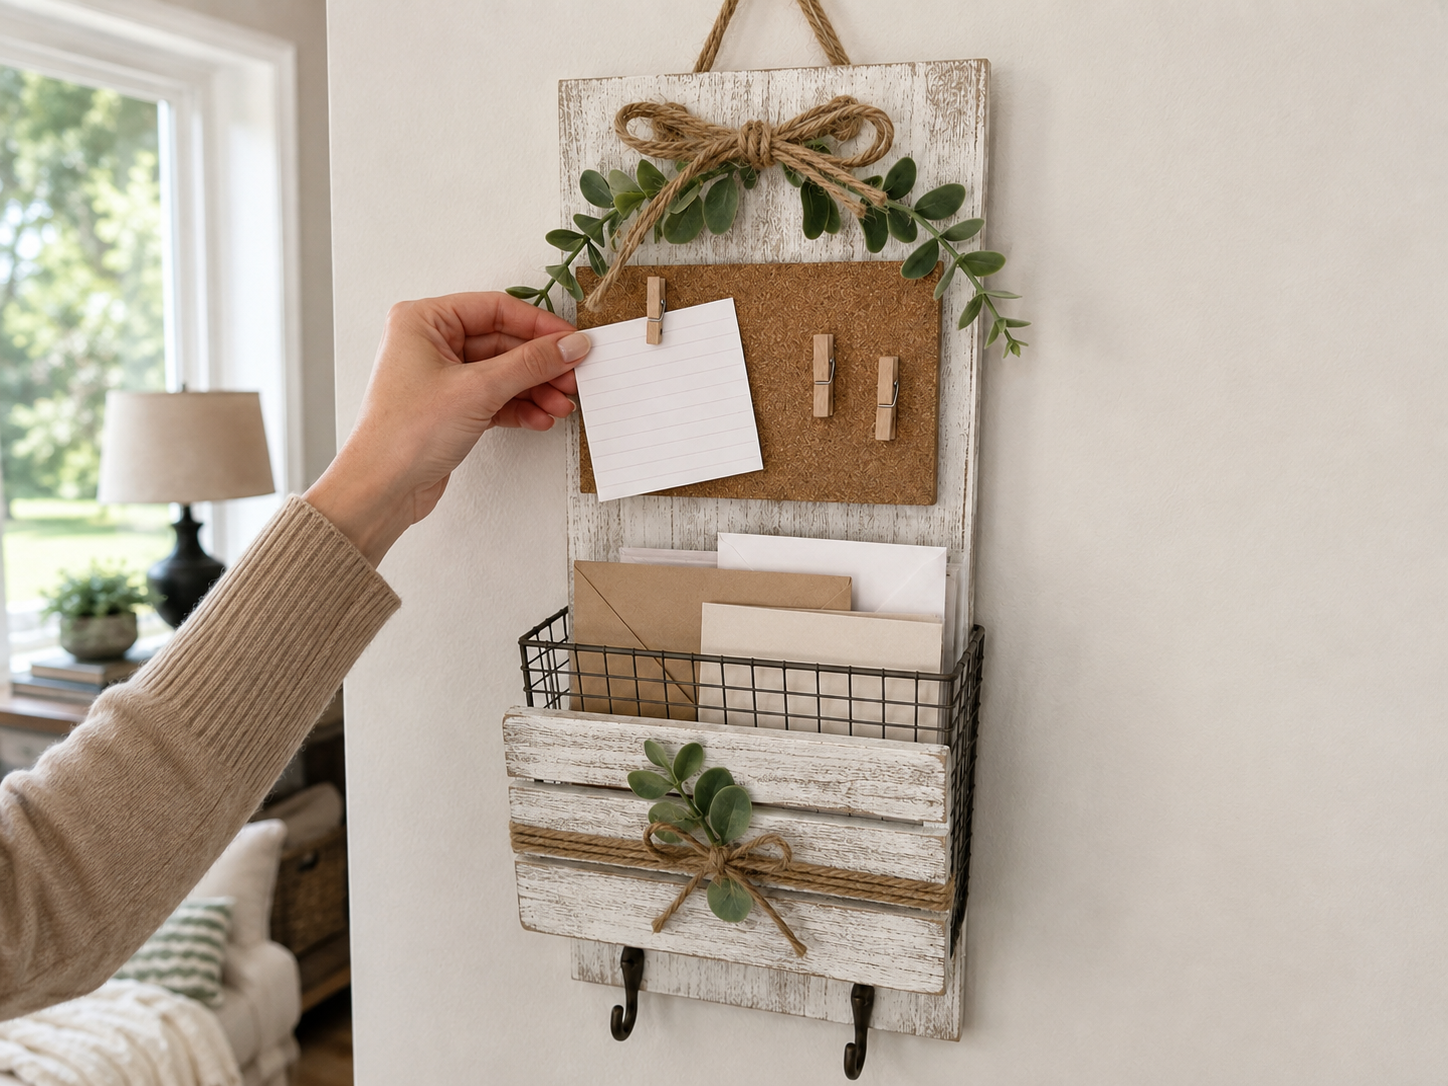
My kitchen counter was a total disaster zone, covered in mail, coupons, and permission slips. It was driving me absolutely bonkers! So, I put my Dollar Tree shopping skills to good use and came up with this super cute Farmhouse Charm: DIY Wall Mail Organizer & Memo Station that totally solved my paper pile problem. Seriously, you’re gonna love it!
Theme: Farmhouse / Rustic
Materials Needed
- Rectangular Wooden Plaque (main backing)
- Small Wooden Crate or Box (for mail holder)
- Small Wire Basket (to fit inside wooden crate)
- Cork Board Sheet or Tile (approx. 5×7 inches)
- Mini Wooden Clothespins
- Metal Utility Hooks (2)
- White Chalk Paint or Acrylic Paint
- Jute or Nautical Rope (thick and thin options)
- Faux Eucalyptus Greenery Picks
- Strong Craft Adhesive (e.g., E6000 or wood glue) & Hot Glue Gun with Glue Sticks
- Fine-Grit Sandpaper & Paintbrushes
Why This Craft Works
This Farmhouse Charm: DIY Wall Mail Organizer & Memo Station is just perfect for taming the clutter in your entryway, a busy farmhouse kitchen, or even a home office. It gives you a dedicated spot for all that incoming mail, plus a little memo board for notes and reminders. No more digging through piles trying to find that one important bill!
The best part? This entire Farmhouse Charm: DIY Wall Mail Organizer & Memo Station project ran me about $12-15 total. Seriously, almost everything I needed came from Dollar Tree, which means you can get that gorgeous Farmhouse / Rustic look without breaking the bank. Talk about a budget-friendly DIY!
You’ll be thrilled to know this DIY is super easy and quick! It took me about 30-45 minutes from start to finish, even with drying time factored in. It’s truly perfect for beginners, kids with a little supervision, or anyone looking for a quick craft session, and it makes such a thoughtful, handmade gift too.
Step-by-Step Instructions for Farmhouse Charm: DIY Wall Mail Organizer & Memo Station
Alright sweet friends, are you ready to get crafting? This Farmhouse Charm: DIY Wall Mail Organizer & Memo Station is so much fun to make and honestly, it goes together in a snap. You don’t need any special skills to create this adorable Farmhouse / Rustic piece, and it’s perfect for a quick afternoon project. Let’s dive in!
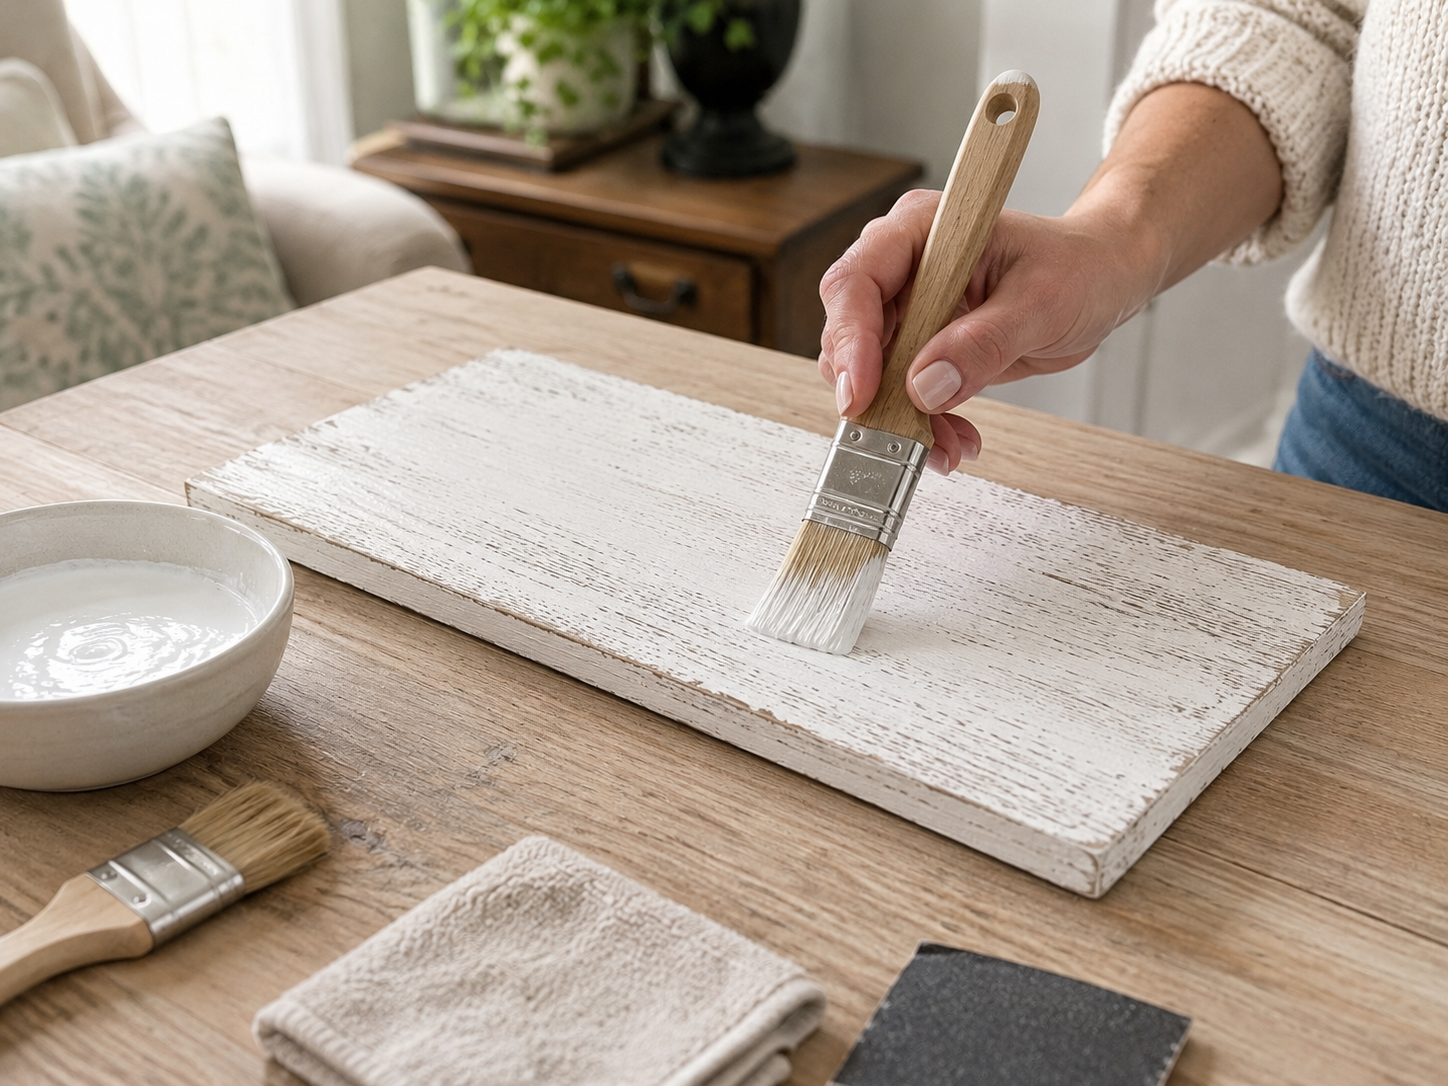
Step 1: Distress & Paint Wooden Blanks
Begin by lightly sanding both the main wooden plaque and the separate wooden crate/box. This provides a smooth surface and helps the paint adhere better. Wipe away any dust. Then, apply white chalk paint or acrylic paint using a dry brush technique or diluted paint for a distressed farmhouse look. Apply uneven coats, allowing some of the natural wood grain to show through, especially on edges and corners. Let both pieces dry completely between coats if applying more than one, or for touch-ups.
Step 2: Secure Cork Board & Clothespins
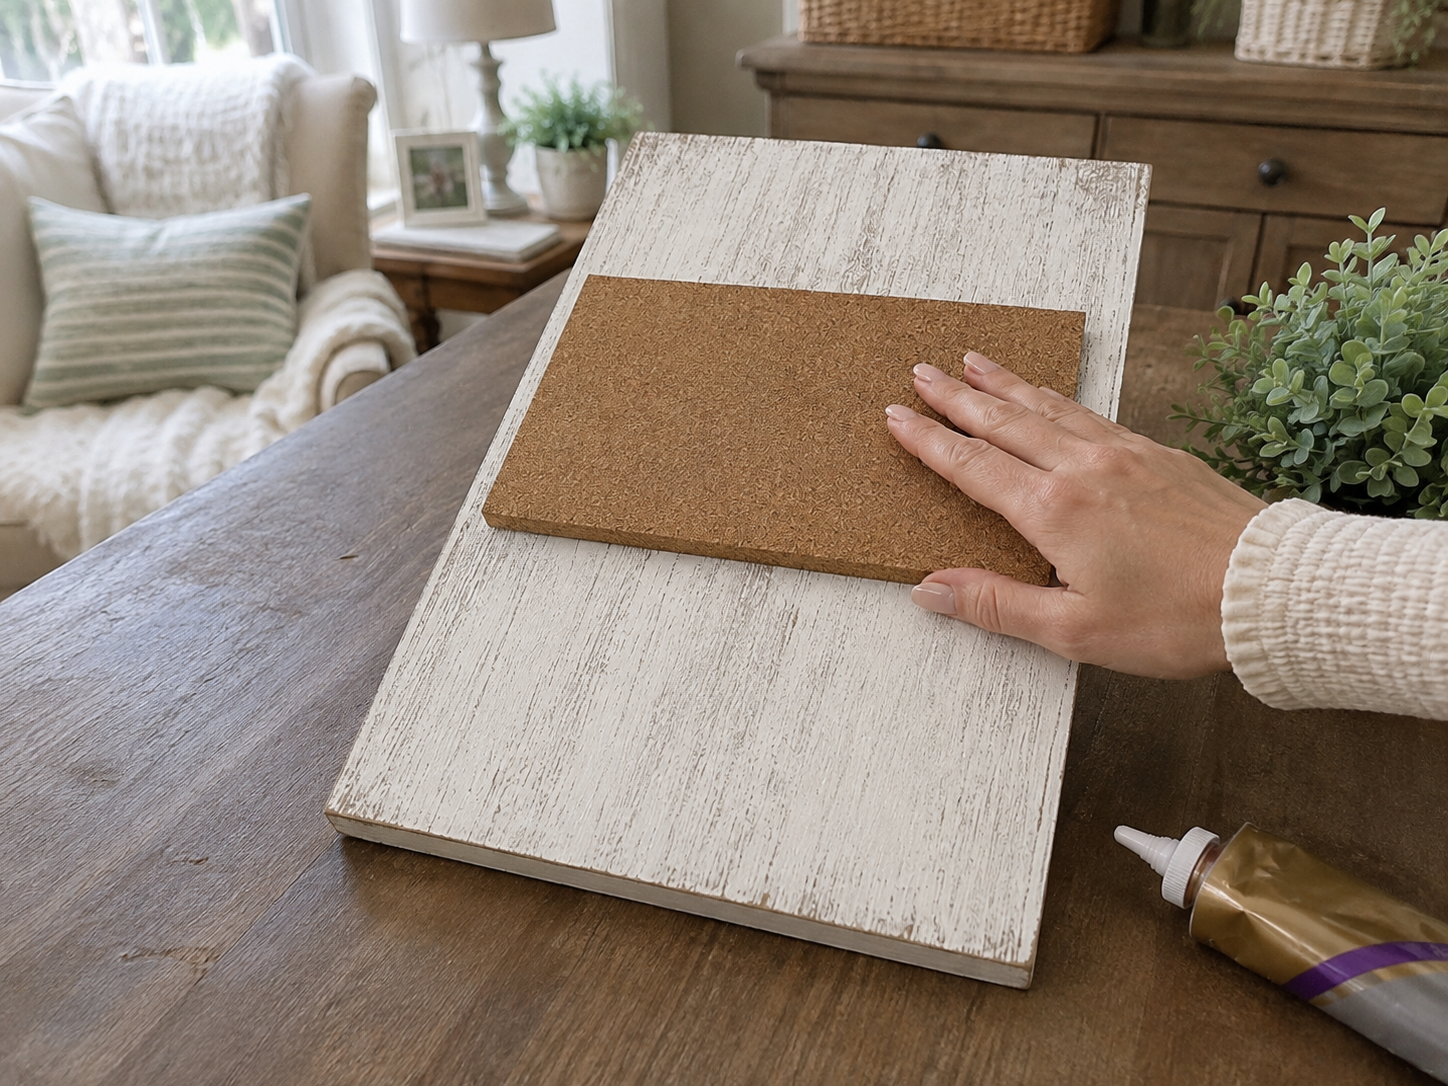
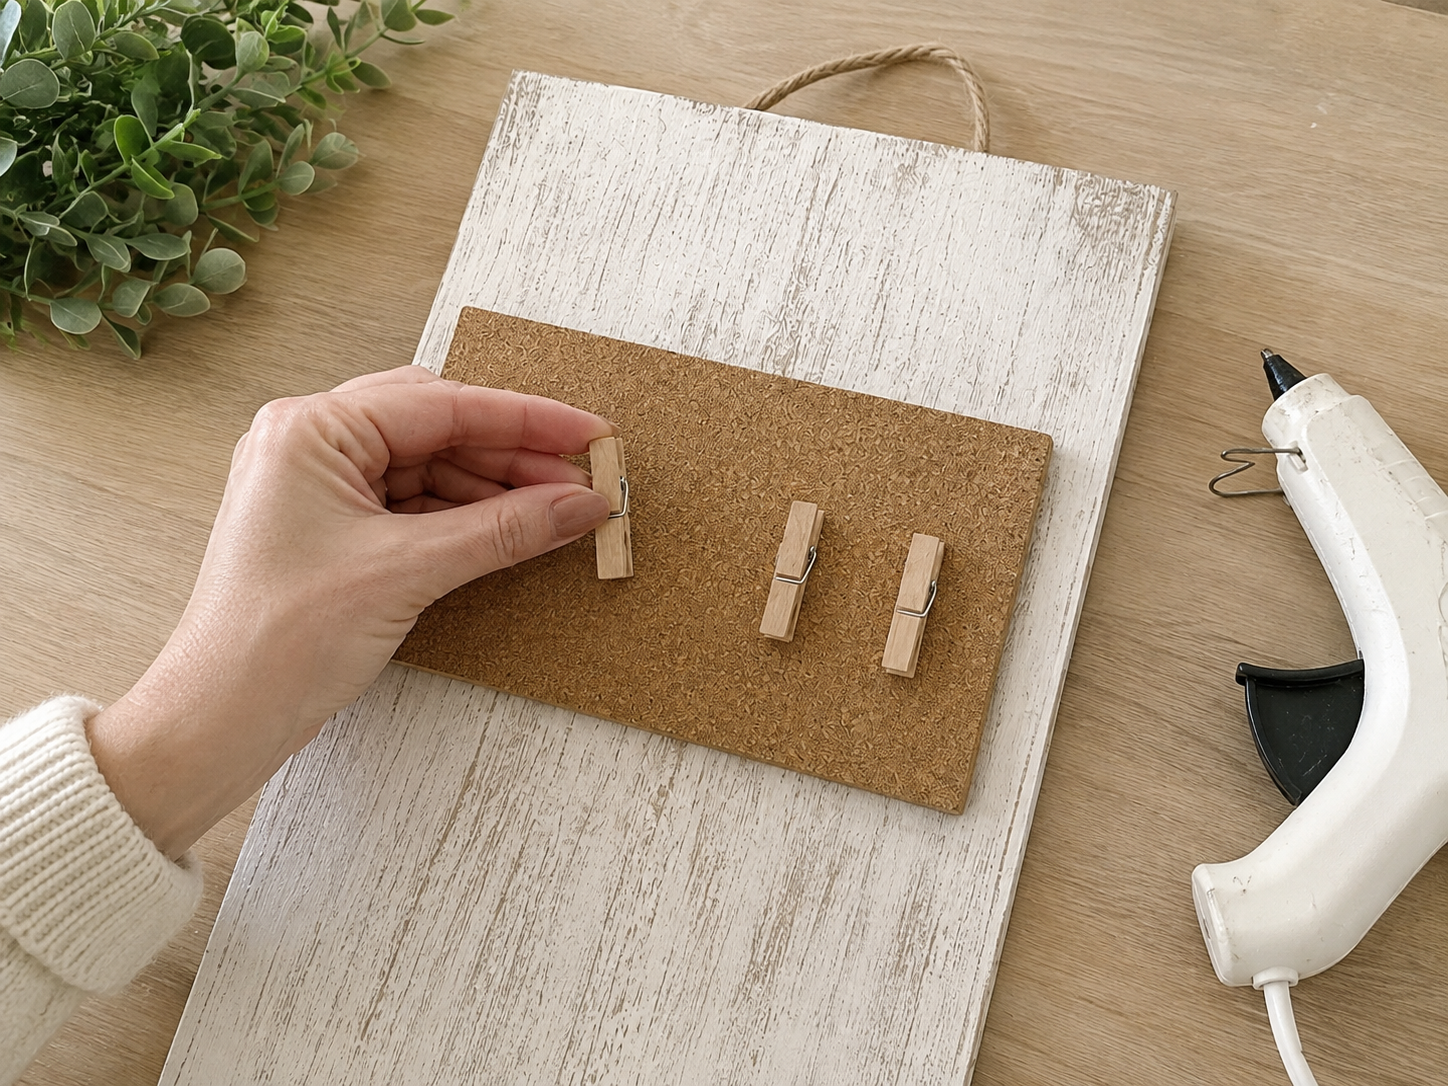
Once the main wooden plaque is fully dry, position the cork board tile near the top section, ensuring it’s centered and straight. Use strong craft adhesive (like E6000) for a secure, long-lasting bond. Apply a generous amount to the back of the cork board and firmly press it onto the plaque. Allow the adhesive to cure according to manufacturer’s instructions. While that dries, or after, you can use hot glue to attach a few mini wooden clothespins to the cork board for holding notes, or leave them loose for versatility.
Step 3: Attach Mail Holder Assembly
Ensure the small wooden crate/box is painted and dry. Carefully place the wire basket inside the wooden crate/box. The wire basket should fit snugly or be secured within the crate using hot glue if it moves. Now, apply strong craft adhesive (and optionally hot glue for immediate hold) to the back of the assembled wooden crate/basket unit. Center and firmly press it onto the lower half of the main wooden plaque, just below the cork board. Make sure it’s level and allow the adhesive to fully cure.
Step 4: Install Bottom Utility Hooks
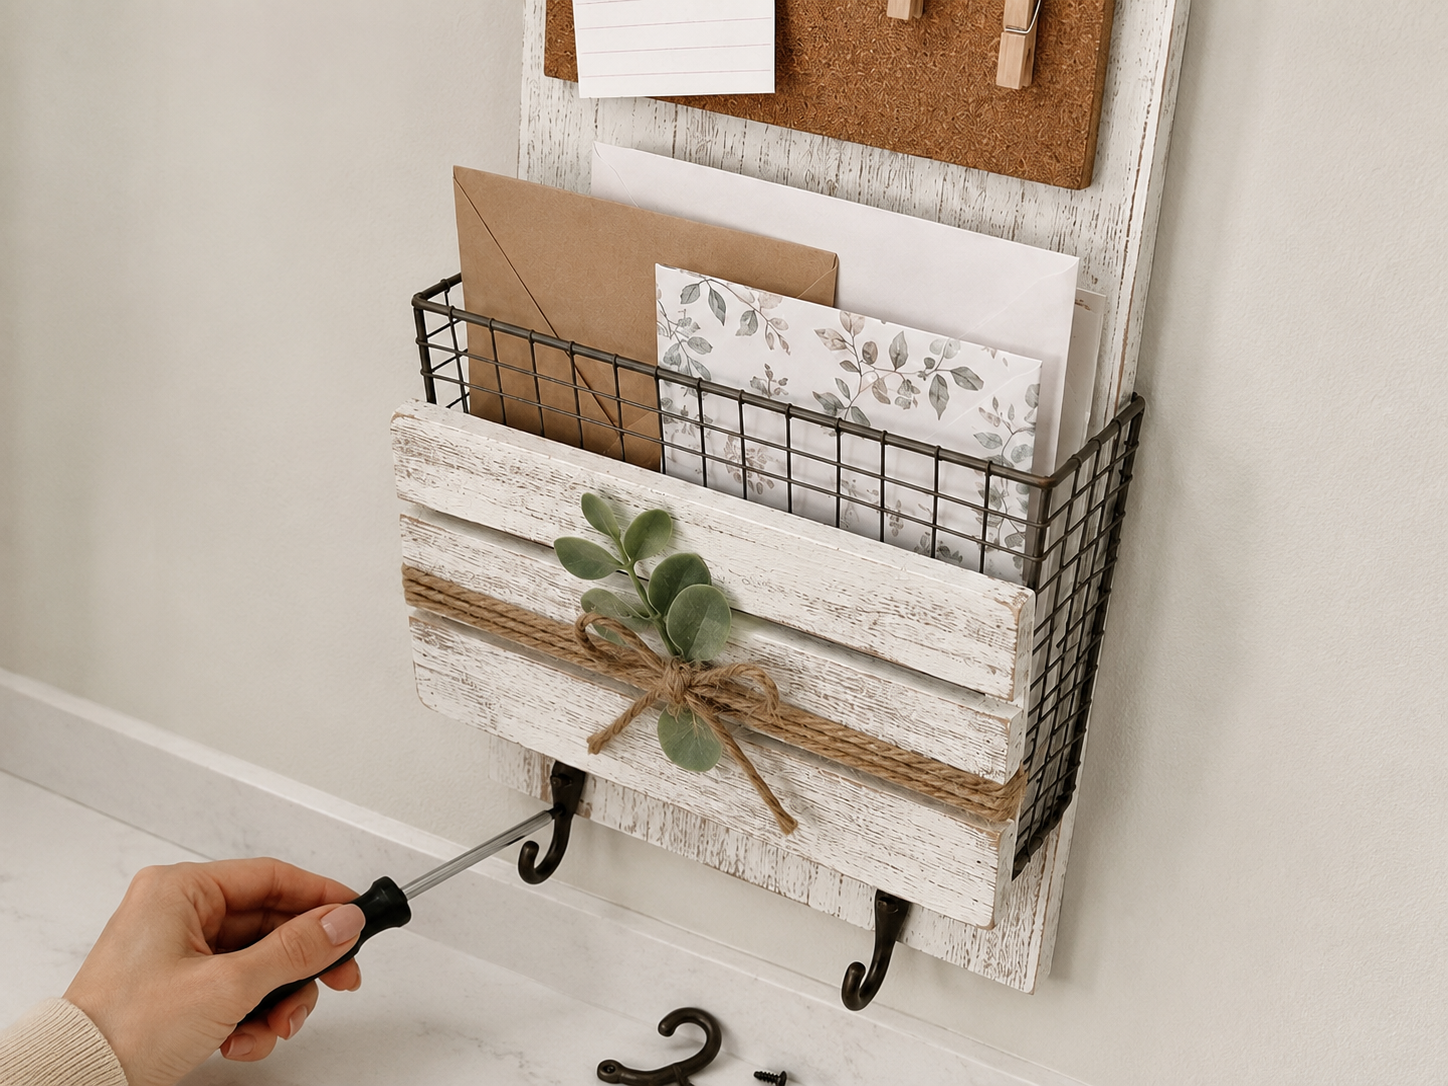
Take your two metal utility hooks. Determine their desired placement along the bottom edge of the main wooden plaque, ensuring they are evenly spaced and aligned. Using a small drill bit (if necessary) to create pilot holes will prevent the wood from splitting, especially for harder woods. Once pilot holes are ready, screw the hooks firmly into place. If your hooks are designed for adhesive-only application, follow the manufacturer’s instructions for secure attachment.
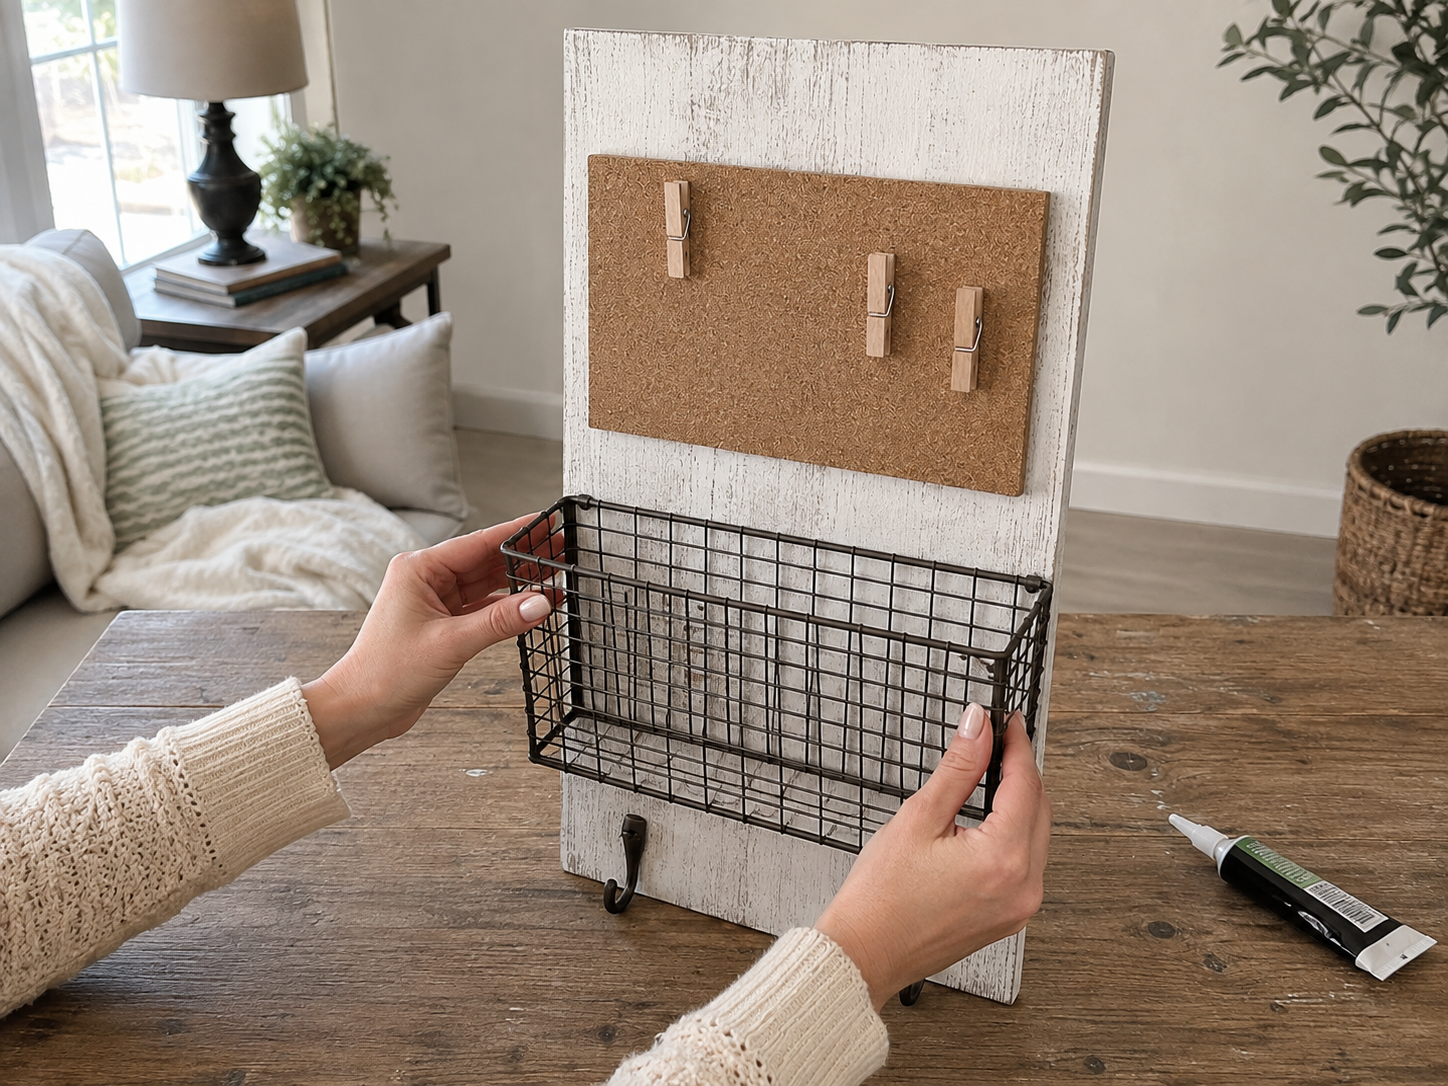
Step 5: Create & Attach Rope Hanger
Cut a length of thick jute or nautical rope (approx. 18-24 inches, adjust for desired hang length). Create a loop and tie the ends together securely with a strong knot, or use strong adhesive to fuse the ends. Alternatively, you can drill two small holes (slightly larger than your rope diameter) through the top corners of the main wooden plaque. Thread the rope through the holes from the front, tie a knot on the back to secure, and trim excess. If not drilling, you can simply form a loop and hot glue the ends securely to the back top edge of the plaque for a hidden attachment.
📱 Craftino App
Make more crafts like this
1,000+ Farmhouse / Rustic ideas with photo guides & Pro Tips
✓ Step-by-step photo tutorials, nothing left out
✓ Pro Tips for every step
✓ Save crafts & browse fully offline
✓ New ideas added every week


Step 6: Embellish Top with Jute & Greenery
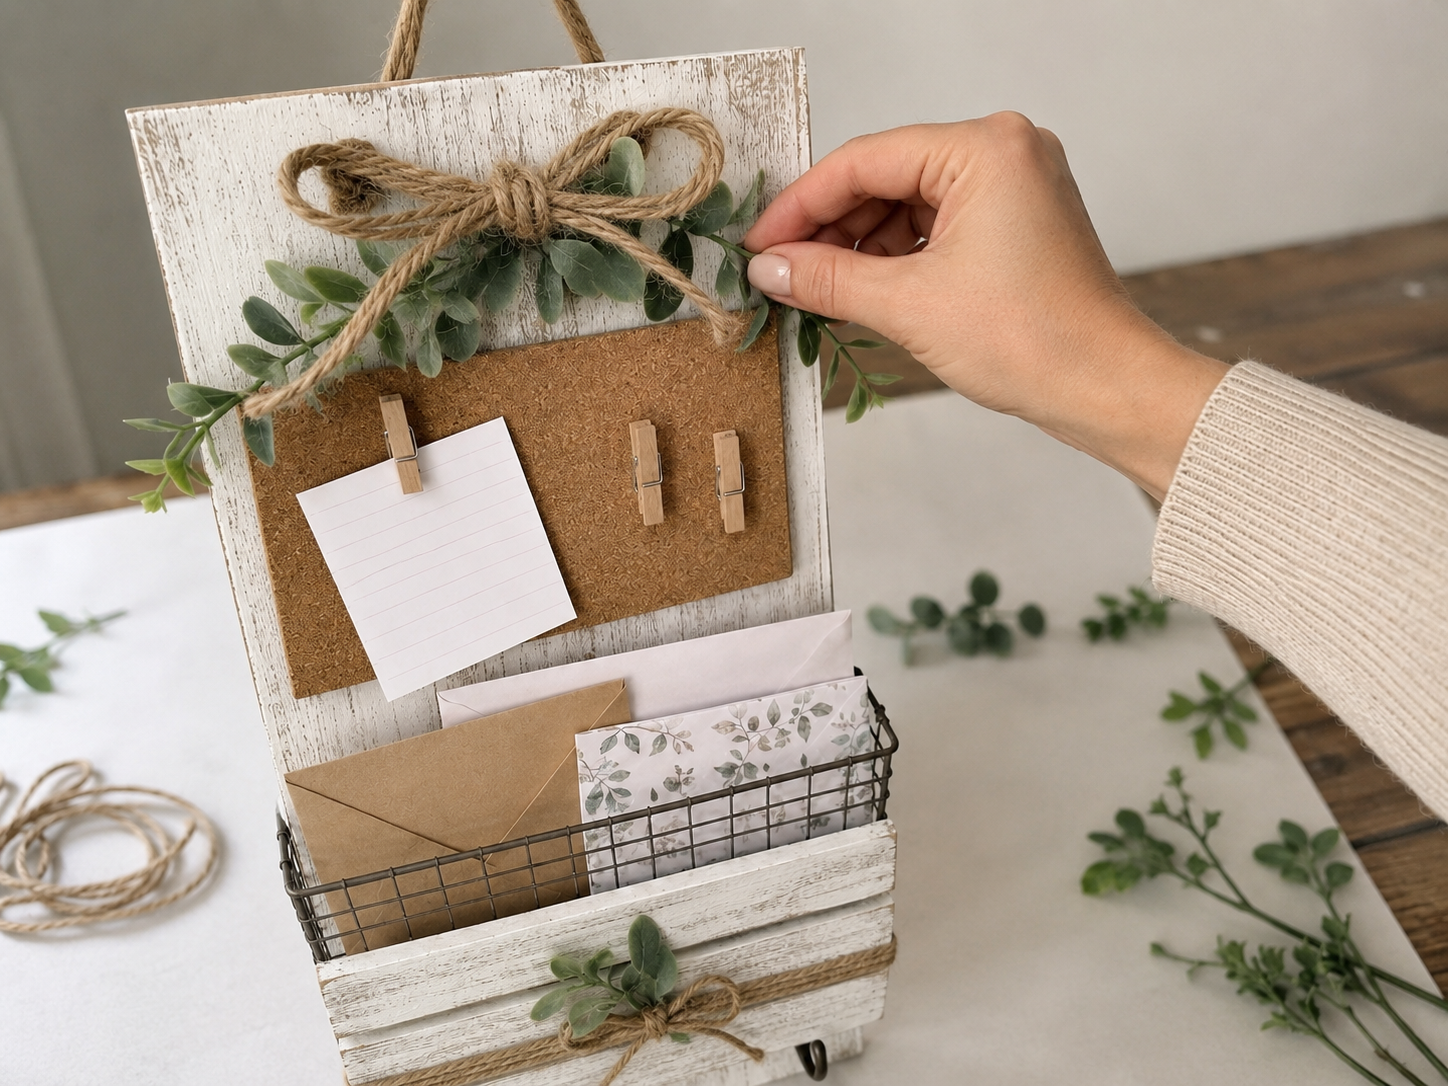
Take a length of thinner jute rope and tie a decorative bow. If desired, you can wrap the rope around the top of the plaque a few times before tying the bow, or simply hot glue the bow directly to the upper section of the plaque, often near the base of the rope hanger. Arrange a few small sprigs of faux eucalyptus greenery behind or around the jute bow, securing them with hot glue. This adds a soft, natural touch to the top of the organizer.
Step 7: Accent Mail Holder with Jute
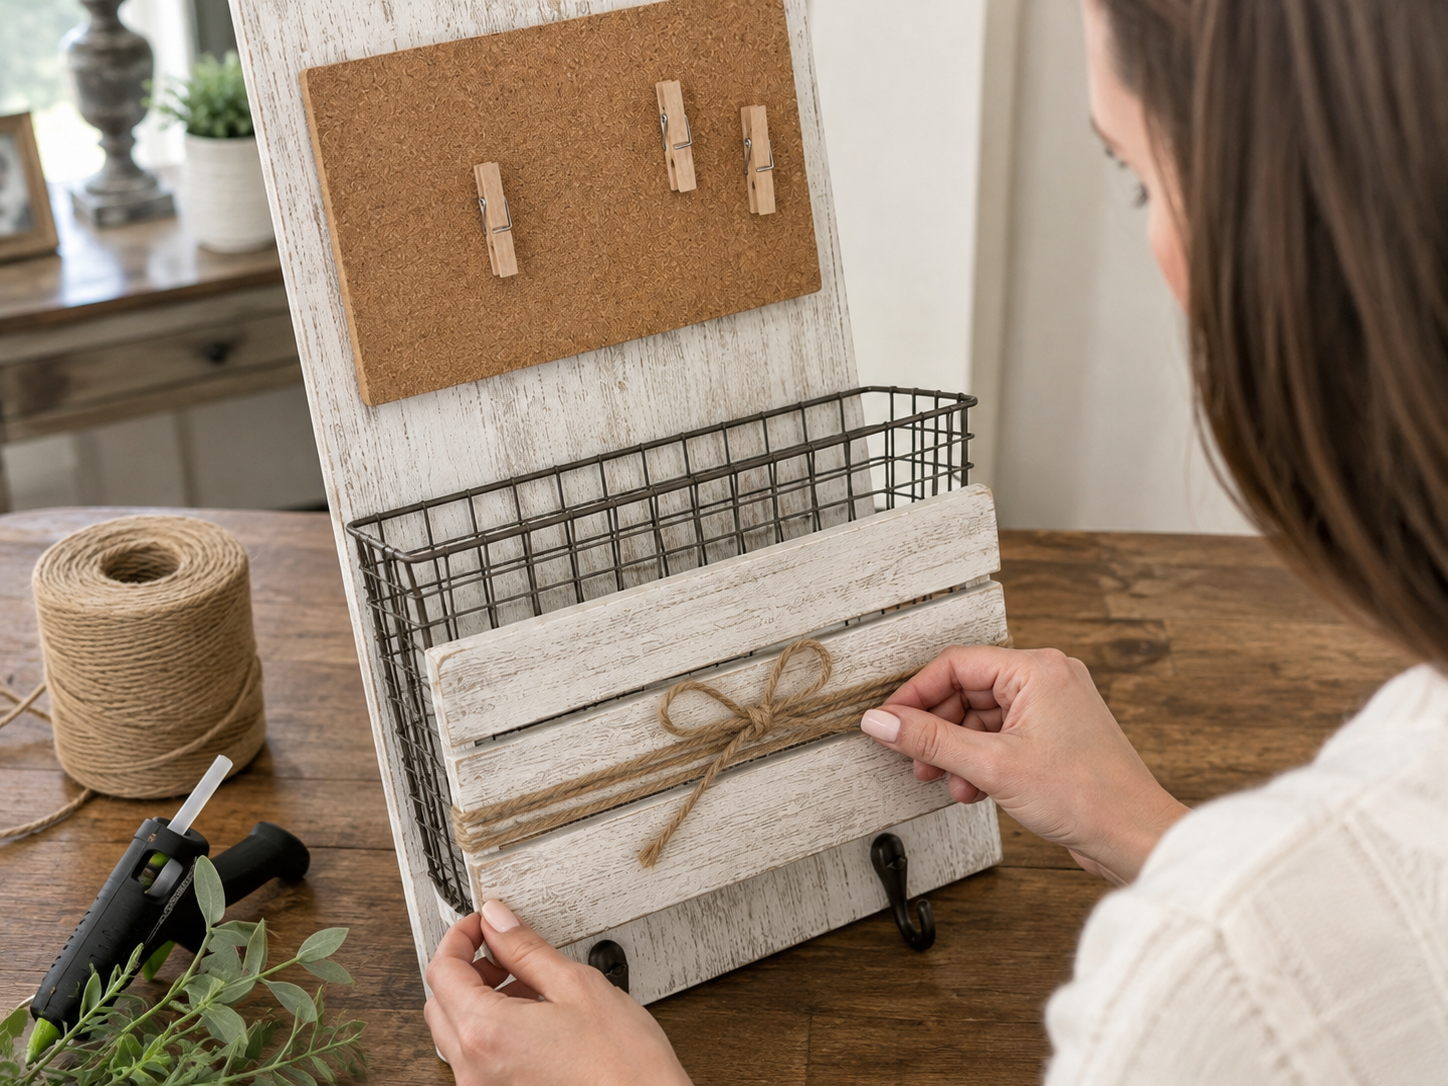
For the mail holder section, take a longer piece of jute rope. Wrap it horizontally around the front of the wooden crate/box multiple times to create a rustic banded effect, securing the ends on the back with hot glue. Then, tie a smaller jute bow and hot glue it centrally over the wrapped rope. Tuck a small sprig of faux eucalyptus greenery underneath the bow, securing it with hot glue, to tie in the decorative theme from the top section.
Step 8: Final Check & Display
With all components attached and decorative accents in place, take a moment to inspect your Farmhouse Wall Mail Organizer. Ensure all glued elements are secure and dry. Check that the rope hanger is firmly attached and capable of supporting the organizer’s weight. Give the entire piece a gentle wipe to remove any dust or glue strands. Your beautiful and practical organizer is now ready to be mounted on your wall, bringing farmhouse charm and organization to your entryway, kitchen, or office!
See also: Rustic Farmhouse Faux Window Frame Wall Decor
📋 Love staying organized while crafting? Check out our printable planners & craft designs at CraftersDT on Etsy and use code CRAFT20 for 20% off your entire order!
Your Farmhouse Charm Organizer is Ready!
And just like that, you’ve got yourself a beautiful Farmhouse Charm: DIY Wall Mail Organizer & Memo Station! Hang it by your front door or in the kitchen to keep everything tidy. I just know you’ll love how much it helps with all that daily paper clutter. Don’t forget to show me your finished piece!
📱 Craftino App
Make more crafts like this
1,000+ Farmhouse / Rustic ideas with photo guides & Pro Tips
✓ Step-by-step photo tutorials, nothing left out
✓ Pro Tips for every step
✓ Save crafts & browse fully offline
✓ New ideas added every week
Frequently Asked Questions
How long does it take to complete the Farmhouse Charm: DIY Wall Mail Organizer & Memo Station?
It takes about 30-45 minutes to complete the Farmhouse Charm: DIY Wall Mail Organizer & Memo Station from start to finish. This includes any necessary drying time for paint or glue, making it a quick craft.
Is the DIY Farmhouse Charm Wall Mail Organizer suitable for beginners?
Yes, this DIY Farmhouse Charm Wall Mail Organizer is rated as an easy craft, making it perfect for beginners. No advanced crafting skills are required, just basic cutting, gluing, and painting.
How many Dollar Tree wood sheets are needed for this Farmhouse / Rustic organizer?
You will need two Dollar Tree wood sheets, typically 8×10 inches each, to construct the main frame of this Farmhouse / Rustic organizer. One sheet forms the back, and the other is cut for the pocket and memo board.
What type of glue works best for the Farmhouse Charm: DIY Wall Mail Organizer?
Hot glue is recommended for the Farmhouse Charm: DIY Wall Mail Organizer for quick assembly and strong hold. For extra durability, a small amount of E6000 craft adhesive can be added to key joints.
Where can I buy the supplies for this budget-friendly Farmhouse Charm DIY?
You can buy almost all the supplies for this budget-friendly Farmhouse Charm DIY project at Dollar Tree. Items like wood sheets, paint, and decorative elements are readily available there for $1.25 each.
Can the Farmhouse Charm: DIY Wall Mail Organizer be made as a gift?
Yes, the Farmhouse Charm: DIY Wall Mail Organizer makes an excellent handmade gift for occasions like Mother’s Day, housewarmings, or birthdays. Its practical use and rustic appeal are widely appreciated.
How can I customize my Farmhouse Charm: DIY Wall Mail Organizer & Memo Station?
You can customize your Farmhouse Charm: DIY Wall Mail Organizer & Memo Station by painting it different colors, adding decorative stencils, or swapping out the mini clothespins for hooks. Consider using different scrapbook paper patterns for the memo board to match your decor.
Is the Dollar Tree Farmhouse Charm mail organizer durable for daily use?
Yes, with proper assembly using hot glue and optional E6000, the Dollar Tree Farmhouse Charm mail organizer is durable enough for daily indoor use. It’s designed to hold standard mail and lightweight notes effectively.
Browse farmhouse / rustic crafting supplies at Dollar Tree.

Leave a Reply