
A quilt can begin with one pattern and one beautiful fabric pull, then spread into cutting notes, block piles, backing calculations, longarm details and a binding fabric you were sure you set aside. Add two works in progress and an older UFO, and the problem is no longer motivation—it is finding the right information when you sit down to sew.
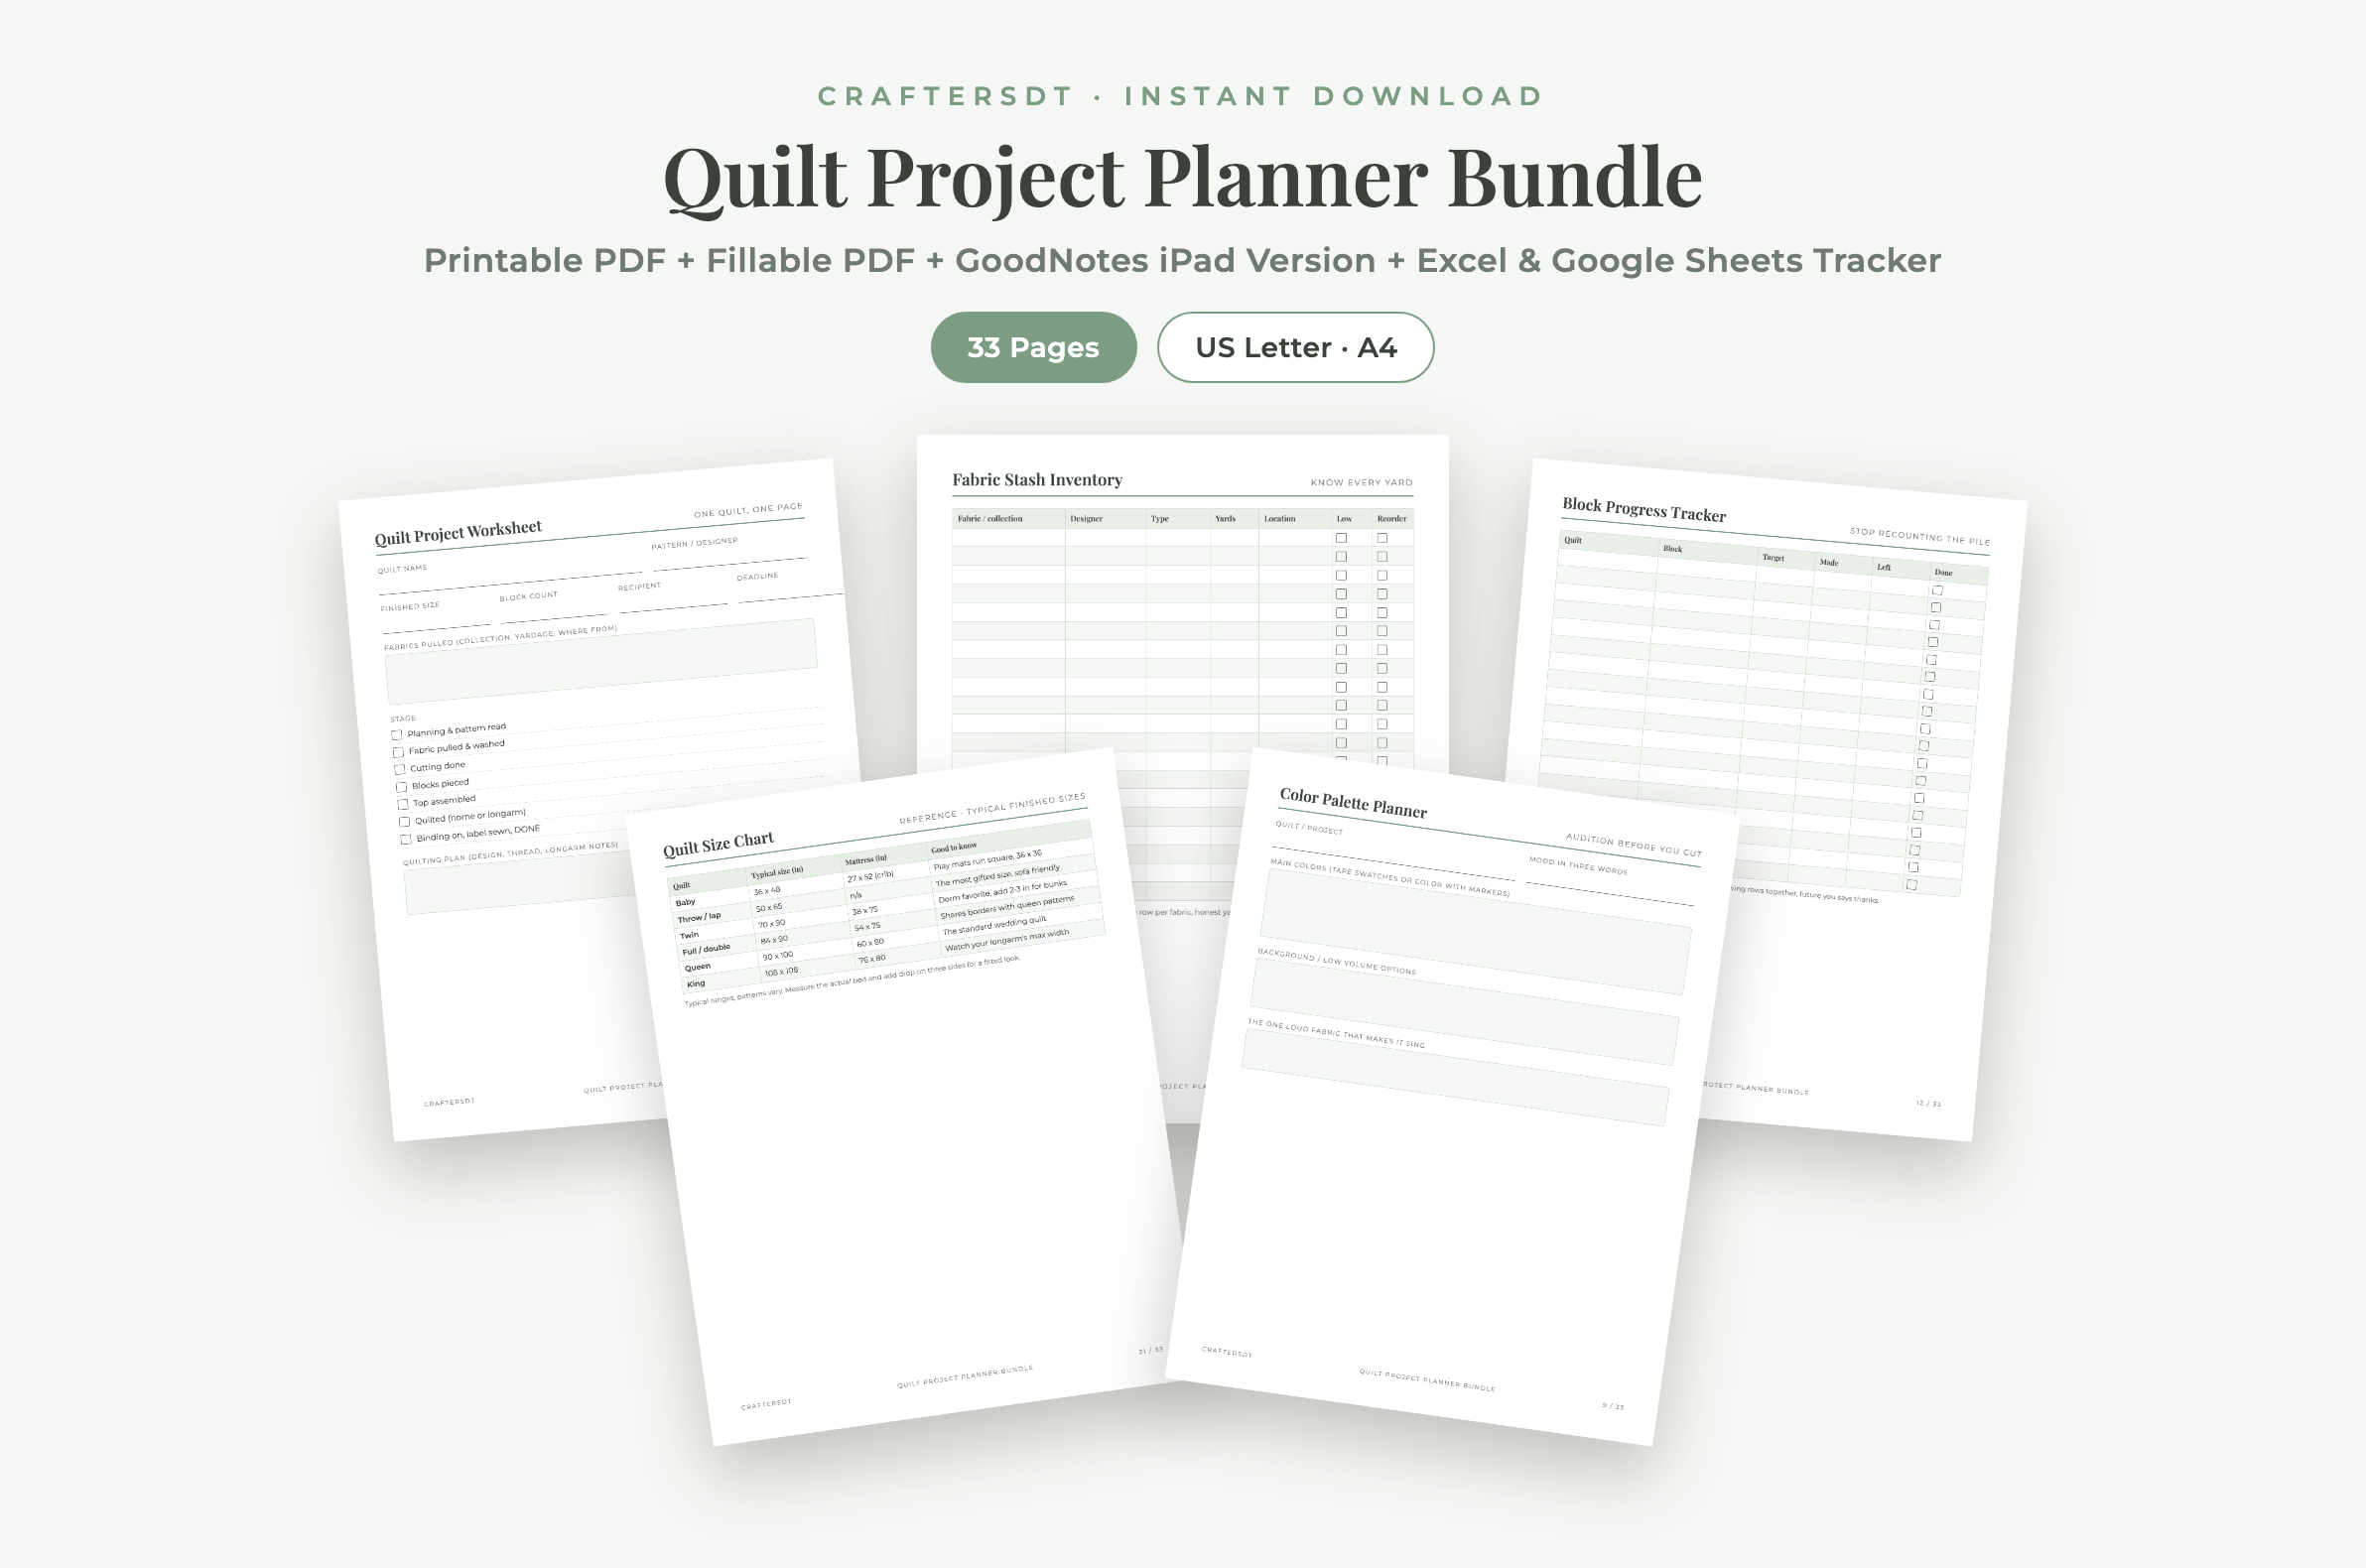
This guide shows how to organize quilt projects without making the recordkeeping heavier than the quilting. You can build the system in a notebook and spreadsheet, or use our Quilt Project Planner Bundle on Etsy if you want printable, fillable, GoodNotes and spreadsheet versions ready to use. It is a digital download; no physical item is shipped.
Give Every Quilt One Master Project Record
Start the project record before cutting. Give the quilt a working name and record the pattern, designer, intended finished size, recipient, deadline and target block count. Add the fabrics you pulled, including collection, estimated yardage and where each fabric came from.
The same page should show the project’s current stage. A simple sequence keeps “almost finished” from hiding three more jobs:
- Pattern reviewed and project planned
- Fabric selected, prepared and assigned
- Pieces cut and labeled
- Blocks pieced and layout confirmed
- Quilt top assembled
- Quilting completed at home or by a longarmer
- Binding, label, care notes and final photograph completed
Before putting the project away, add one concrete next action such as “trim the remaining 18 half-square triangles” or “confirm backing size with the longarmer.” That sentence is often more useful than a percentage-complete estimate.
Separate Cutting Notes from Block Progress
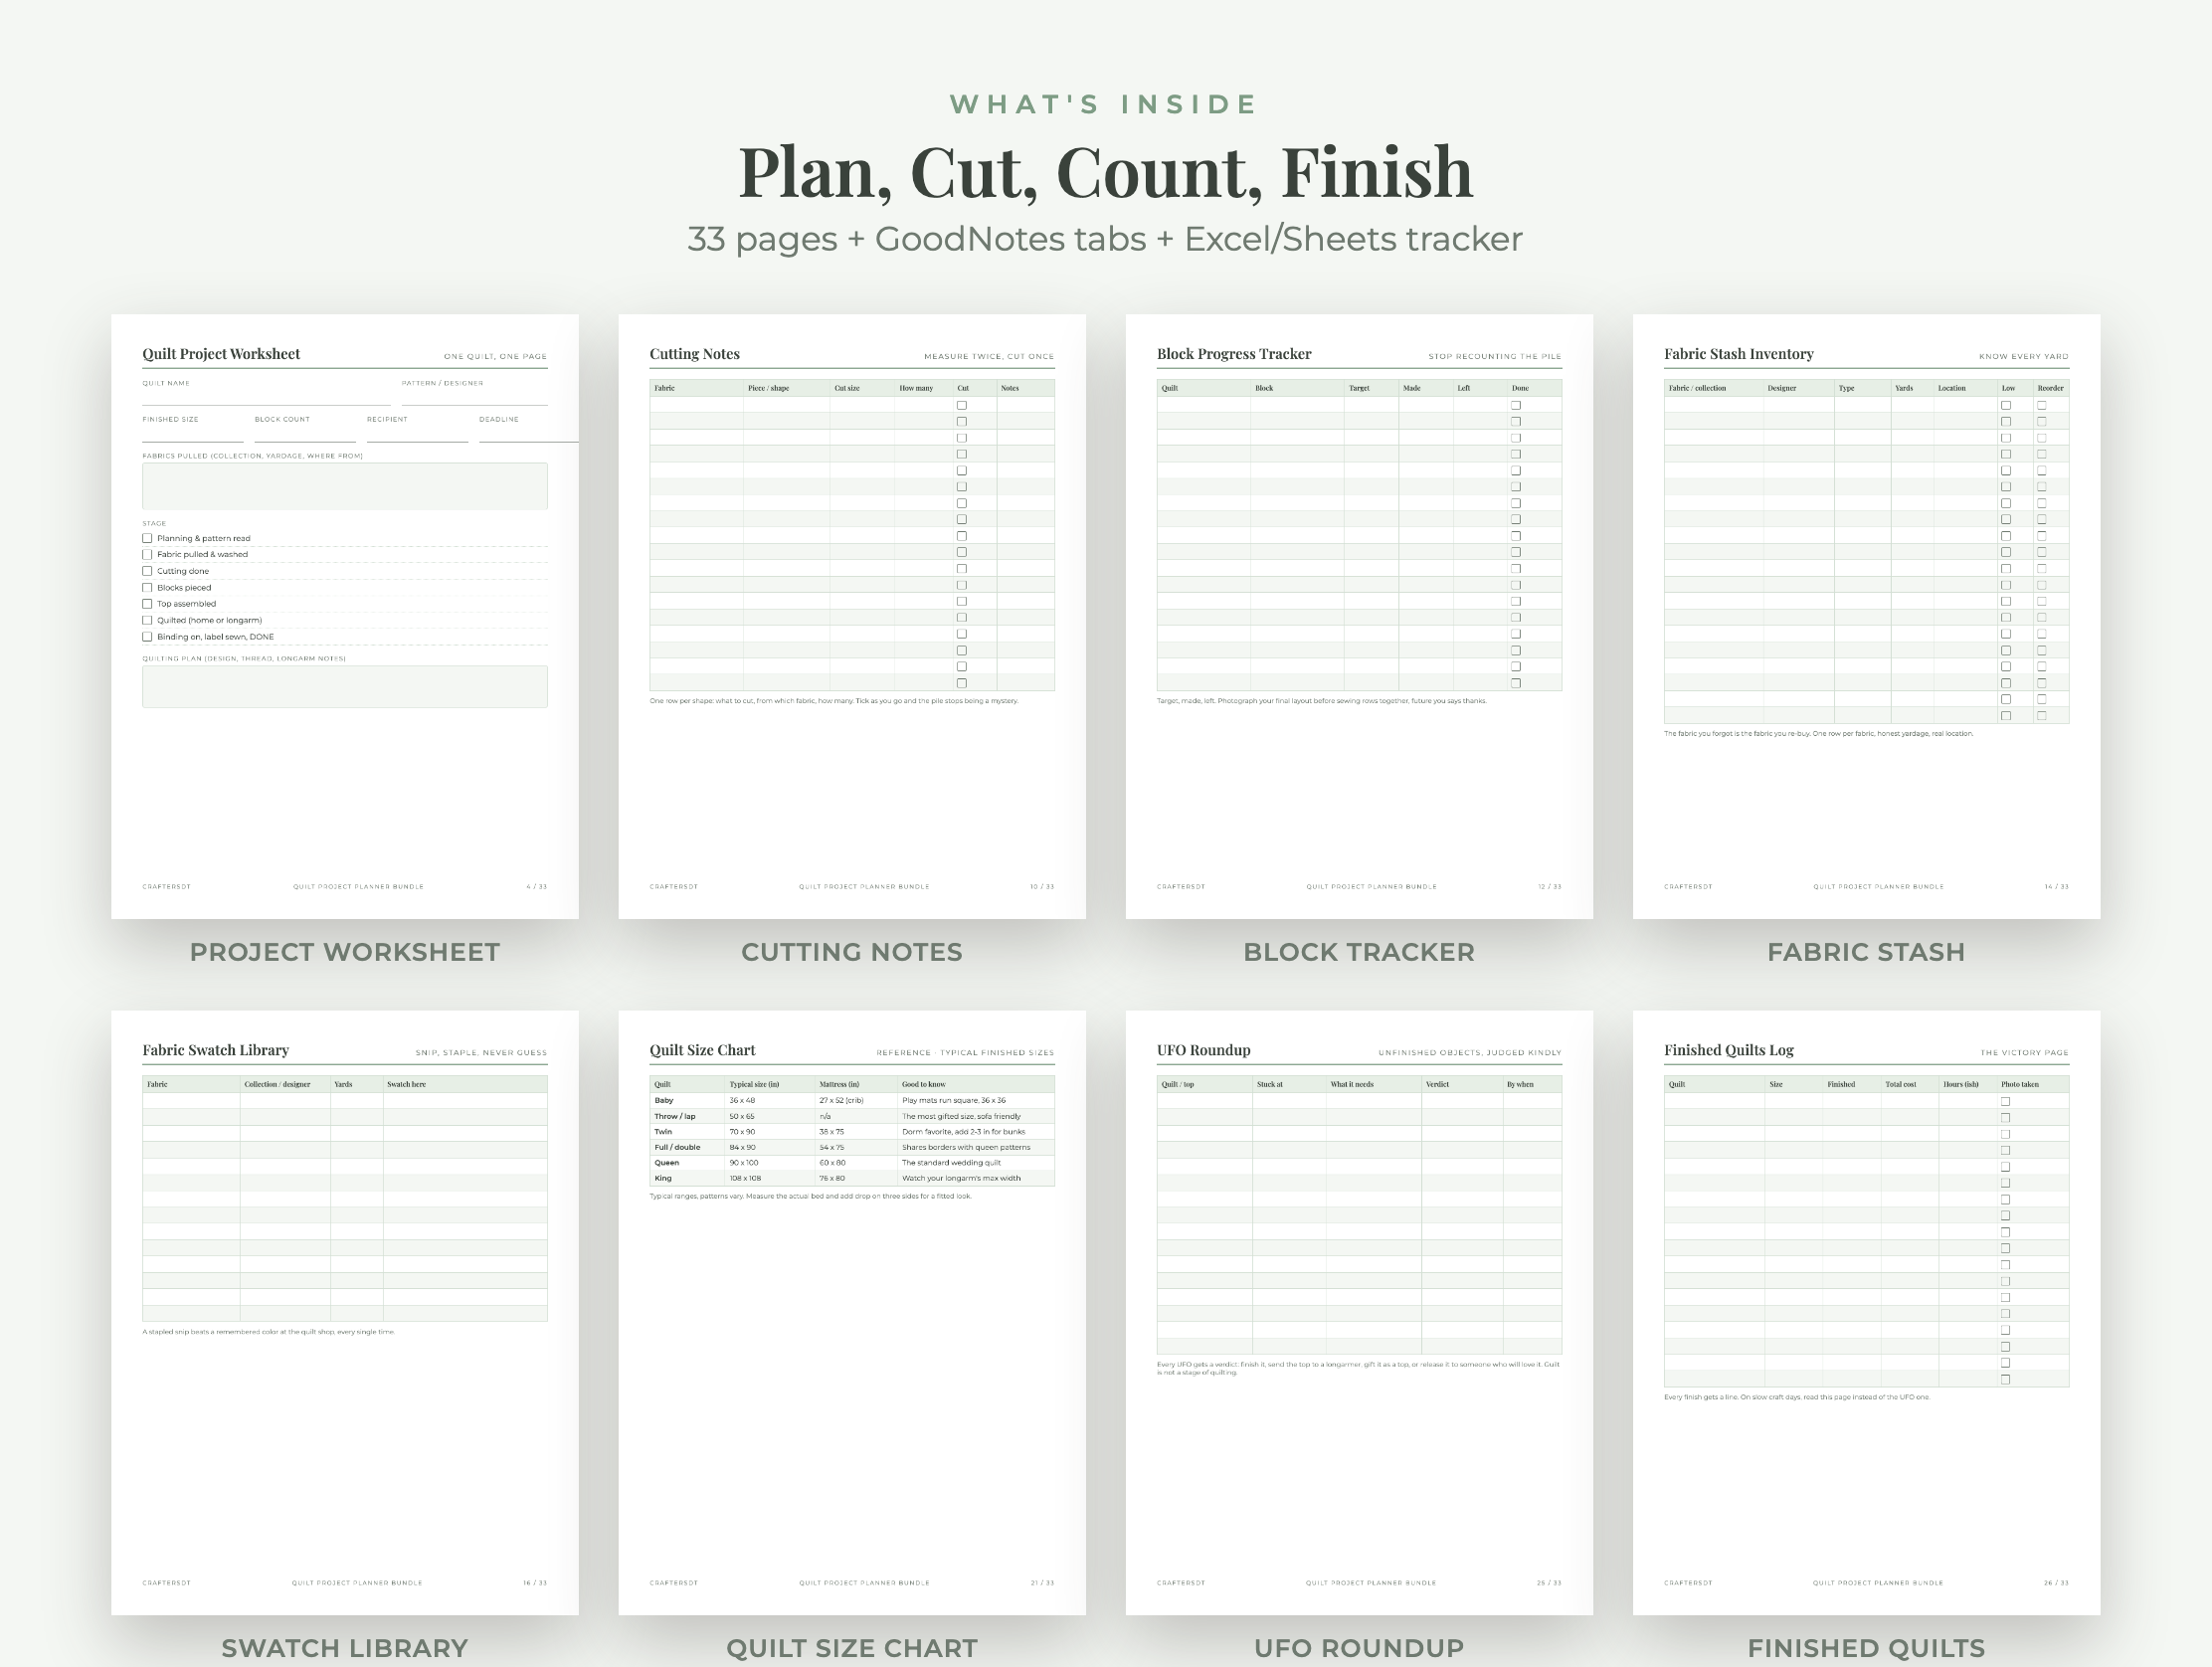
Cutting and piecing answer different questions, so give them different records. A cutting list should identify the fabric, shape or piece, cut size, quantity needed and whether the cutting is complete. Label the physical stack with the same name used on the page.
A block tracker needs only a few numbers: target, made and left. Use blocks left = target − blocks made, but update “made” only when a block has reached the stage you defined. Mixing cut units, partially assembled blocks and finished blocks in one total makes the number unreliable.
- Use one row for each distinct block type.
- Store labeled pieces or blocks in trays, bags or project boxes.
- Photograph the final design-wall layout before joining rows.
- Record intentional changes to block count or layout immediately.
Make Your Fabric Stash Searchable
A fabric inventory should help you answer three practical questions: Do I own something suitable? Is there enough? Where is it? Record the fabric or collection, designer, type, honest remaining yardage and a real storage location such as “cabinet 2, shelf B.” Add low-stock and reorder markers only for fabrics you genuinely plan to replace.
Keep precuts, scraps, batting, thread and notions in their own sections because they are measured differently. If fabric is reserved for a quilt, mark it as assigned in both the stash record and the project record so it does not appear available for a second project.
A swatch library is especially useful for shopping away from home. Staple a small snip beside the collection, designer and amount remaining. A physical swatch reveals scale, texture and color relationships that a remembered description may not.
Record Quilt Math Before You Buy or Cut
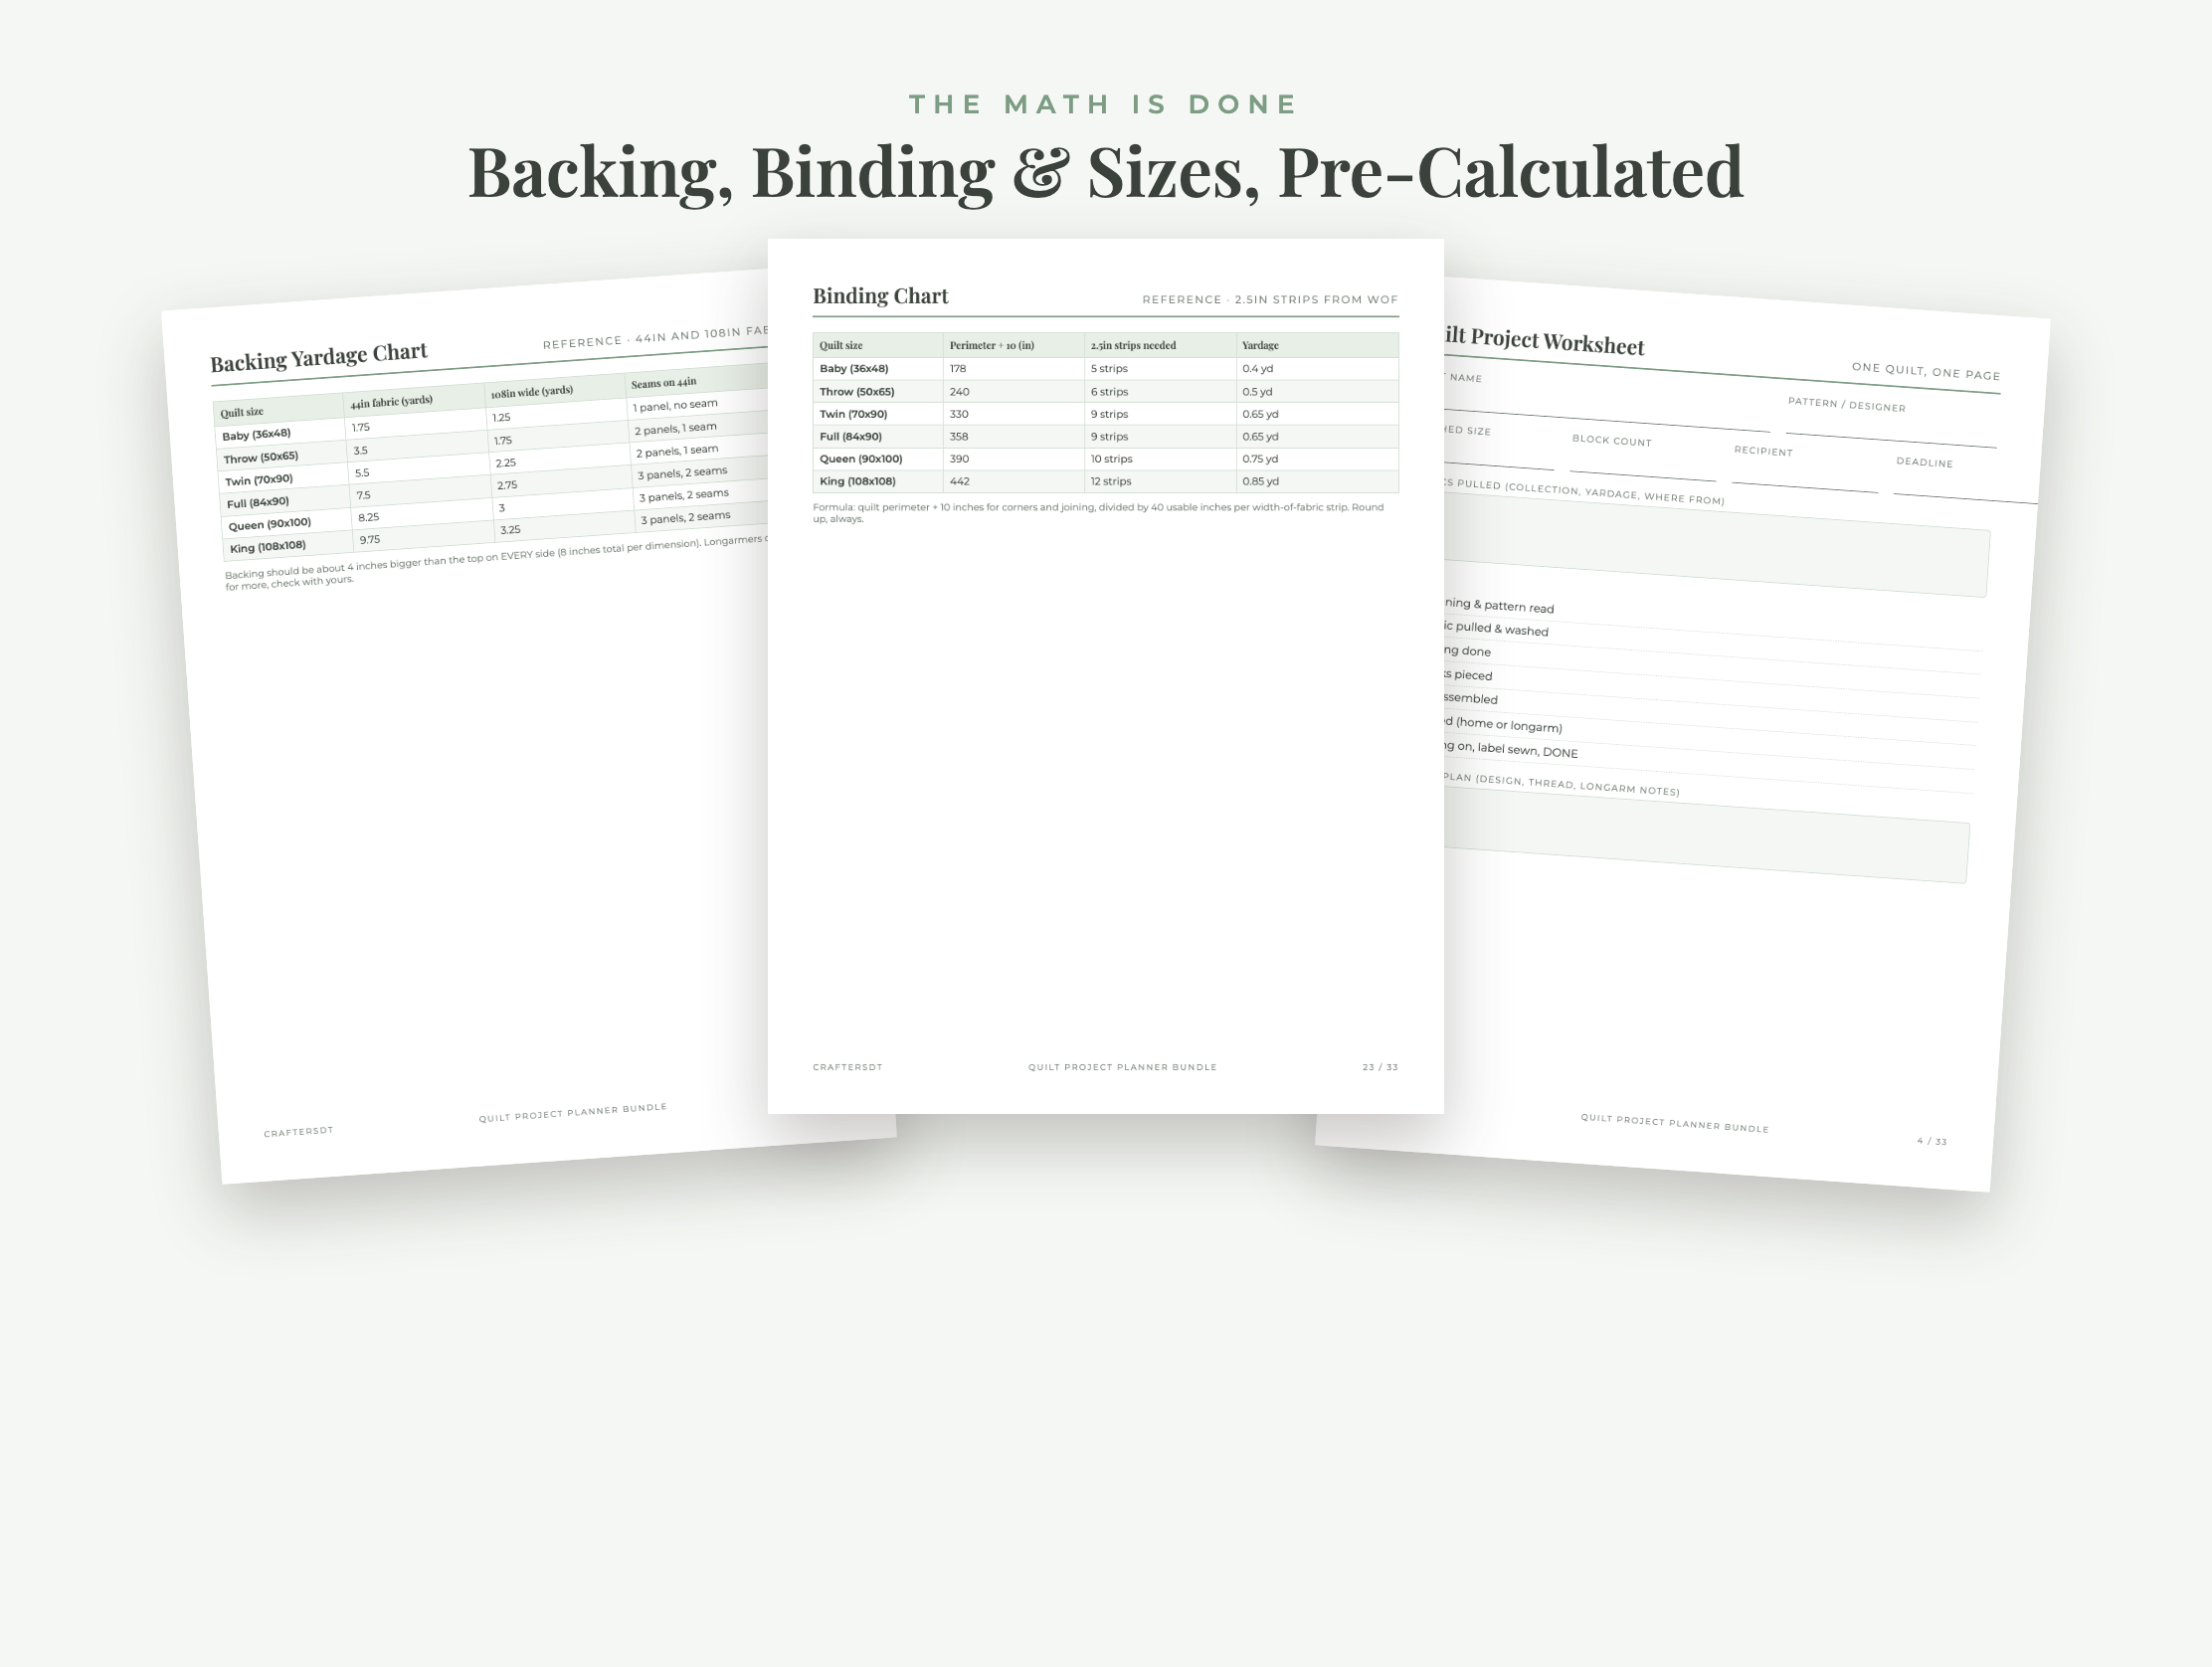
Reference charts are useful starting points, not substitutes for the actual pattern and measurements. “Queen quilt” does not describe one universal finished size; mattress dimensions, desired drop, pillow tuck and design layout can all change the result. Measure the bed or intended display space and write the planned finished width and length on the project page.
For backing, begin with the measured quilt top and add the working margin required by your quilting method. If a longarmer will quilt it, ask for that person’s requirement before piecing the back. APQS notes in its quilt-size and longarm reference that backing may need several extra inches on every side; the exact allowance depends on the setup.
For straight-grain binding, start with the quilt perimeter, add enough length for corners and joining, then divide by the usable width of fabric to estimate the number of strips. Round up. Directional fabric, bias binding, wider strips and unusual joins may require a different calculation, so keep the assumptions with the result.
Write the final numbers on the cutting-notes page. If the quilt changes size during construction, update the backing and binding calculations instead of relying on the original plan.
Turn the UFO List into Decisions
A list of unfinished objects becomes discouraging when every line means “finish someday.” Give each UFO a specific status, what it still needs and a decision:
- Finish it: choose the next action and a realistic review date.
- Send it out: prepare the top and book quilting services.
- Gift the top or materials: pass the project to someone who wants it.
- Release it: reclaim usable fabric and remove the project from the active list.
Keep only a manageable number of quilts in the active queue. Hibernating a project is a valid decision; it simply needs a clear storage location and enough notes to restart later.
📱 Craftino App
Make more crafts like this
1,000+ craft ideas with photo guides & Pro Tips
✓ Step-by-step photo tutorials, nothing left out
✓ Pro Tips for every step
✓ Save crafts & browse fully offline
✓ New ideas added every week


Printable, Fillable, GoodNotes or Spreadsheet?
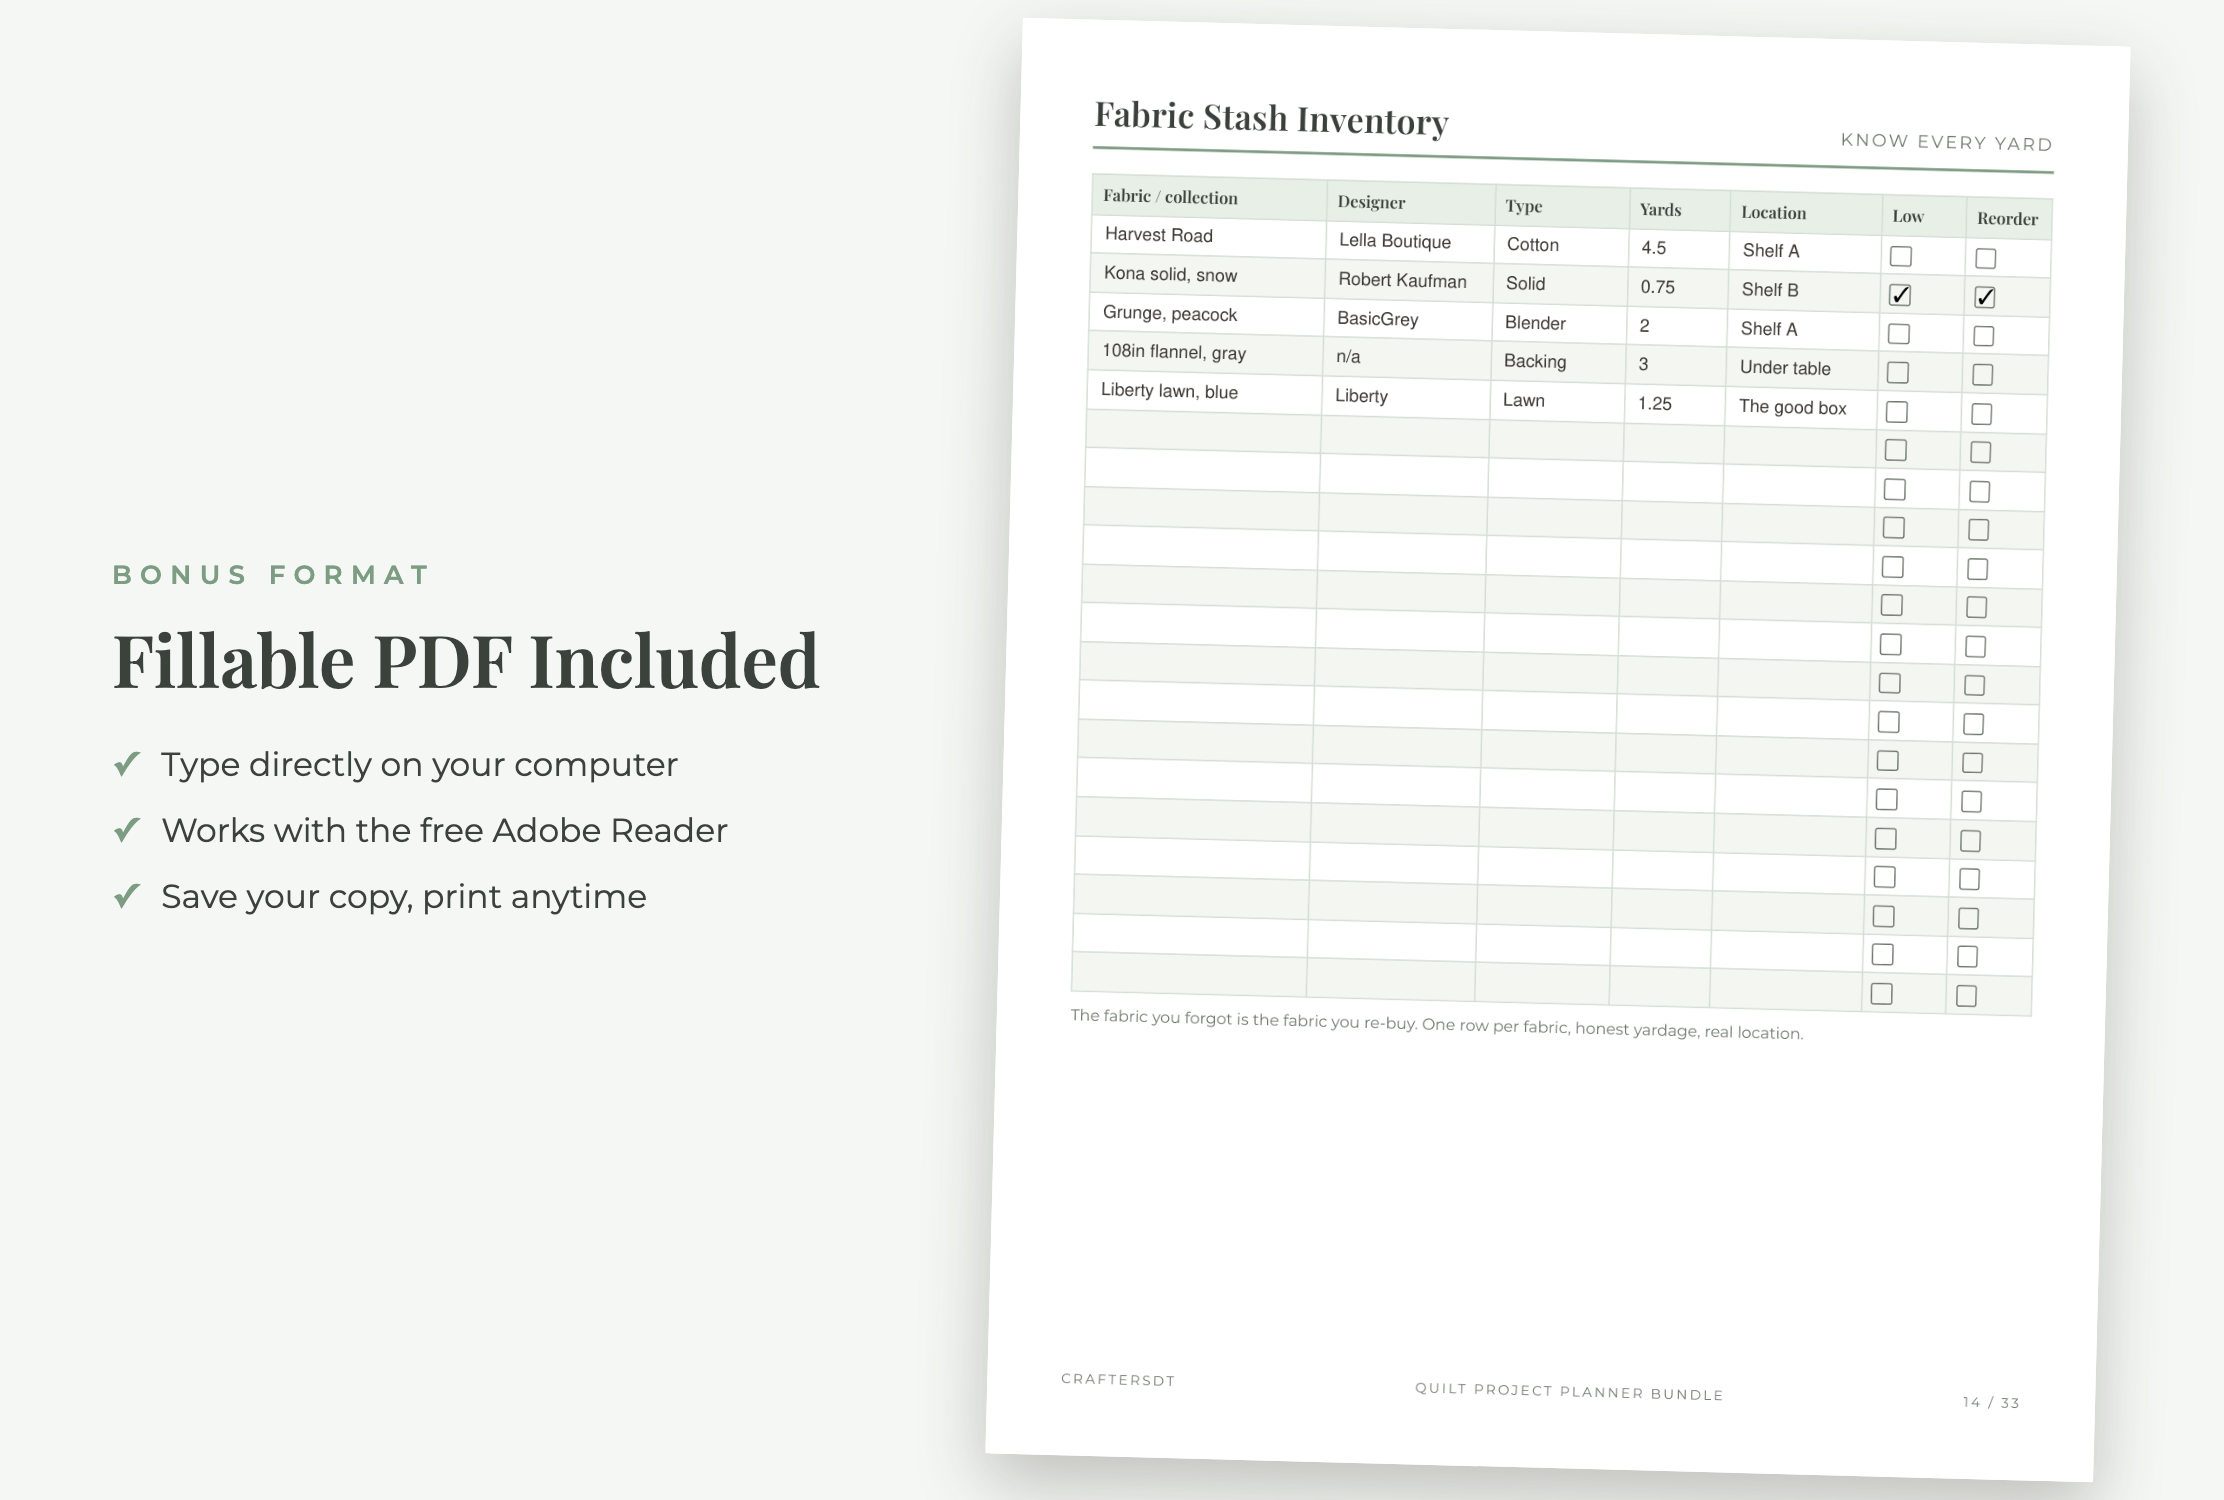
Choose the format you will update at the moment information changes. The bundle includes US Letter and A4 printable PDFs, matching fillable PDFs, a hyperlinked GoodNotes file and an Excel spreadsheet that can also be uploaded to Google Sheets.
- Printable pages: useful inside project boxes, binders and cutting stations.
- Fillable PDF: useful for typed records on a computer without setting up a note-taking app.
- GoodNotes version: a hyperlinked index and side tabs connect Projects, Blocks, Fabric, Reference, Logs and Notes. Duplicate reusable pages inside the app before writing.
- Spreadsheet: READ ME, Projects, Fabric Stash, Blocks and Dashboard tabs keep project, yardage and progress totals in one digital file.
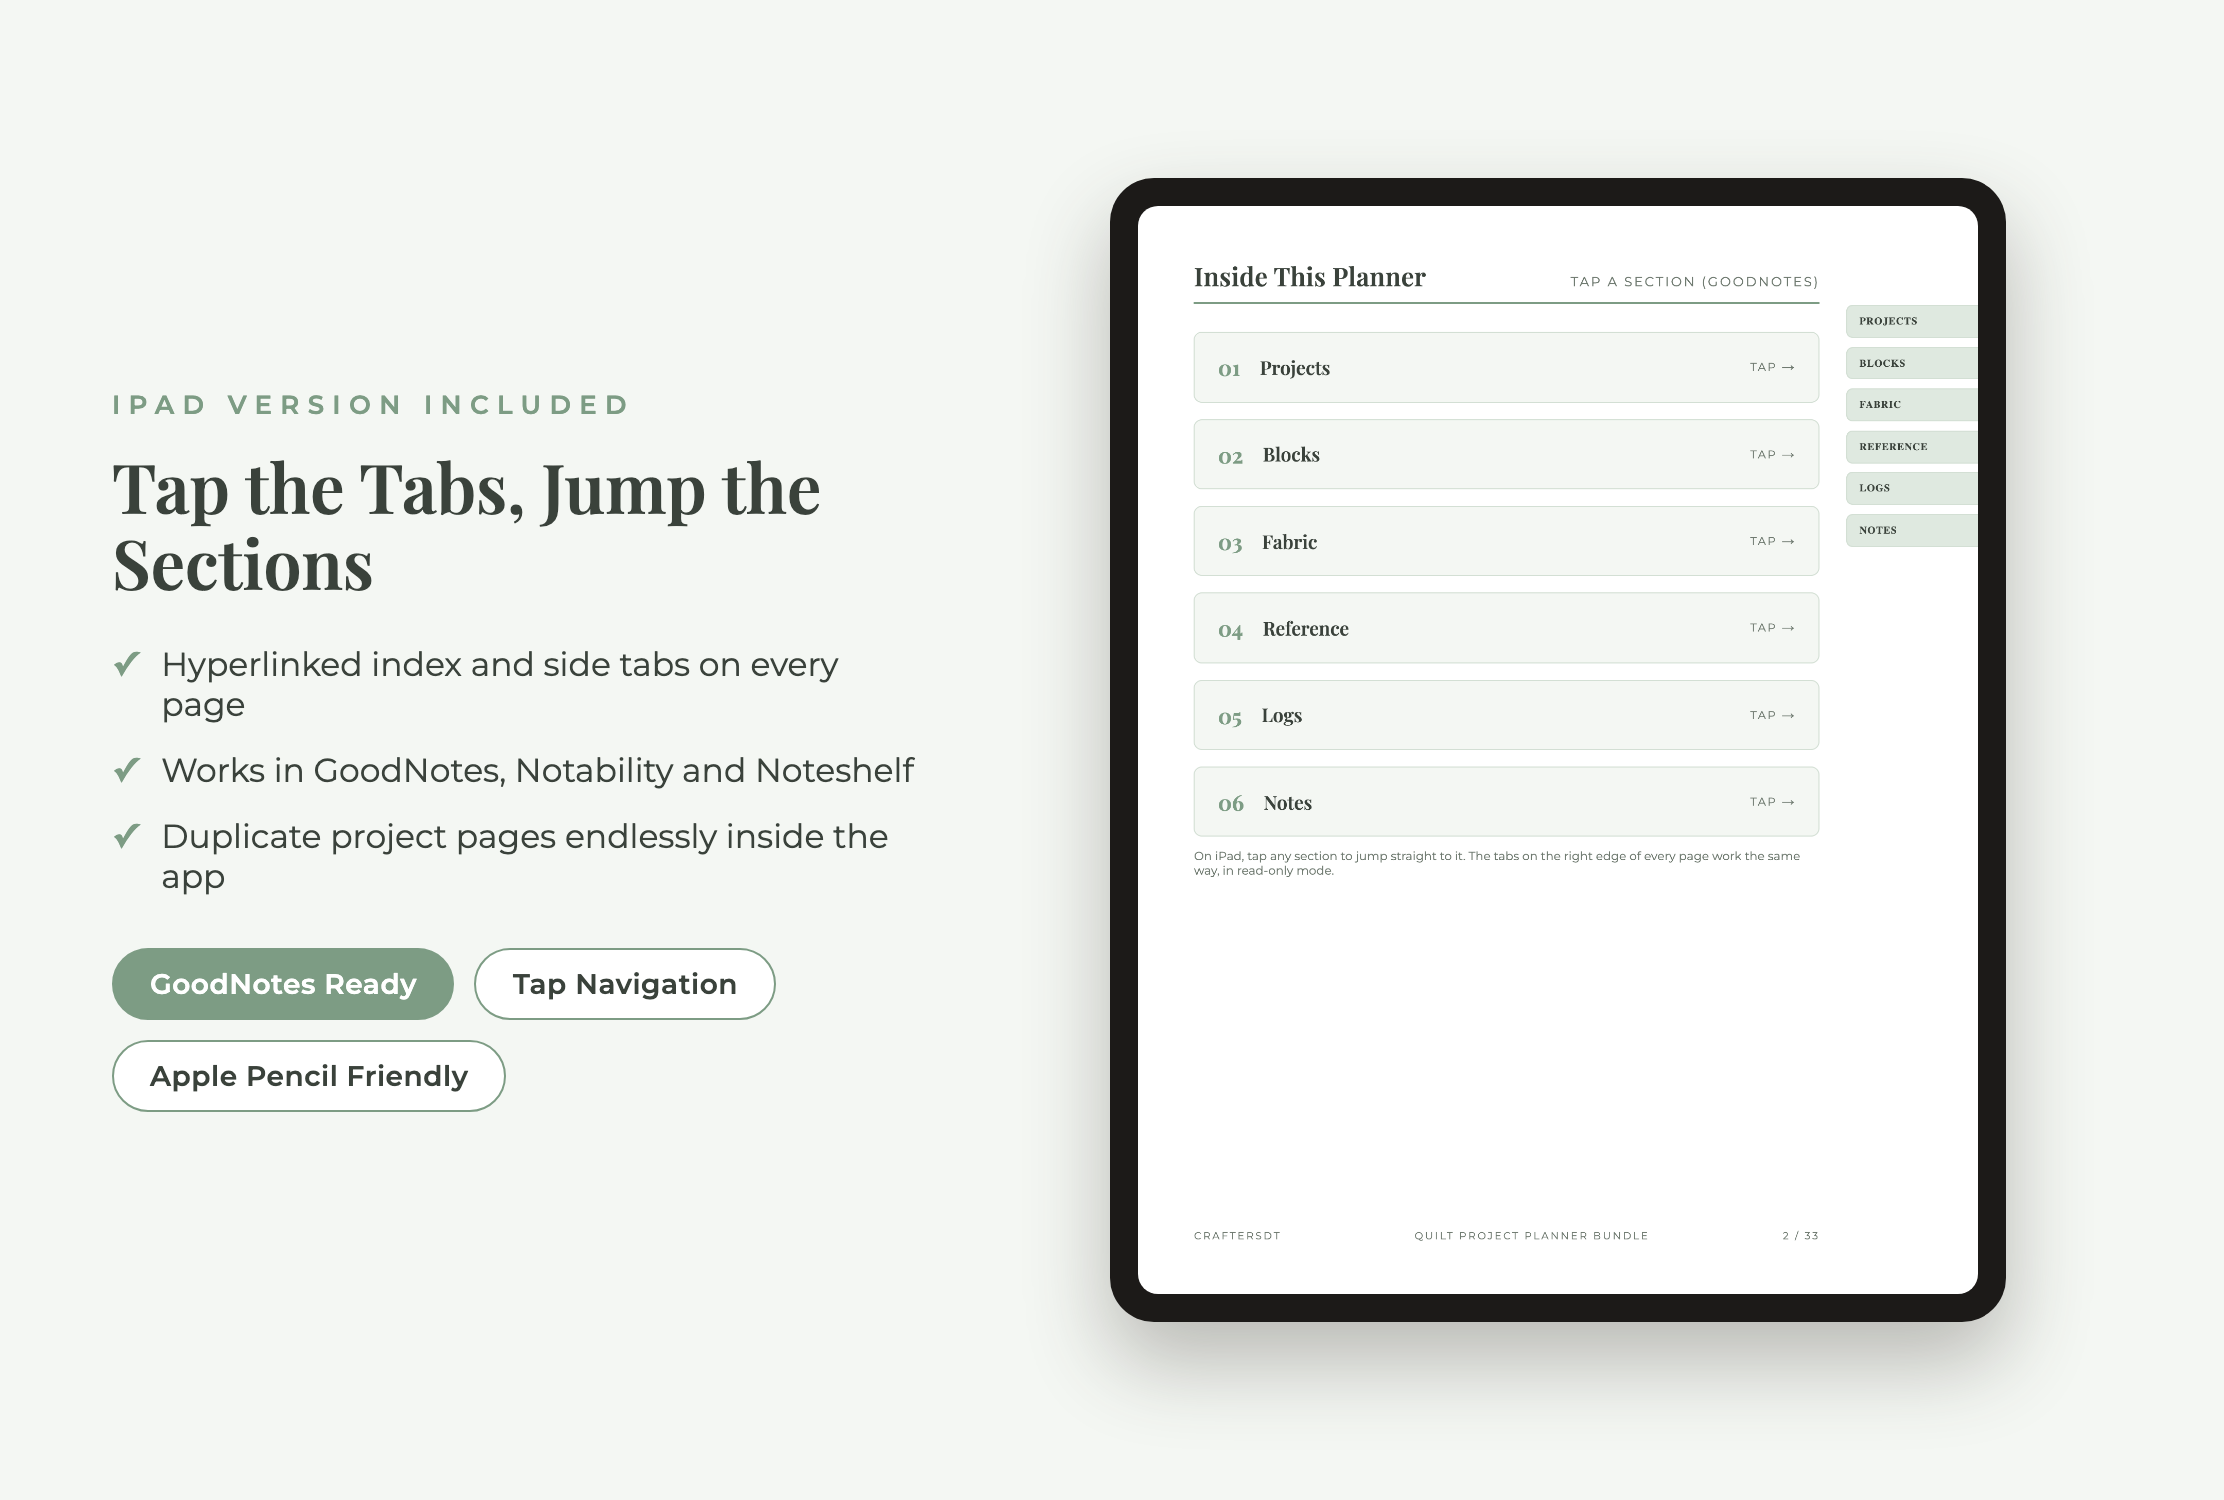
A hybrid setup often works best: keep the searchable master stash and dashboard in the spreadsheet, then place a printed project sheet and cutting list with the physical quilt.
What Is Included in the 33-Page Quilt Planner?
The planner contains reusable quilt project worksheets, design grids, a color-palette planner, cutting notes, block-progress pages, fabric stash and swatch records, precut and scrap inventory, batting/thread/notions tracking and a shopping list. The reference section includes quilt-size, backing and binding charts plus plain-language formulas for custom sizes.
Later sections include a UFO roundup, finished-quilts log, gifted-and-sold log, longarm-services tracker, quilt shows and retreats, care tags, a quilt-care guide and notes. The supplied spreadsheet adds automatic totals for projects, fabric and block progress.
A 15-Minute Quilt Organization Reset
- Gather current quilts. Separate active projects from UFOs and future ideas.
- Create one record per active quilt. Add pattern, size, fabric, block target and current stage.
- Write the next action. Make it small and specific enough to begin immediately.
- Label the physical project. Use the same quilt and block names as the tracker.
- Inventory assigned fabric first. Record yardage and location as you handle each piece.
- Review one UFO. Finish, send out, gift or release it—do not leave the decision blank.
33 Pages + GoodNotes + Spreadsheet
Keep every quilt, yard and block count connected
Print the pages you need, type into the fillable PDF, use hyperlinked tabs on iPad or track totals in Excel and Google Sheets.
View the Quilt Planner Bundle on EtsyRelated Planners
If you also make garments or other stitched projects, the Sewing Project Planner adds pattern adjustments, machine settings, measurements and fabric records. For hand-stitched work, the Embroidery Project Journal keeps floss, fabric, needles, stitches and project notes together.
Quilt Planner FAQ
What should I record for each quilt project?
Record the pattern and designer, intended size, recipient, deadline, fabrics and yardage, cutting details, target block count, current stage, backing and binding plan, quilting details and next action. Add changes as they happen rather than reconstructing them later.
How do I organize several quilt WIPs?
Keep a small active queue, give each quilt a labeled physical container and use a master list for status and next action. Mark intentionally paused quilts as hibernating so they do not compete with active work.
Should I organize fabric by color, collection or size?
Choose the physical system that matches how you search, then make the inventory more descriptive. You can store by color while recording collection, designer, type, yardage and exact shelf location. Keep precuts, scraps and project-assigned fabric clearly identified.
Are quilt sizes and backing charts exact?
No. They are planning references. Follow the pattern, measure the actual quilt top or bed, account for fabric width and directional prints, and confirm the required backing margin with your longarmer before cutting.
Do I need GoodNotes to use this bundle?
No. You can print the Letter or A4 PDFs, type into the fillable PDF, or use the Excel/Google Sheets tracker. GoodNotes, Notability and Noteshelf are options for the hyperlinked digital-planner workflow.
Make the Next Sewing Session Easy to Start
Quilt organization works when it preserves decisions: what you planned, what you cut, how many blocks remain, which fabric is committed and exactly what comes next. Start with one active quilt and one honest stash location, then let the system grow only when it saves time. If you want the records already designed and connected, see the complete Quilt Project Planner Bundle on Etsy.

Leave a Reply