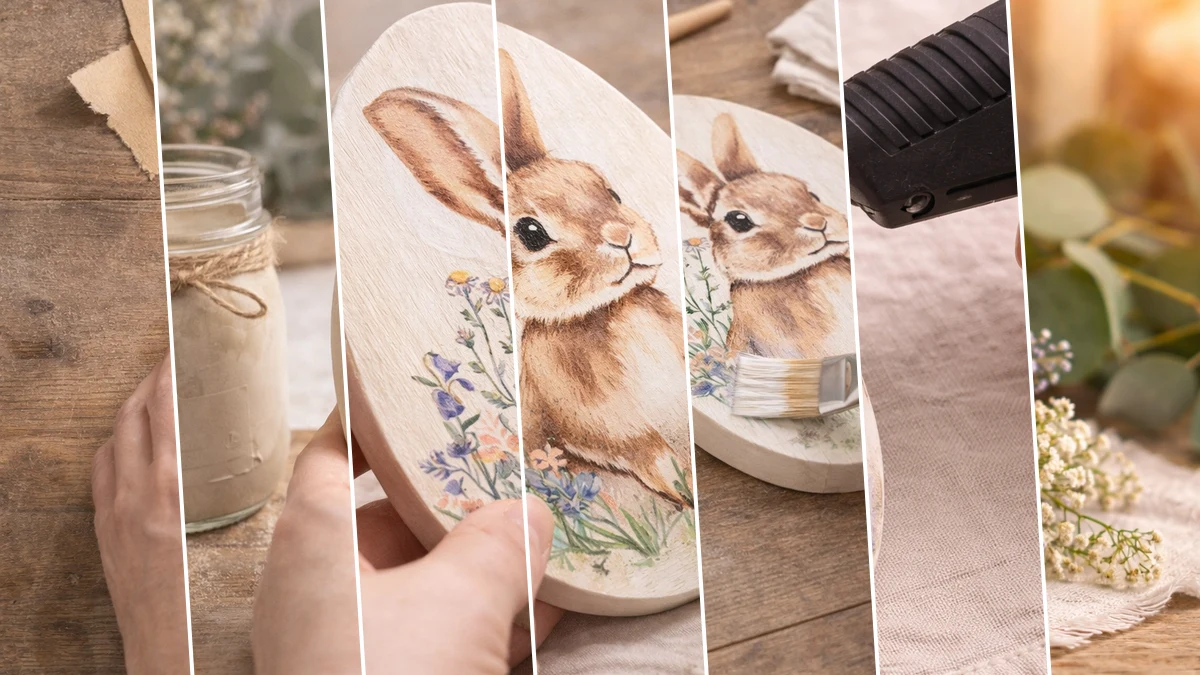
Okay, y’all! Ever walk into Dollar Tree just for one thing and end up with a whole cart of craft supplies you didn’t know you needed? Same! That’s exactly how these super cute Rustic Bunny Egg Plaques: A Farmhouse Easter Craft came to life. I just knew those little wood plaques and tiny eggs were meant to be together for some adorable Holiday & Seasonal decor.
See also: Rustic Crackle Bunny Easter Hanger Craft
Theme: Easter
Materials Needed
- Egg-shaped wooden plaques
- Light neutral acrylic or chalk paint
- Vintage bunny printables or decoupage paper
- Decoupage medium (e.g., Mod Podge)
- Fine-grit sandpaper
- Assorted paintbrushes and sponge brushes
- Natural jute twine
- Optional: Wood slice display
📋 Love staying organized while crafting? Check out our printable planners & craft designs at CraftersDT on Etsy and use code CRAFT20 for 20% off your entire order!
Step-by-Step Instructions for Rustic Bunny Egg Plaques: A Farmhouse Easter Craft
Ready to get your craft on? This project is seriously one of the easiest and fastest Easter crafts I’ve ever done. You can whip up these Rustic Bunny Egg Plaques in about 30 minutes, start to finish, and it’s perfect for beginners or even crafting with the kiddos. It’s such a fun way to add some farmhouse charm to your home for the Easter season!
📱 Free to Download
Craftino, The #1 Craft App
✓ Save crafts & browse fully offline
✓ Download printable PDF guides for every project
✓ Step-by-step photo tutorials, nothing left out
✓ 1,000+ craft projects with new ones added every week
Step 1: Prepare the Wooden Plaques
Gently sand the front and edges of each egg-shaped wooden plaque using fine-grit sandpaper (e.g., 220-grit). This creates a smooth surface for painting and helps paint adhere better. Wipe away any dust with a clean, dry cloth or tack cloth.
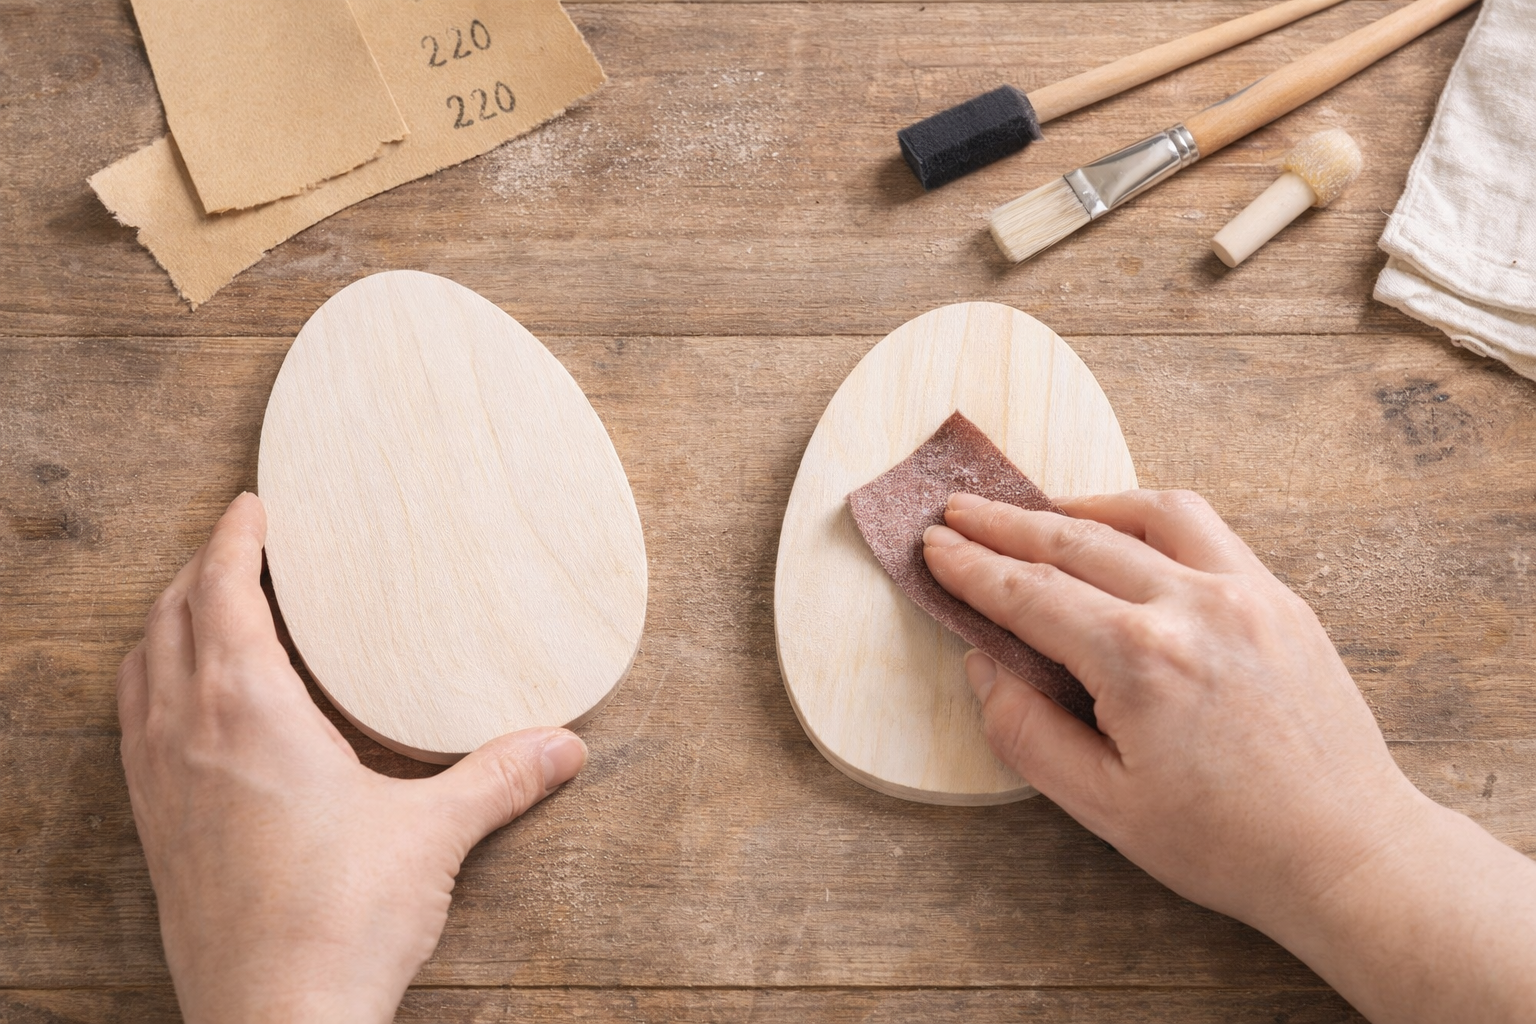
💡 Pro Tip: Always sand in the direction of the wood grain to avoid scratches. For a perfectly smooth finish, you can lightly dampen the wood after sanding, let it dry, and then sand again to raise any remaining fibers.
Step 2: Apply the Base Coat
Using a flat paintbrush or sponge brush, apply a thin, even coat of light neutral acrylic or chalk paint (e.g., antique white, soft beige, or light grey) over the entire front and edges of both plaques. Allow the first coat to dry completely. Apply a second thin coat if needed for full coverage, ensuring smooth, even strokes.
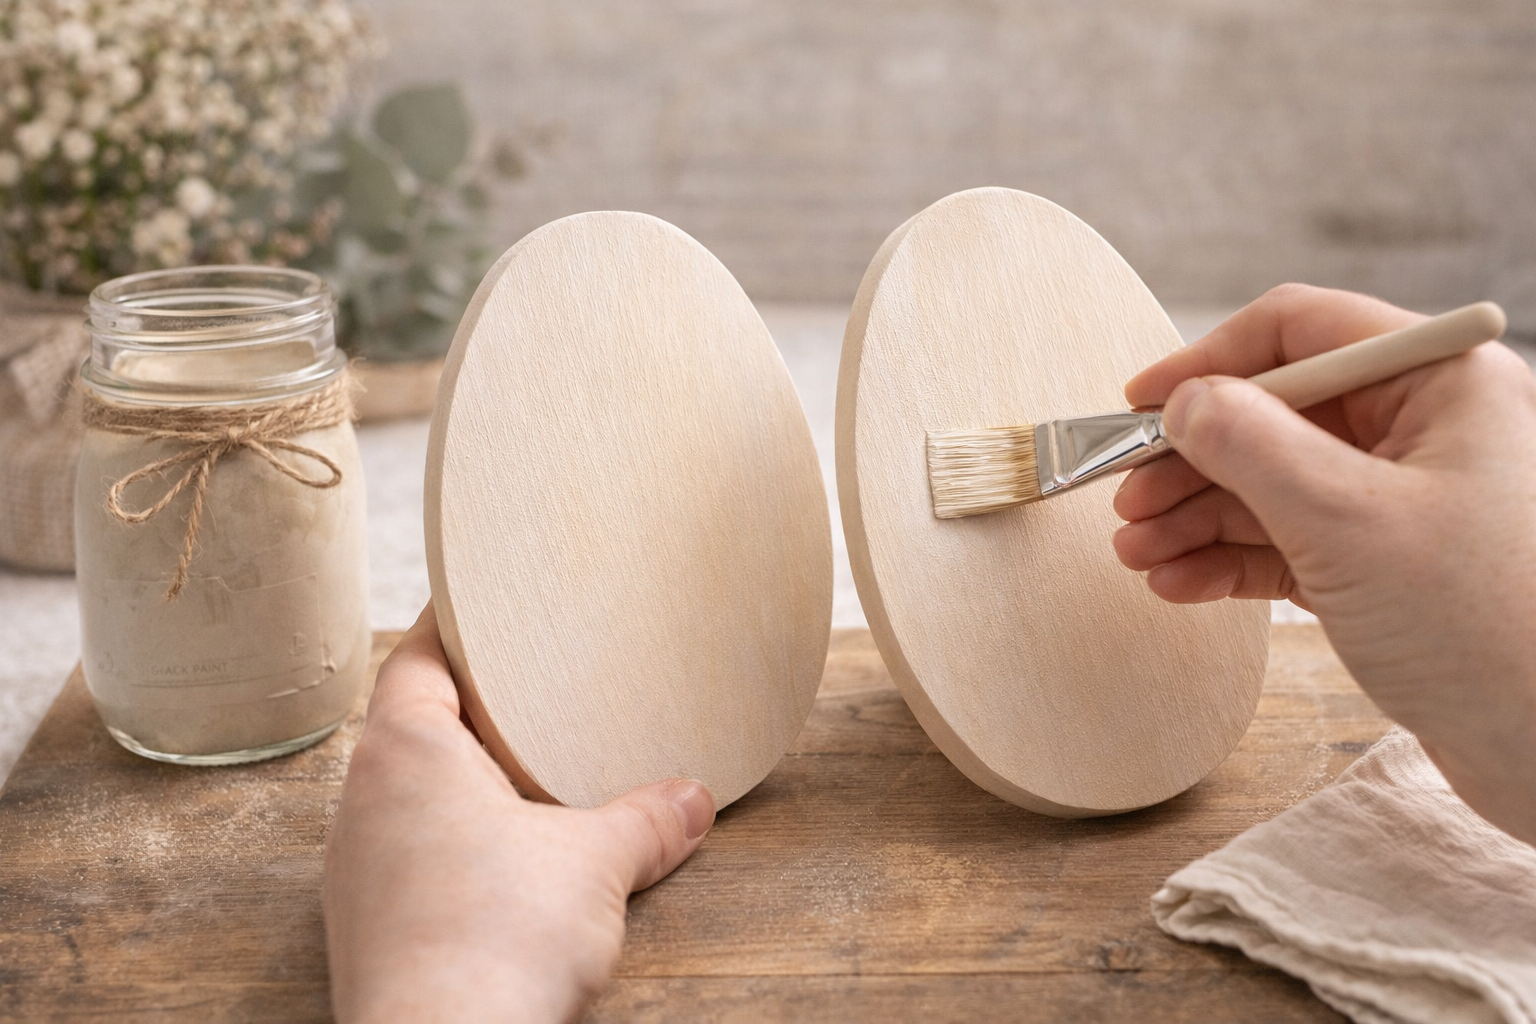
💡 Pro Tip: For a rustic, slightly distressed look, you can dry brush or lightly sand areas after the paint dries to reveal some of the wood underneath. If using chalk paint, a single coat often provides excellent coverage.
🗓️ Keep all your craft projects on track! Explore our printable planners & templates at CraftersDT on Etsy and use code CRAFT20 for 20% off!
Step 3: Decoupage Bunny Illustrations
Carefully cut out your vintage bunny illustrations from printables or decoupage paper. Apply a thin, even layer of decoupage medium (like Mod Podge) to the back of the bunny cut-out and position it onto the center of the painted plaque. Gently smooth out any air bubbles or wrinkles using your fingers or a soft brayer, working from the center outwards. Apply another thin layer of decoupage medium over the top of the illustration to seal it. Repeat for the second plaque.
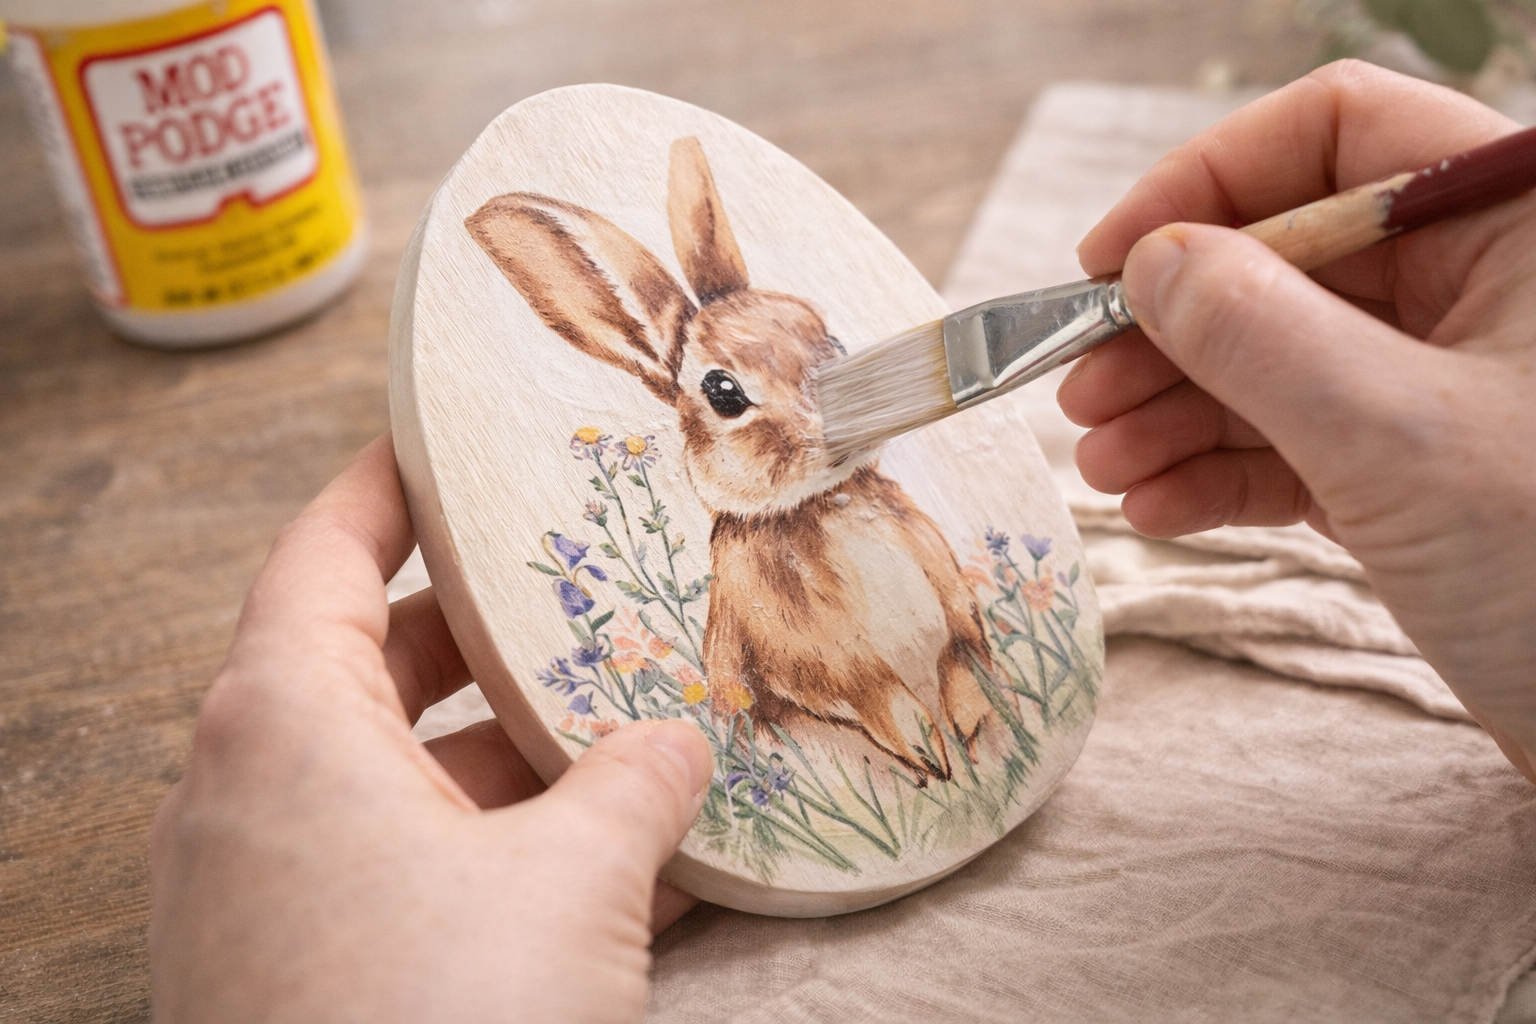
💡 Pro Tip: When cutting out delicate images, use small, sharp scissors for precise edges. If using printables, print them on lightweight paper (like printer paper) for easier smoothing. Let each layer dry completely to avoid tearing or smudging.
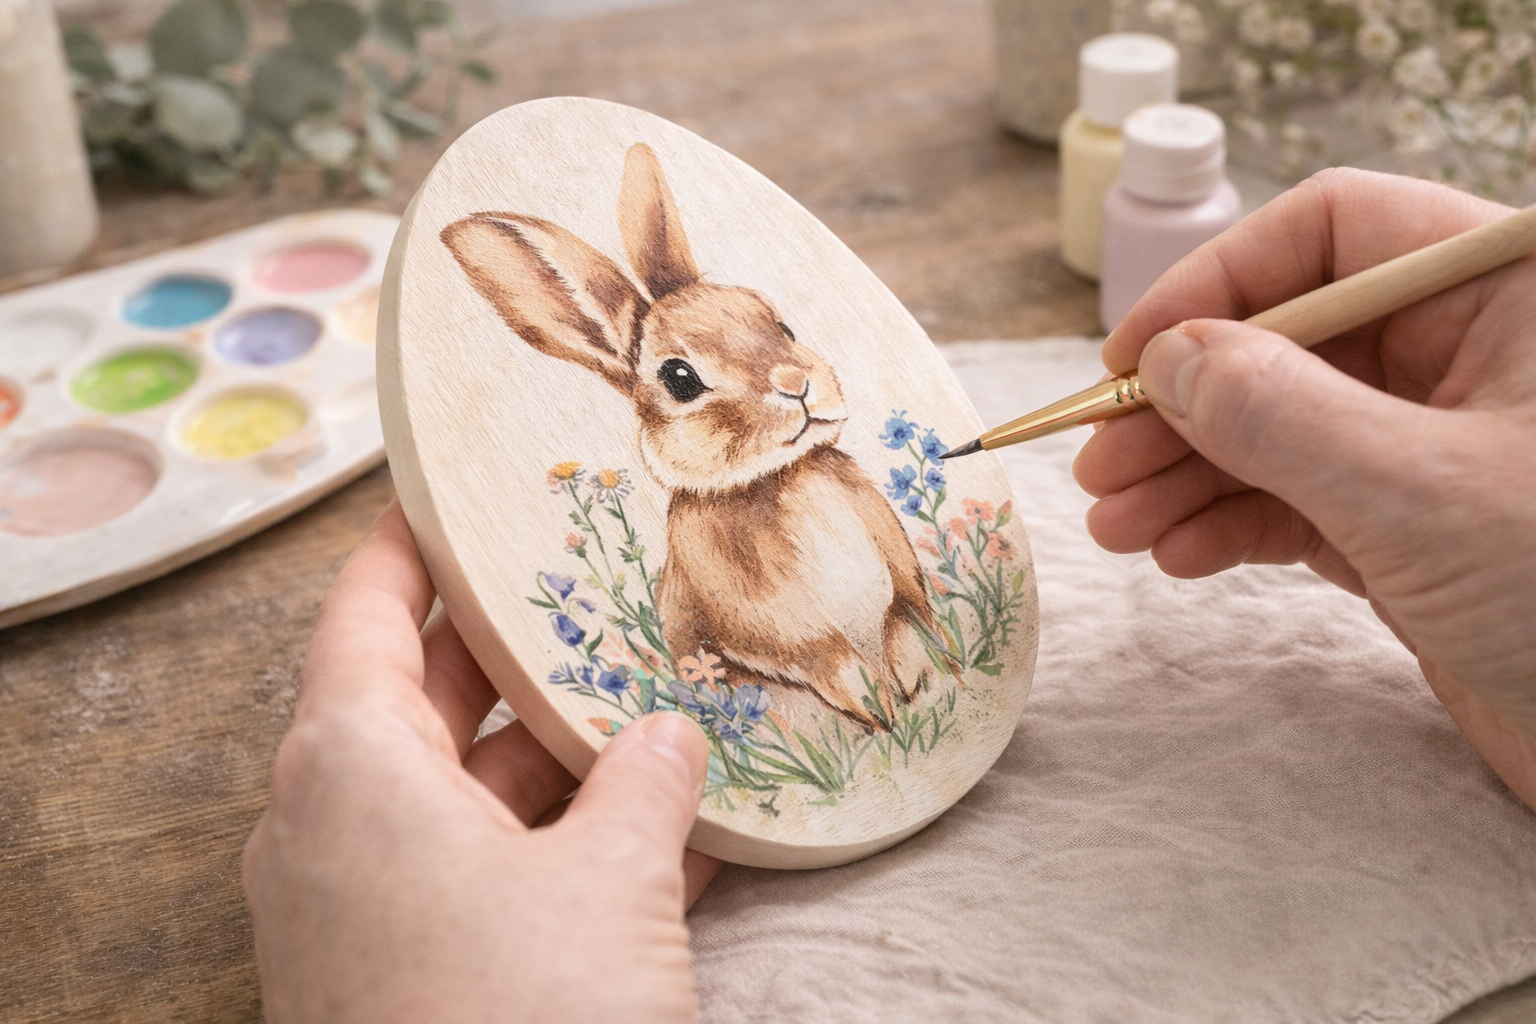
Step 4: Add Floral Embellishments
To add the floral elements, you can either paint them freehand using small detail brushes and various spring-colored acrylic paints (greens, blues, yellows, pinks), or cut out small floral elements from additional decoupage paper and apply them around the base of the bunny illustrations using the same decoupage technique as in Step 3. Build up the layers gradually to create depth.
💡 Pro Tip: If freehand painting, start with lighter colors and add darker shades or details on top. For a consistent vintage look, choose floral patterns that complement the bunny illustrations’ style. Practice on scrap paper first!
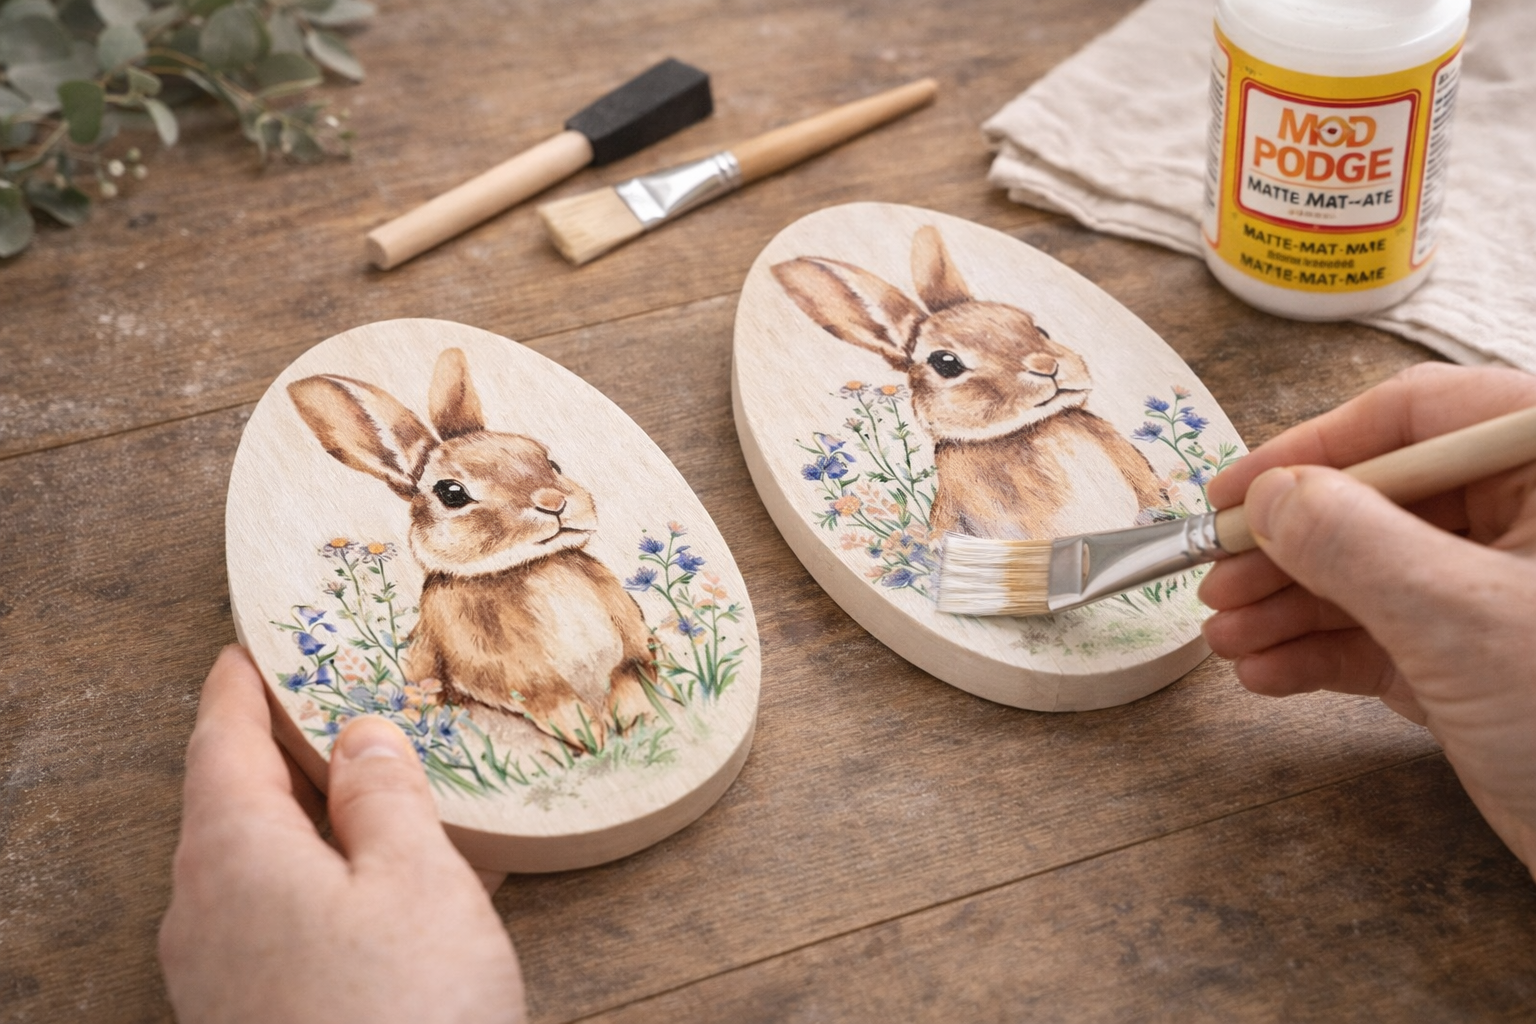
Step 5: Seal and Protect Plaques
Once all painted and decoupaged elements are completely dry, apply 1-2 thin, even coats of decoupage medium or a clear matte sealant over the entire front and edges of both plaques. This protects the artwork and provides a durable, cohesive finish. Allow each coat to dry thoroughly before applying the next.
💡 Pro Tip: Ensure your brush strokes are smooth and even to avoid visible lines. For a truly durable finish, consider a spray-on clear sealant, applied in a well-ventilated area, holding the can about 10-12 inches away.
Step 6: Attach Rustic Twine Bows
Cut a length of natural jute twine (about 12-15 inches) for each plaque. Form a rustic bow and secure it with a small knot. Use a dab of hot glue or strong craft adhesive to attach the finished bow to the top center of each egg plaque. Hold in place until the glue sets.

💡 Pro Tip: To create a perfectly symmetrical bow, you can tie a simple loop first, then create the second loop and secure it. For extra rustic charm, fray the ends of the twine slightly or trim them at an angle.
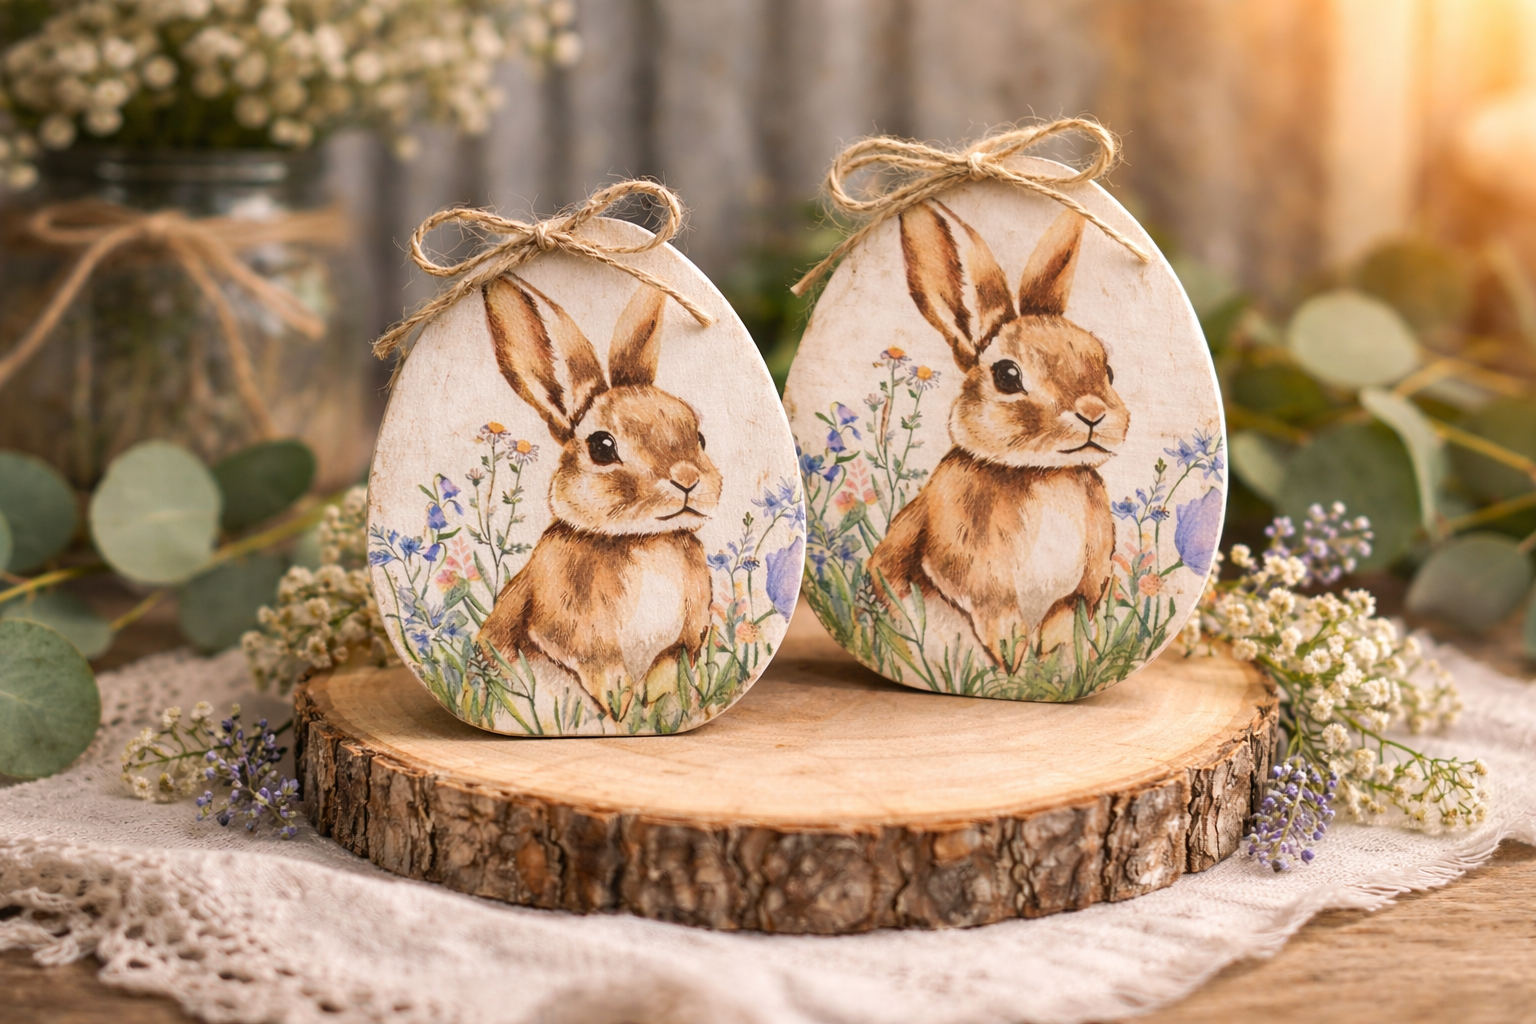
Step 7: Display Your Farmhouse Bunnies
Place your finished Rustic Bunny Egg Plaques on a natural wood slice stand for a charming farmhouse display. Arrange them together or separately as part of your seasonal decor, adding other natural elements like eucalyptus leaves or small wildflowers if desired.
💡 Pro Tip: For stability, you can use a tiny dab of hot glue or mounting putty to secure the plaques to the wood slice, especially if they are top-heavy or for displays in high-traffic areas.
Your Farmhouse Easter Craft Is Hoppy!
Aren’t your Rustic Bunny Egg Plaques just the cutest? They look absolutely precious on a tiered tray, hanging on a door, or even as a little gift for a neighbor. Don’t forget to share your finished farmhouse Easter craft with me, I love seeing all your amazing creations!
📱 Free to Download
Craftino, The #1 Craft App
✓ Save crafts & browse fully offline
✓ Download printable PDF guides for every project
✓ Step-by-step photo tutorials, nothing left out
✓ 1,000+ craft projects with new ones added every week
Frequently Asked Questions
How hard is it to make these Rustic Bunny Egg Plaques?
This is a super easy craft, perfect for beginners! You just need to glue things down and maybe do a little painting, so it’s very beginner-friendly.
What materials do I need for this Farmhouse Easter craft?
You’ll mostly need small wood plaques, mini craft eggs, bunny cutouts, paint, glue, and maybe some twine or ribbon for hanging your Rustic Bunny Egg Plaques.
Can I make variations of these Easter plaques?
Absolutely! You can change the paint colors, use different embellishments like tiny flowers or bows, or even use different animal cutouts instead of bunnies for your Holiday & Seasonal decor.
How long does it take to make Rustic Bunny Egg Plaques?
You can usually finish one of these adorable plaques in about 20-30 minutes, not including drying time for paint if you choose to paint them.
Read more official craft tips & tricks on the Dollar Tree Value Seekers Blog.
Inspiration / Credit: Kelly Chaney Schrecengost
Leave a Reply