
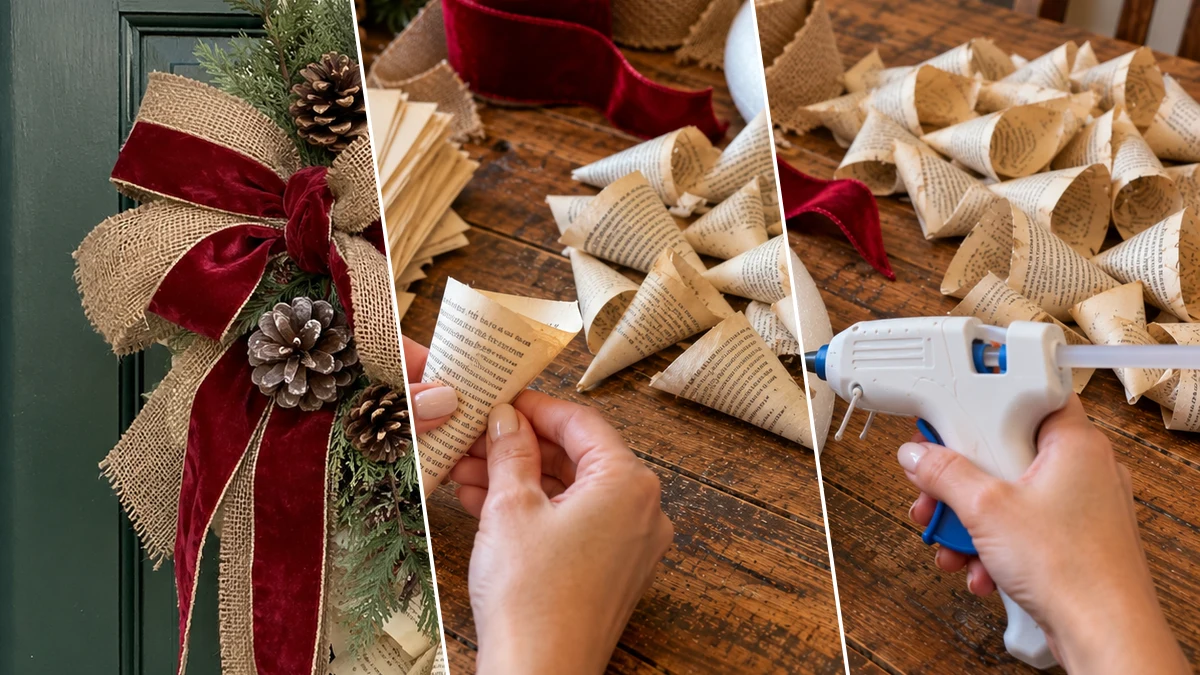
Transform an old paperback book into a charming vintage-inspired Christmas wreath. This project combines rolled book pages with rustic holiday embellishments like burlap, velvet ribbon, and natural pinecones. The finished wreath offers a unique, nostalgic touch for seasonal home decor.
Project at a Glance
- Difficulty: Medium
- Estimated active time: 50 minutes to 80 minutes (drying and curing waits not included)
- Estimated component cost: $15 to $30 (reusable tools and general supplies excluded)
- Main material: Paper
- Suggested placement: Front Door, Wall, Entryway
The Enduring Appeal of a Book Page Christmas Wreath
A book page wreath offers a distinctive blend of rustic charm and literary elegance, making it a fitting addition to holiday decor. Utilizing an old paperback transforms forgotten pages into a visually rich texture, providing a unique backdrop for traditional Christmas accents. This approach allows for a personalized, handcrafted feel that stands apart from typical store-bought decorations.
This vintage-inspired Christmas wreath is designed to complement various seasonal styles, from farmhouse to traditional. It can serve as a welcoming accent on an entryway wall or a protected front door, bringing a warm, nostalgic ambiance. The combination of muted book pages with vibrant red and natural elements creates a balanced and inviting display.
Materials for DIY Vintage Book Page Christmas Wreath with Burlap Bow and Pinecones
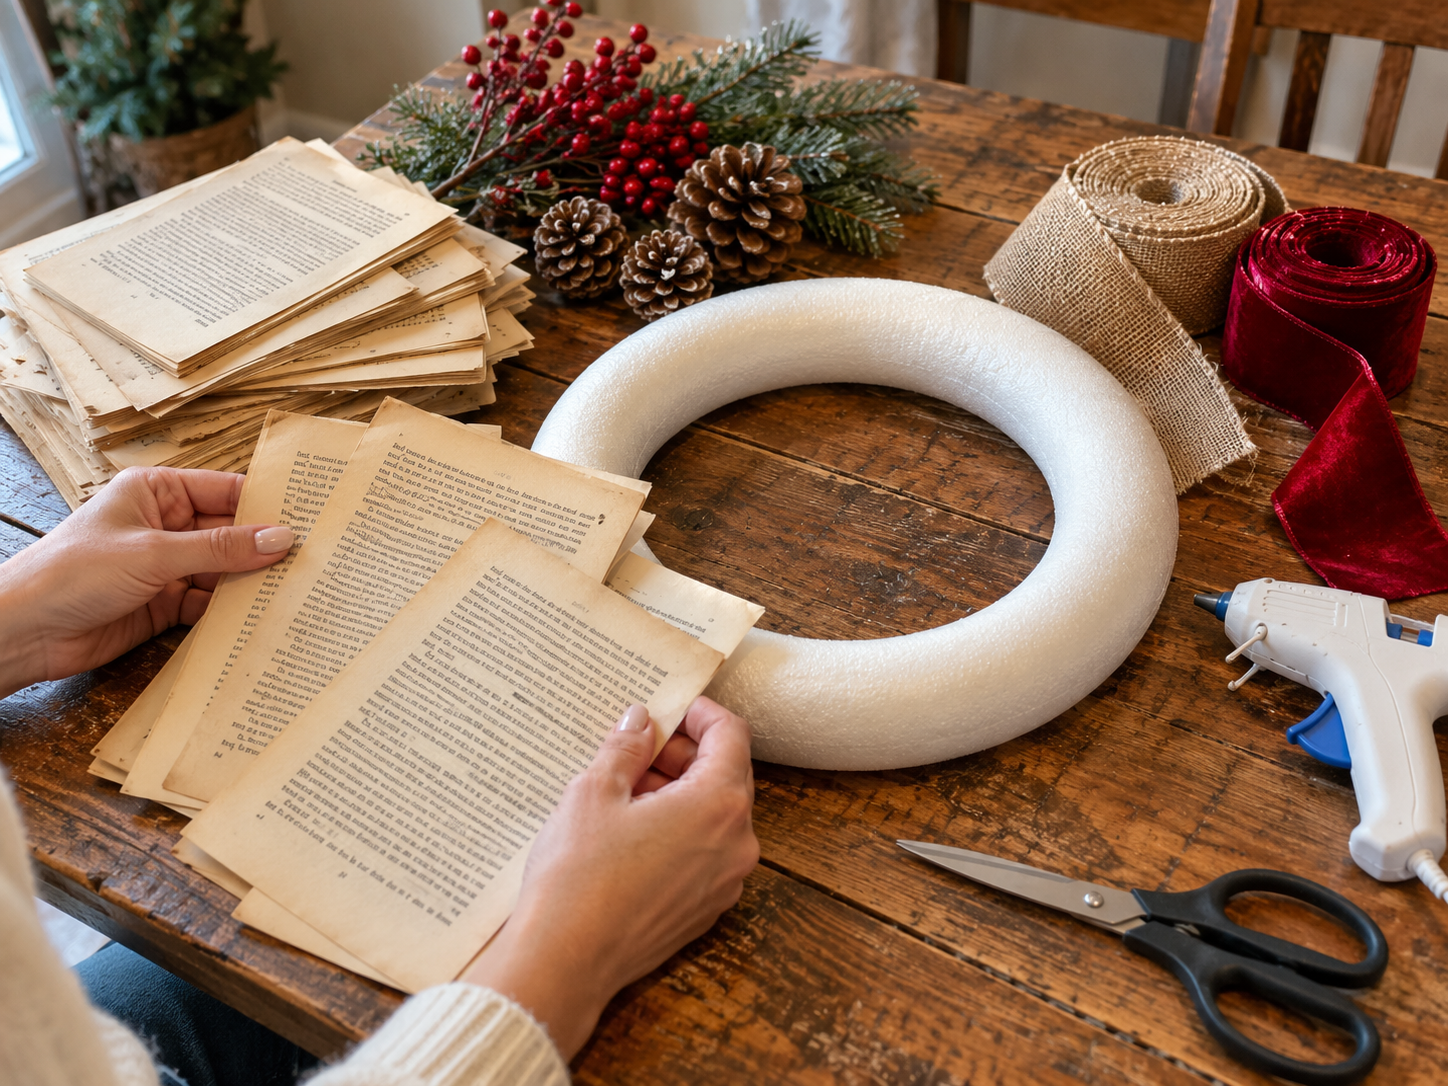
- Foam wreath form
- Old paperback book
- Hot glue gun and glue sticks
- Burlap ribbon
- Red velvet ribbon
- Assorted pinecones
- Faux pine sprigs and red berries
- Scissors
Need another material? Browse current craft supplies and deals.
Assembling Your Vintage Book Page Christmas Wreath
This tutorial guides you through creating a unique vintage book page Christmas wreath. The process involves rolling and gluing individual book pages onto a foam form, then adding festive embellishments. Follow these steps to craft a charming holiday decoration.
Step 1: Prepare Book Pages for Cones
Carefully tear or cut pages from an old paperback book. Aim for roughly square-shaped pieces, about 5-6 inches per side. The exact size isn't critical, but consistency will help achieve uniform cones. Having a large stack ready before you start rolling will make the process more efficient.
Step 2: Form Paper Cones
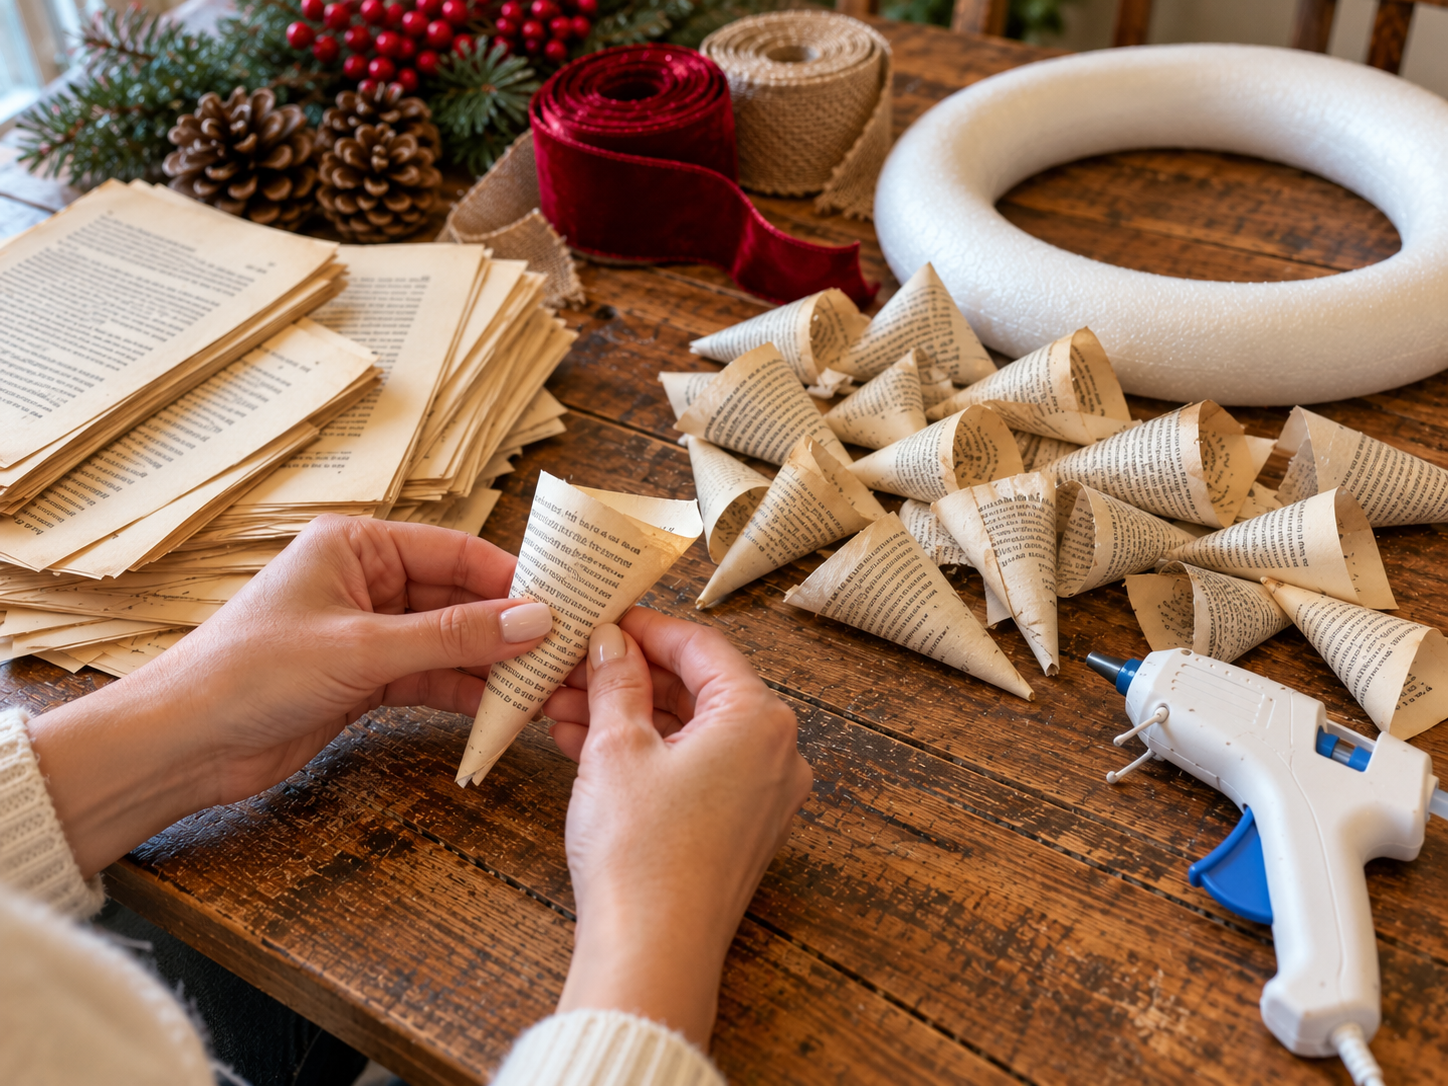
Take one torn book page and begin rolling it from one corner towards the opposite side, creating a cone shape. The tighter you roll it, the more defined the cone will be. Once you're happy with the shape, apply a small dab of hot glue to the loose edge and press it down to secure the cone. Repeat this process for all your prepared book pages.
Step 3: Begin Attaching Cones to Wreath
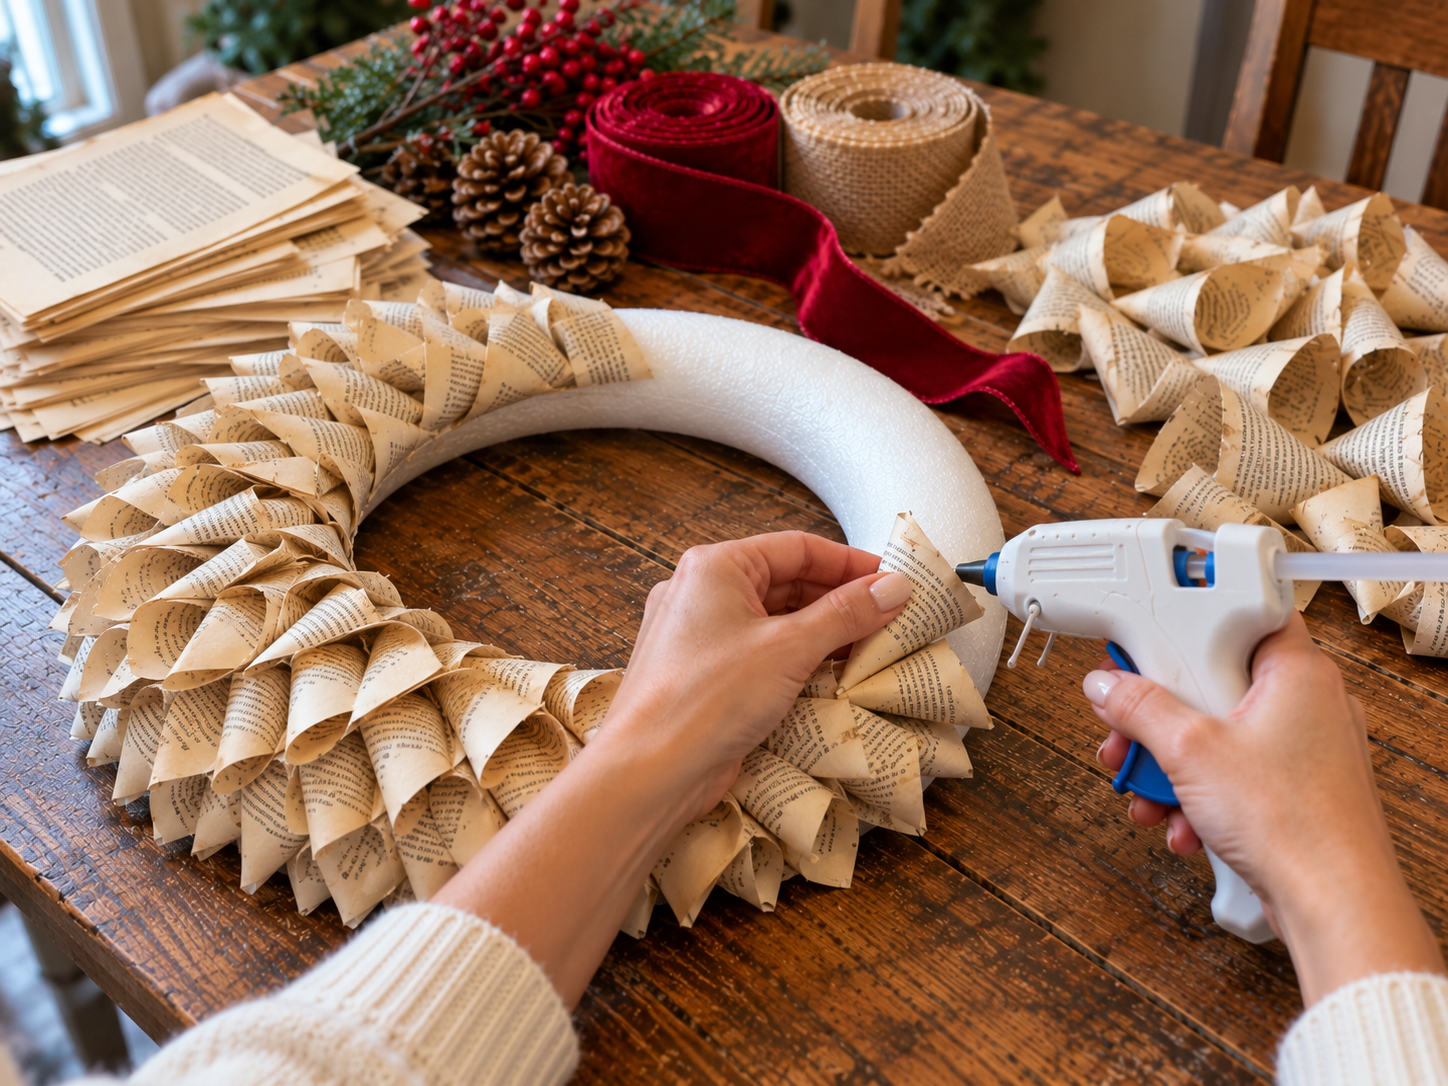
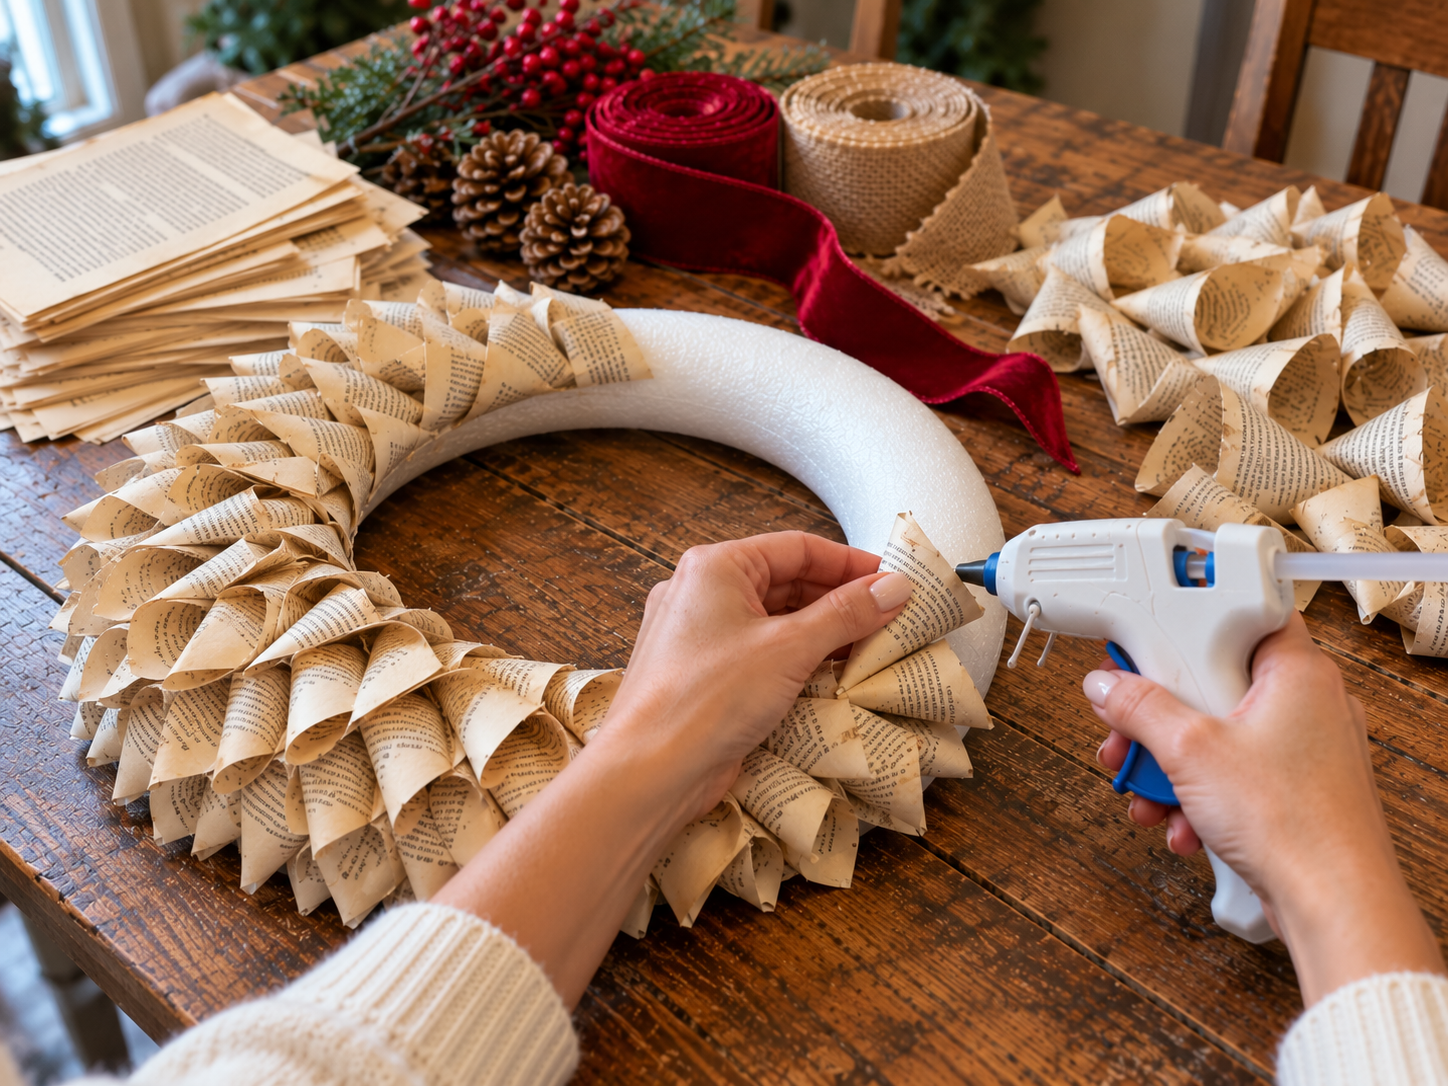
Working in sections, begin attaching the rolled paper cones to the foam wreath form. Apply a line of hot glue to the bottom (wider) edge of each cone and press it firmly onto the wreath form. Start along the outer edge of the wreath and work your way inwards. Overlap the cones slightly to ensure full coverage and create a dimensional look.


Step 4: Complete Wreath Coverage
Continue attaching paper cones in concentric layers, overlapping each row slightly, until the entire foam wreath form is completely covered. Vary the angles and tightness of the cones slightly to add texture and depth to your wreath. Ensure no part of the foam form is visible from the front or sides.
Step 5: Assemble and Attach Decorative Bow
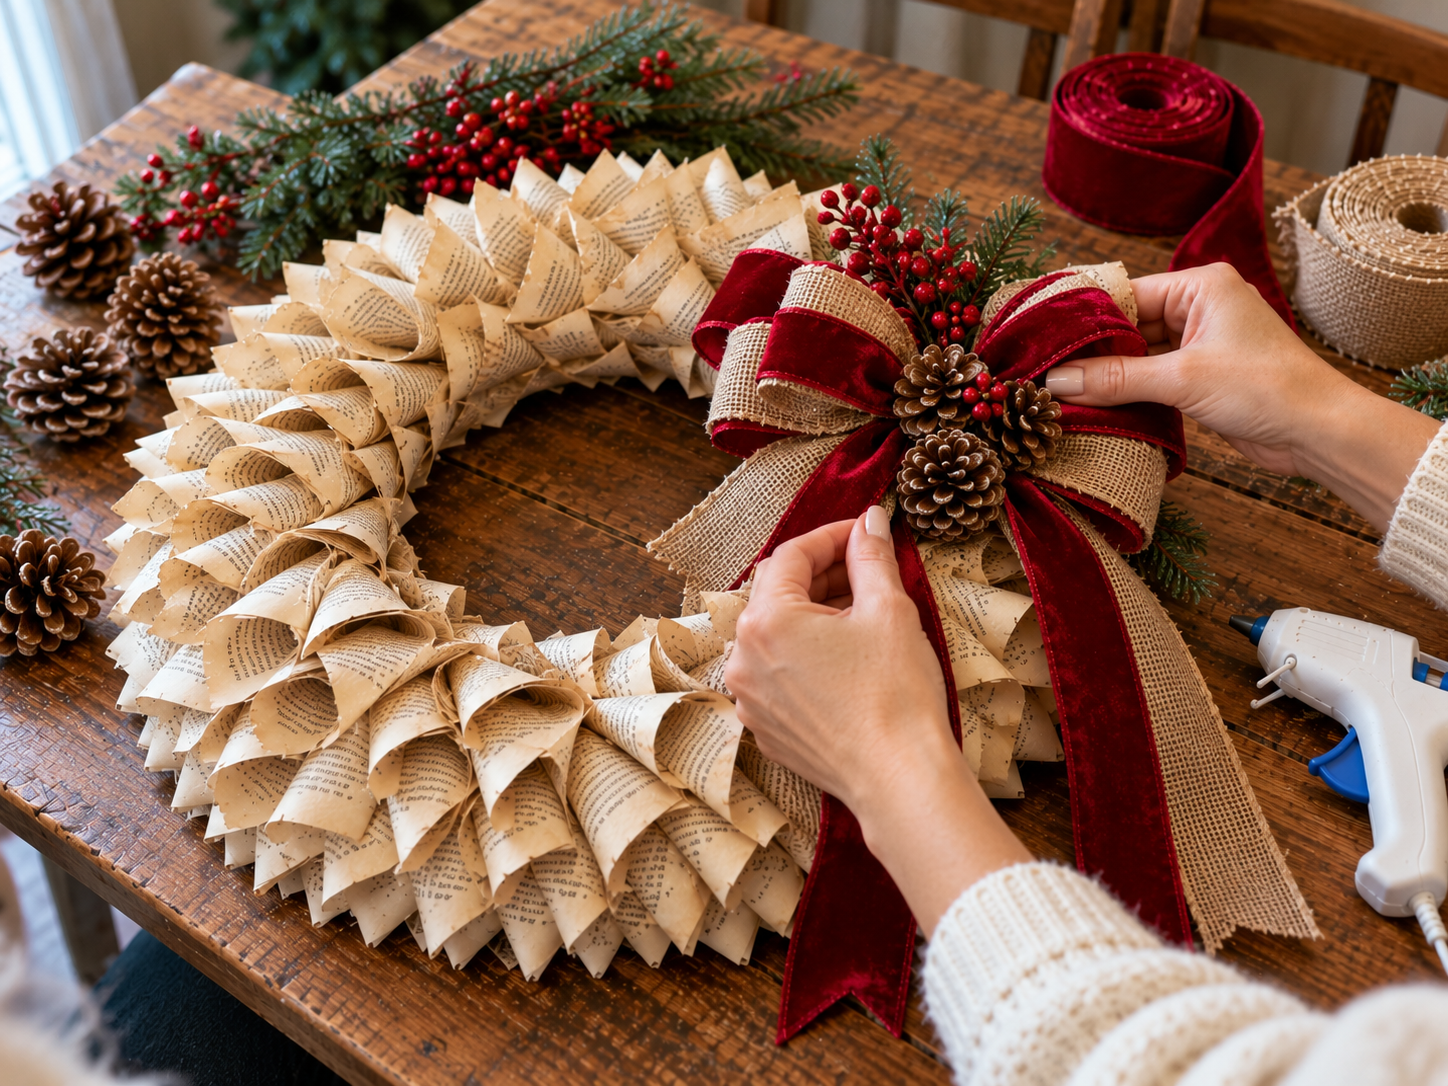
Cut desired lengths of burlap and red velvet ribbon. Layer the velvet ribbon over the burlap, then tie a multi-loop bow. Fluff the loops to create a full, elegant appearance. Once shaped, apply a generous amount of hot glue to the back of the bow and firmly press it onto a chosen section of your book page wreath, typically at the bottom left or right.
Step 6: Embellish with Natural Elements
Once the bow is securely attached, arrange and glue a selection of pinecones, faux pine sprigs, and red berry clusters around the bow. Use varying sizes of pinecones for visual interest. Tuck the sprigs and berries behind and around the bow, securing each piece with hot glue. Ensure the embellishments are balanced and complement the bow.
Enjoying Your Vintage Book Page Christmas Wreath
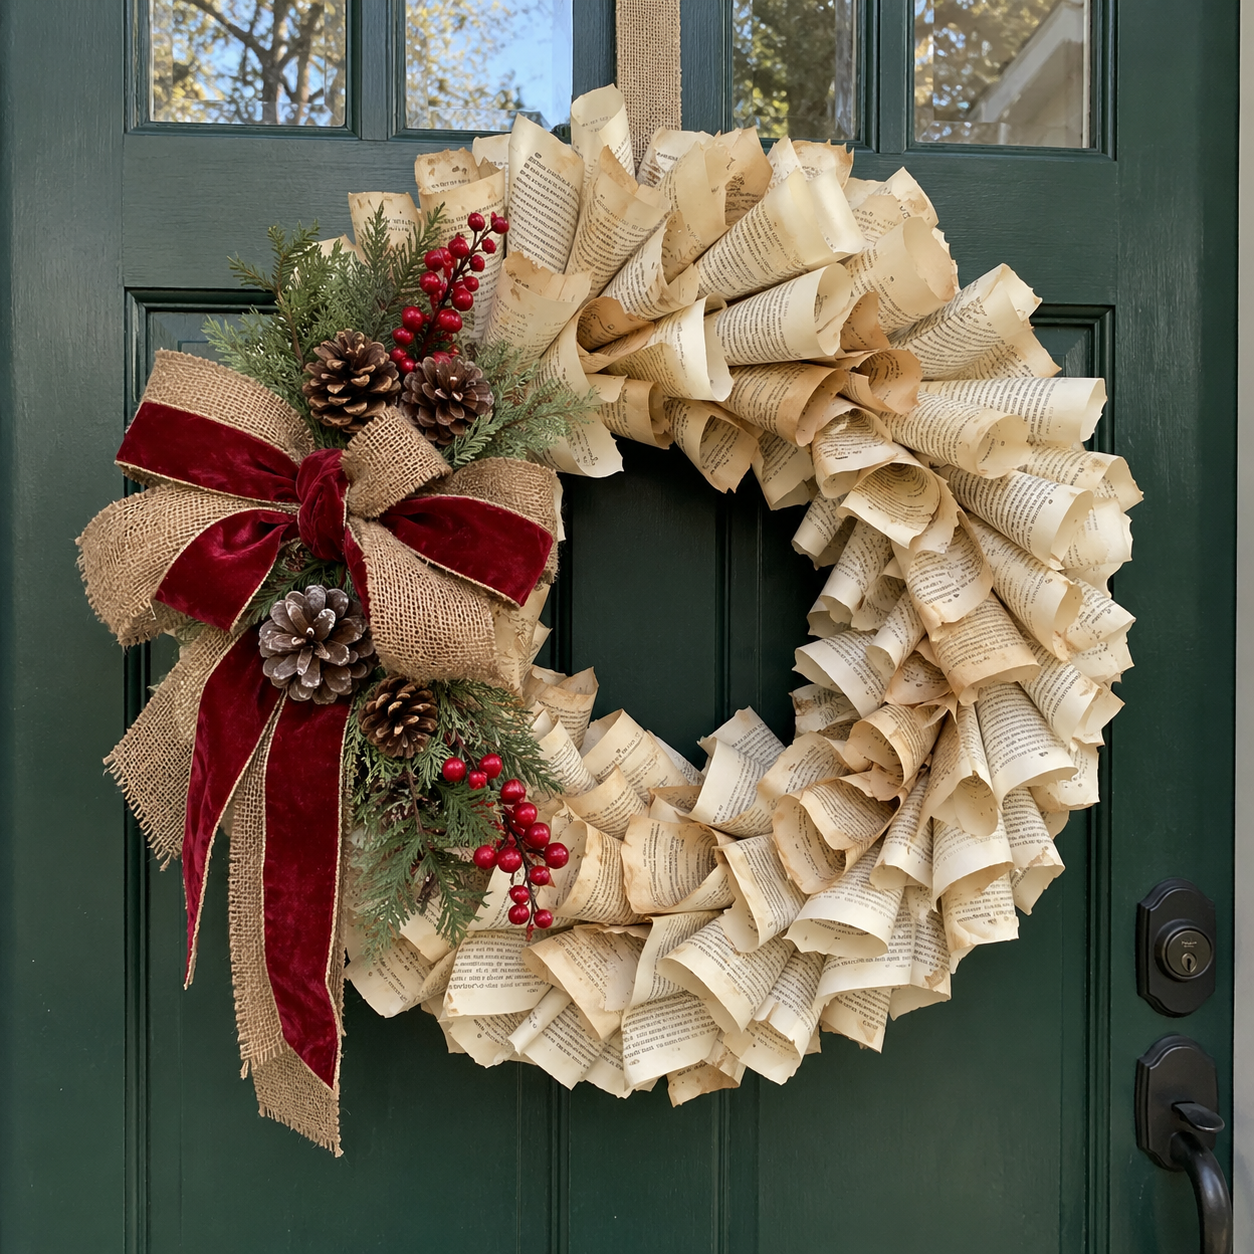
Once completed, your vintage book page Christmas wreath is ready to enhance your holiday decor. Display it on an entryway wall or a protected front door to greet guests with its handcrafted charm. This unique piece provides a warm, nostalgic touch throughout the festive season.
Related project collection: DIY Plaid Ribbon Grapevine Christmas Wreath for a Festive Front Door
Practical Questions About This Project
What kind of book works best for this wreath?
An old paperback book with flexible pages is suitable for rolling into cones. Pages that are too thick or glossy may be difficult to shape.
Can this book page wreath be displayed outdoors?
This wreath is made from paper and is best suited for indoor use or a very well-protected outdoor area, such as a covered porch, to shield it from moisture and weather.
How long does it take to make this wreath?
The estimated active crafting time for this wreath is approximately 50 to 80 minutes, excluding any unattended drying or curing periods.
What if pinecones or faux sprigs are not available?
The embellishments can be customized. Other natural elements like dried berries, cinnamon sticks, or small ornaments can be used in place of pinecones and faux sprigs.
Can different colors of ribbon be used?
Yes, the burlap and red velvet ribbons can be substituted with other colors or patterns to match a specific holiday decor theme.
Browse paper supplies at Dollar Tree.

Leave a Reply