
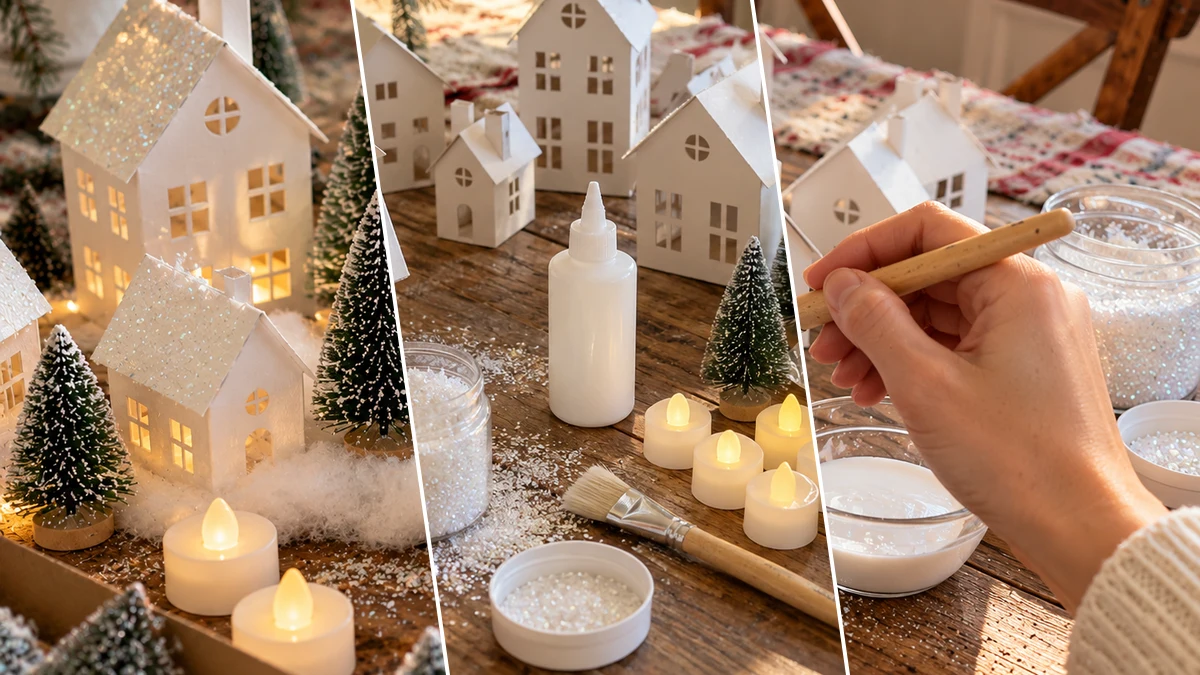
This tutorial guides the creation of a glitter Putz style Christmas village, perfect for adding a nostalgic glow to your holiday decor. Using cardboard houses, glitter, and LED tea lights, a charming miniature scene can be assembled. This display is ideal for a mantelpiece, shelf, or any festive tabletop.
Project at a Glance
- Difficulty: Easy
- Estimated active time: 60 minutes to 90 minutes (drying and curing waits not included)
- Estimated component cost: $10 to $25 (reusable tools and general supplies excluded)
- Main material: Paper
- Suggested placement: Mantel, Shelf
Creating a Vintage-Inspired Christmas Village
Putz villages are miniature holiday scenes, often featuring glitter-dusted houses, trees, and figures, that became popular in the early 20th century. This craft captures that nostalgic aesthetic, offering a way to assemble a custom Christmas display. The project uses simple materials to create a festive and illuminated scene.
The classic Putz style is characterized by its whimsical charm and sparkling details, making it a beloved element of traditional Christmas decor. This tutorial focuses on replicating that look with readily available craft supplies. The resulting village can serve as a centerpiece or a delightful accent on a shelf or mantel.
Materials for DIY Glitter Putz Style Christmas Village for Festive Mantel Decor
- Plain Cardboard House Shapes (Assorted Sizes)
- White Craft Glue (PVA)
- White Mica Glitter
- LED Tea Lights
- Faux Snow (Batting or loose)
- Miniature Bottle Brush Trees
- Small Decorative Elements (e.g., tiny fences, mini wreaths, red paint)
Need another material? Browse current craft supplies and deals.
Assembling the Glitter Putz Style Christmas Village
This guide outlines the process for constructing a glitter Putz style Christmas village. Each step details how to prepare, decorate, and arrange the components. Follow these instructions to create a festive and sparkling holiday display.
Step 1: Prepare House Shapes & Base Color
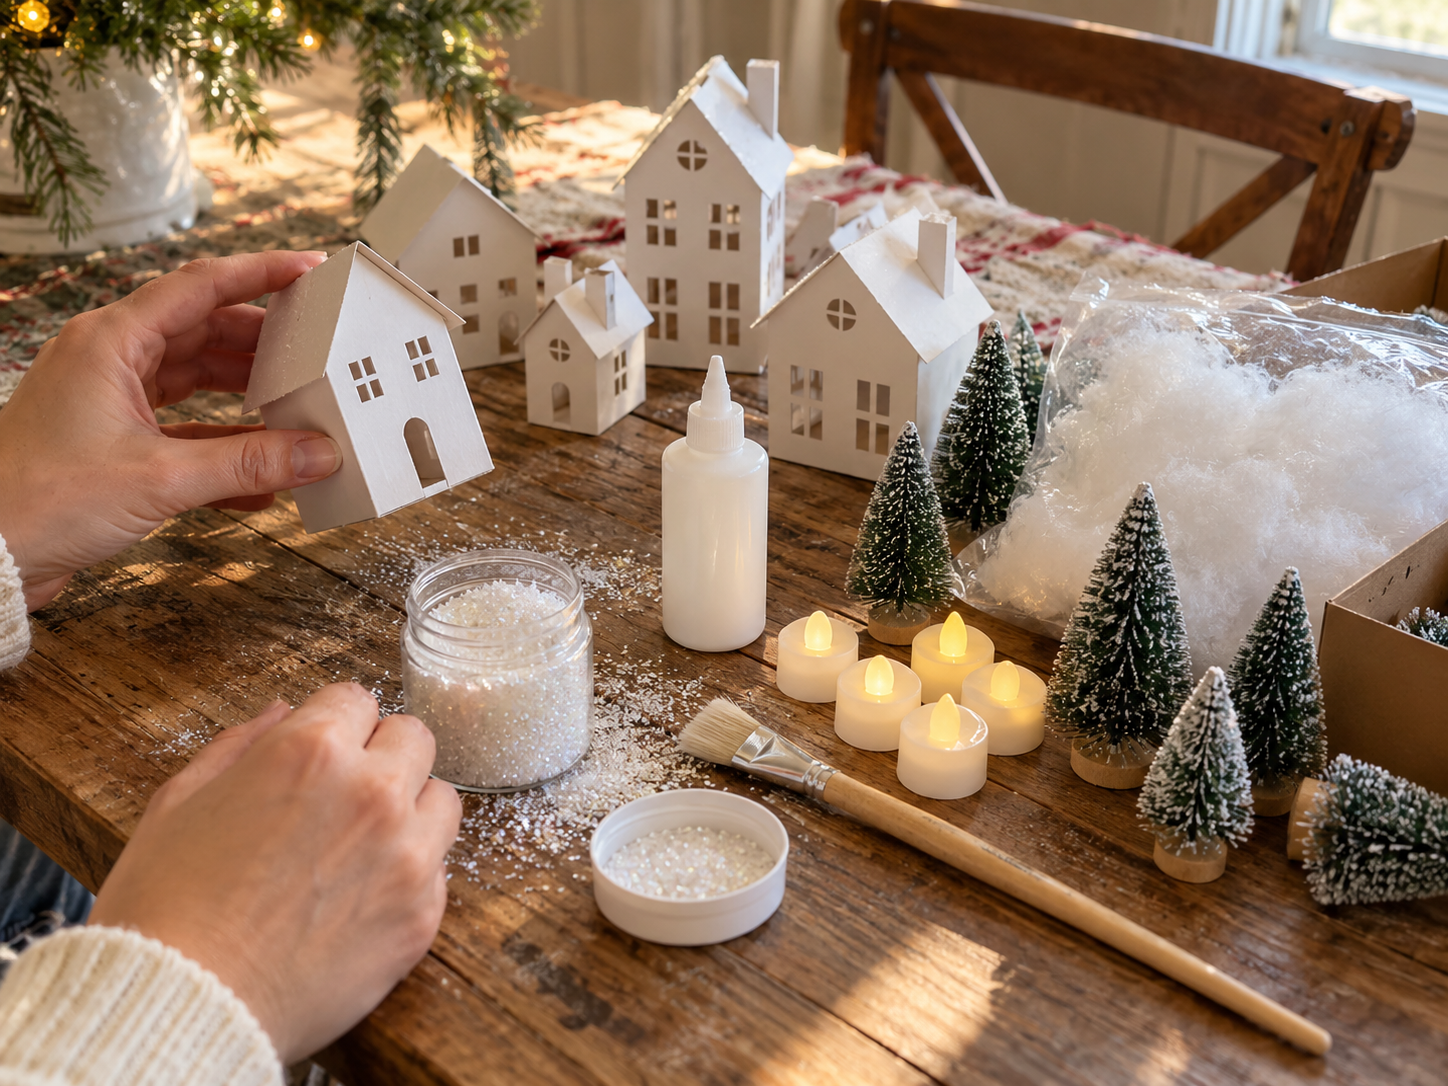
Ensure your plain cardboard house shapes are clean and ready. If you desire any base color for the houses other than white, apply a thin coat of paint now and allow it to dry fully. For a classic Putz look, leave them plain white or paint with a light cream.
Step 2: Glitter House Roofs
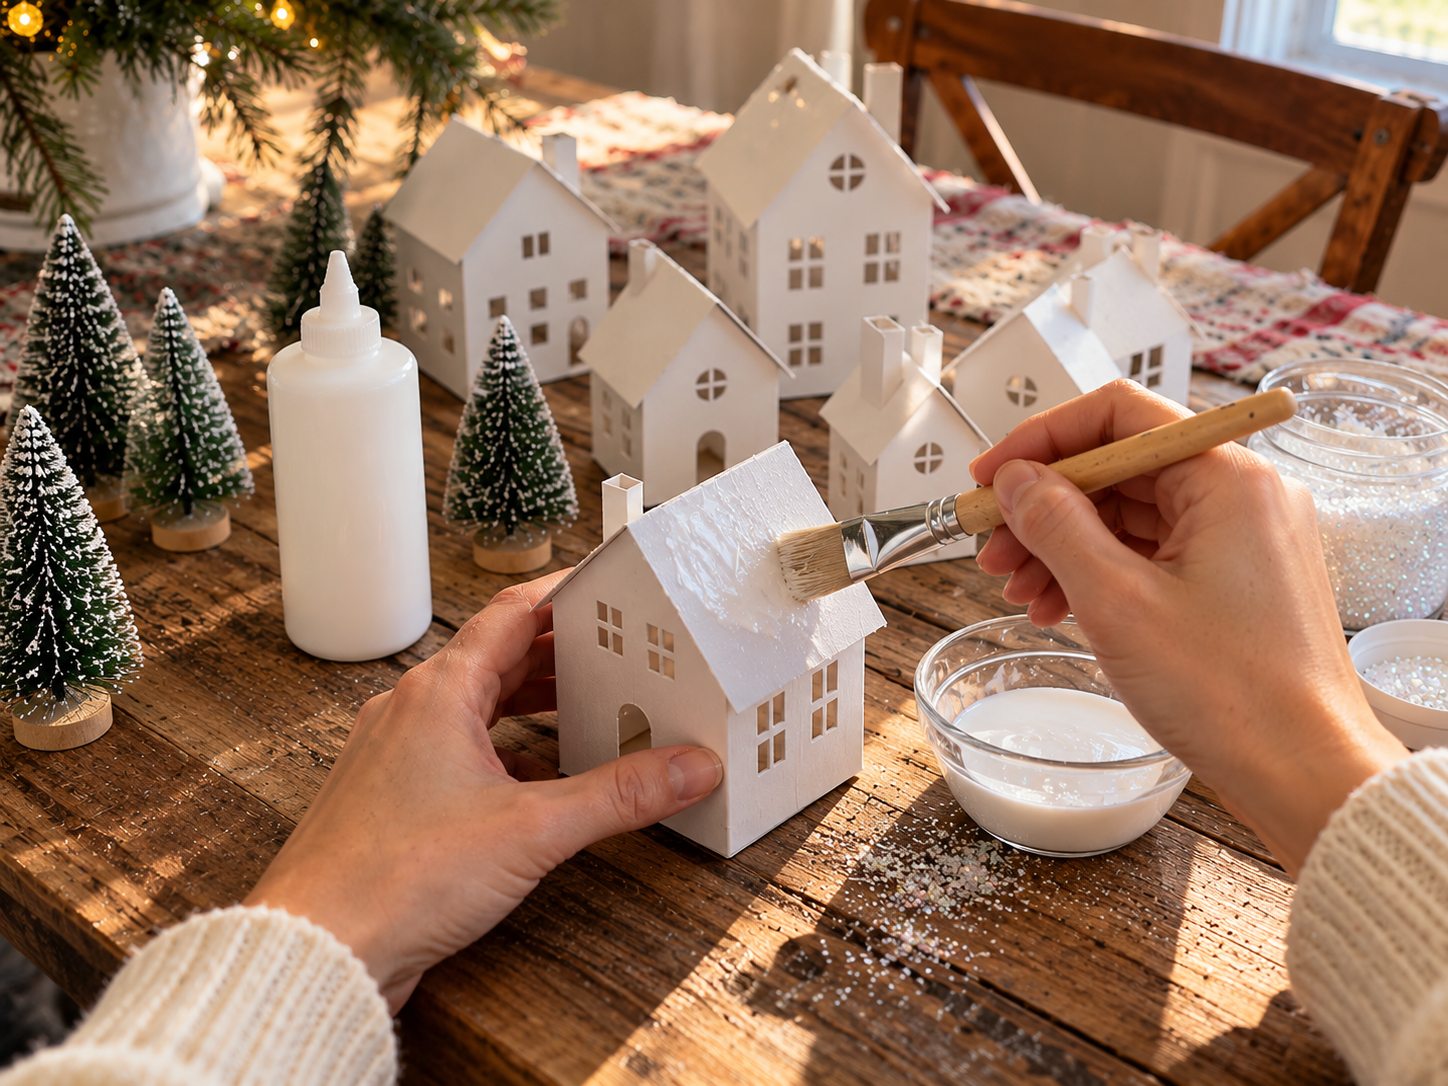
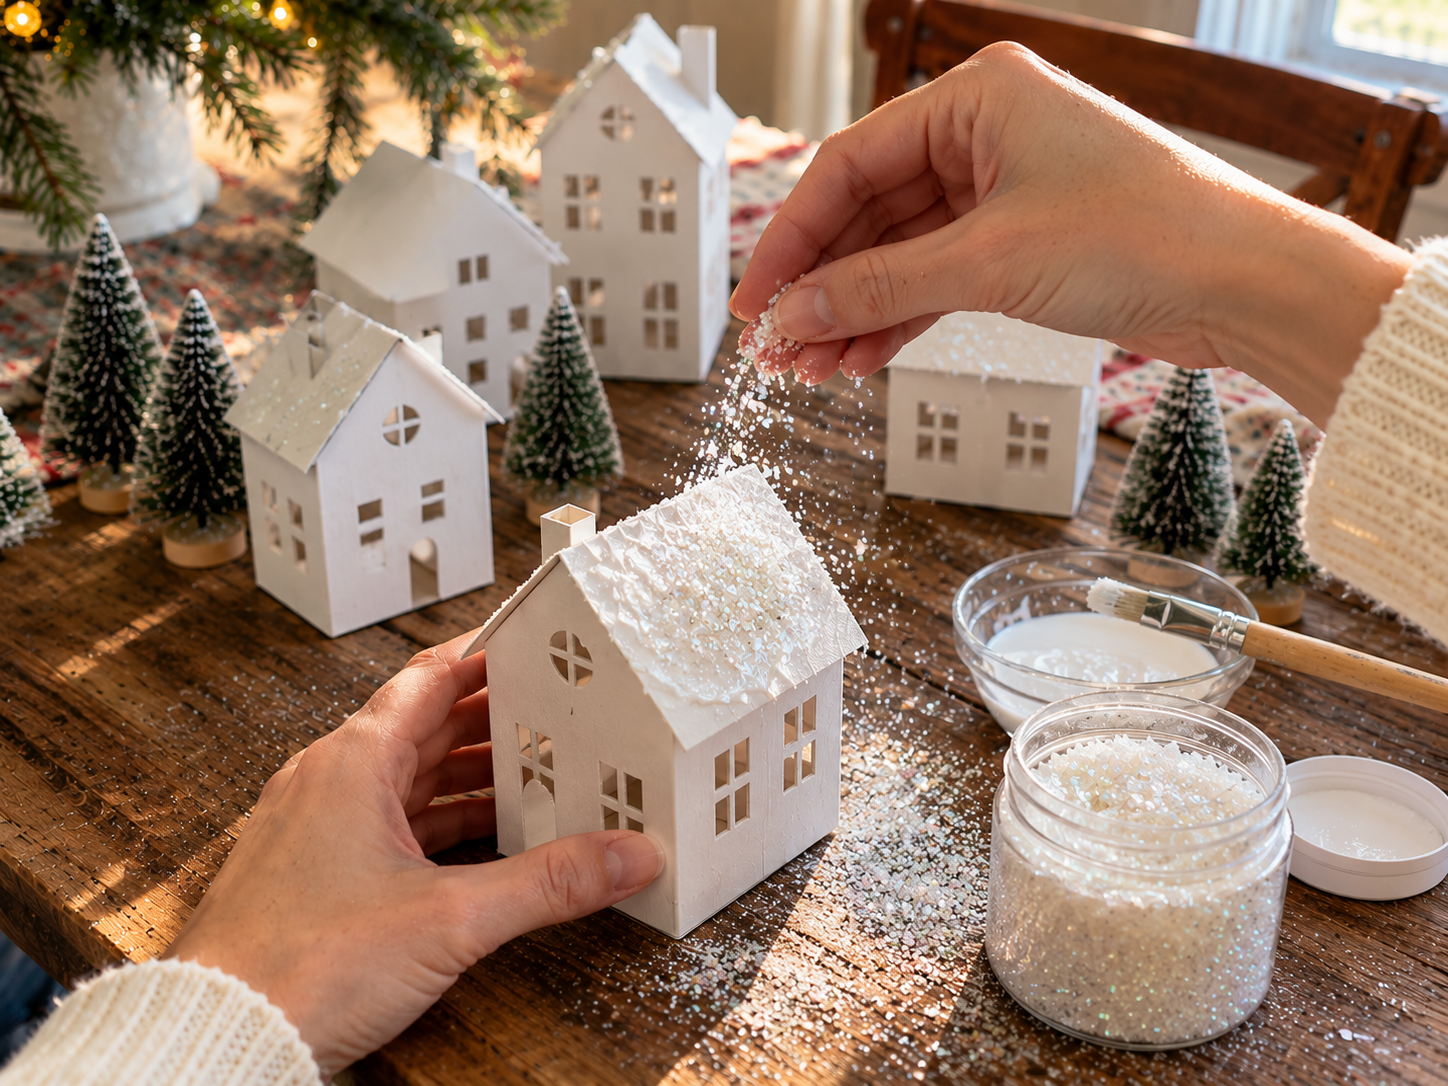
Working over a tray or piece of paper to catch excess, brush a generous layer of white craft glue onto the roofs of each house. Immediately sprinkle white mica glitter over the wet glue until fully covered. Gently tap off the excess glitter and set aside to dry completely.
Step 3: Detail Houses & Add Embellishments
Once the roofs are dry, apply glue and glitter to other architectural details like chimneys, window frames, or the entire house walls for a uniform frosted look. While the glue is still wet, carefully attach small decorative elements such as tiny wreaths, berry clusters, or paint details like red doors using a fine brush if desired.


Step 4: Create the Faux Snow Base
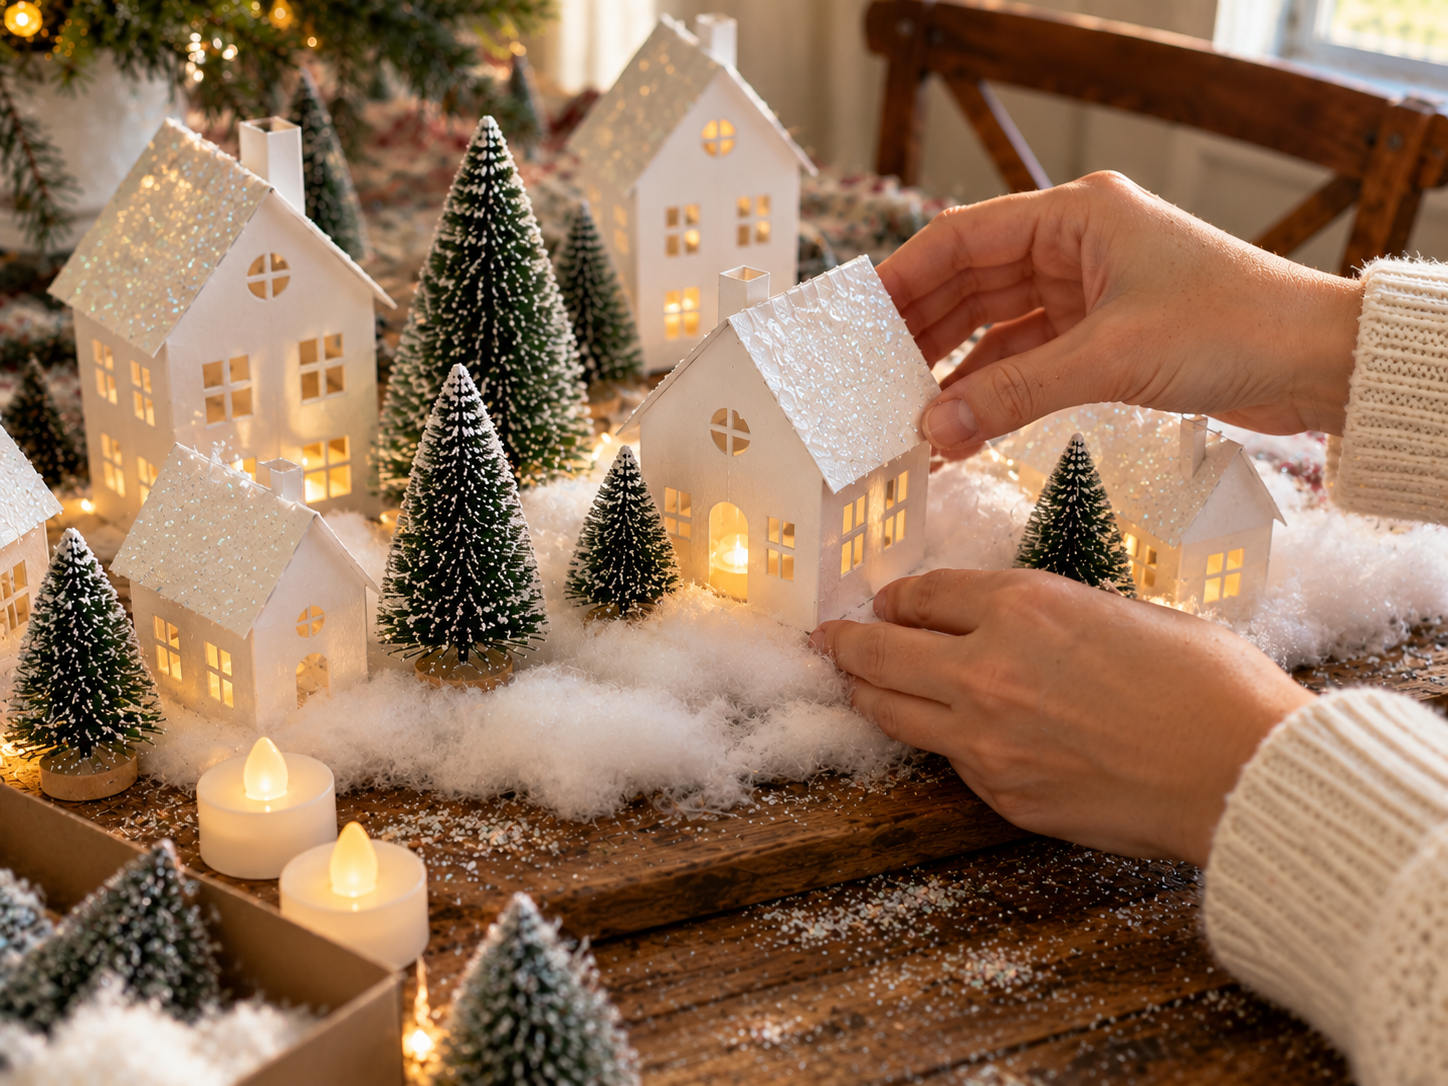
On your chosen display surface (e.g., mantelpiece or shelf), lay out the cotton batting or loose faux snow. Fluff and gently shape it to create soft rolling hills and valleys, forming a natural base for your village. Ensure it's thick enough to hide any LED light bases.
Step 5: Arrange Houses & LED Lights
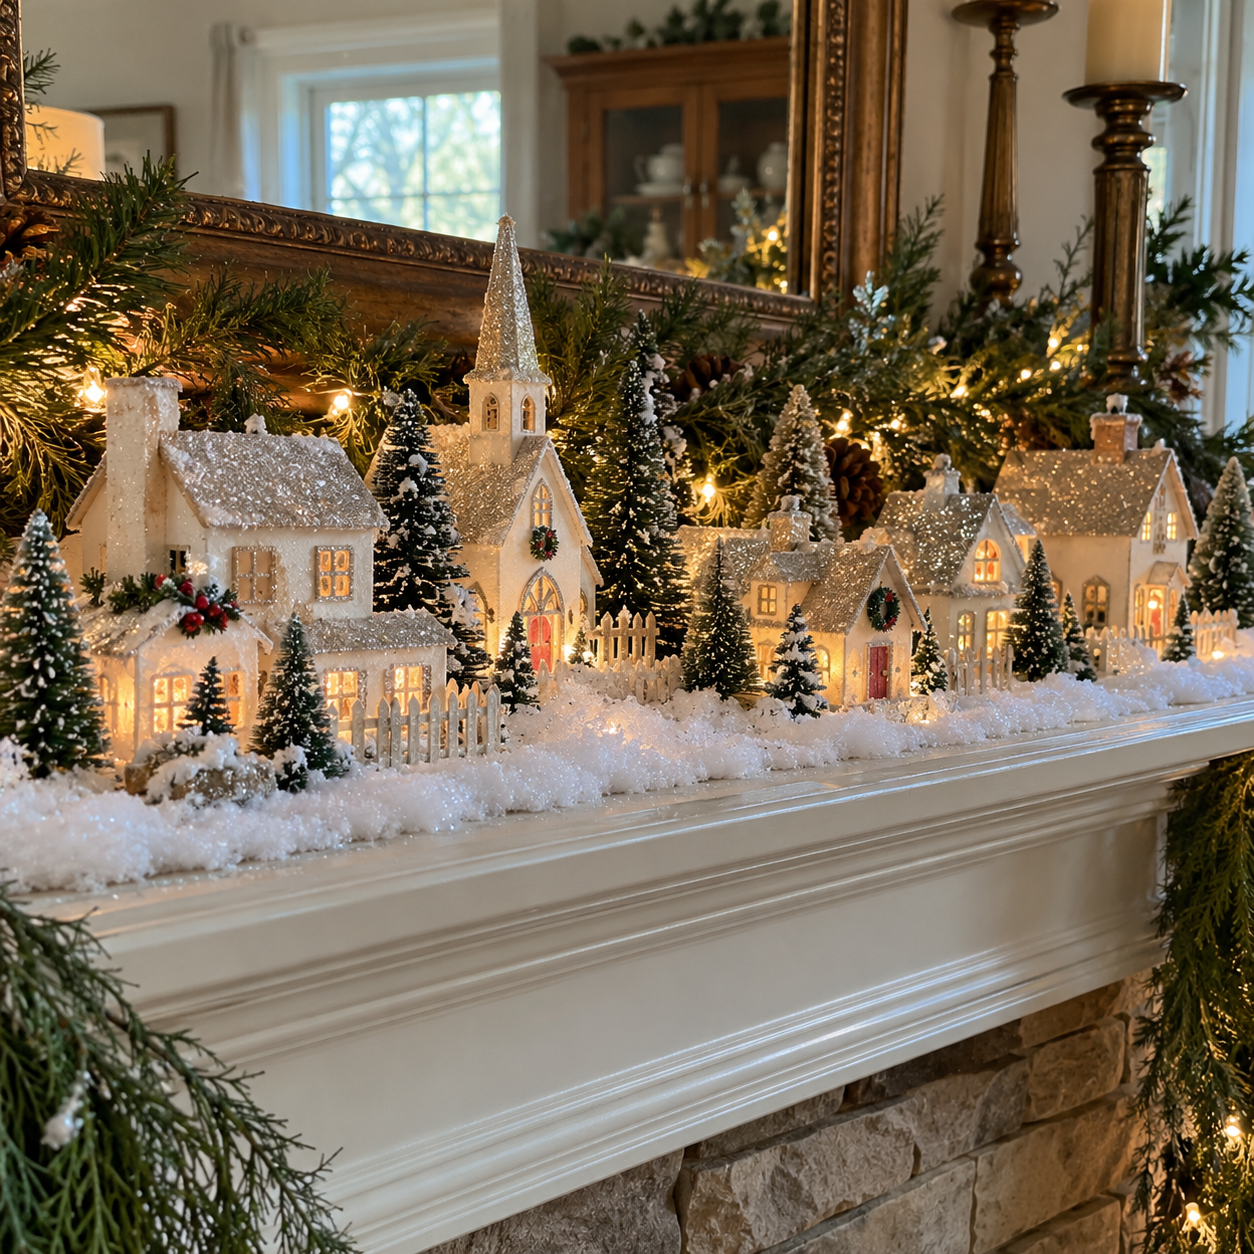
Strategically place your glittered houses onto the faux snow base. Before finalizing their positions, place an LED tea light inside each house. Arrange the houses to create a charming village layout, ensuring the lights glow through the windows and the overall composition is pleasing.
Step 6: Add Miniature Trees & Fencing
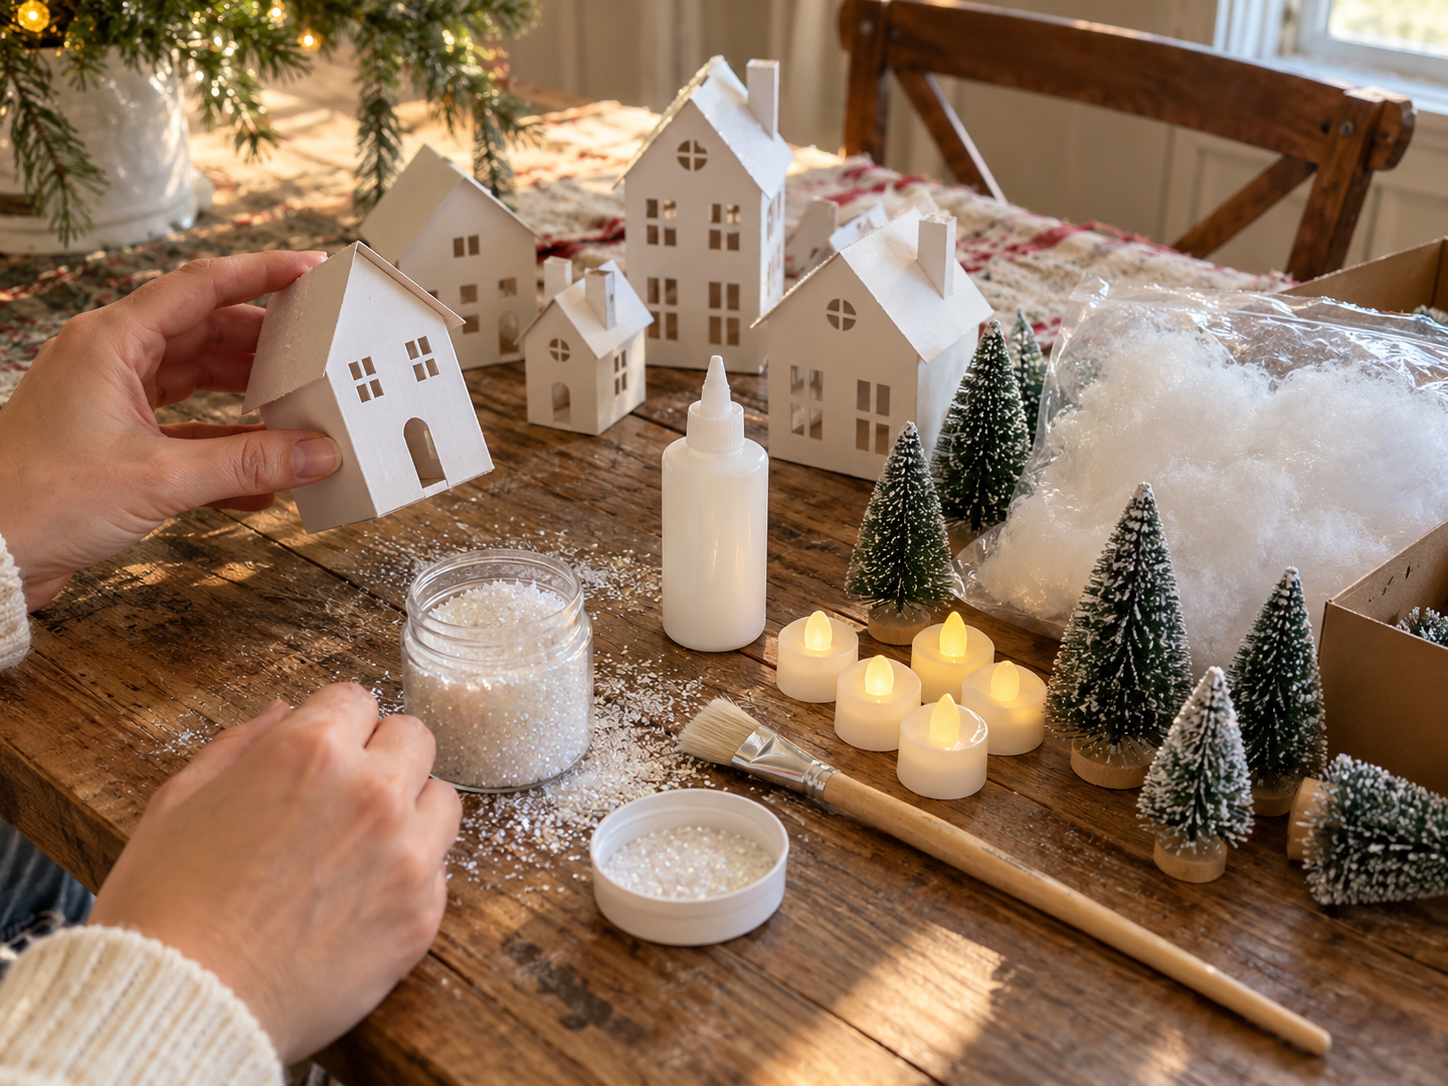
Dot miniature bottle brush trees around and between the houses. Vary their heights and cluster them to mimic a natural forest. If using, add small sections of decorative fencing to define pathways or create boundaries within your village scene.
Step 7: Final Dusting & Scene Completion
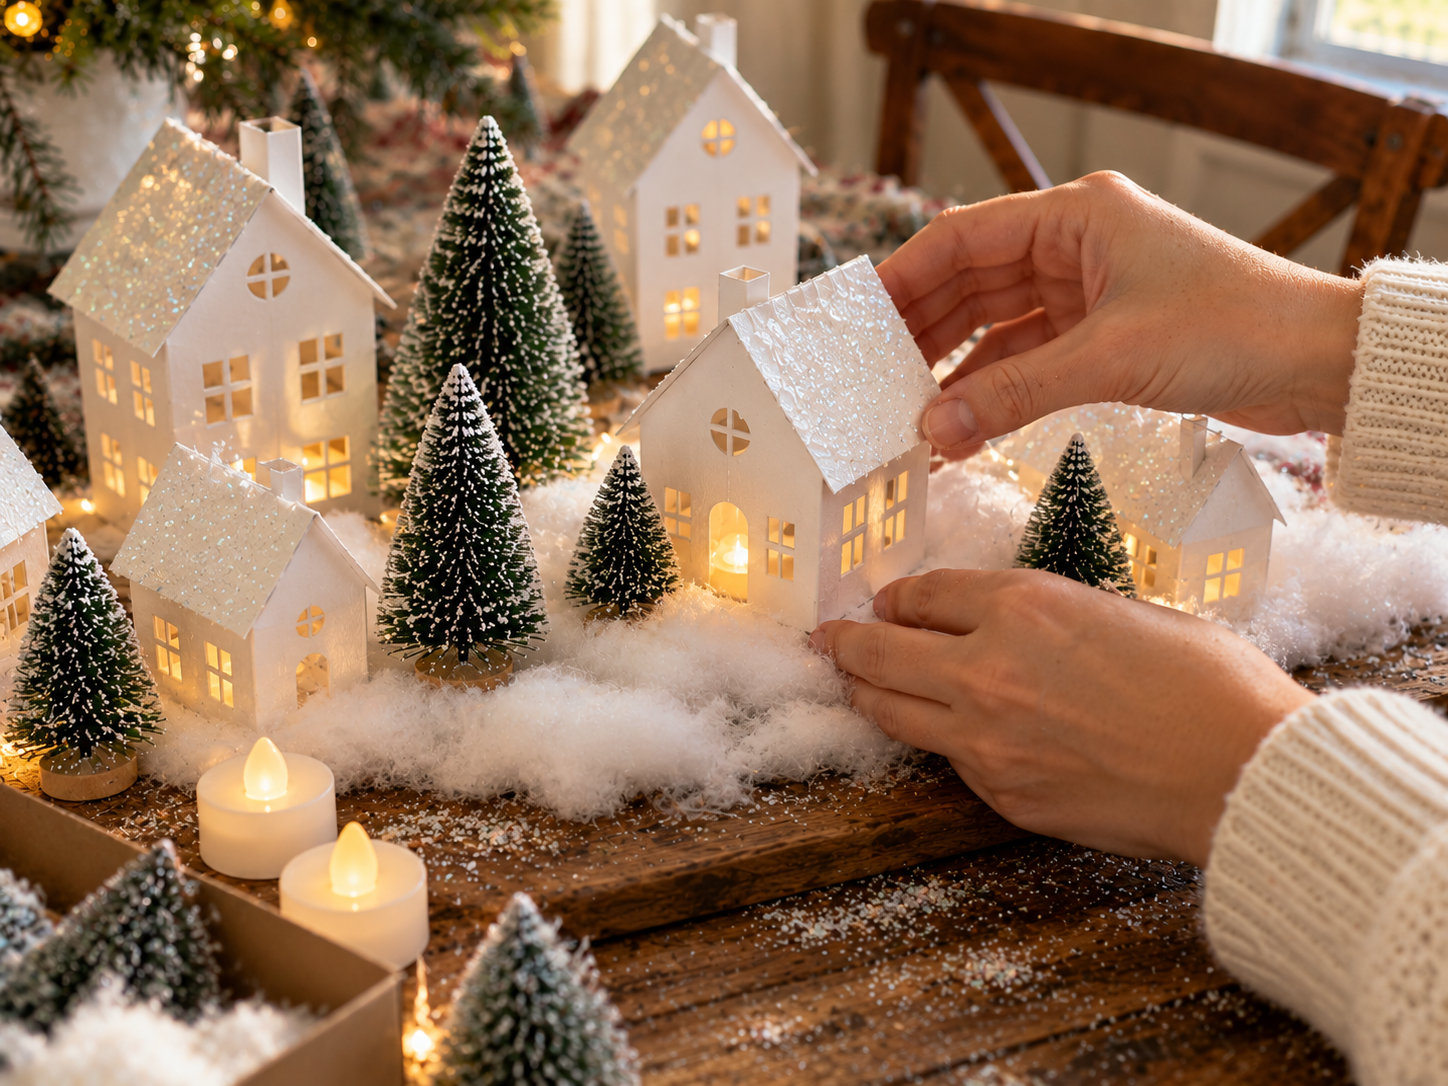
For a magical, freshly fallen snow effect, lightly dust the entire village scene with a final fine sprinkle of white mica glitter. Gently fluff any compressed areas of faux snow and adjust elements as needed for your perfect, glowing Christmas village display.
Enjoying Your Glitter Putz Style Christmas Village
Once assembled, your glitter Putz style Christmas village offers a charming and illuminated focal point for holiday decor. The sparkling houses and miniature landscape provide a nostalgic touch to any room. This display can be arranged annually to celebrate the festive season.
Related project collection: DIY Dollar Tree Christmas Hurricane Centerpiece
Practical Questions About This Project
Can different house shapes be used?
Yes, assorted sizes of plain cardboard house shapes are listed as a material. Using a variety of shapes can add visual interest to the village.
What kind of lighting is used in the village?
The village uses LED tea lights placed inside the houses. These provide a gentle glow and are a safe option for illuminating the cardboard structures.
What materials are used to create the snow effect?
Faux snow, either batting or loose, is used to create the base for the village. White mica glitter is also applied to the houses and can be lightly dusted over the entire scene for a final snow effect.
Where can this Christmas village be displayed?
This glitter Putz style Christmas village is designed for indoor display. It is suitable for placement on a mantelpiece, shelf, or as a festive tabletop centerpiece.
Browse paper supplies at Dollar Tree.

Leave a Reply