
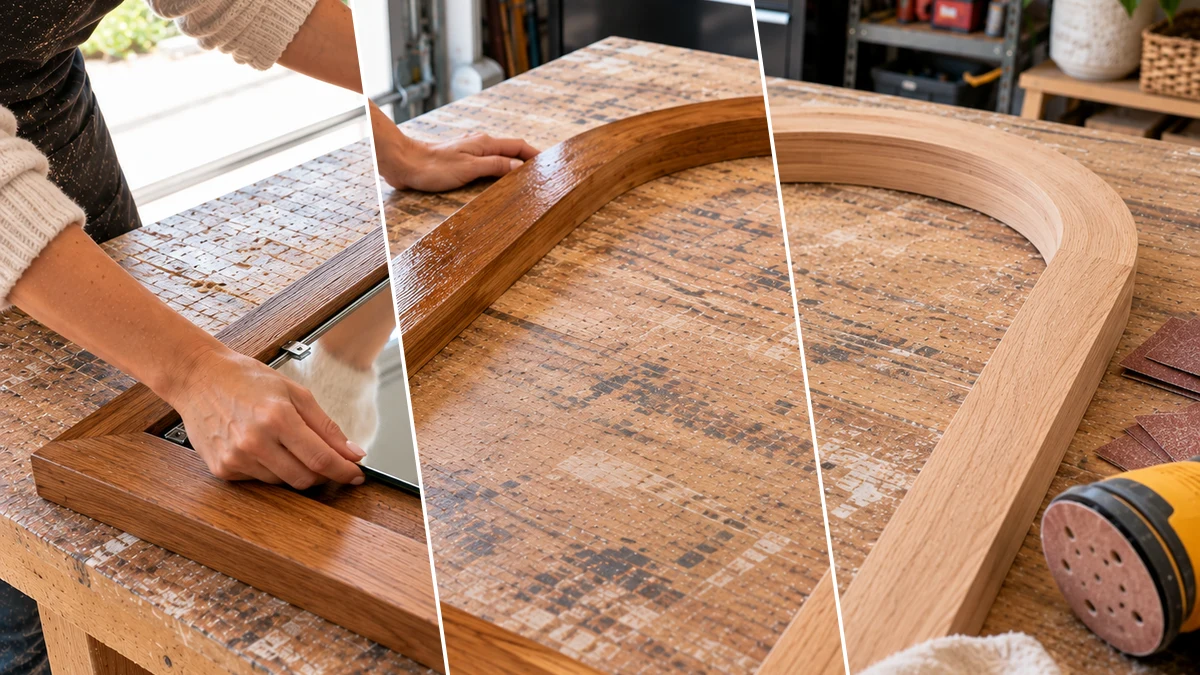
An impressive arched floor mirror with a custom oak frame can be created using layered plywood and solid oak. This advanced woodworking project details the steps for constructing a sturdy, elegant frame designed to hold a large mirror panel. The resulting piece offers a significant visual impact for a living room or bedroom. Learn how to build this striking home decor item.
Project at a Glance
- Difficulty: Advanced
- Estimated active time: 100 minutes to 120 minutes (drying and curing waits not included)
- Estimated component cost: $100 to $200 (reusable tools and general supplies excluded)
- Main material: Wood
- Suggested placement: Wall
Building an Arched Oak Frame for a Floor Mirror
This project involves constructing a substantial arched frame, combining the structural integrity of layered plywood with the aesthetic appeal of solid oak face boards. The process requires careful measurement, precise cutting with a jigsaw, and routing a dedicated rabbet for the mirror glass. Multiple clamping stages are essential for strong, seamless adhesion between layers.
The estimated active time for this advanced woodworking project is 100 to 120 minutes, excluding unattended drying and curing periods. Component costs are estimated between $100 and $200, which excludes reusable tools and general supplies. This approach allows for a custom-sized mirror that can complement farmhouse or rustic decor styles.
Materials for Advanced DIY Arched Oak Frame Floor Mirror Woodworking Project
- Plywood Sheets (1/2" or 3/4" thick)
- Solid Oak Boards (1/4" to 1/2" thick)
- Large Arched Mirror Glass
- Strong Wood Glue
- Wood Stain and Polyurethane Finish
- Assorted Sandpaper (80, 120, 220 grit)
- Stainable Wood Filler
- Assorted Clamps (bar clamps, band clamps, F-clamps)
- Router with Rabbeting Bit and Flush Trim Bit
- Mirror Adhesive or Retainer Clips
Need another material? Browse current craft supplies and deals.
Assembling Your Arched Oak Floor Mirror Frame
Creating this large arched floor mirror frame requires precision and careful attention to detail. Follow these steps to build the layered plywood core, attach the oak face boards, and prepare the frame for the mirror glass. Ensure all safety precautions are followed when using power tools and handling large materials.
Step 1: Design and Template Creation
Begin by meticulously drawing the full-size arched mirror shape onto a large sheet of rigid material, such as hardboard, MDF, or even several large pieces of taped-together paper. This will serve as your master template for all subsequent cuts. Ensure the arch is perfectly symmetrical and smooth, using a string and pencil for a perfect radius if desired. Double-check all measurements to match your desired mirror glass dimensions and overall frame size.
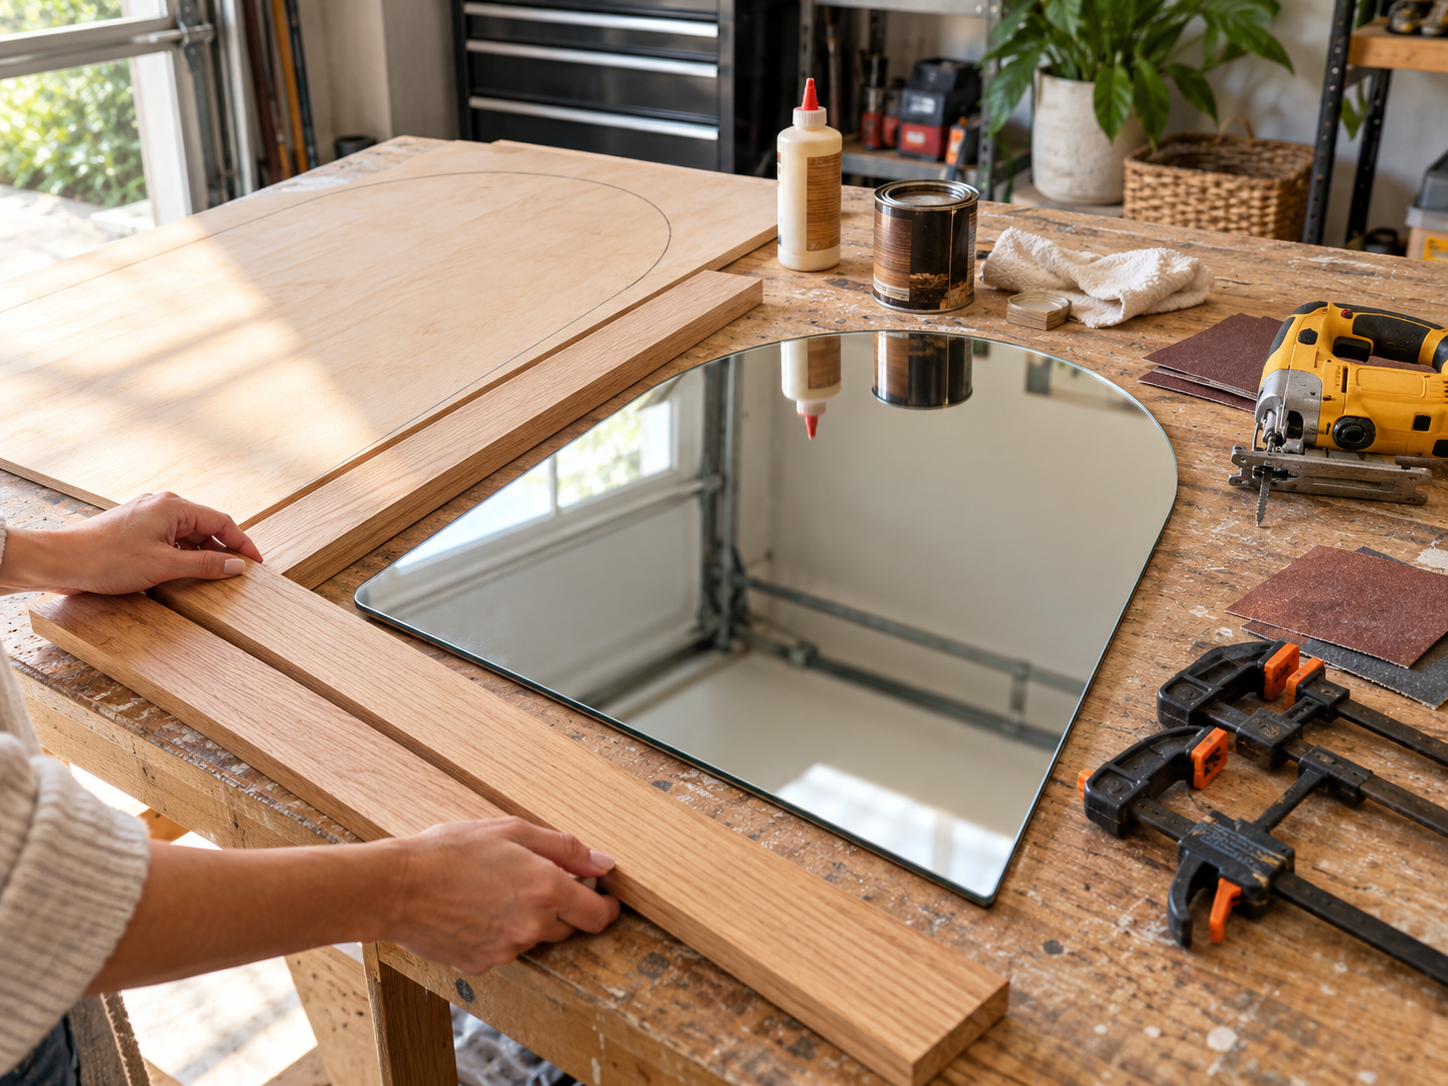
Step 2: Cut Plywood Frame Layers
Trace your master template onto multiple sheets of plywood. The number of layers will depend on your desired frame thickness. Using a jigsaw, carefully cut out each arched frame piece. Aim for cuts that are slightly outside your traced line; you will refine the shape in the next step. Ensure a steady hand and proper safety precautions when operating the jigsaw.
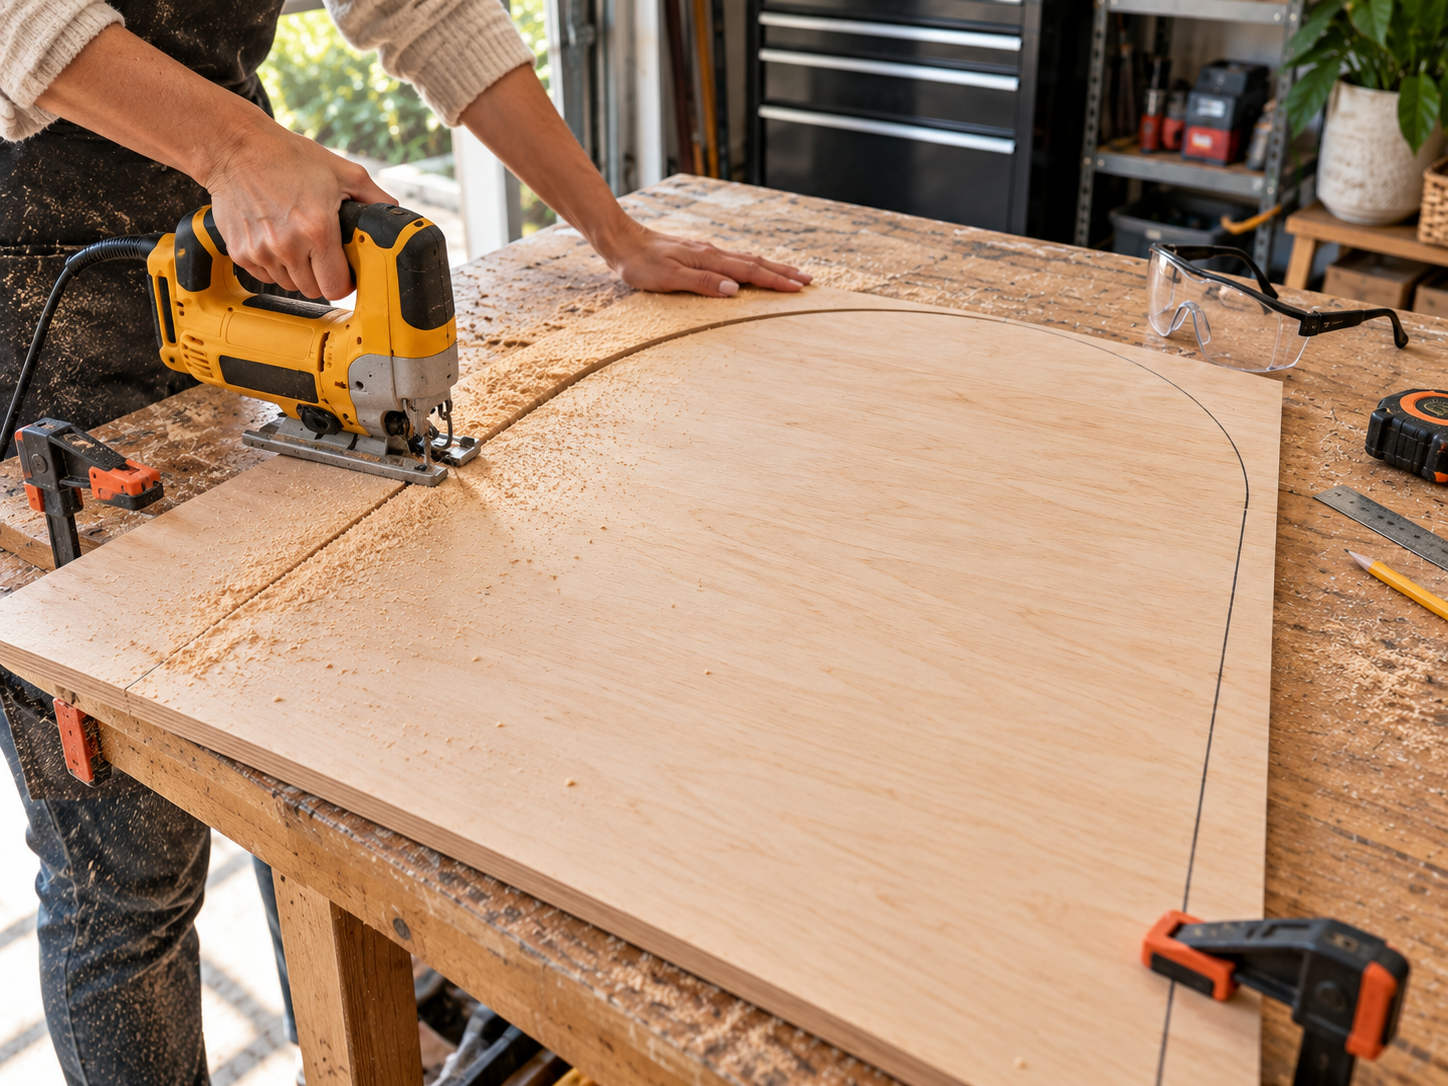
Step 3: Assemble and Shape Plywood Core
Apply a generous and even layer of strong wood glue to one side of a plywood piece, then carefully stack another piece on top, aligning all edges precisely. Repeat this process until all your plywood layers are stacked. Use plenty of clamps—bar clamps for the straight sides and a band clamp or shaped cauls for the arch—to ensure tight adhesion and minimize gaps. Allow the glue to dry completely according to the manufacturer's instructions. Once dry, use a router with a flush trim bit (following one of the plywood layers as a guide) or a combination of rasps and sandpaper to refine the outer and inner edges of the assembled core, ensuring a smooth and consistent arched shape.
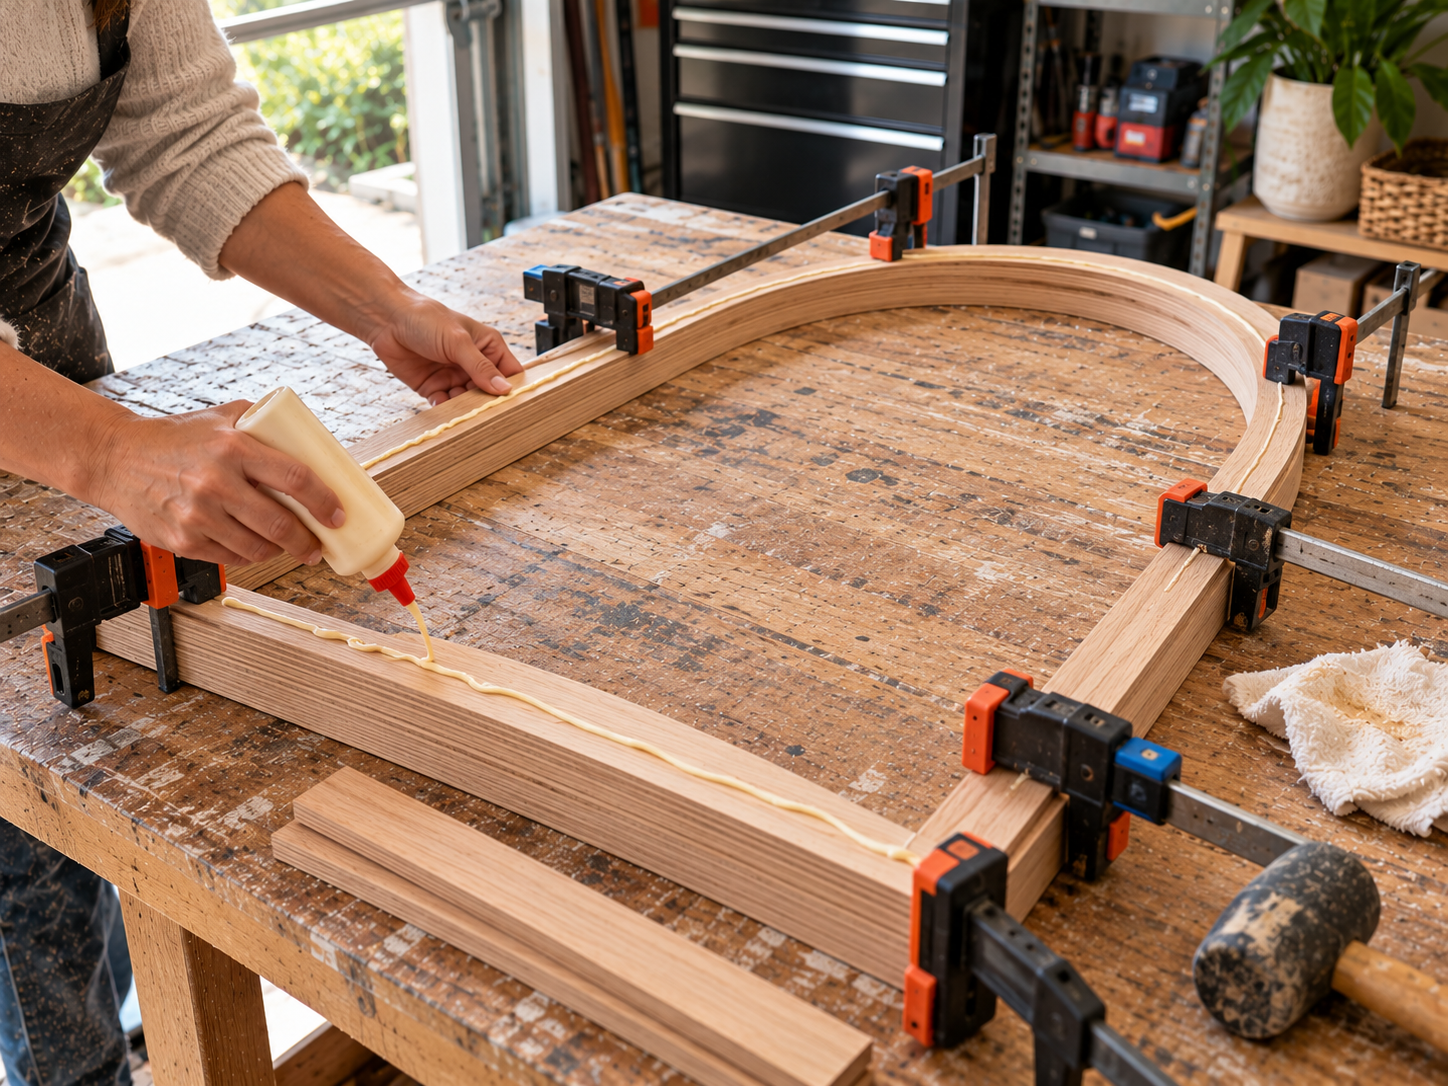


Step 4: Cut and Attach Oak Face Boards & Rabbet
Using your template or the now-shaped plywood core, cut the thinner solid oak boards that will form the front and back 'face' of your mirror frame. For the front oak piece, you will need to create a rabbet (a step-shaped recess) along the inside edge where the mirror glass will sit. Use a router with a rabbeting bit for this, carefully ensuring a consistent depth and width that matches your mirror glass thickness and perimeter. Once the rabbet is cut, glue and clamp the oak face boards to the plywood core. Ensure the front piece with the rabbet is perfectly aligned. Allow ample drying time.
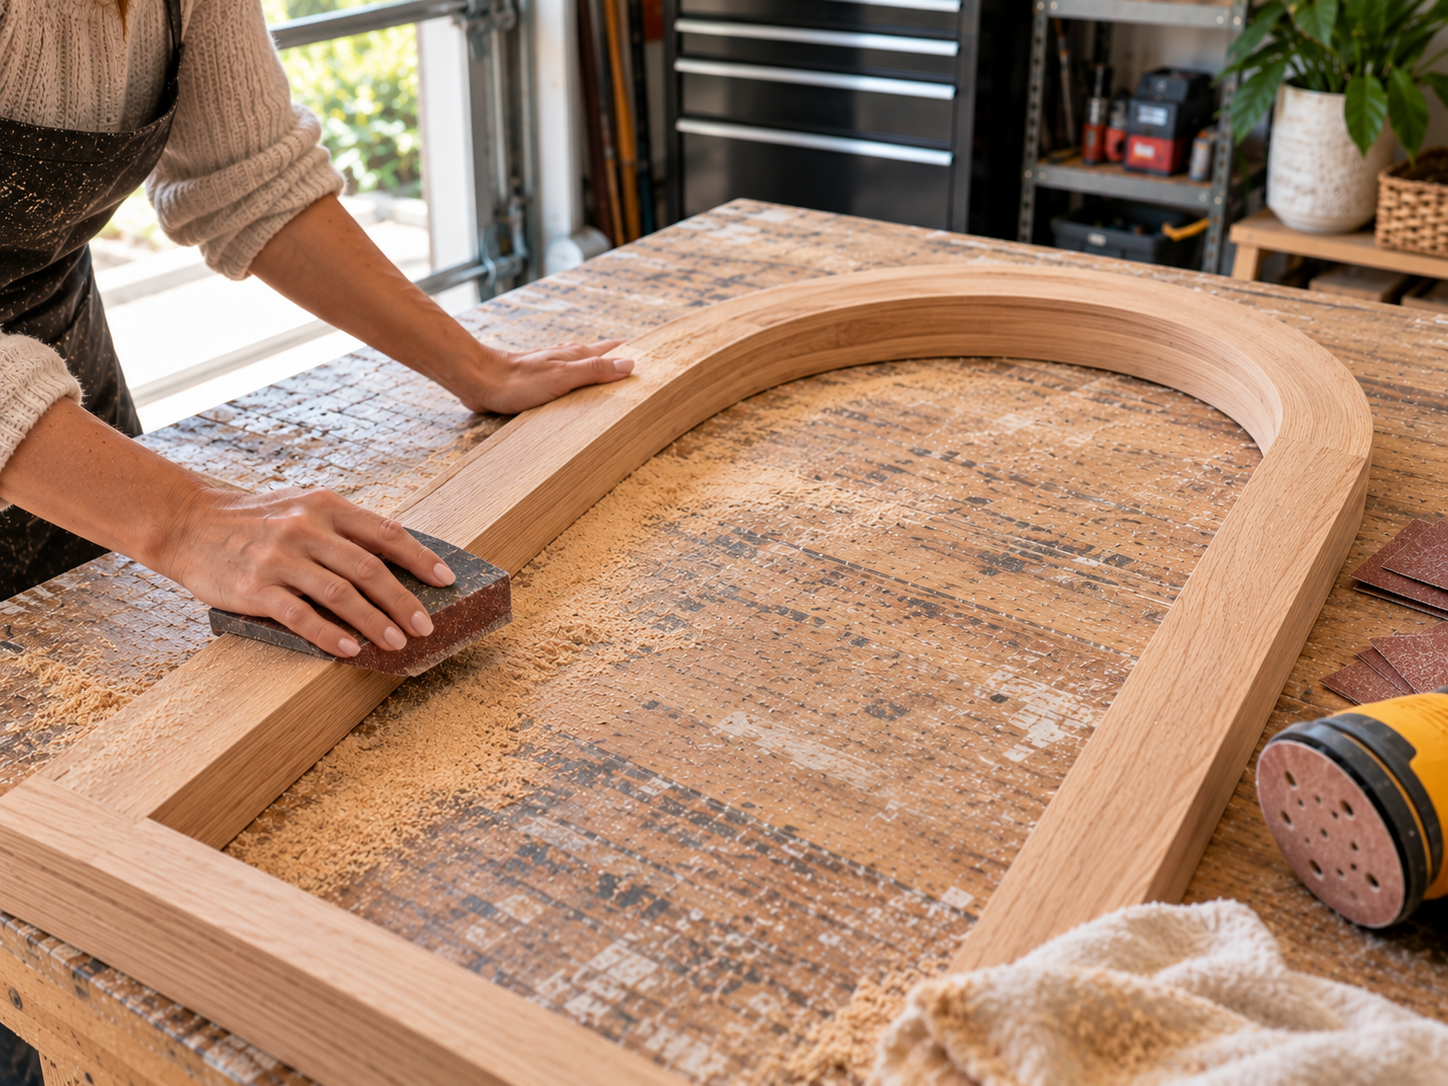
Step 5: Sand and Finish the Frame
After the glue has fully cured, begin the extensive sanding process. Start with 80-grit sandpaper to level any uneven spots between the oak and plywood, and smooth out any rough edges. Progress to 120-grit, then finish with 220-grit sandpaper for a silky-smooth surface. Carefully fill any small gaps, nail holes, or imperfections with stainable wood filler and sand flush once dry. Vacuum away all sanding dust. Finally, apply your chosen wood stain according to product instructions, wiping off any excess, and then several coats of polyurethane or other protective finish for durability and a lasting shine. Allow proper drying and curing time between each coat.
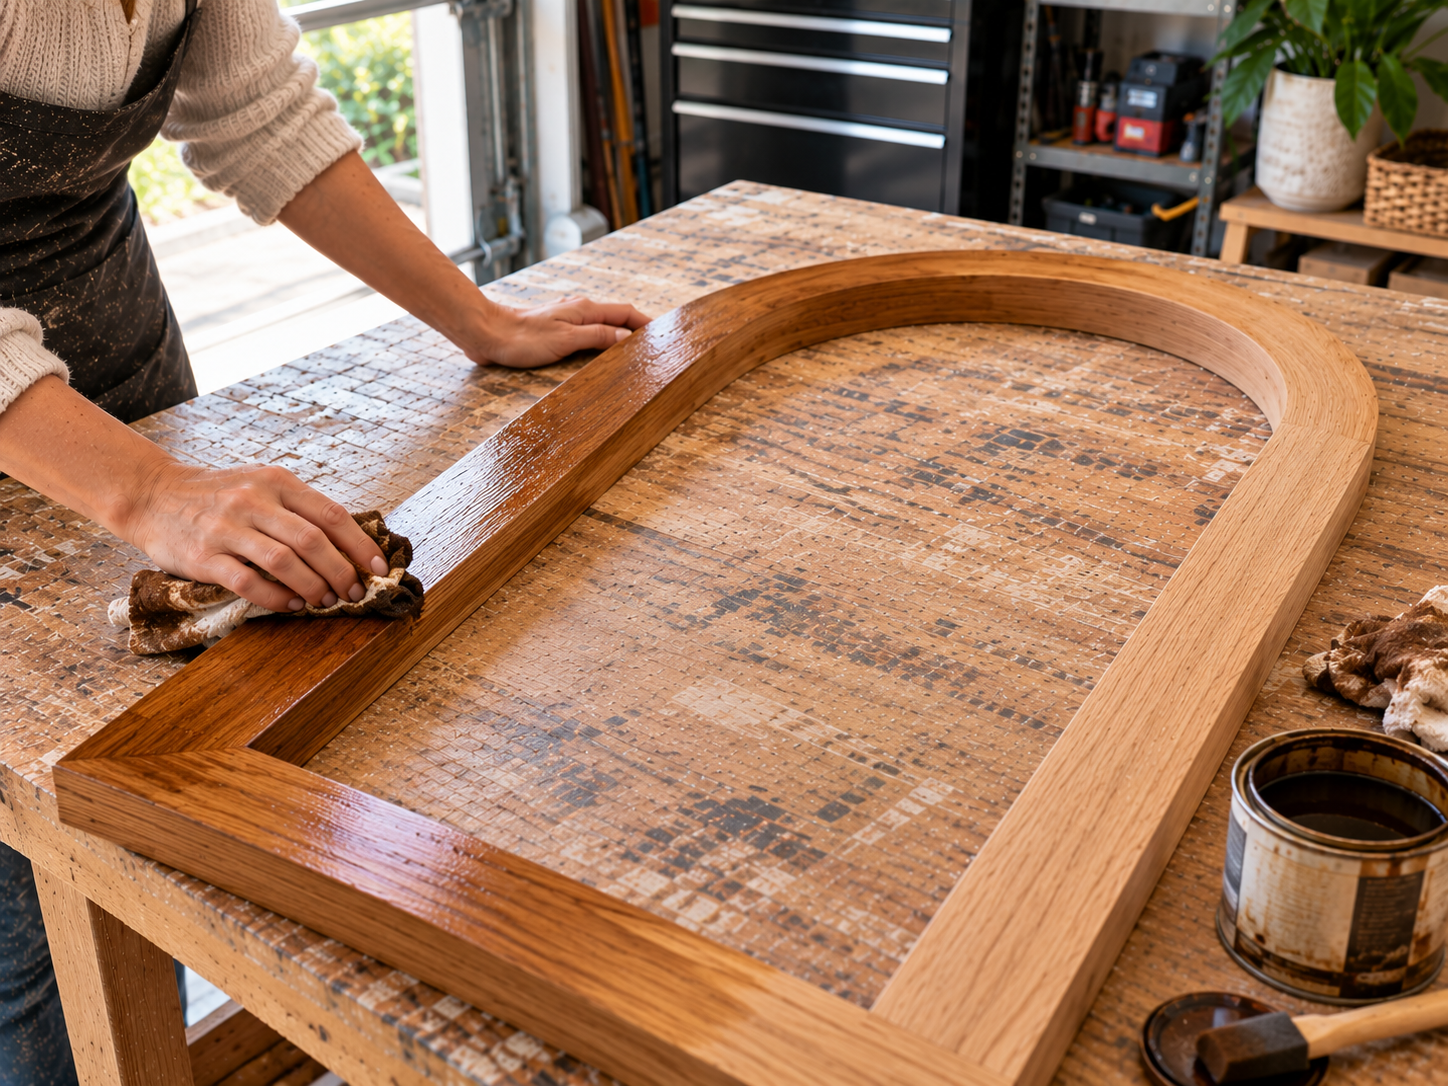
Step 6: Install Mirror Glass
Once the frame's finish is completely cured and dry, it's time for the final, delicate step. Carefully place the large arched mirror glass into the rabbet you created in the frame. Ensure it fits snugly without force. Secure the mirror in place using specialized mirror clips or a high-quality mirror adhesive, following the manufacturer's instructions. If using clips, ensure they are evenly spaced around the perimeter of the mirror for even pressure. Exercise extreme caution and wear appropriate gloves when handling large glass to prevent injury.
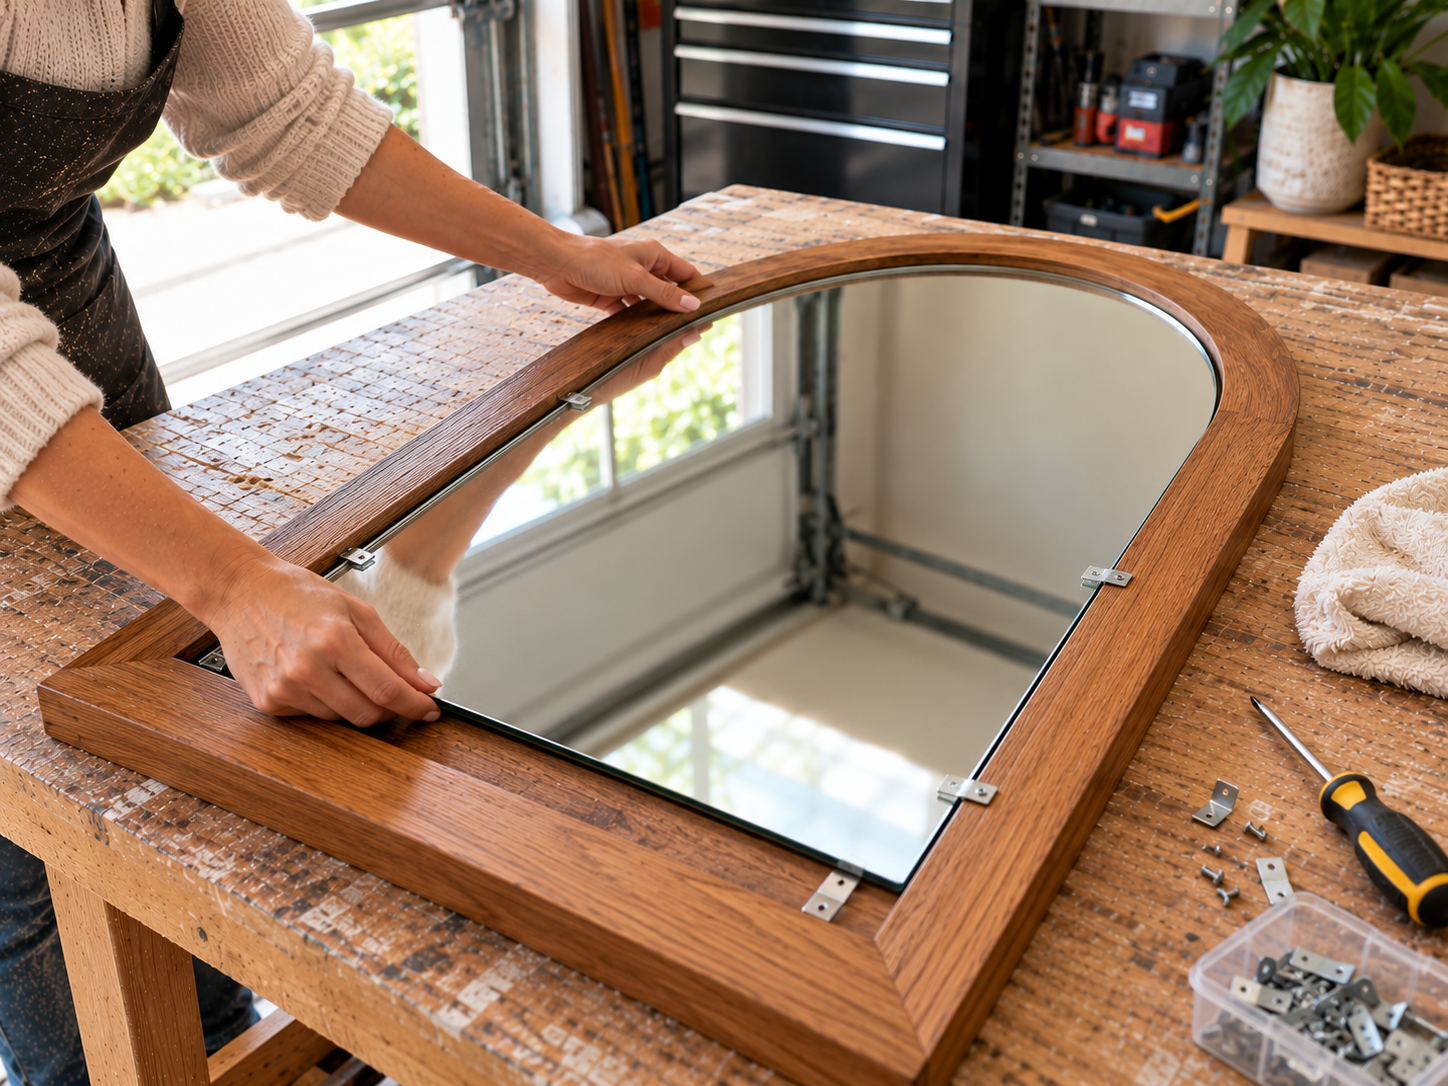
Displaying Your Custom Arched Floor Mirror
The completed arched oak frame floor mirror provides a significant focal point in any living room or bedroom. This custom-built piece offers both functional reflection and a strong decorative statement. Enjoy the lasting beauty of a handmade item that enhances your home decor.
Related project collection: Farmhouse Mirror Wall Decor DIY in 7 Simple Steps
Practical Questions About This Project
What is the skill level required for this project?
This is classified as an advanced woodworking project, requiring experience with power tools like jigsaws and routers, as well as precise assembly and finishing techniques.
What type of wood is used for the frame?
The core of the frame is constructed from layered plywood sheets, with solid oak boards used for the visible front and back faces, providing a warm and elegant finish.
Can the mirror's dimensions be customized?
Yes, the initial step involves designing and tracing a full-size template, which allows for customization to match your desired mirror glass dimensions and overall frame size.
What is a rabbet and why is it needed?
A rabbet is a step-shaped recess routed along the inside edge of the front oak piece. It creates a secure shelf for the mirror glass to sit in, ensuring it is flush and safely contained within the frame.
What finishes are recommended for the oak frame?
After thorough sanding, applying a wood stain of your choice enhances the oak's natural grain, followed by several coats of polyurethane or another protective finish for durability and shine.
Browse wood supplies at Dollar Tree.

Leave a Reply