
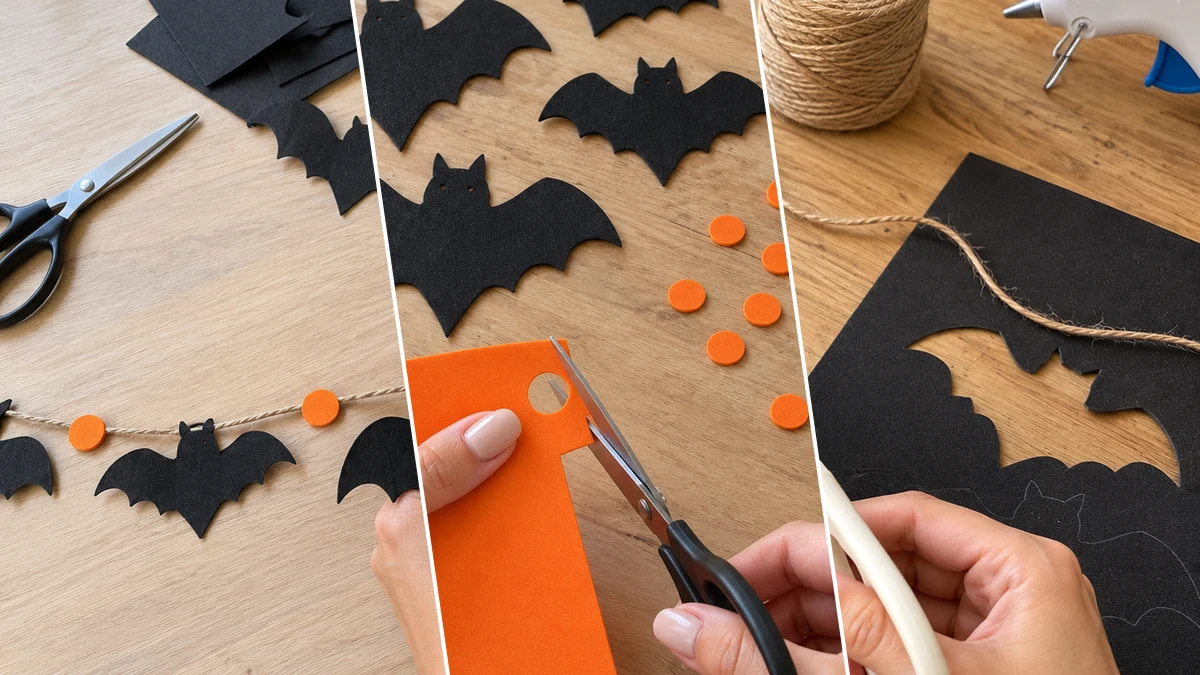
Add a festive touch to your Halloween decor with a charming bat and dot garland. This easy craft creates a playful display using black craft foam bats and bright orange accents strung on natural jute twine. It's a simple way to bring a touch of spooky fun to any room.
Project at a Glance
- Difficulty: Easy
- Estimated active time: 30 minutes to 40 minutes (drying and curing waits not included)
- Estimated component cost: $1 to $3 (reusable tools and general supplies excluded)
- Main material: Foam
- Suggested placement: Mantel, Wall
Why This Bat Garland is Perfect for Halloween Decor
This Halloween bat and dot garland offers a delightful way to decorate for the season. Featuring hand-cut black bats with scalloped wings and vibrant orange accent dots, it brings a spooky yet fun aesthetic to any space. Display it draped across a fireplace mantel, along a doorway, or as a festive accent on a wall.
Crafted primarily from black and orange craft foam and natural jute twine, this project is an easy undertaking. The estimated active time for this garland is approximately 30 to 40 minutes, making it a quick addition to your seasonal decorations. The estimated component cost is between $1 and $3, excluding reusable tools and general supplies.
Materials for DIY Halloween Bat and Dot Garland for Mantel or Wall with Craft Foam
- Black Craft Foam Sheets (or Felt)
- Orange Craft Foam Sheet (or Paper)
- Natural Jute Twine
- Hot Glue Gun and Glue Sticks
- Scissors
- Pencil
Need another material? Browse current craft supplies and deals.
How to Make Your Halloween Bat and Dot Garland
Creating this festive Halloween garland involves simple cutting and gluing steps. Follow these instructions to assemble your black craft foam bats and orange dots onto jute twine. Adult supervision is recommended for hot glue use, especially if crafting with children.
Step 1: Create Bat Templates and Trace
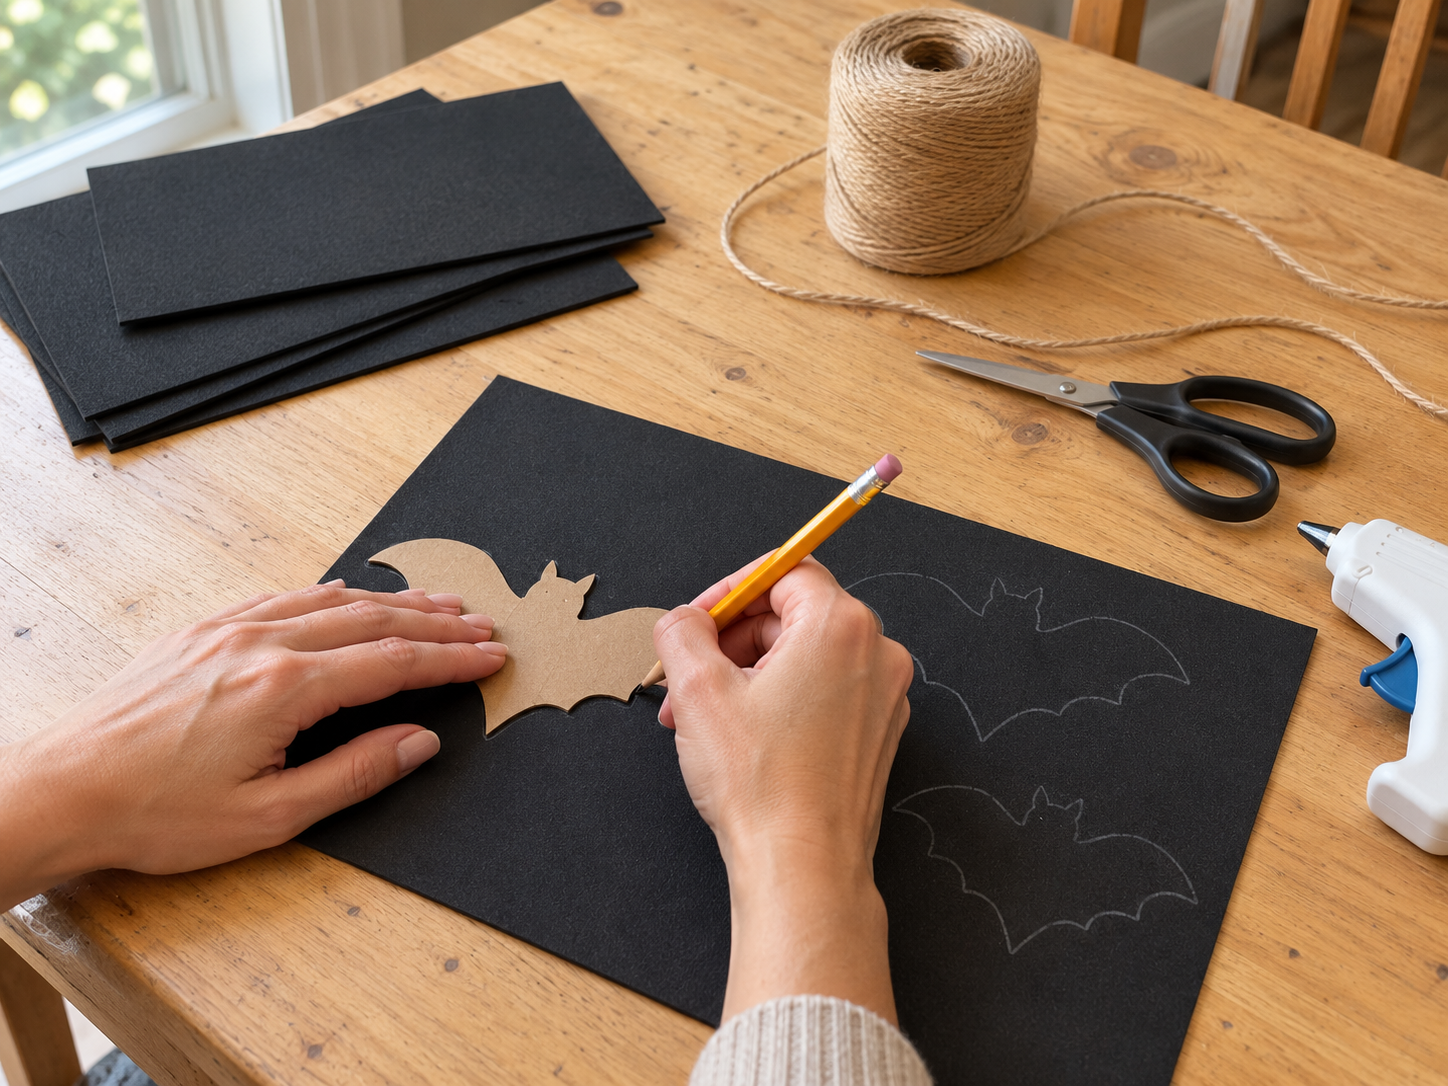
Begin by gathering your black craft foam or felt. Using a pencil, freehand draw a few bat shapes directly onto the foam/felt in different sizes – aim for about two to three distinct sizes. Focus on a classic bat silhouette with scalloped wings. If you prefer, you can draw one perfect bat on a piece of scrap paper or cardboard to use as a template, then trace it multiple times. You'll need about 9-12 bats for a typical mantel garland, so trace enough to have a good mix.
Step 2: Cut Out Bat Shapes
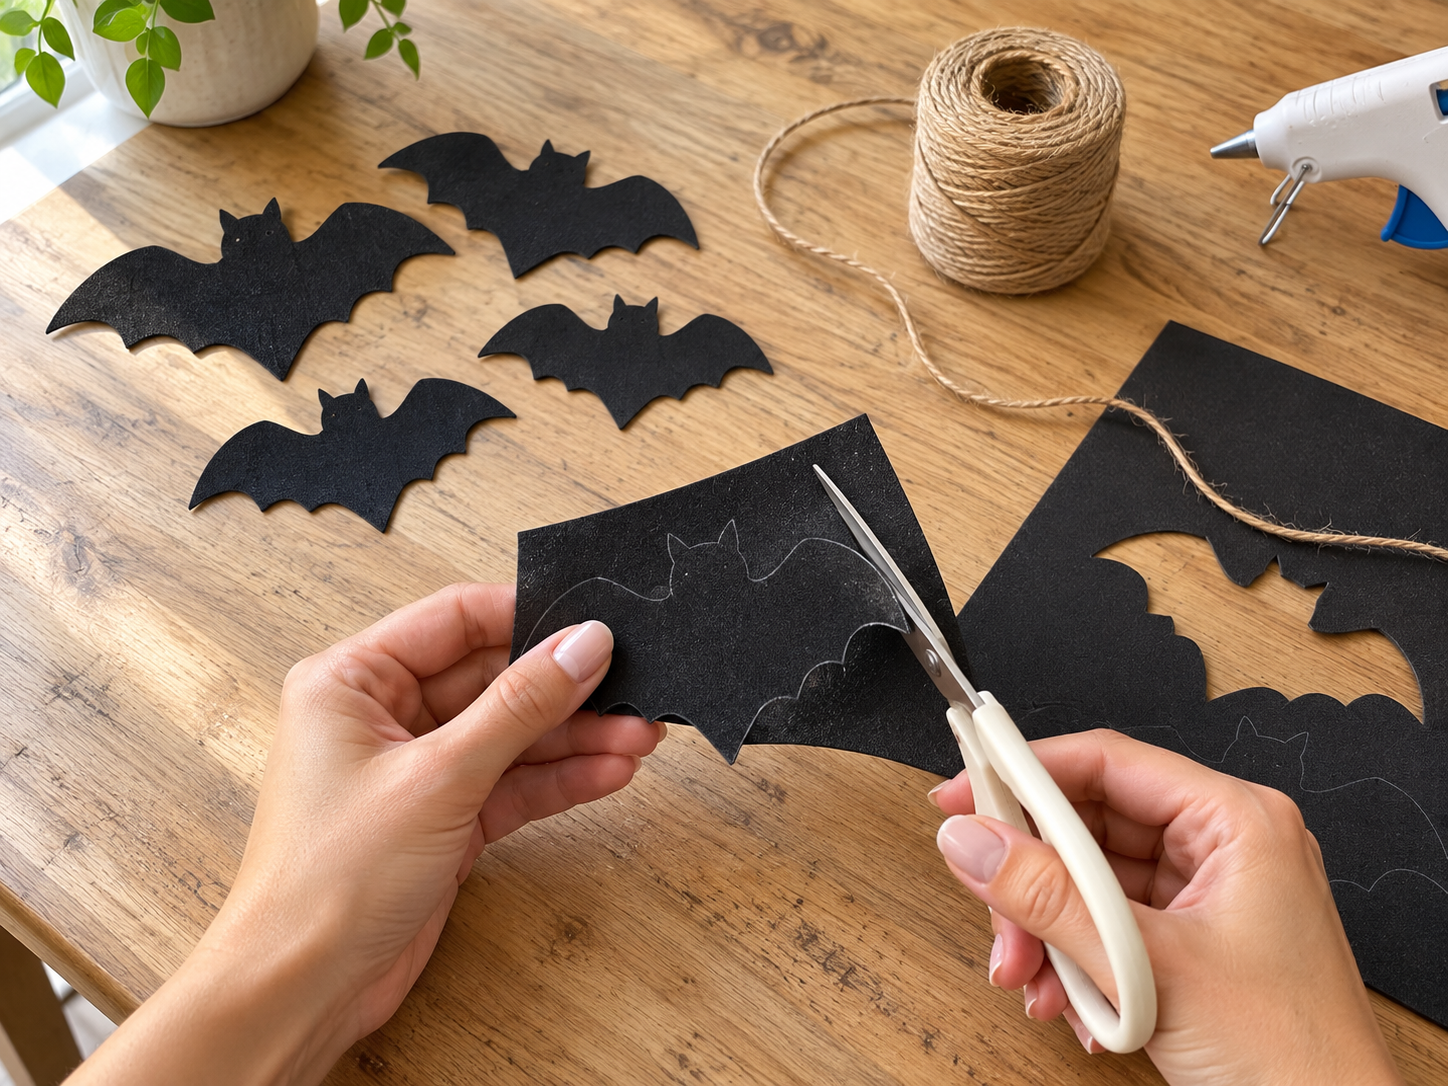
Carefully cut out all the traced bat shapes from the black craft foam or felt using sharp scissors. Take your time to follow the lines, especially the scalloped edges of the wings, to achieve neat and distinct bat silhouettes. The varying sizes will add visual interest to your finished garland.
Step 3: Cut Orange Accent Dots
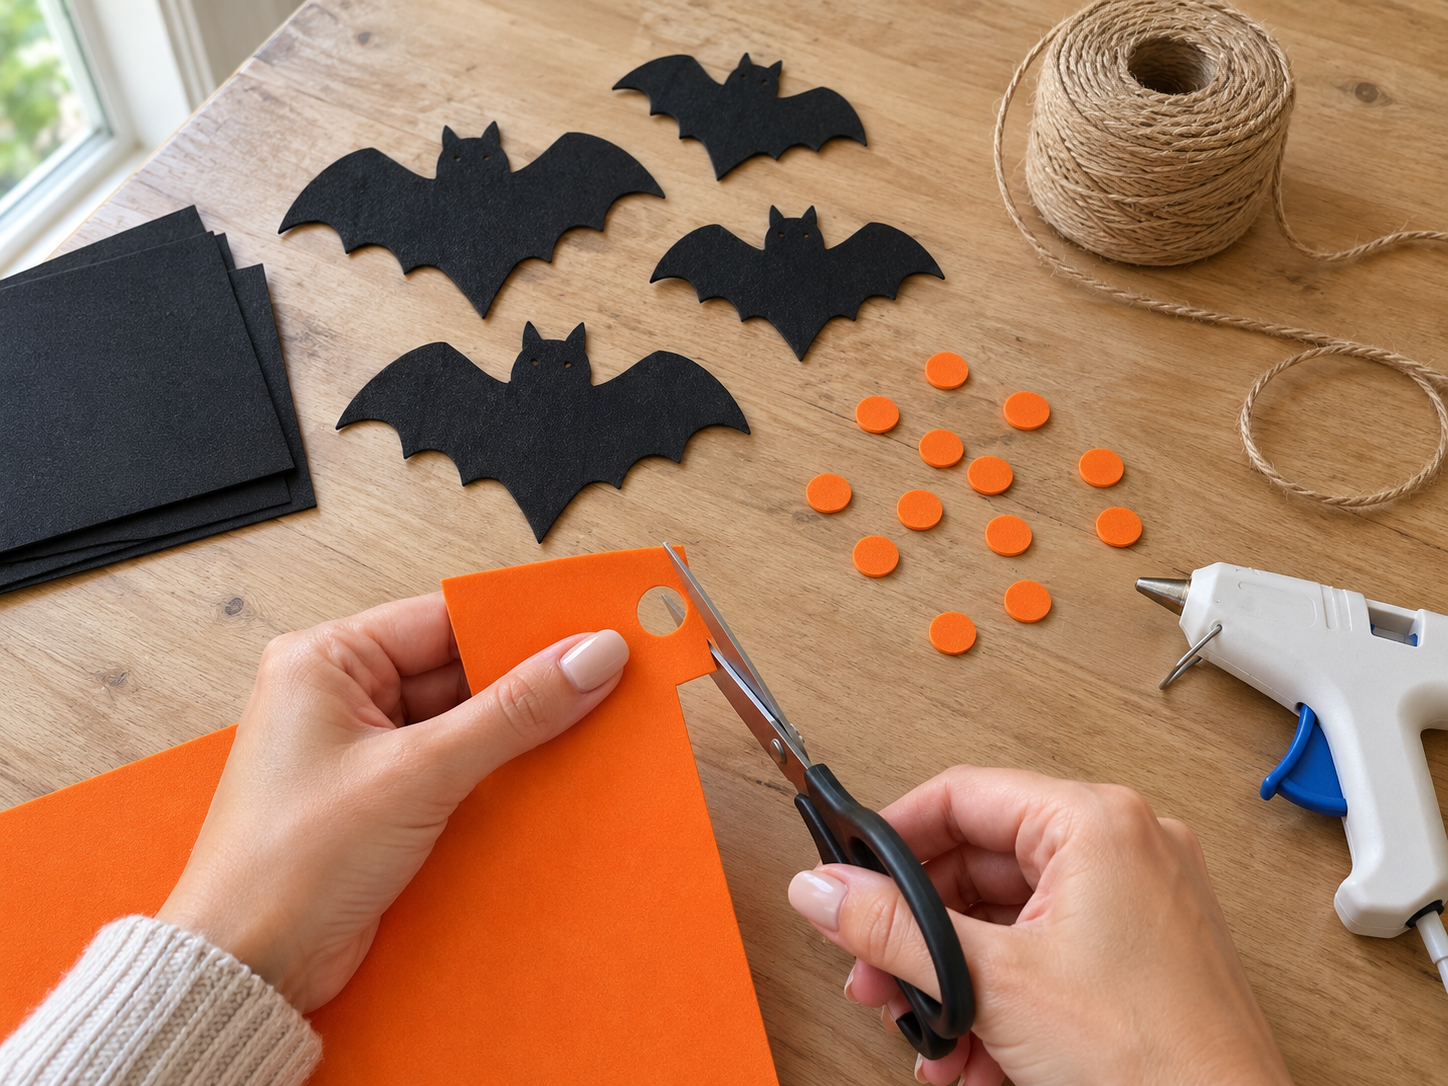
Now, take your orange craft foam or paper. Using your scissors, carefully cut out small circular dots. These dots should be noticeably smaller than your smallest bat, acting as a pop of color between the bats. Aim for about 8-10 dots, slightly fewer than the number of bats you cut out. Precision isn't as critical here, but try to make them generally uniform in size.


Step 4: Attach Bats to Twine
Lay out your jute twine on a flat surface, extending it to the desired length for your garland. Arrange your cut bats along the twine to plan their spacing. Once you're happy with the arrangement, heat up your hot glue gun. Apply a small dot of hot glue to the back of each bat's 'head' or top-center, then press it firmly onto the jute twine. Ensure the bats are facing the same direction and are securely attached.
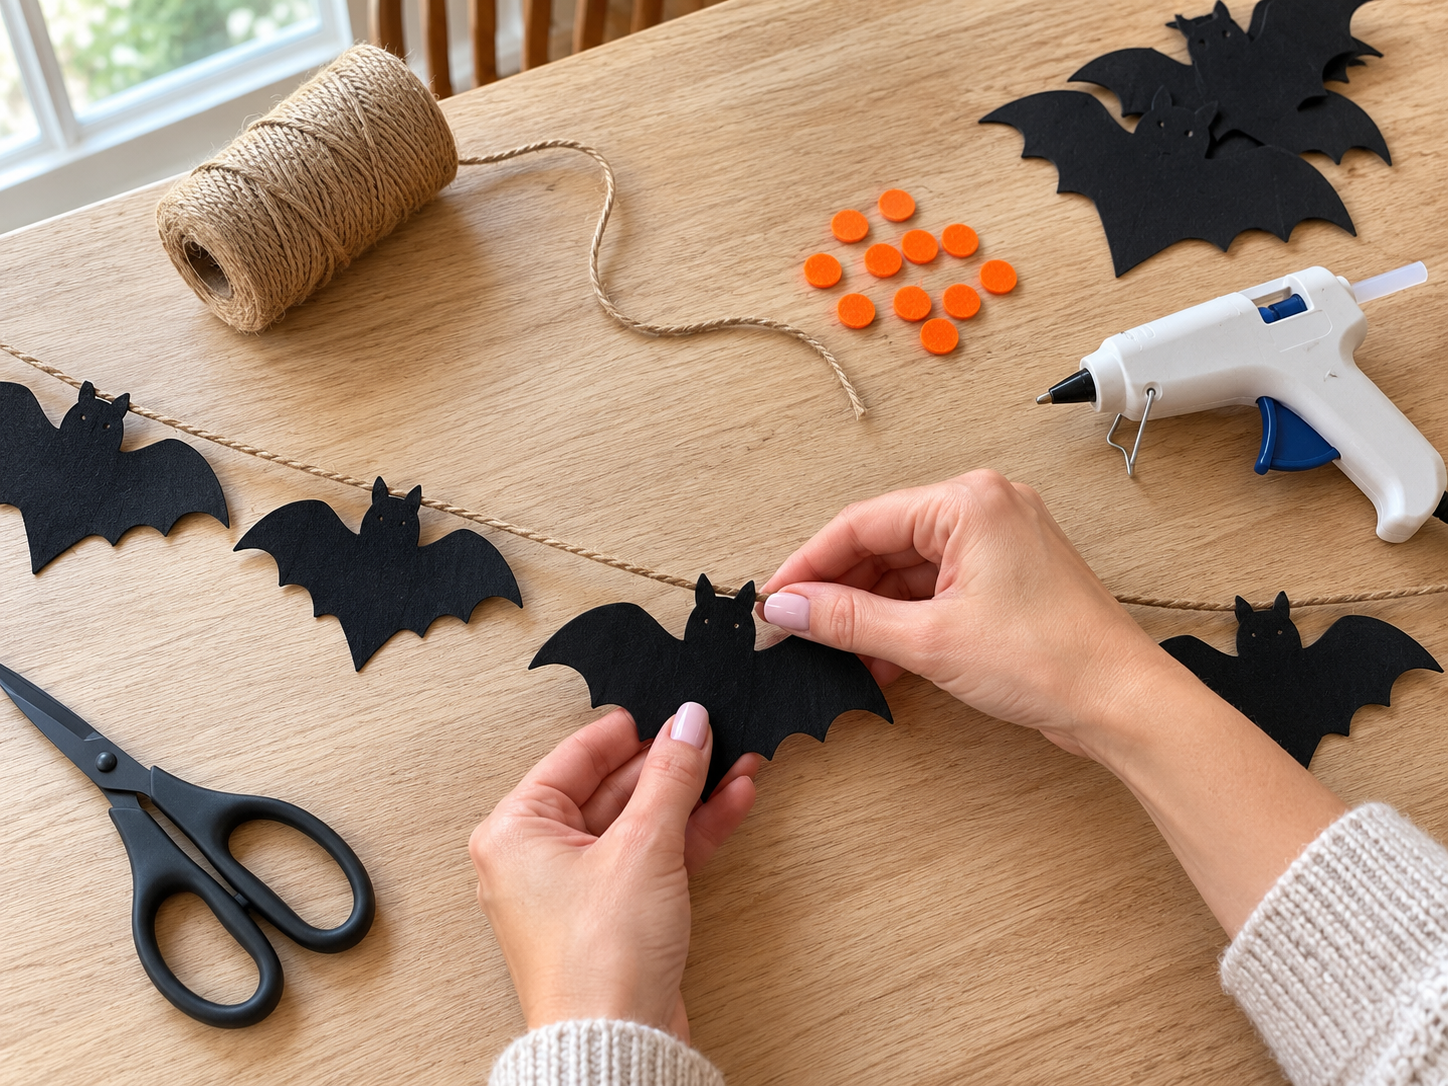
Step 5: Add Orange Dots and Finish
With your bats securely glued, it's time to add the pops of orange. Position the small orange dots along the twine, typically in the spaces between the bats. Use small dots of hot glue to attach them securely to the twine. Once all dots are attached, check your garland for any loose pieces or areas needing more glue. Your festive Halloween Bat and Dot Garland is now complete and ready to hang!
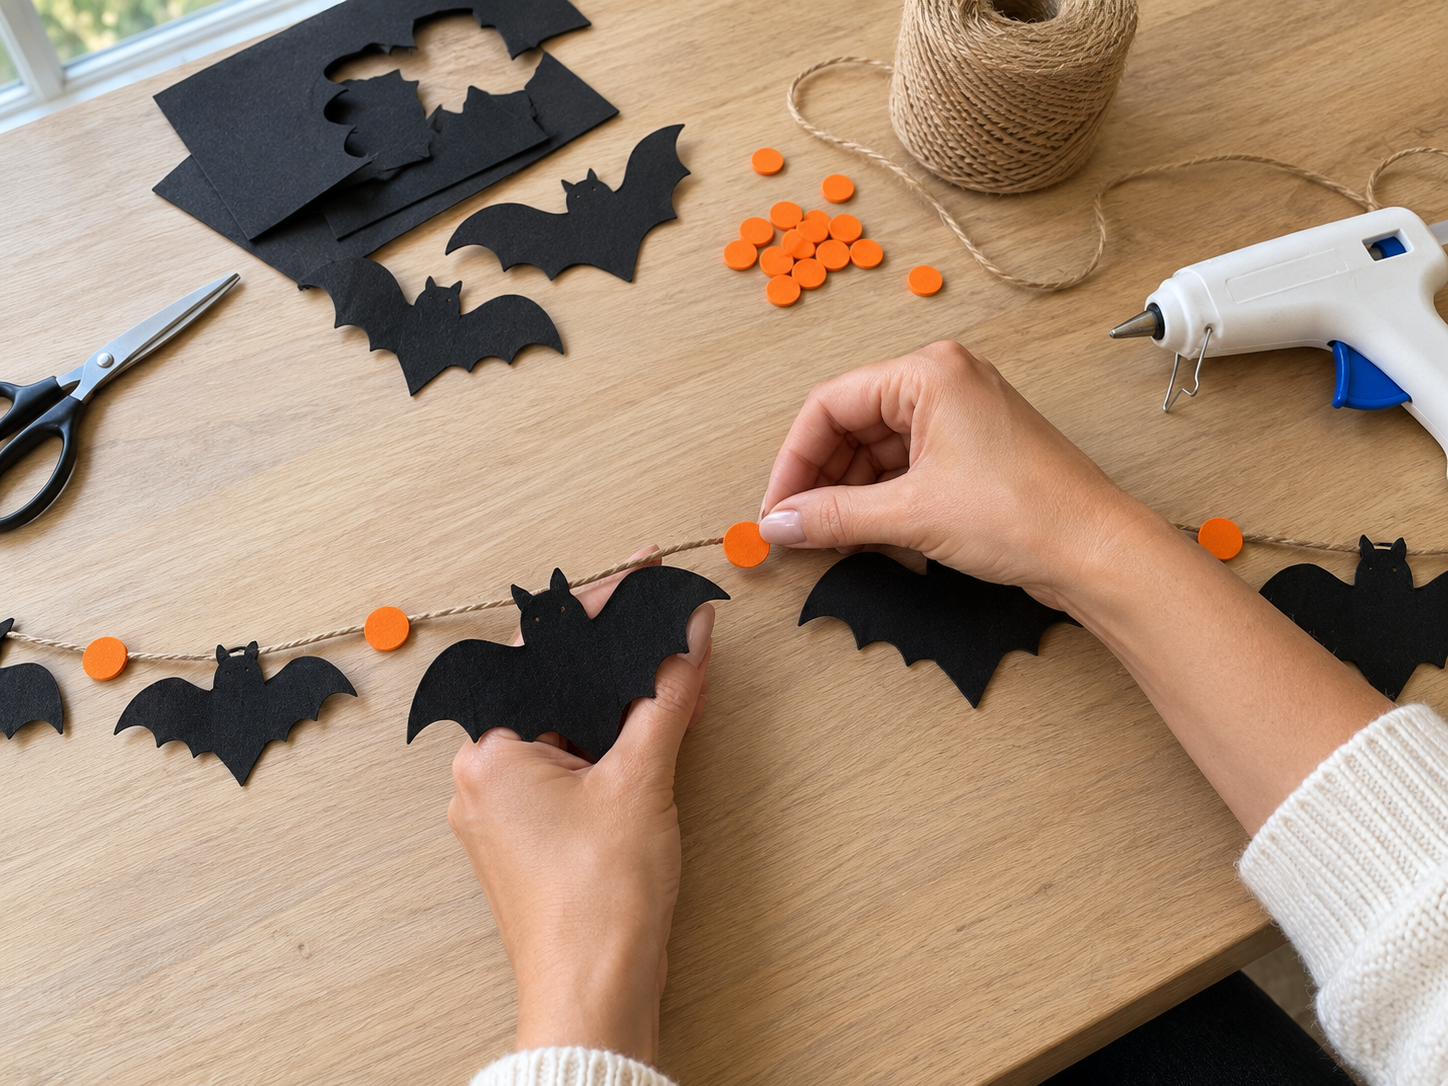
Displaying Your Halloween Bat Garland
Once completed, your Halloween bat and dot garland is ready to be displayed. Hang it to instantly add a charming, spooky, yet fun touch to your seasonal decor. Enjoy this handmade accent on a mantel, wall, or across a doorway.
Related project collection: DIY Spooky Haunted House Luminaria Craft for Halloween Decor
Practical Questions About This Project
How many bats should be cut for the garland?
For a typical mantel garland, about 9-12 bats in a mix of two to three distinct sizes are suggested to add visual interest.
How should the bats and dots be spaced on the twine?
First, arrange the bats along the twine to plan their spacing. Then, the orange dots are typically placed in the spaces between the bats to add a pop of color.
What is the recommended method for attaching the bats and dots to the twine?
A small dot of hot glue applied to the back of each bat's 'head' or top-center, and similar small dots for the orange accents, will secure them firmly to the jute twine.
Is this a kid-friendly craft?
Yes, this craft is considered kid-friendly, with an adult handling the hot glue gun for safety.
Search Dollar Tree for foam supplies.

Leave a Reply