
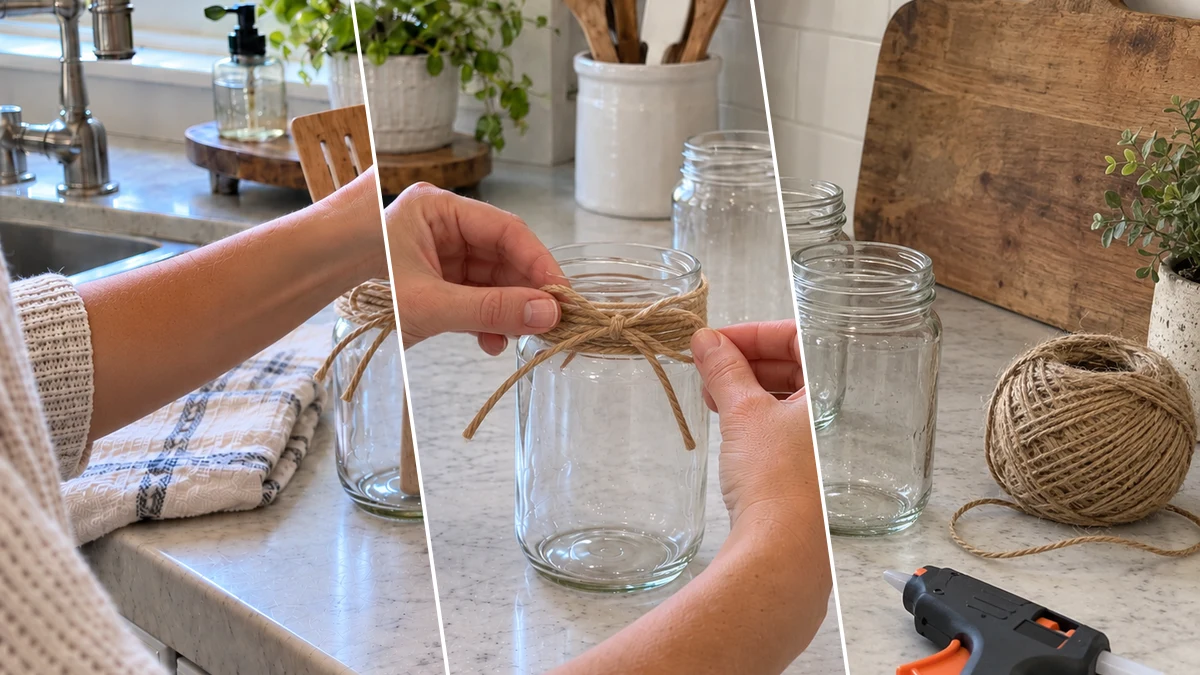
Bring a touch of rustic charm and order to your kitchen counters with these simple jute twine mason jar organizers. Clear glass mason jars are transformed into stylish holders for utensils, brushes, or dry pantry staples. This easy project offers a practical and decorative way to manage kitchen clutter.
Project at a Glance
- Difficulty: Easy
- Estimated active time: 25 minutes to 35 minutes (drying and curing waits not included)
- Estimated component cost: $3 to $5 (reusable tools and general supplies excluded)
- Main material: Glass
- Suggested placement: Kitchen Counter, Shelf
Why Rustic Jute Twine Organizers Enhance Your Kitchen
Kitchen counters can quickly become overwhelmed with cooking tools, brushes, and various small items. These jute twine mason jar organizers provide a straightforward and visually appealing solution to keep essentials tidy and within reach. Their design adds a consistent, cohesive look that can elevate the overall aesthetic of your kitchen.
This project offers a budget-friendly approach to home organization, as key materials like mason jars, jute twine, and hot glue are noted as available from Dollar Tree. The ease of finding these supplies makes it accessible for many crafters. The natural texture of jute twine brings warmth and an earthy element, fitting well with farmhouse, rustic, or even minimalist decor styles.
Beyond just organizing, these jars serve as versatile decor pieces. They are functional for everyday use and can be easily repurposed. Whether holding cooking utensils, craft supplies, or decorative elements, they offer flexibility in how they are used and displayed throughout your home.
Materials for DIY Jute Twine Mason Jar Organizers for Rustic Kitchen Counters
- Clear Glass Mason Jars (various sizes)
- Natural Jute Twine
- Hot Glue Gun with Glue Sticks
- Scissors
Need another material? Browse current craft supplies and deals.
How to Craft Jute Twine Mason Jar Organizers
Creating these jute twine mason jar organizers is a straightforward process, ideal for crafters of all skill levels. The steps involve preparing the jars, securing and wrapping the twine, and adding a decorative bow. Follow these instructions to transform simple jars into functional and attractive kitchen decor.
Step 1: Prepare Your Mason Jars
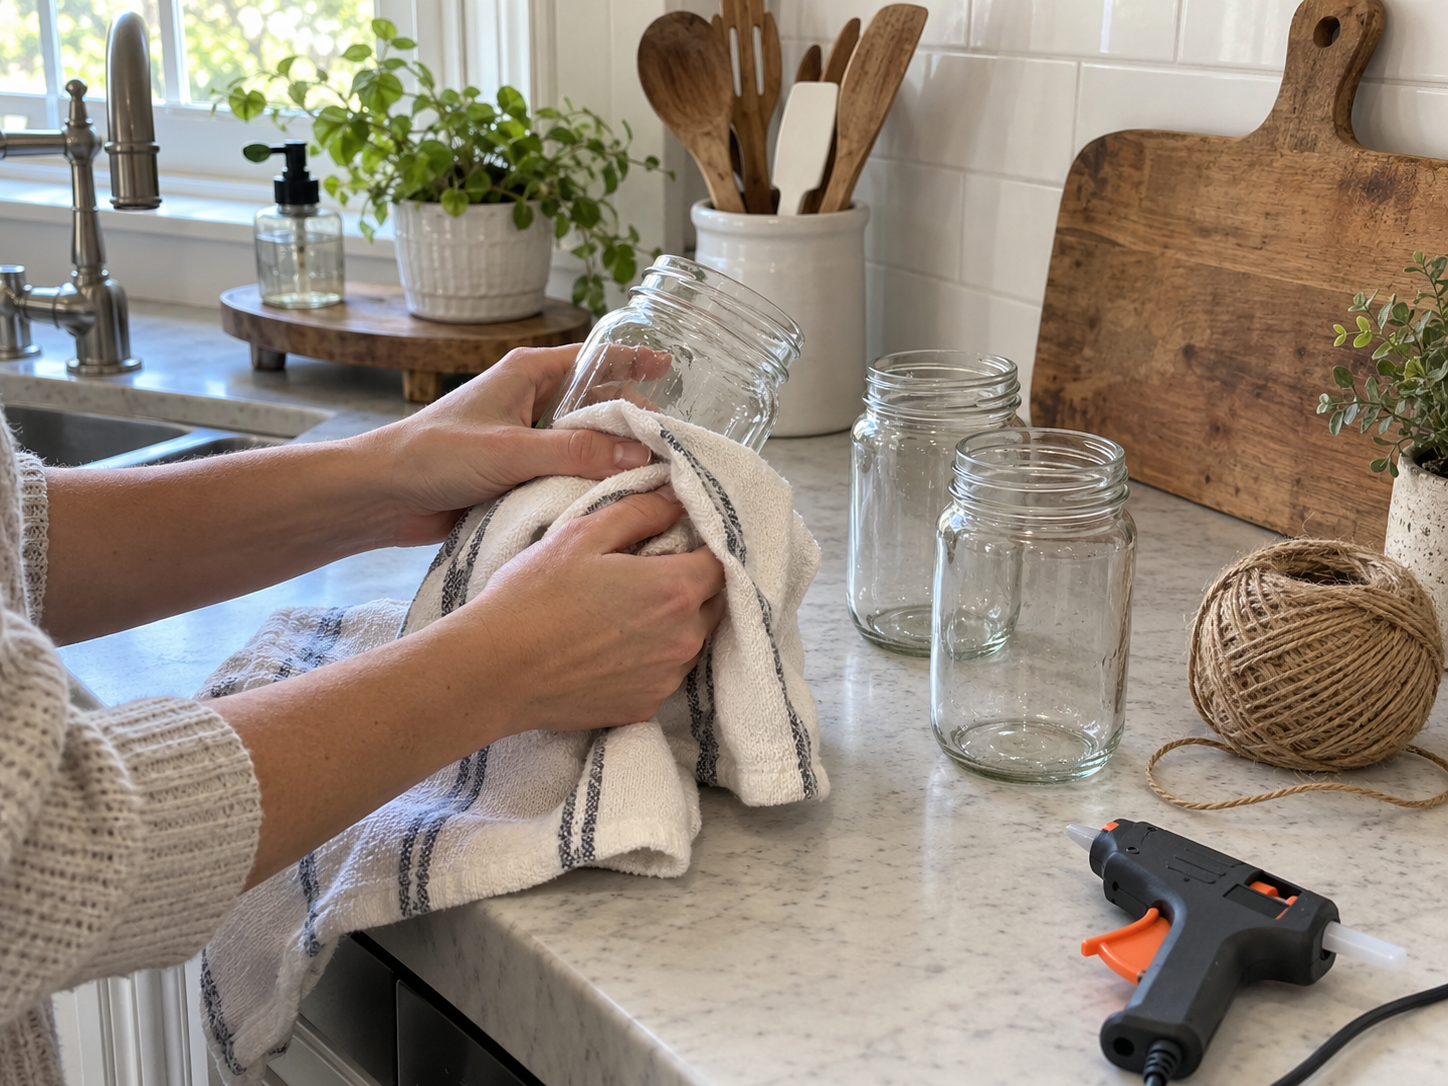
Before starting your craft, ensure your mason jars are clean and completely dry. Wash them with soap and water, then let them air dry or thoroughly wipe them down with a clean towel. This step is crucial for preparing the glass surface for optimal glue adhesion, ensuring your twine stays securely in place.
Step 2: Secure the Twine Start
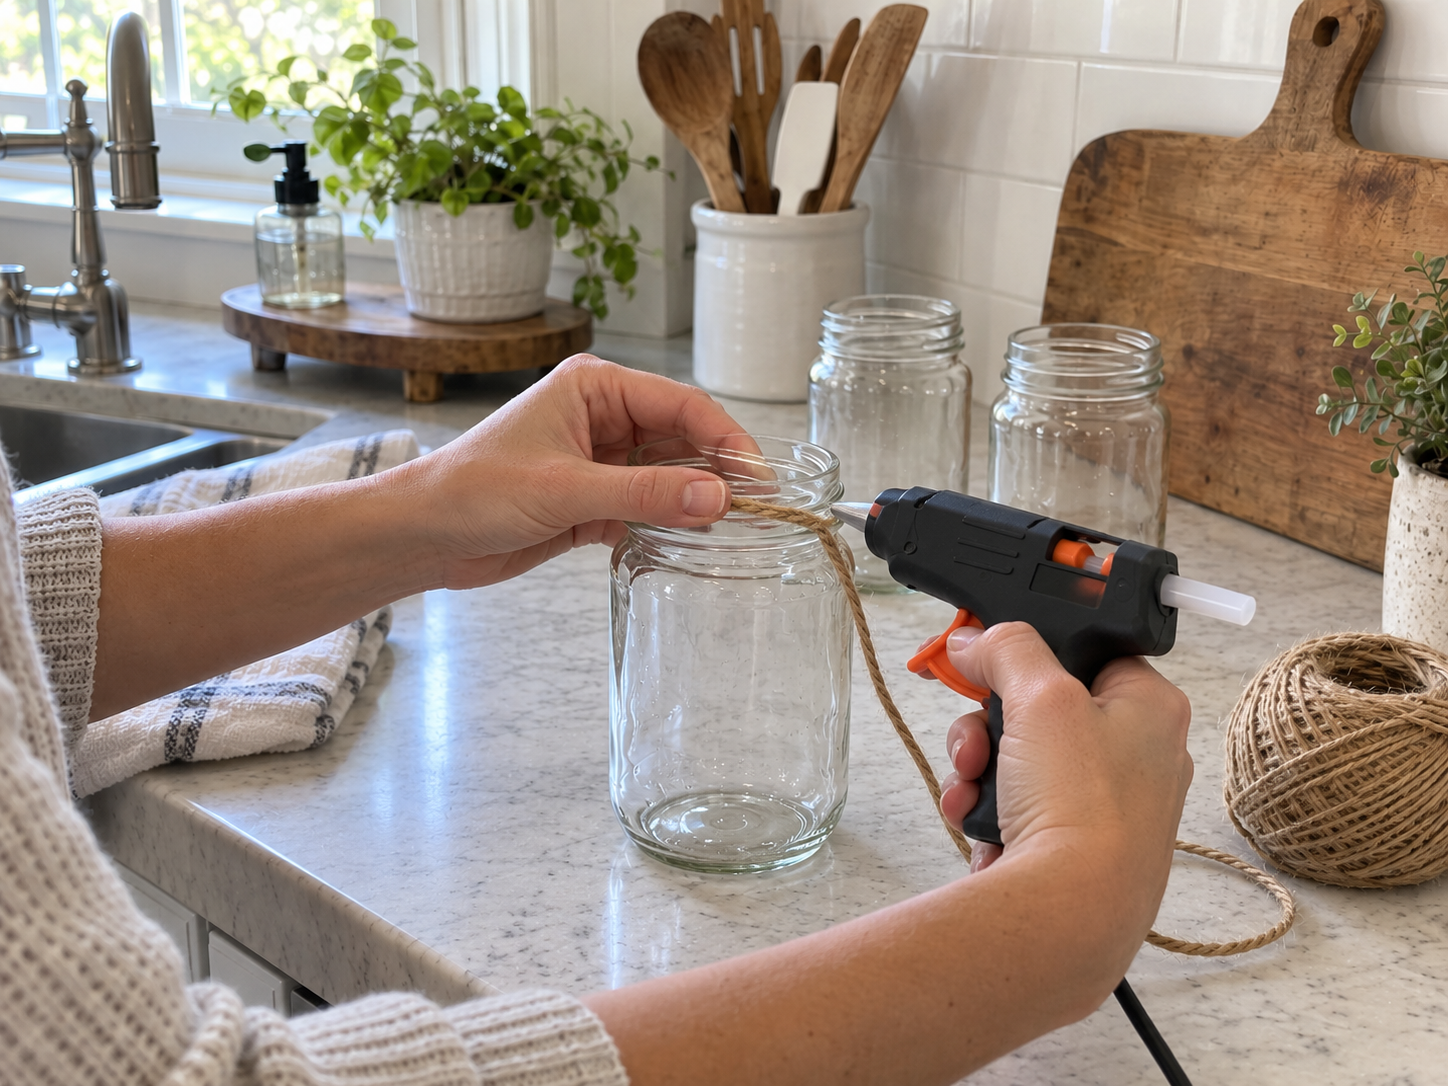
Using a hot glue gun, apply a small dot of hot glue to the upper neck of one mason jar, just below the rim. Immediately press one end of your jute twine firmly into the glue, holding it in place for a few seconds until the glue sets. This creates a secure and inconspicuous starting point for all your subsequent wrapping.
Step 3: Wrap the Jar's Neck
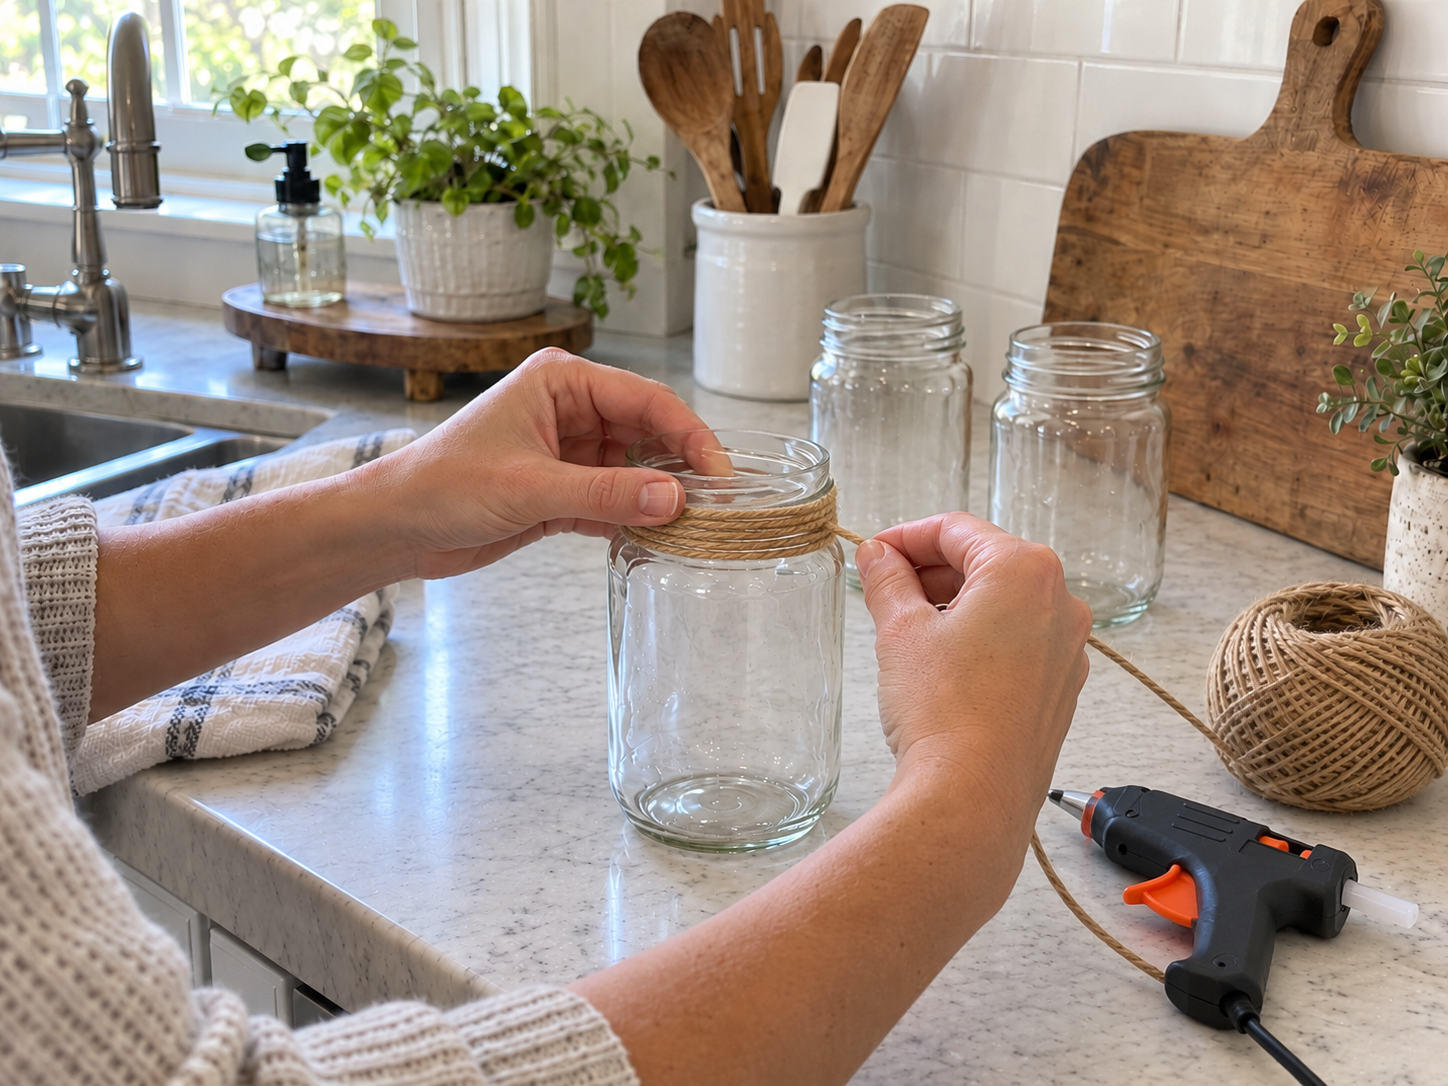
With the start of the twine secured, begin wrapping the jute twine tightly and evenly around the neck of the mason jar, working your way downwards. Maintain consistent tension to ensure a neat and uniform appearance. For added security, apply a tiny dot of hot glue every few wraps or as needed to keep the twine layers securely in place and prevent them from slipping. Continue this process until you've created a thick, decorative band of twine covering the desired portion of the jar's neck.


Step 4: Tie a Decorative Bow
Once you've wrapped the desired amount of twine, carefully trim the working end, leaving enough length (approximately 6-8 inches) to tie a small, decorative bow. Tie a simple knot first, then form two loops and tie them together to create your bow, adjusting the loops and tails until you're happy with its appearance and symmetry. If needed, secure the knot or the bow's base with another small, hidden dot of hot glue to prevent it from unraveling or shifting. Trim any excess twine ends close to the bow for a clean, polished finish.
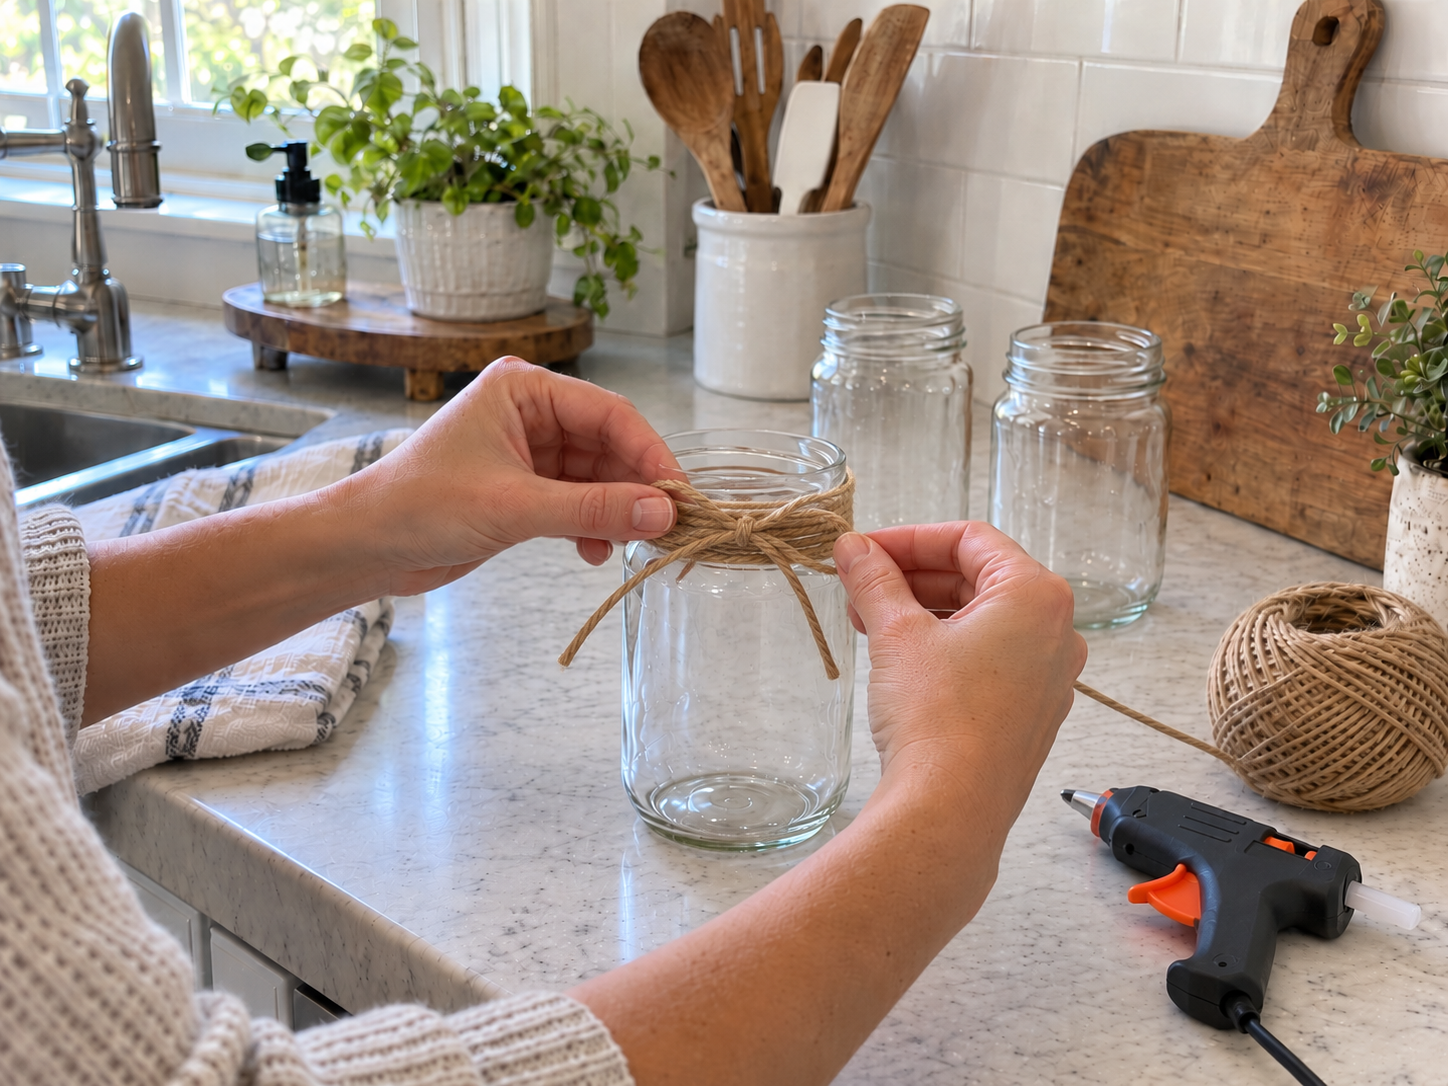
Step 5: Fill and Display
Repeat the twine wrapping and bow-tying process for any additional mason jars you wish to decorate. Once all your jars are complete, it's time to fill them with your chosen kitchen essentials. These versatile organizers are perfect for holding a variety of items such as wooden spoons, whisks, spatulas, dish brushes, or even dry pantry staples like pasta or beans. Arrange your newly decorated jars on your kitchen counter or open shelving for a functional and aesthetically pleasing display that enhances your home's farmhouse charm.
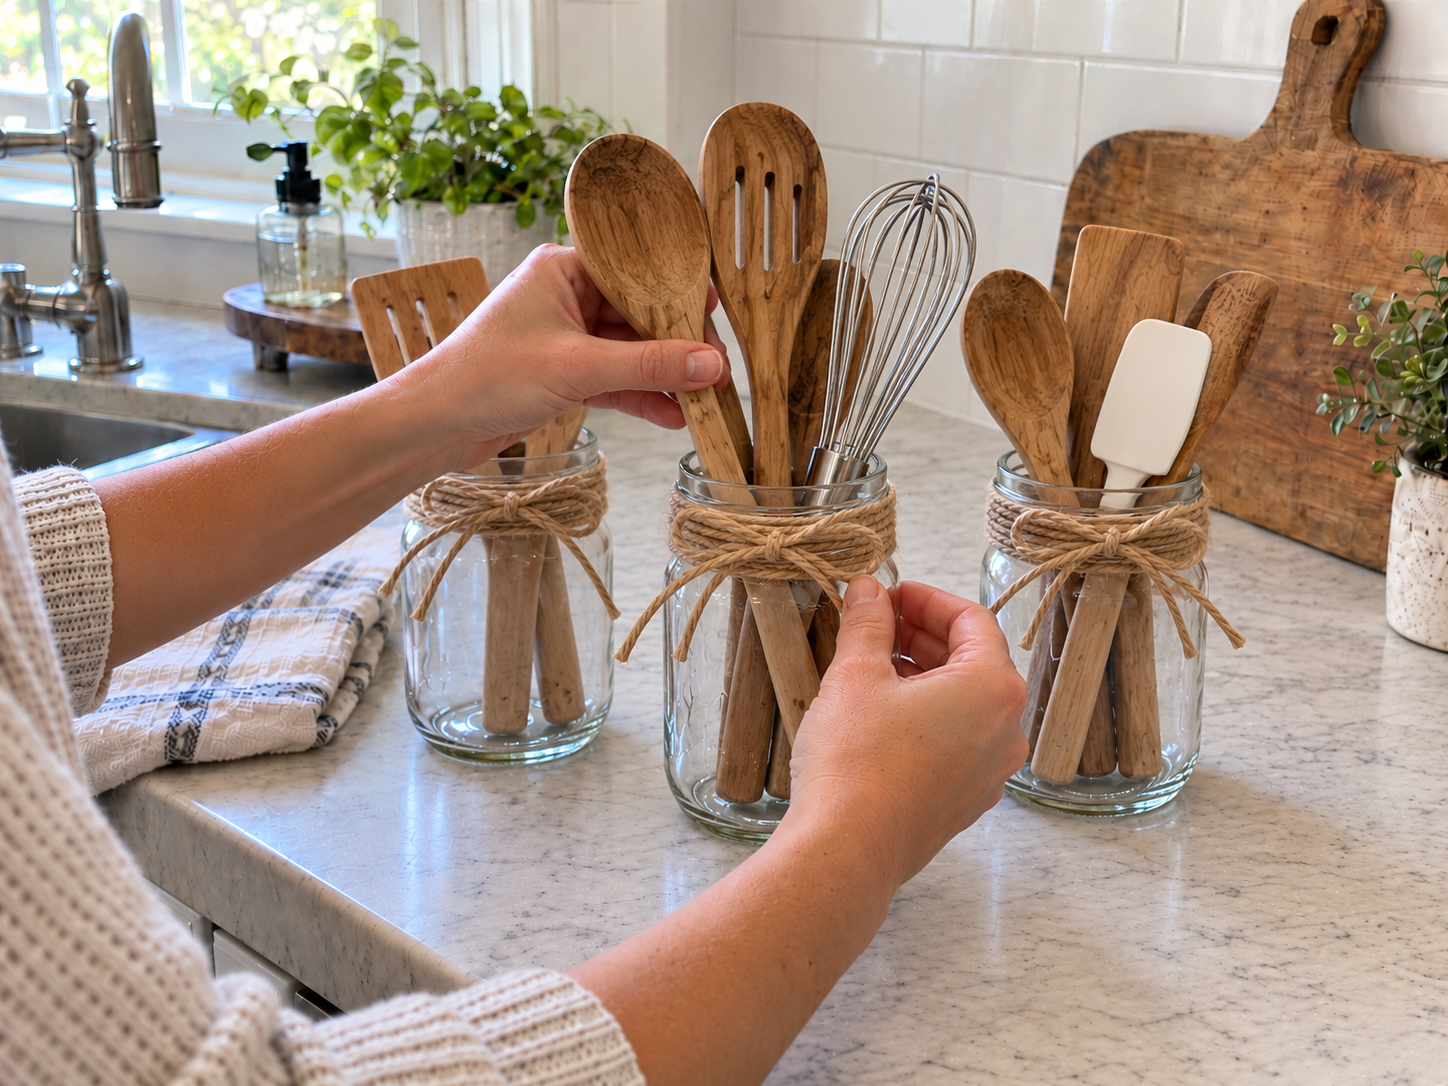
Display Your New Rustic Kitchen Organizers
With these jute twine mason jar organizers, your kitchen counters can achieve a blend of neatness and rustic style. Enjoy the satisfaction of a clutter-free space with a handmade touch. These versatile jars offer both practical storage and a charming decorative element.
Related project collection: Rustic Farmhouse Kitchen Organizer Caddy (Dollar Tree DIY)
Practical Questions About This Project
Can different sizes of mason jars be used for this project?
Yes, the craft record indicates that clear glass mason jars of various sizes can be used, allowing for a customized set of organizers.
How is the jute twine secured to the mason jar?
The jute twine is secured by applying a small dot of hot glue to the jar's neck to start the wrap. Additional small dots of hot glue can be used every few wraps to ensure the twine layers stay in place.
What aesthetic do these twine-wrapped jars complement?
These jute twine mason jar organizers are designed to add a rustic and farmhouse style touch to kitchen counters or open shelving, complementing similar decor themes.
What is the estimated active crafting time for this project?
The estimated active crafting time for this project is between 25 and 35 minutes. This estimate excludes unattended drying and curing times.
Browse glass supplies at Dollar Tree.

Leave a Reply