
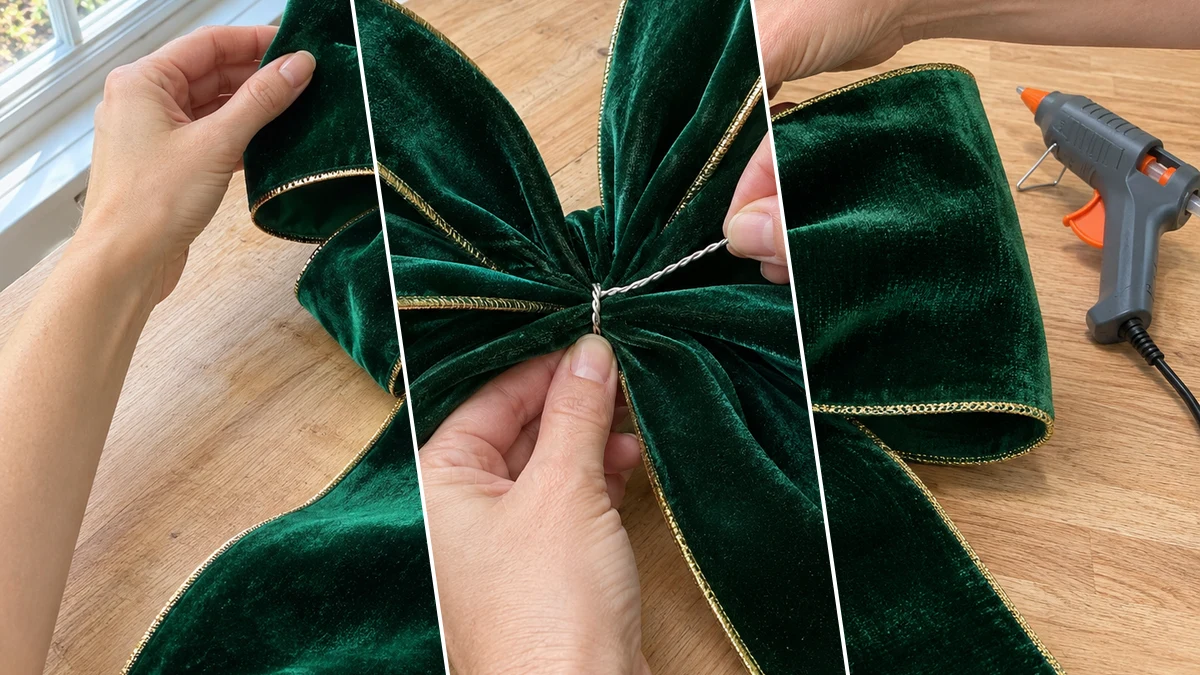
Create a striking, oversized emerald green velvet bow with gold trim to crown your Christmas tree this holiday season. This elegant topper adds a touch of classic sophistication to your festive decor. The wired ribbon allows for easy shaping, ensuring a full, luxurious look.
Project at a Glance
- Difficulty: Easy
- Estimated active time: 15 minutes to 25 minutes (drying and curing waits not included)
- Estimated component cost: $8 to $15 (reusable tools and general supplies excluded)
- Main material: Ribbon
Why an Oversized Velvet Bow Tree Topper?
An oversized velvet bow instantly transforms a Christmas tree, providing a focal point that is both classic and luxurious. The deep emerald green velvet, accented with gold trim, offers a rich, festive aesthetic that complements a variety of holiday decorating styles. It brings a sense of traditional elegance, making your tree feel complete and beautifully adorned.
Wired ribbon is key for crafting a full and shapely bow. The internal wire allows each loop to be molded and held in place, creating a voluminous and symmetrical design that maintains its form throughout the holiday season. This ensures the bow remains a striking and impressive element at the very top of your tree.
Materials for DIY Oversized Emerald Green Velvet Bow Christmas Tree Topper with Gold Trim
- Wired Velvet Ribbon (Deep Emerald Green with Gold Edge, wide)
- Floral Wire
- Scissors
- Hot Glue Gun & Glue Sticks
Need another material? Browse current craft supplies and deals.
How to Craft Your Oversized Velvet Bow Tree Topper
Creating this elegant velvet bow tree topper is a straightforward process that yields impressive results. The steps involve cutting and shaping the ribbon, securing it with floral wire, and adding a polished finish. Follow these instructions to construct your own luxurious Christmas tree accent.
Step 1: Cut Ribbon Sections for Bow
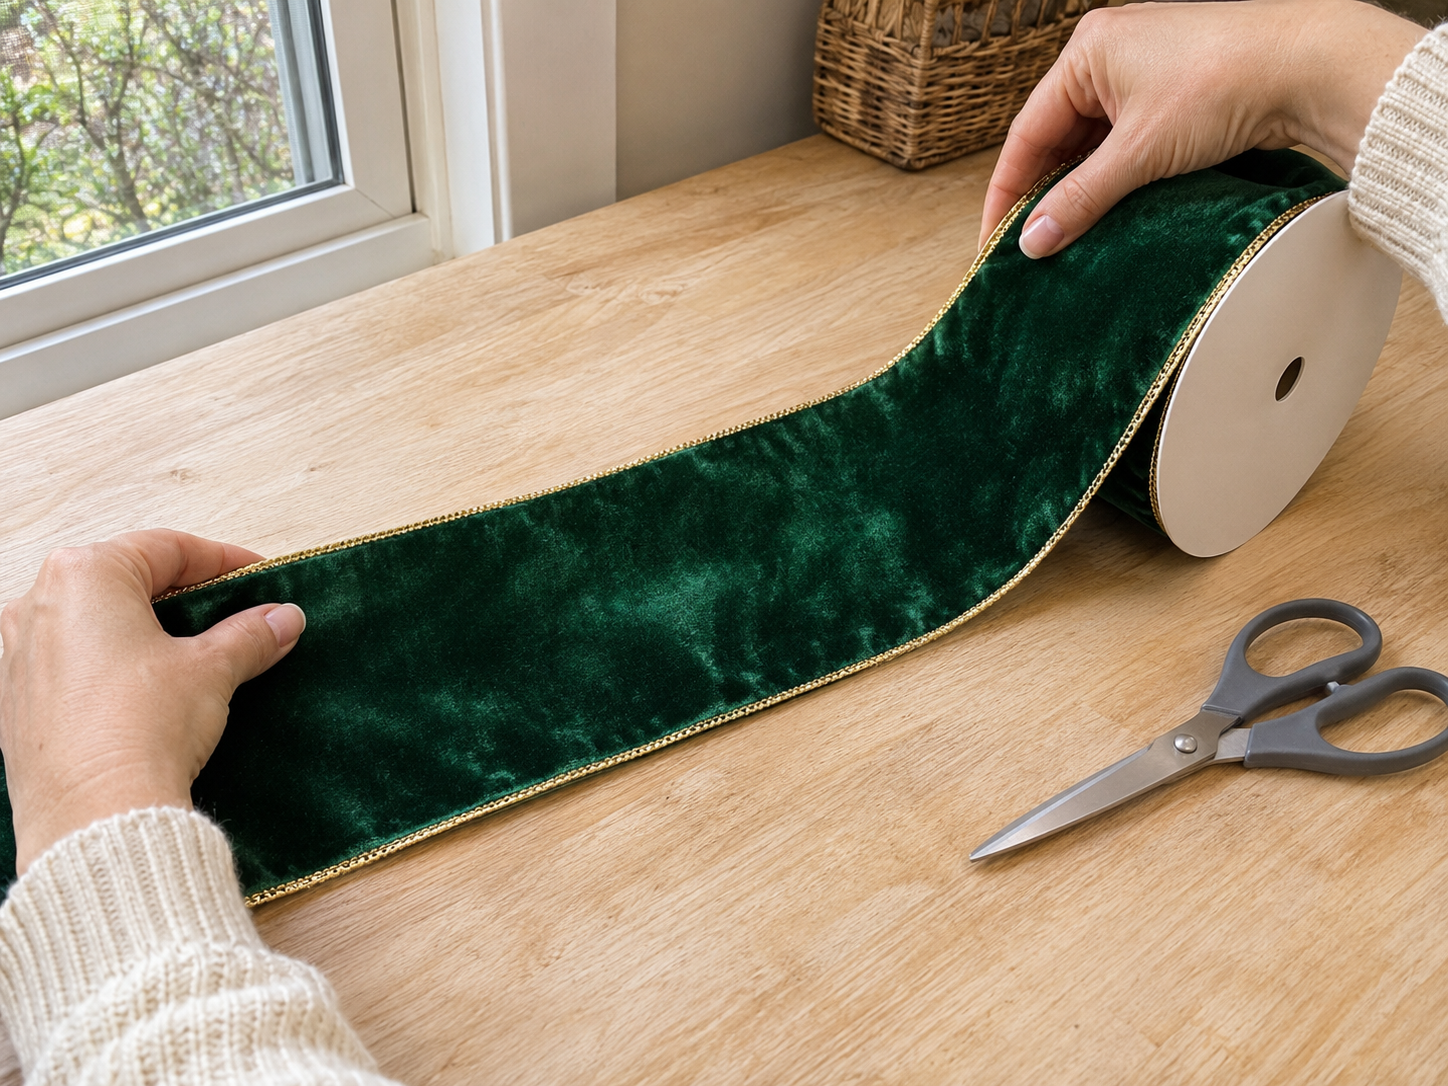
Begin by unrolling your wide, wired velvet ribbon. Determine the desired length for your bow tails, typically about 2-3 feet each, and cut two pieces. Then, for the loops, you'll need one continuous long piece of ribbon. The total length will depend on how many loops you want and how large, but a good starting point is 4-5 yards for a very full, oversized bow.
Step 2: Form Bow Loops and Center
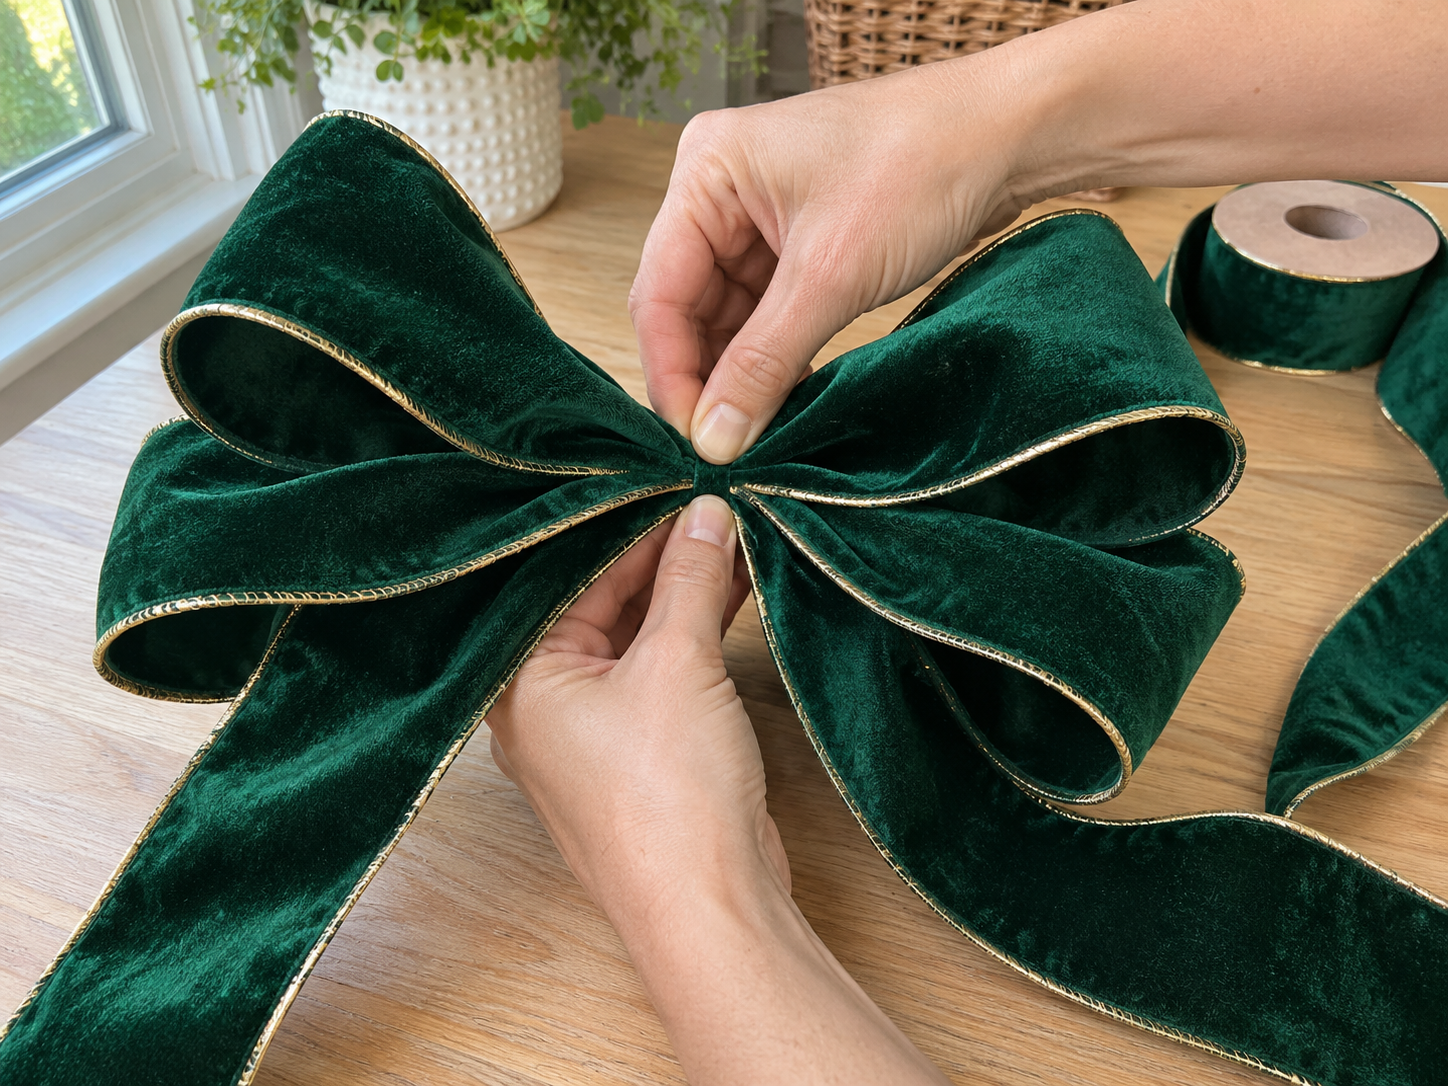
Take your long piece of ribbon and begin forming loops. Pinch the ribbon in the center, then create a loop on one side, bringing the ribbon back to the center and pinching it again. Repeat this process, alternating sides to create multiple loops, stacking them on top of each other at the central pinch point. Ensure your two tail pieces are also integrated into this central pinch at the very back.
Step 3: Secure with Floral Wire
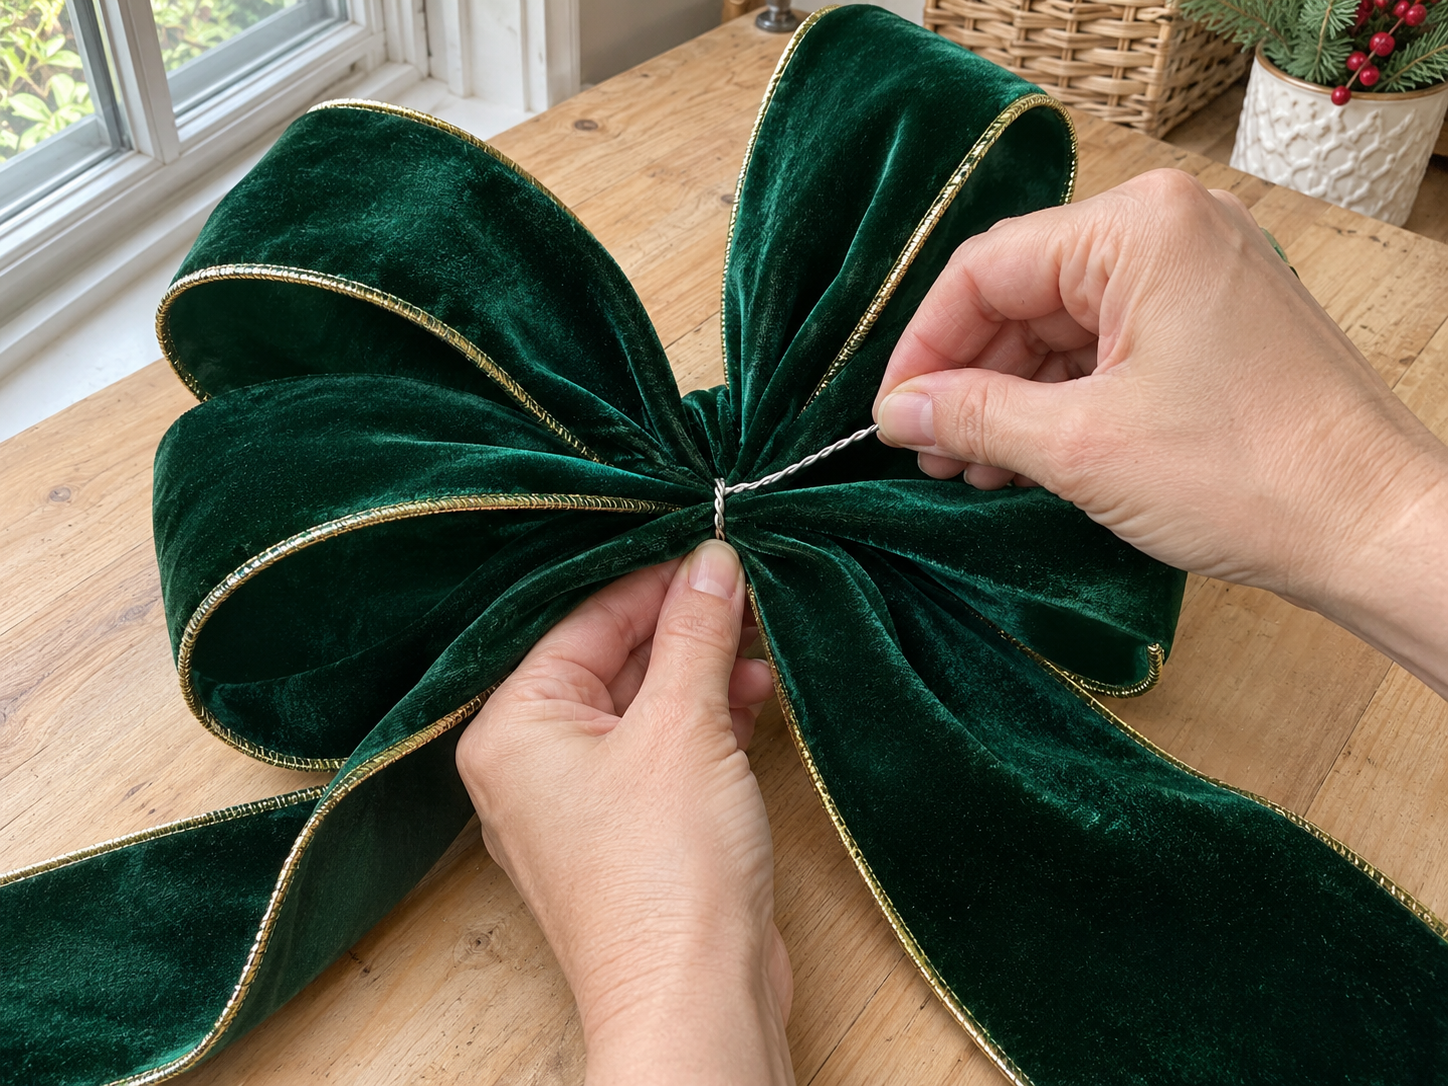
Once all your loops and tails are gathered at the center, take a piece of floral wire (about 8-10 inches long). Wrap it tightly around the pinched center of the ribbon multiple times, cinching it as securely as possible. Twist the ends of the floral wire together tightly at the back of the bow to firmly hold everything in place. Leave the excess wire for attaching the bow later.


Step 4: Create Ribbon Center Wrap
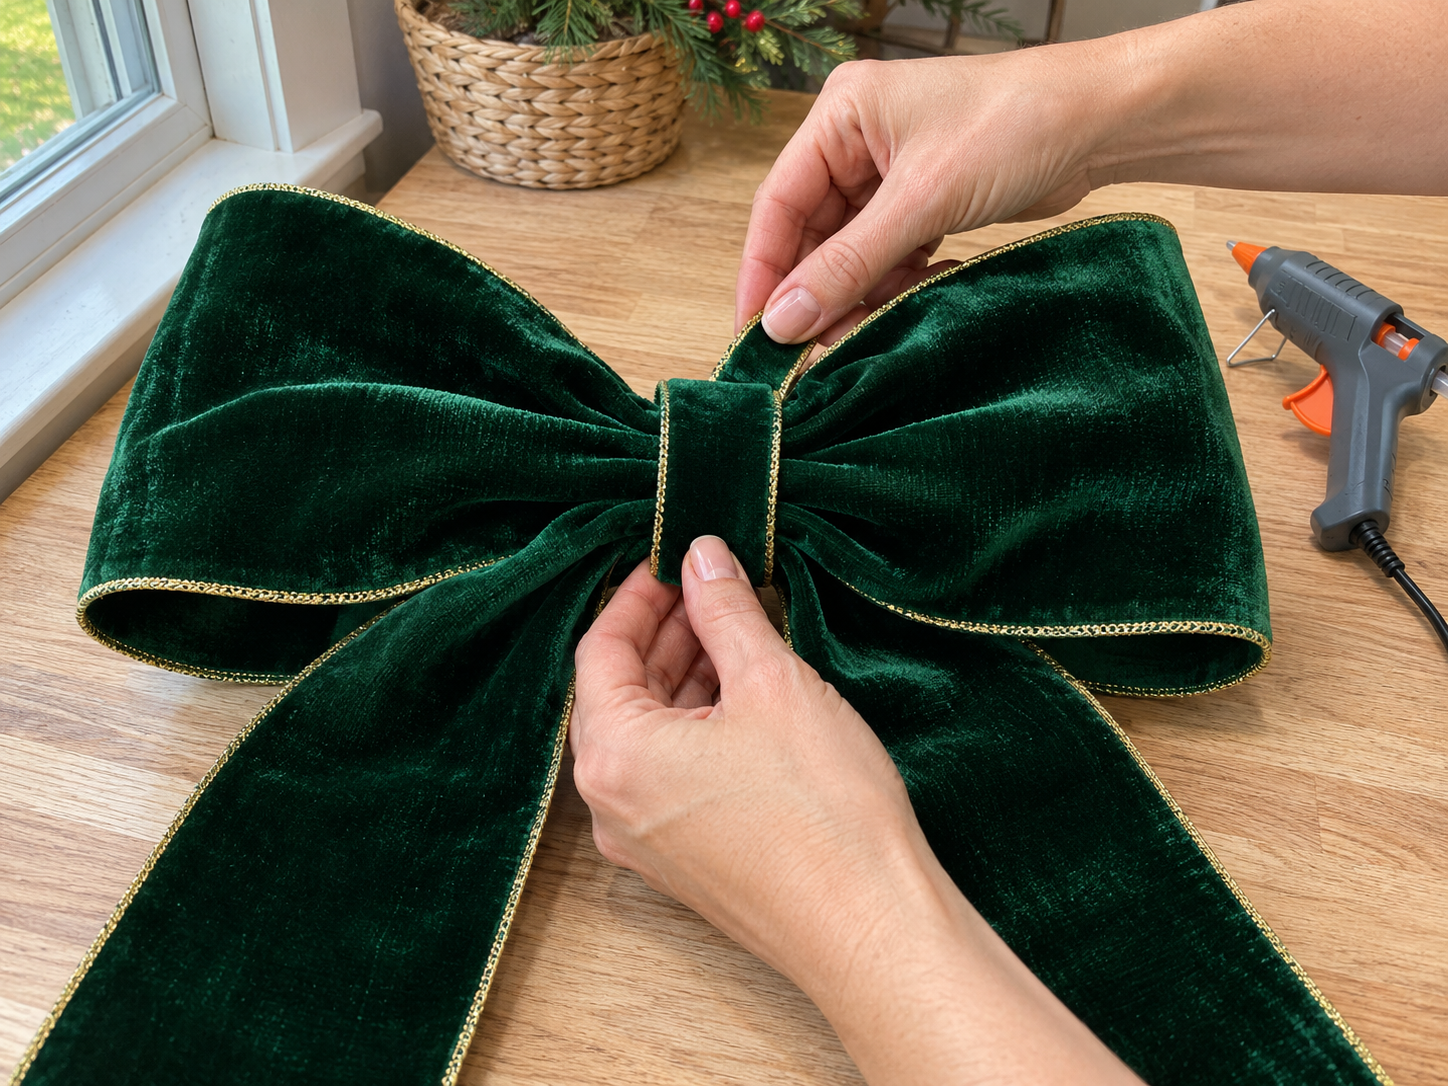
Cut a small strip of velvet ribbon, about 4-6 inches long, depending on the width of your main ribbon. This piece will wrap around the wired center of your bow to give it a polished finish. Apply a dab of hot glue to one end of the small ribbon piece and press it onto the back of the bow's center. Wrap it snugly around the front, covering the floral wire, and secure the other end with another dab of hot glue at the back.
Step 5: Fluff and Attach Bow
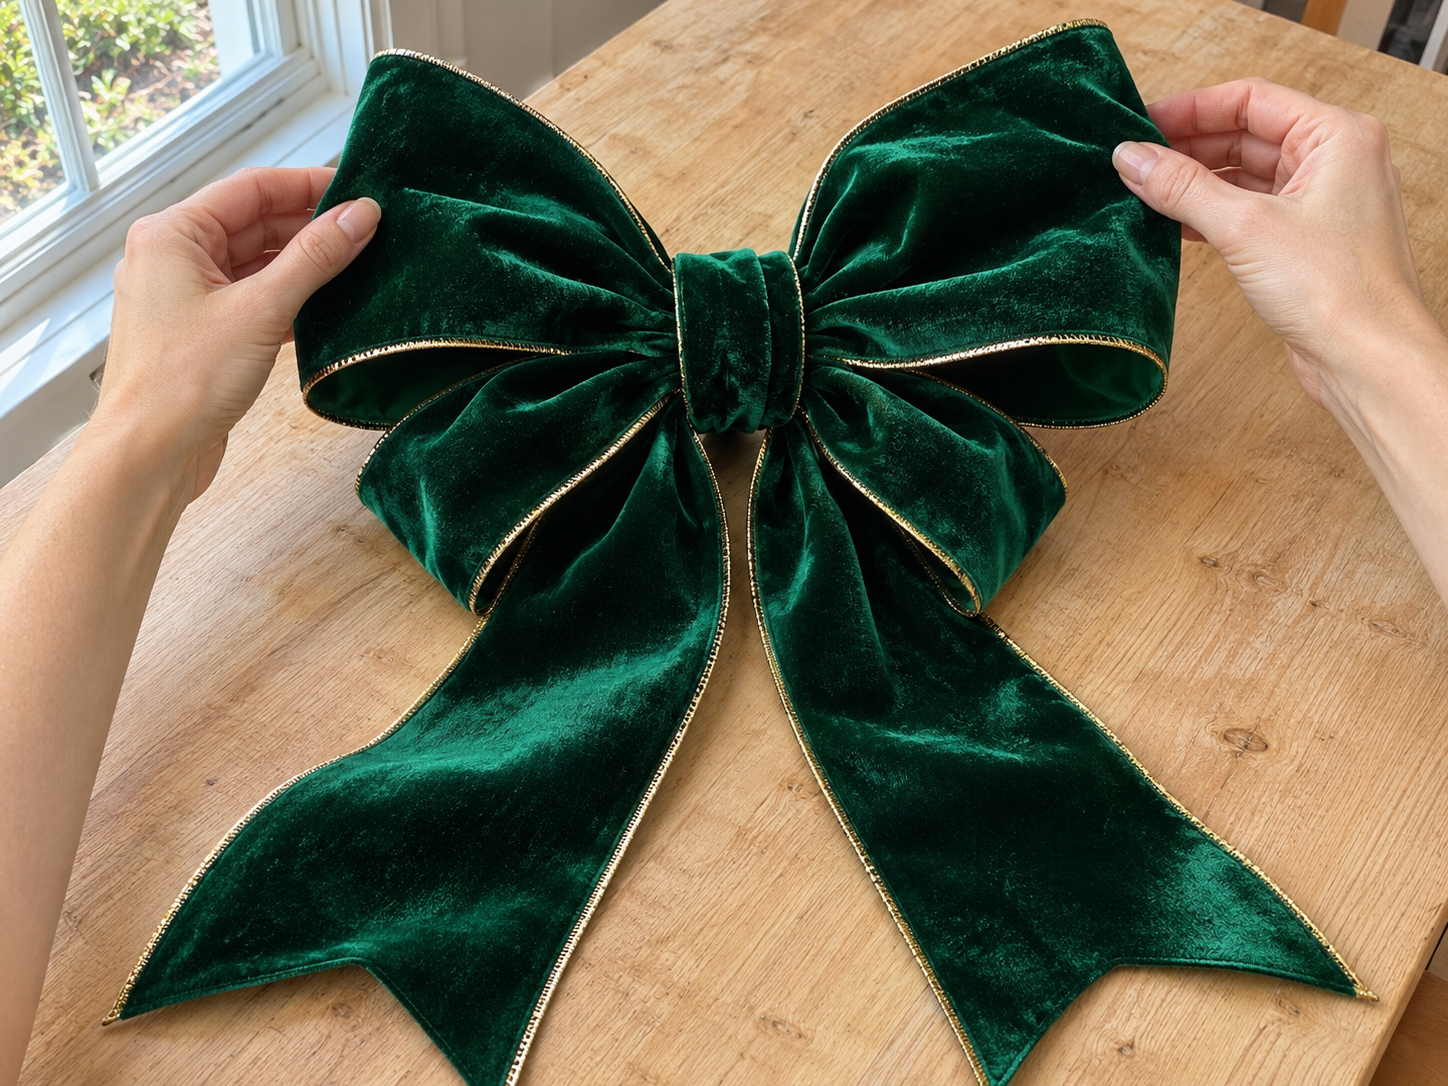
Now comes the fun part: fluffing! Gently pull and separate each loop, using the wired edges to shape them for maximum fullness and symmetry. Arrange the two long tails to drape gracefully down the tree. Use the excess floral wire from Step 3 to securely attach the bow to the top branch of your Christmas tree, twisting it around a sturdy branch to ensure it stays in place.
Completing Your Elegant Christmas Tree Topper
With the final fluffing and placement, your oversized emerald green velvet bow will beautifully crown your Christmas tree. This handmade accent adds a sophisticated and personal touch to your holiday decorations. Enjoy the festive elegance it brings to your home throughout the season.
Related project collection: DIY Black and Gold Harlequin Christmas Door Swag
Practical Questions About This Project
What type of ribbon is recommended for this bow?
Wired velvet ribbon, specifically in a wide width, is recommended for this project. The internal wire helps the bow hold its shape and allows for easy fluffing and styling of the loops.
How much ribbon is needed for an oversized bow?
For a very full, oversized bow, a good starting point is 4-5 yards of wide ribbon for the loops, plus two pieces of about 2-3 feet each for the tails.
How are the bow loops made full and shapely?
The loops are created by pinching the ribbon at the center and forming multiple layered loops, alternating sides. After securing, the wired edges of each loop are gently pulled and separated to shape them for maximum fullness and symmetry.
How is the bow attached to the Christmas tree?
The bow is attached using the excess floral wire left from securing the center. This wire is twisted around a sturdy top branch of the Christmas tree to ensure the bow stays firmly in place.
Is this craft suitable for beginners?
Yes, this craft is classified as easy and beginner-friendly, with an estimated active time of 15-25 minutes. The steps are straightforward and focus on basic ribbon manipulation and securing techniques.
Explore ribbon craft supplies at Dollar Tree.

Leave a Reply