
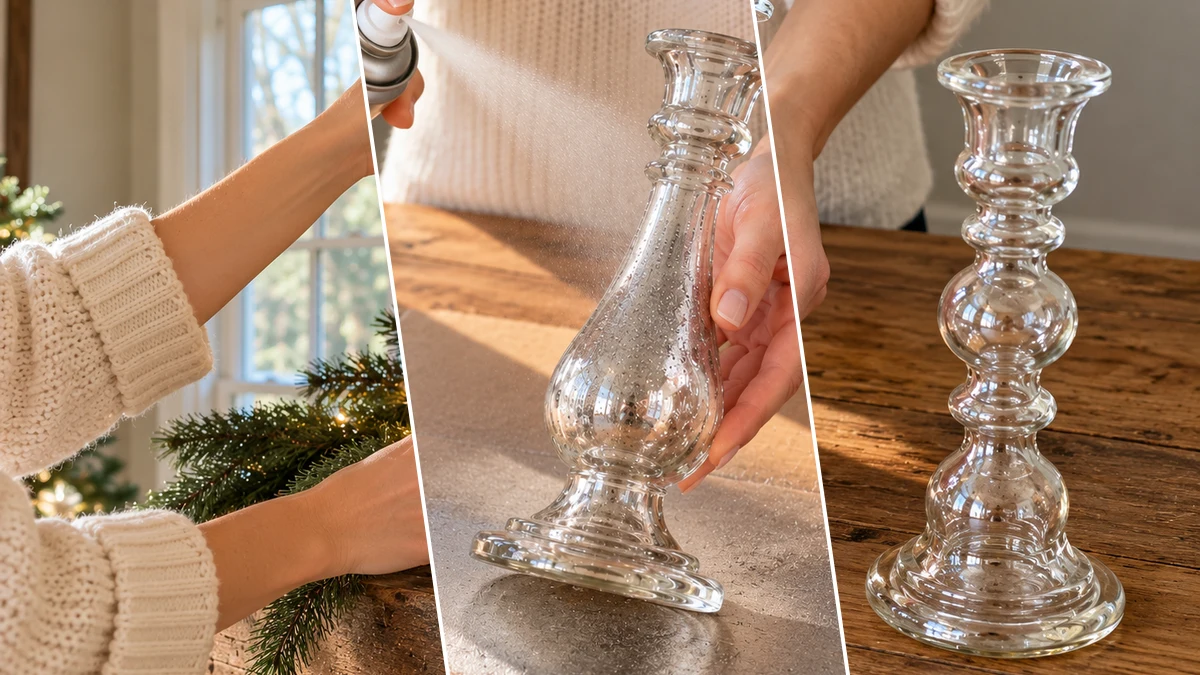
Create a captivating holiday display with DIY mercury glass candlesticks. This project transforms plain glass candle holders into elegant, antique-look decor using a simple spray paint technique. The unique speckled finish adds a touch of vintage charm to your Christmas mantel or dining table. Achieve a sophisticated festive ambiance with ease.
Project at a Glance
- Difficulty: Easy
- Estimated active time: 10 minutes to 30 minutes (drying and curing waits not included)
- Estimated component cost: $11 to $17 (reusable tools and general supplies excluded)
- Main material: Glass
- Suggested placement: Mantel, Dining Table
Crafting the Antique Mercury Glass Look
Mercury glass, with its distinctive speckled and reflective surface, has long been cherished for its elegant, antique appeal. It brings a touch of vintage sophistication and a soft, diffused glow to any setting. This classic aesthetic is especially popular during the Christmas season, adding a luxurious yet understated charm to festive displays.
Recreating this effect at home is surprisingly simple, transforming ordinary clear glass into a shimmering decorative piece. The technique involves a clever interaction between a fine mist of vinegar and water and a special mirror-effect spray paint. This combination creates the characteristic irregular speckles and aged silver finish that defines true mercury glass.
The resulting candlesticks are ideal for enhancing your holiday mantel, dining table, or any area needing a festive touch. They beautifully reflect the warm glow of taper candles, contributing to a cozy and inviting Christmas atmosphere.
Materials for Dollar Tree DIY Mercury Glass Candlesticks for Christmas Decor
- Plain Glass Candlesticks
- White Taper Candles
- Mirror-Effect Silver Spray Paint
- Rubbing Alcohol
- White Vinegar
- Spray Bottle
- Paper Towels
- Cardboard or Drop Cloth
Need another material? Browse current craft supplies and deals.
Crafting Your Mercury Glass Candlesticks
Transforming plain glass candlesticks into antique-inspired mercury glass decor is a rewarding process. The following steps guide you through preparing your surfaces, applying the unique mist-and-paint technique, and achieving the signature speckled finish. Attention to detail in each stage ensures a beautiful and lasting result for your holiday display.
Step 1: Clean and Prepare Glass Candlesticks
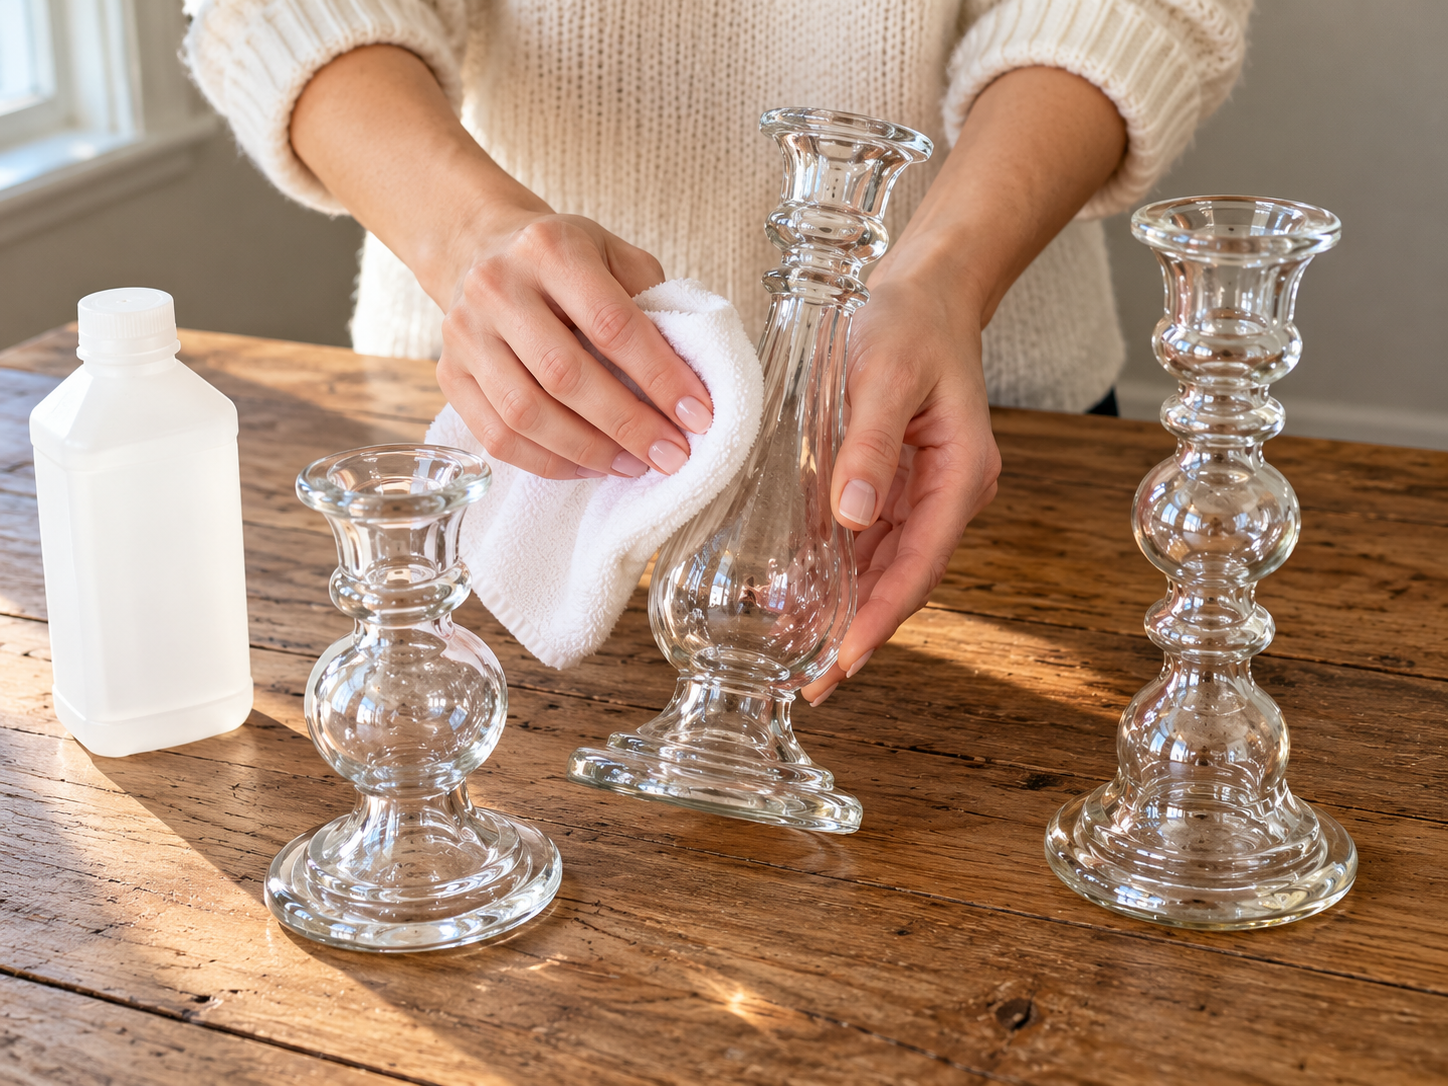
Before applying any paint, it's crucial to ensure your glass candlesticks are perfectly clean and free of oils or dust. Using a clean paper towel dampened with rubbing alcohol, thoroughly wipe down the entire surface of each candlestick. This step promotes better adhesion for the paint and helps achieve a smooth, even finish.
Step 2: Apply Vinegar Mist to Glass
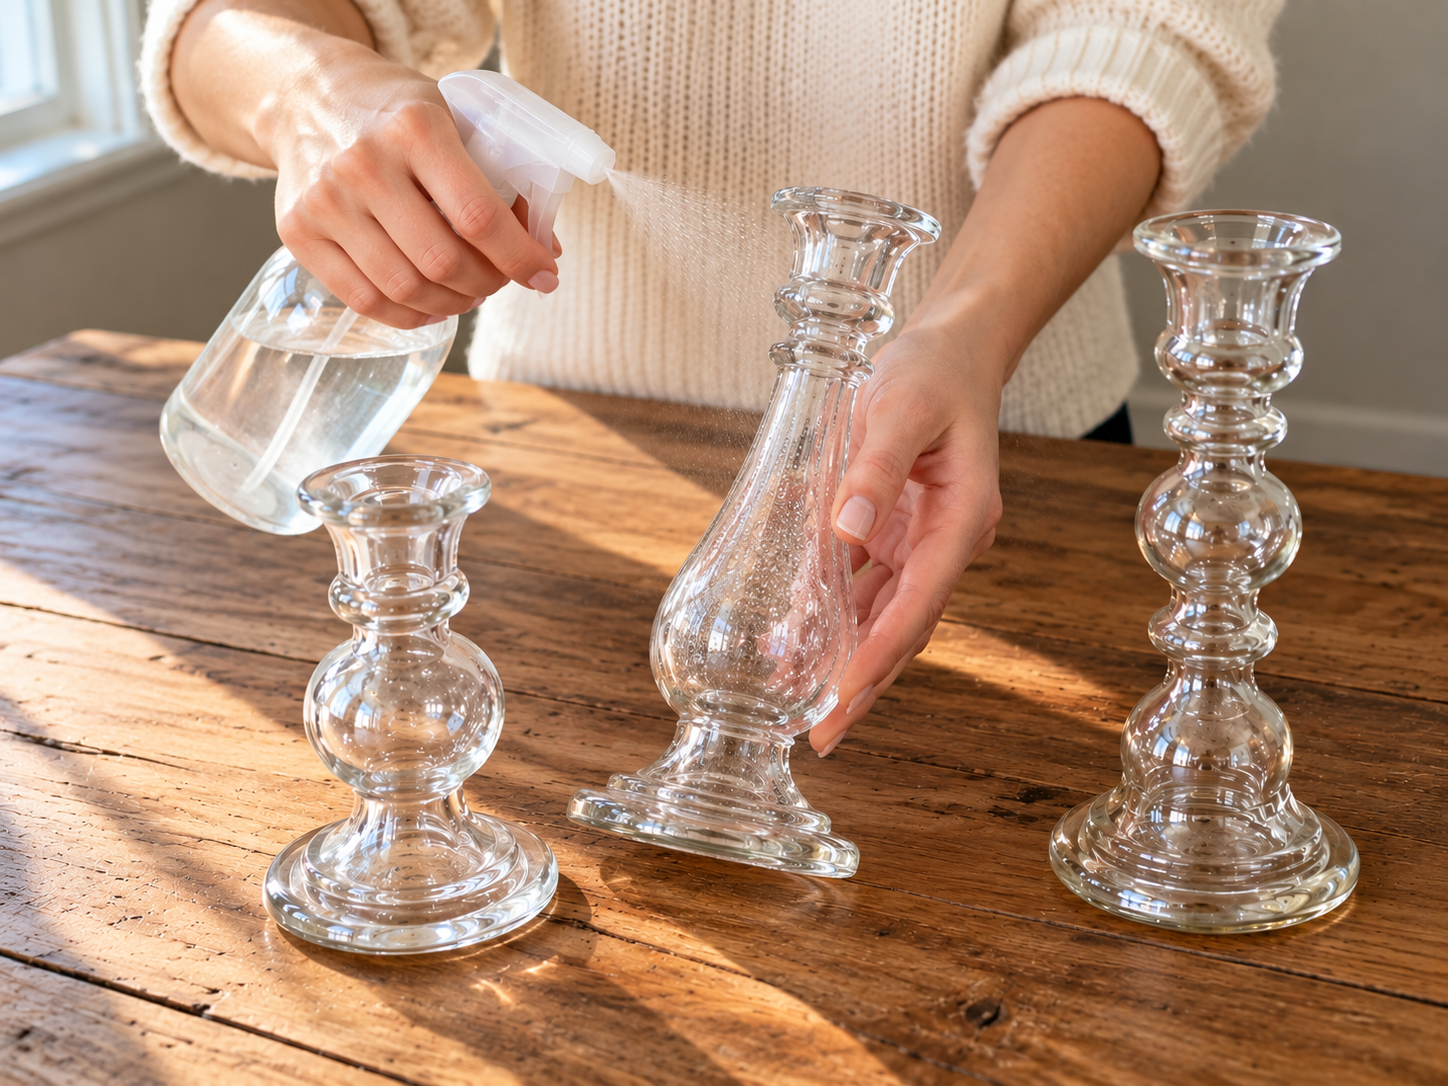
In a small spray bottle, mix equal parts white vinegar and water. Shake gently to combine. Lightly mist the entire exterior surface of one candlestick with this solution. The goal is a fine, even mist, creating tiny droplets across the glass. These droplets will react with the mirror paint to create the signature speckled mercury glass effect.
Step 3: Spray Mirror-Effect Silver Paint
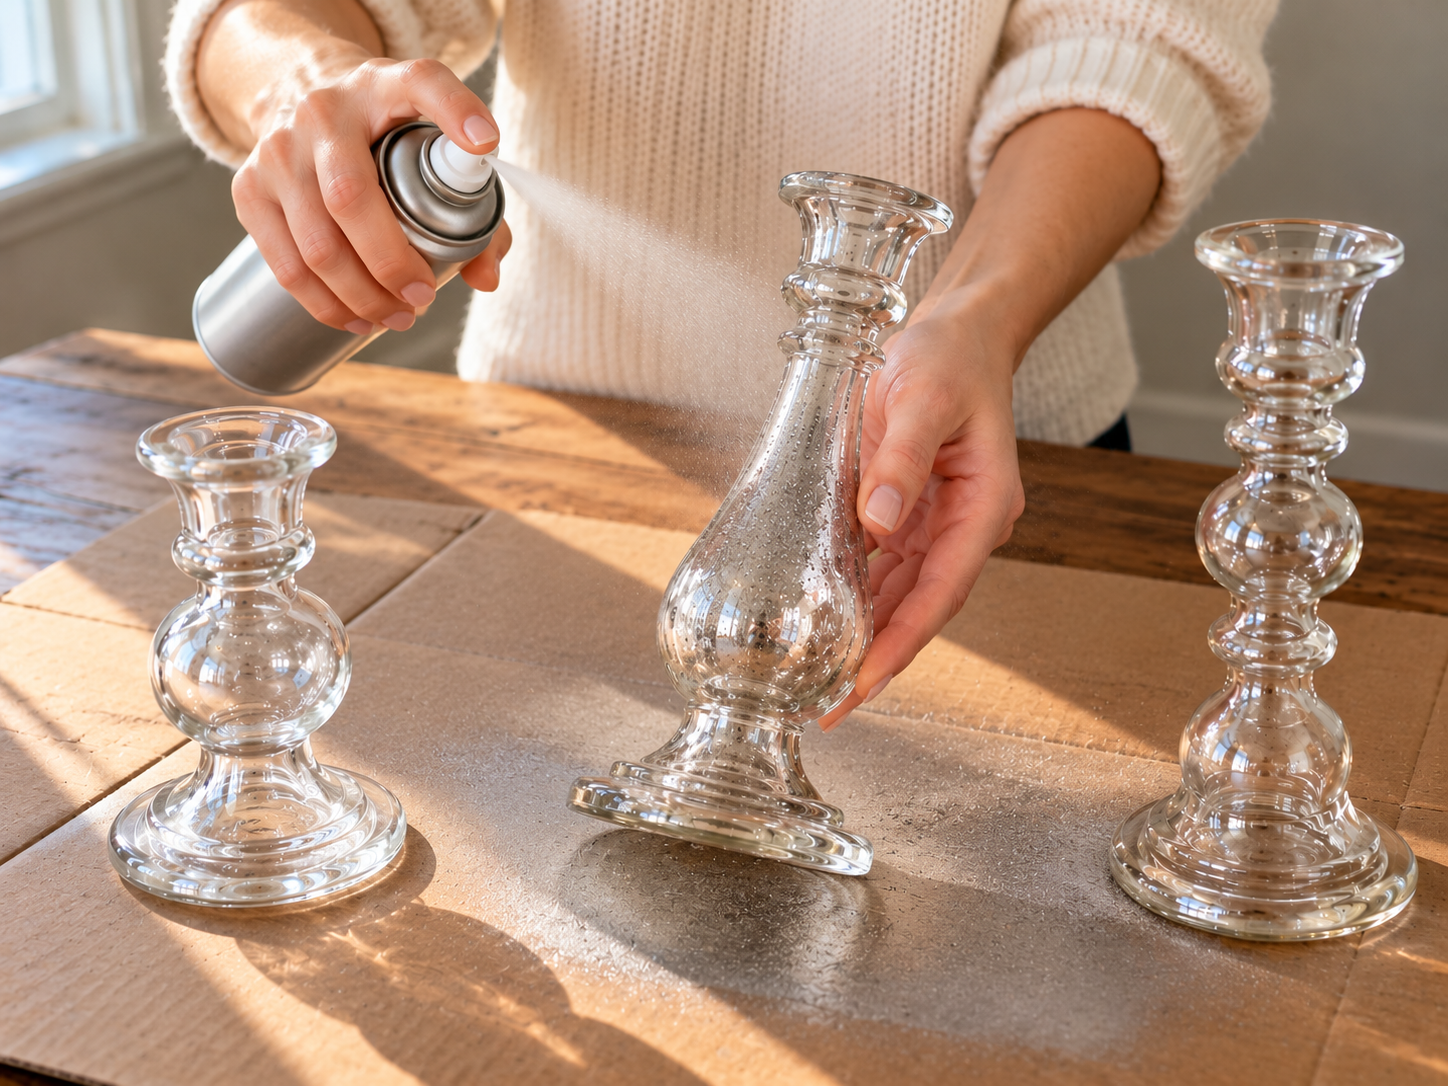
Immediately after misting (while the glass is still wet), pick up your mirror-effect silver spray paint. Holding the can approximately 8-10 inches away from the candlestick, apply a very light, even coat of paint. Work in short, sweeping motions to avoid drips. The paint will begin to react with the water droplets, creating a semi-transparent, reflective layer with distinct clear spots where the water was heaviest.


Step 4: Create Speckled Antique Finish
While the paint is still wet (within 1-2 minutes of spraying), take a crumpled piece of paper towel. Gently and lightly dab the surface of the candlestick. The crumpled texture will lift some of the wet paint in irregular patterns, revealing the clear glass underneath and enhancing the antique, speckled mercury glass appearance. Continue dabbing until you achieve the desired level of distress and speckling. Repeat steps 2-4 for additional candlesticks.
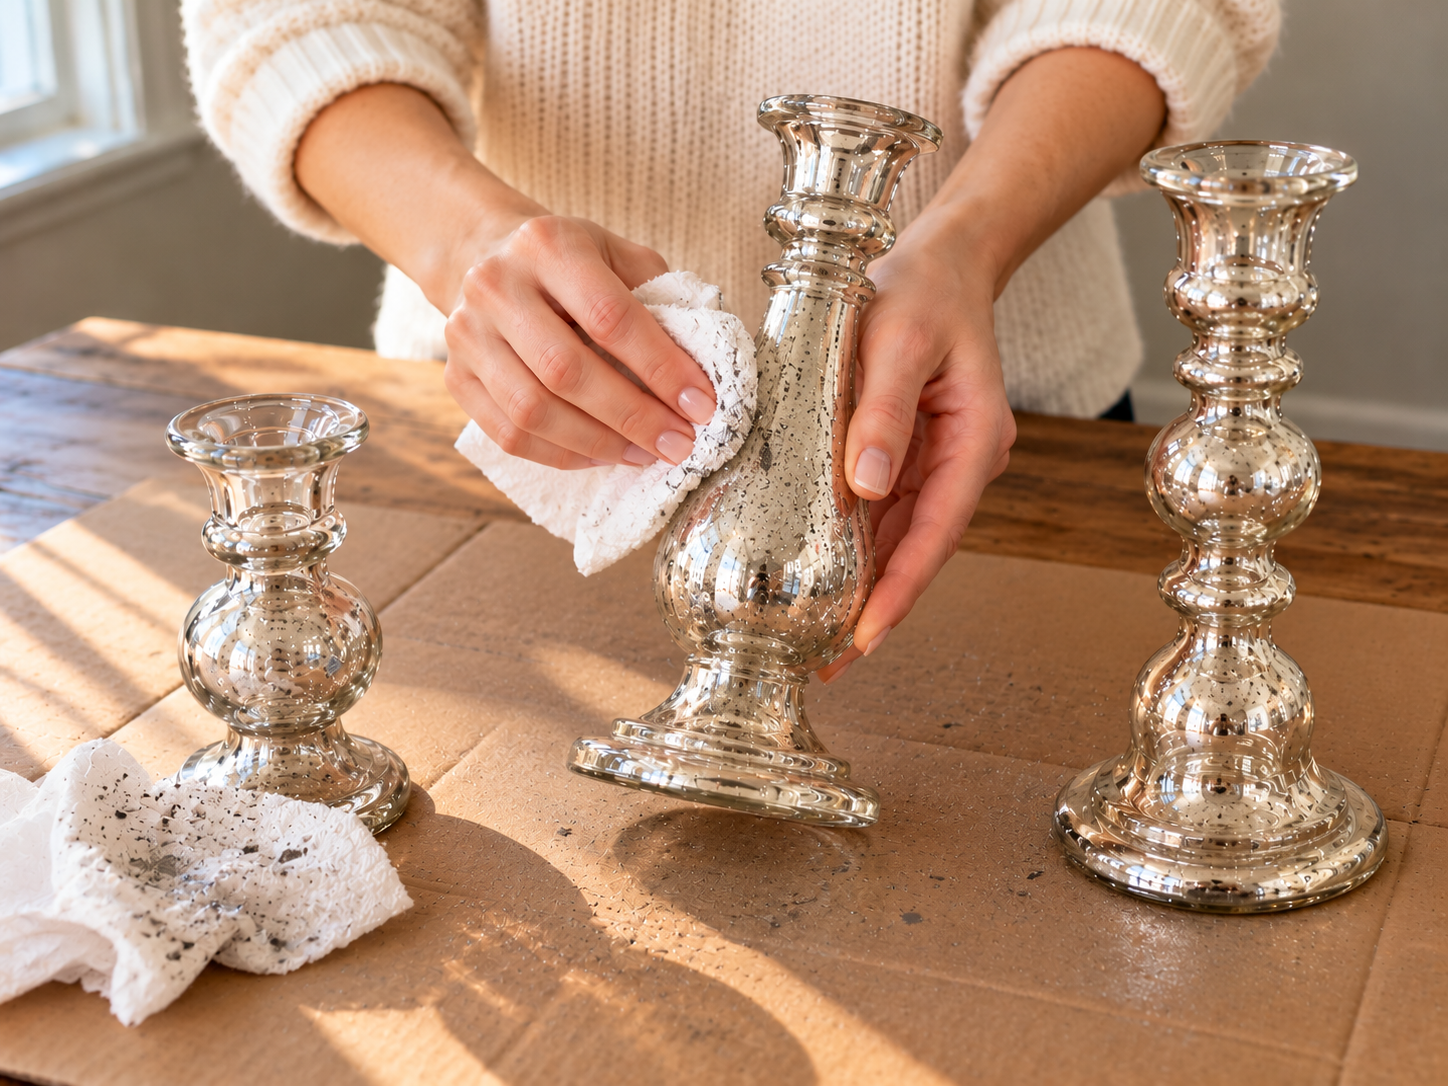
Step 5: Assemble and Style Your Display
Once you are satisfied with the mercury glass effect on all candlesticks, allow them to dry completely according to the spray paint manufacturer's instructions, typically for at least 24 hours to ensure the paint is fully cured. After drying, carefully insert your white taper candles into the finished candlesticks. Arrange them on your mantelpiece, dining table, or any desired surface, perhaps with some festive pine sprigs and warm fairy lights for a charming holiday display.
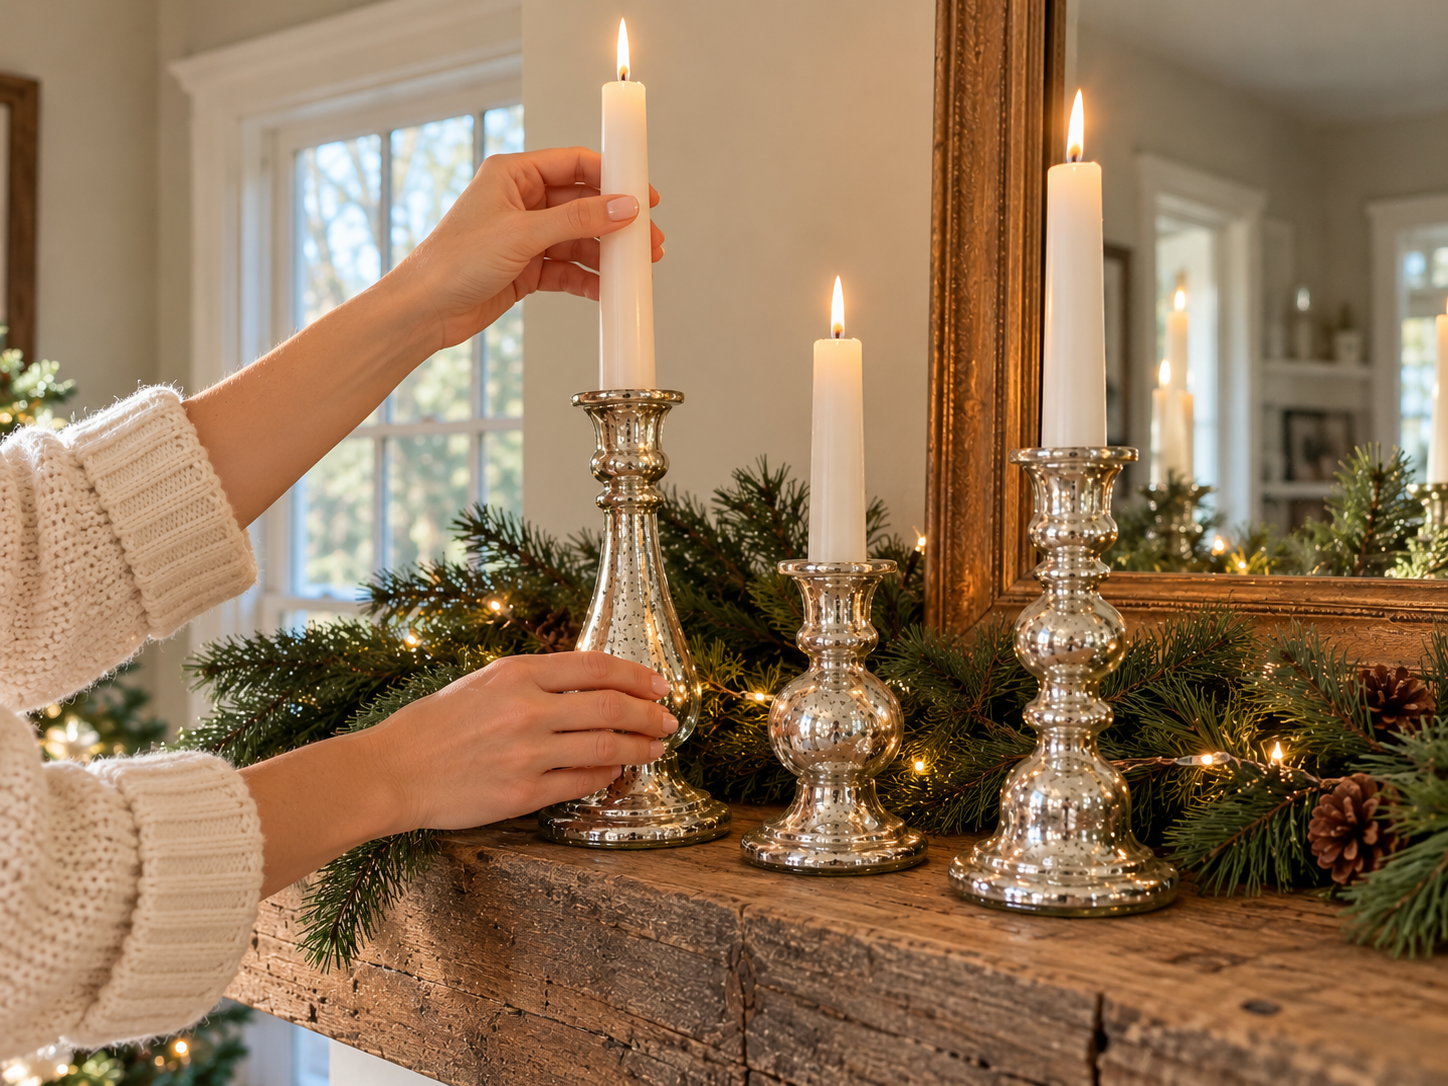
Styling Your Finished Mercury Glass Candlesticks
With these steps, plain glass candlesticks are transformed into elegant mercury glass decor, ready to enhance your holiday home. Their shimmering, antique finish provides a sophisticated backdrop for your Christmas candles. Place them on a mantel, console table, or as a centerpiece to create a warm and inviting festive ambiance.
Related project collection: DIY Mini Jenga Block Christmas Trees for a Snowy Mantel Display
Practical Questions About This Project
What type of glass candlesticks are suitable for this project?
Plain, clear glass candlesticks are recommended for this transformation.
Why is a vinegar and water mist used before painting?
The vinegar and water mist creates tiny droplets on the glass surface that react with the mirror-effect spray paint, forming the signature speckled mercury glass appearance.
How is the antique speckled finish created?
While the paint is still wet, gently dab the surface with a crumpled paper towel. This lifts some paint in irregular patterns, revealing the clear glass underneath and enhancing the antique, speckled look.
How long should the finished candlesticks dry?
Allow the paint to dry completely, typically for at least 24 hours, to ensure it is fully cured before handling and displaying.
What kind of paint is needed for the mercury glass effect?
Use a mirror-effect silver spray paint to achieve the reflective, aged silver finish characteristic of mercury glass.
Search Dollar Tree for glass supplies.

Leave a Reply