
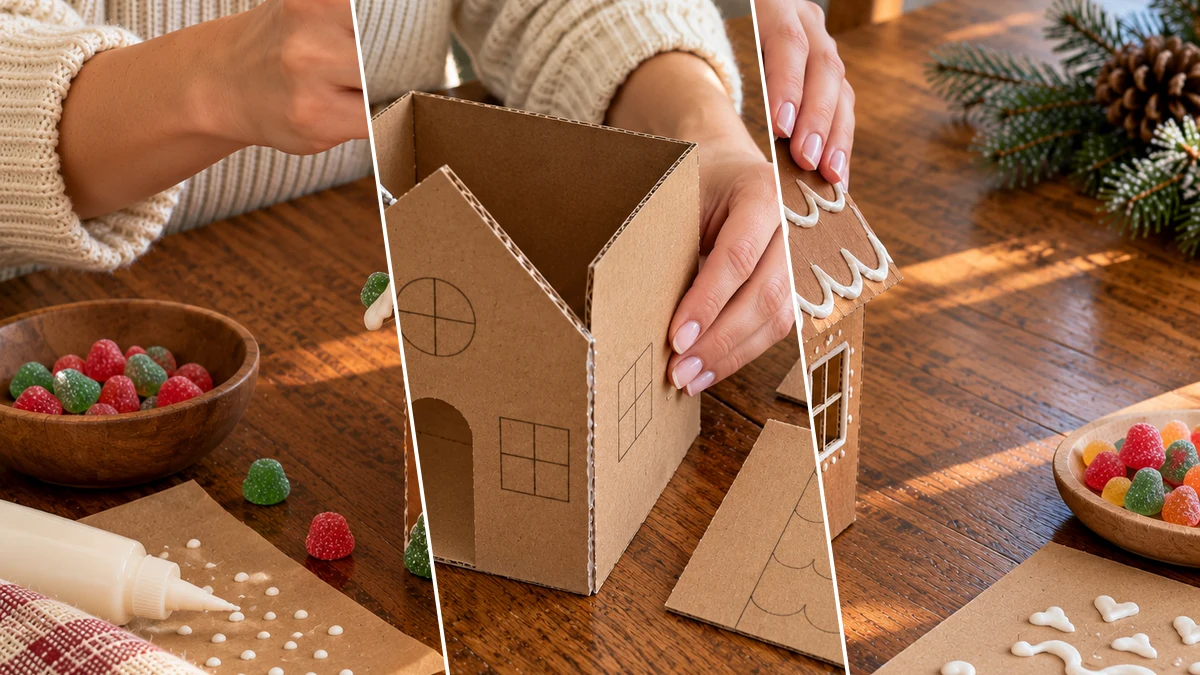
Bring a cozy glow to your holiday display with a DIY Cardboard Gingerbread House Luminary. This charming craft transforms simple cardboard into a festive decoration, complete with 'icing' details and colorful gumdrop candies. Place battery-operated LED tea lights inside to create a warm, inviting ambiance for your Christmas decor.
Project at a Glance
- Difficulty: Easy
- Estimated active time: 50 minutes to 70 minutes (drying and curing waits not included)
- Estimated component cost: $4 to $11 (reusable tools and general supplies excluded)
- Main material: Wood
- Suggested placement: Tabletop
About This Cardboard Gingerbread House Luminary
This craft offers a budget-friendly way to create a festive gingerbread house using readily available materials like cardboard, acrylic paint, and puffy paint. Designed to be illuminated by battery-operated LED tea lights, it provides a safe, warm glow without the need for real candles. The project is classified as easy, making it accessible for many crafters.
The estimated active crafting time for this luminary is between 50 and 70 minutes, which excludes any unattended drying or curing time for the paint. Component costs are estimated to range from $4 to $11, not including reusable tools or general crafting supplies. This makes it an economical choice for holiday decorating.
Materials for DIY Cardboard Gingerbread House Luminary for Christmas Tabletop Decor
- Cardboard Sheets (from shipping box)
- Brown Acrylic Paint
- White Puffy Paint (or 3D fabric paint)
- Assorted Gumdrop Candies
- Battery-operated LED Tea Lights
- Hot Glue Gun & Glue Sticks
- Craft Scissors or Box Cutter
- Paintbrush
Need another material? Browse current craft supplies and deals.
How to Craft Your Cardboard Gingerbread House Luminary
Follow these steps to construct and decorate your own glowing cardboard gingerbread house. This project involves cutting cardboard, assembling the structure with hot glue, painting, and adding decorative details. Allow sufficient drying time between painting and applying puffy paint for the best results.
Step 1: Cut Cardboard House Panels
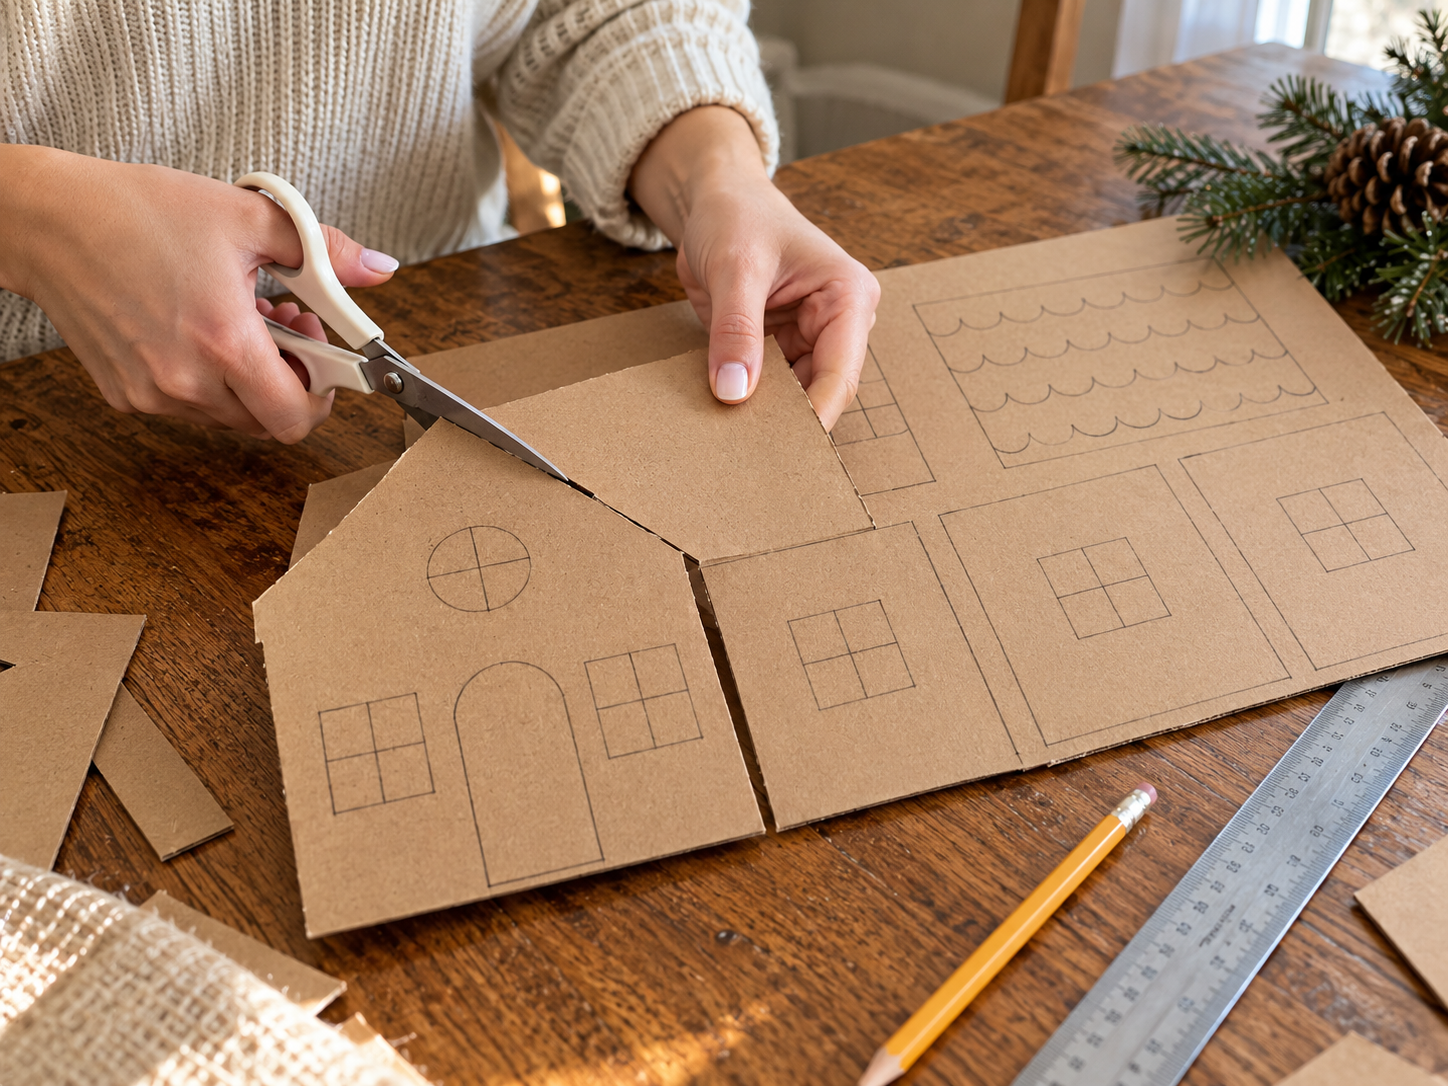
Using craft scissors or a box cutter, carefully cut out all the necessary panels for your gingerbread house from the cardboard sheets. You will need four rectangular wall pieces, two triangular gable pieces for the front and back, and two rectangular roof pieces. Make sure to cut out window openings (as seen in the image, these are typically rectangular and circular) and a door opening on the appropriate wall panels. For best results, measure and mark your cutting lines with a ruler and pencil before cutting.
Step 2: Assemble the House Structure
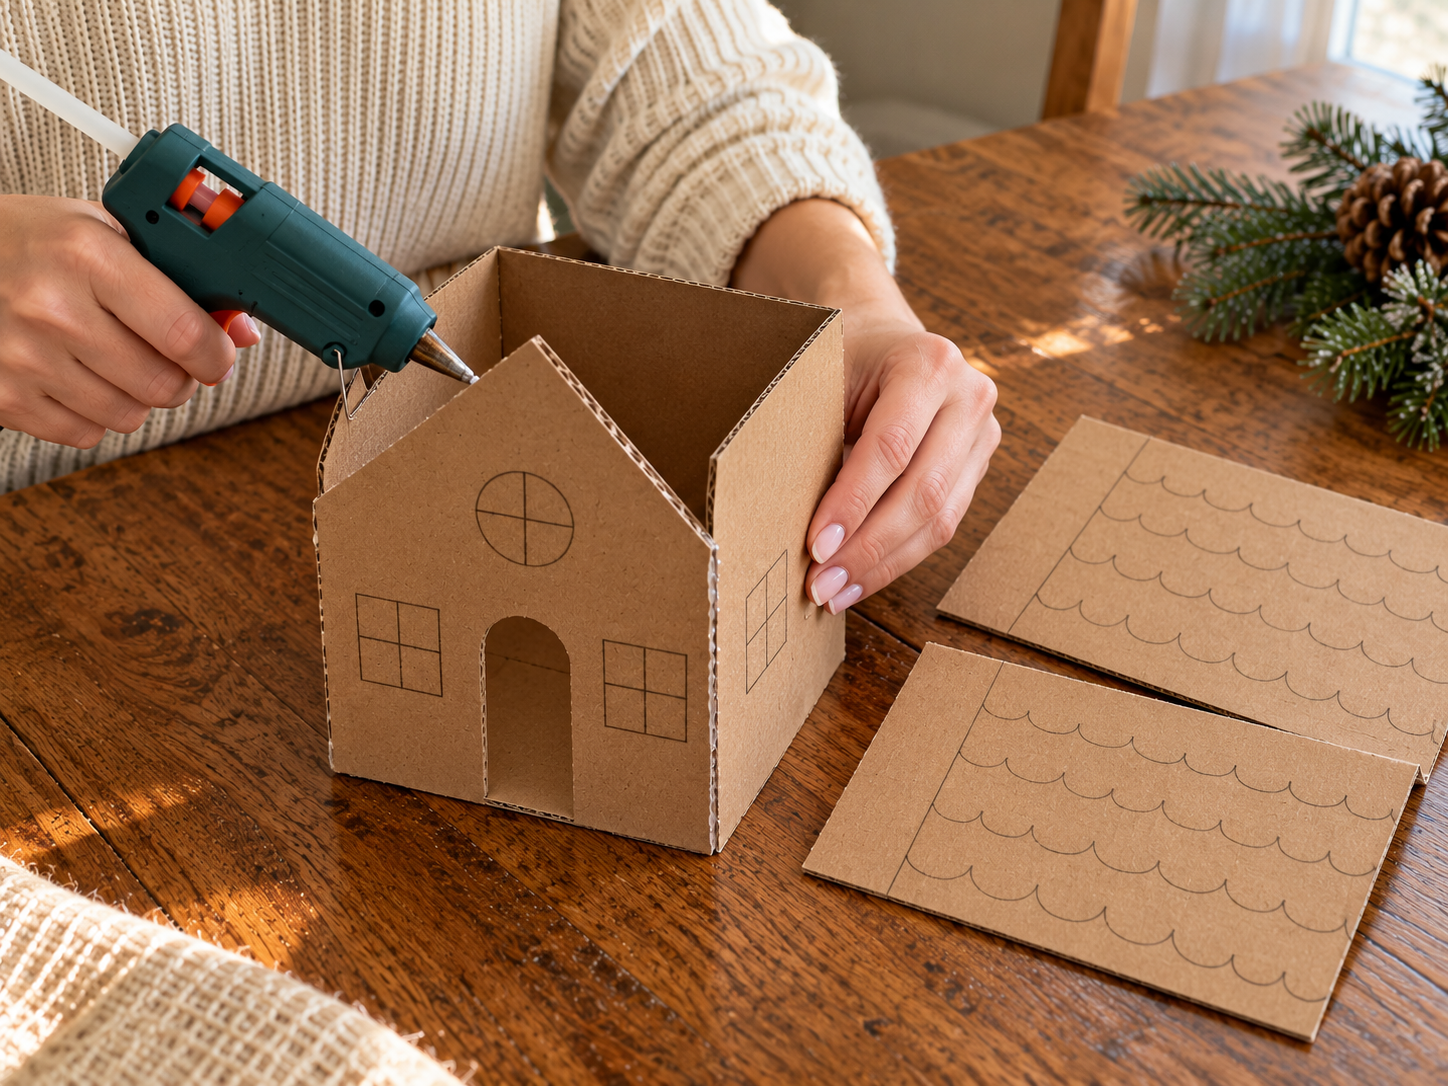
Using a hot glue gun, carefully assemble the cardboard panels into the basic house structure. Start by gluing the four wall pieces together at the edges to form a box. Next, attach the triangular gable pieces to the top edges of the front and back walls. Finally, hot glue the two roof panels to the top of the gables and side walls, creating the pitched roof. Ensure all seams are securely glued and the structure is stable.
Step 3: Paint the Gingerbread Base
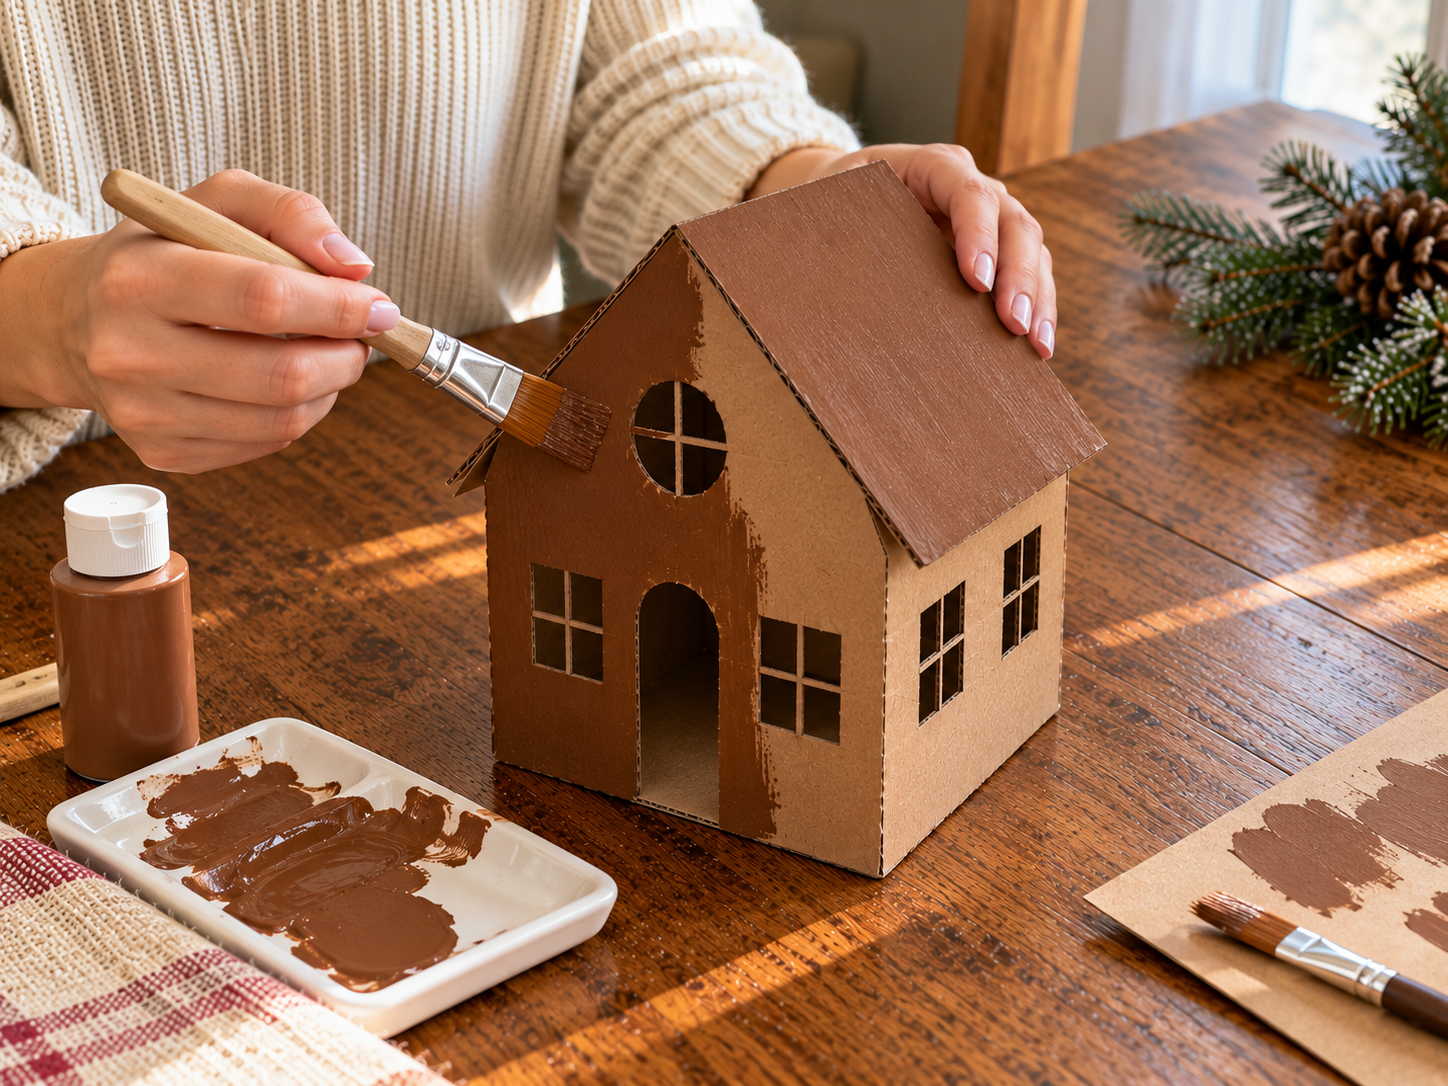
Now it's time to give your house its classic gingerbread look. Using a paintbrush, apply an even coat of brown acrylic paint to the entire exterior surface of the assembled cardboard house. Make sure to cover all visible cardboard, including the edges of the windows and door cutouts, to create a uniform finish. Allow the paint to dry completely according to the product's instructions before proceeding to the next step. You may apply a second coat if desired for deeper color.


Step 4: Pipe White Icing Details
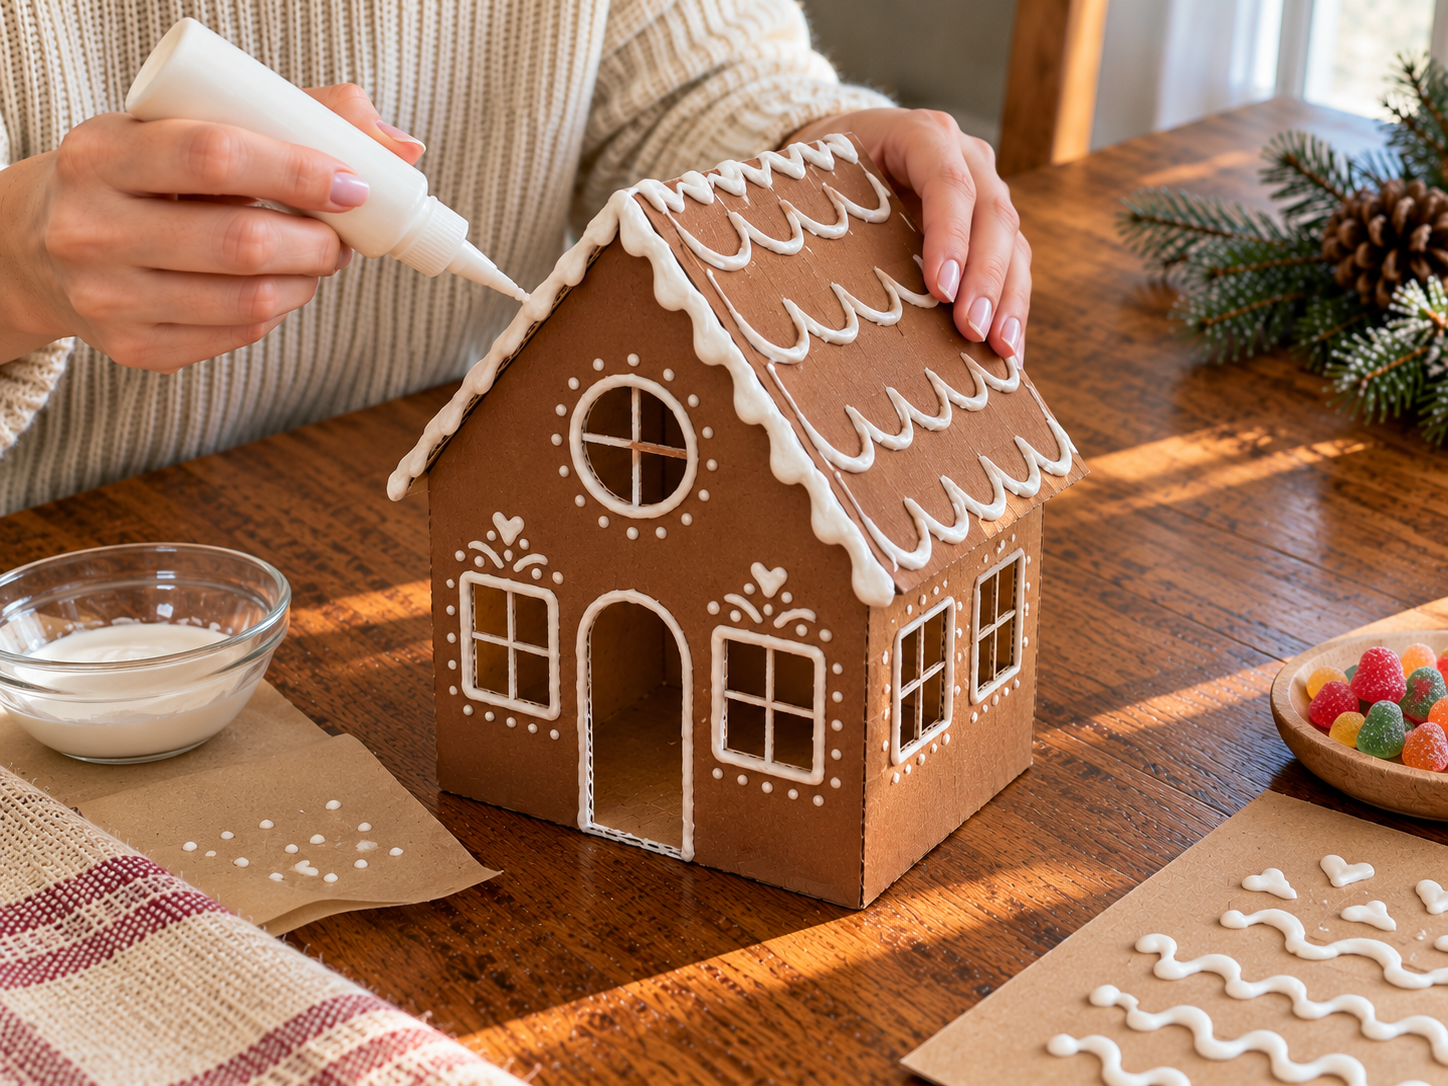
Once the brown paint is completely dry, you can begin adding the decorative 'icing' details with white puffy paint. Carefully pipe wavy lines along the edges of the roof to mimic frosting. Then, create frames around all the window and door openings. You can also add other decorative elements like hearts, swirls, or dots as desired to enhance the gingerbread house aesthetic. Allow the puffy paint to dry and set fully, which may take several hours, to prevent smudging.
Step 5: Decorate and Illuminate
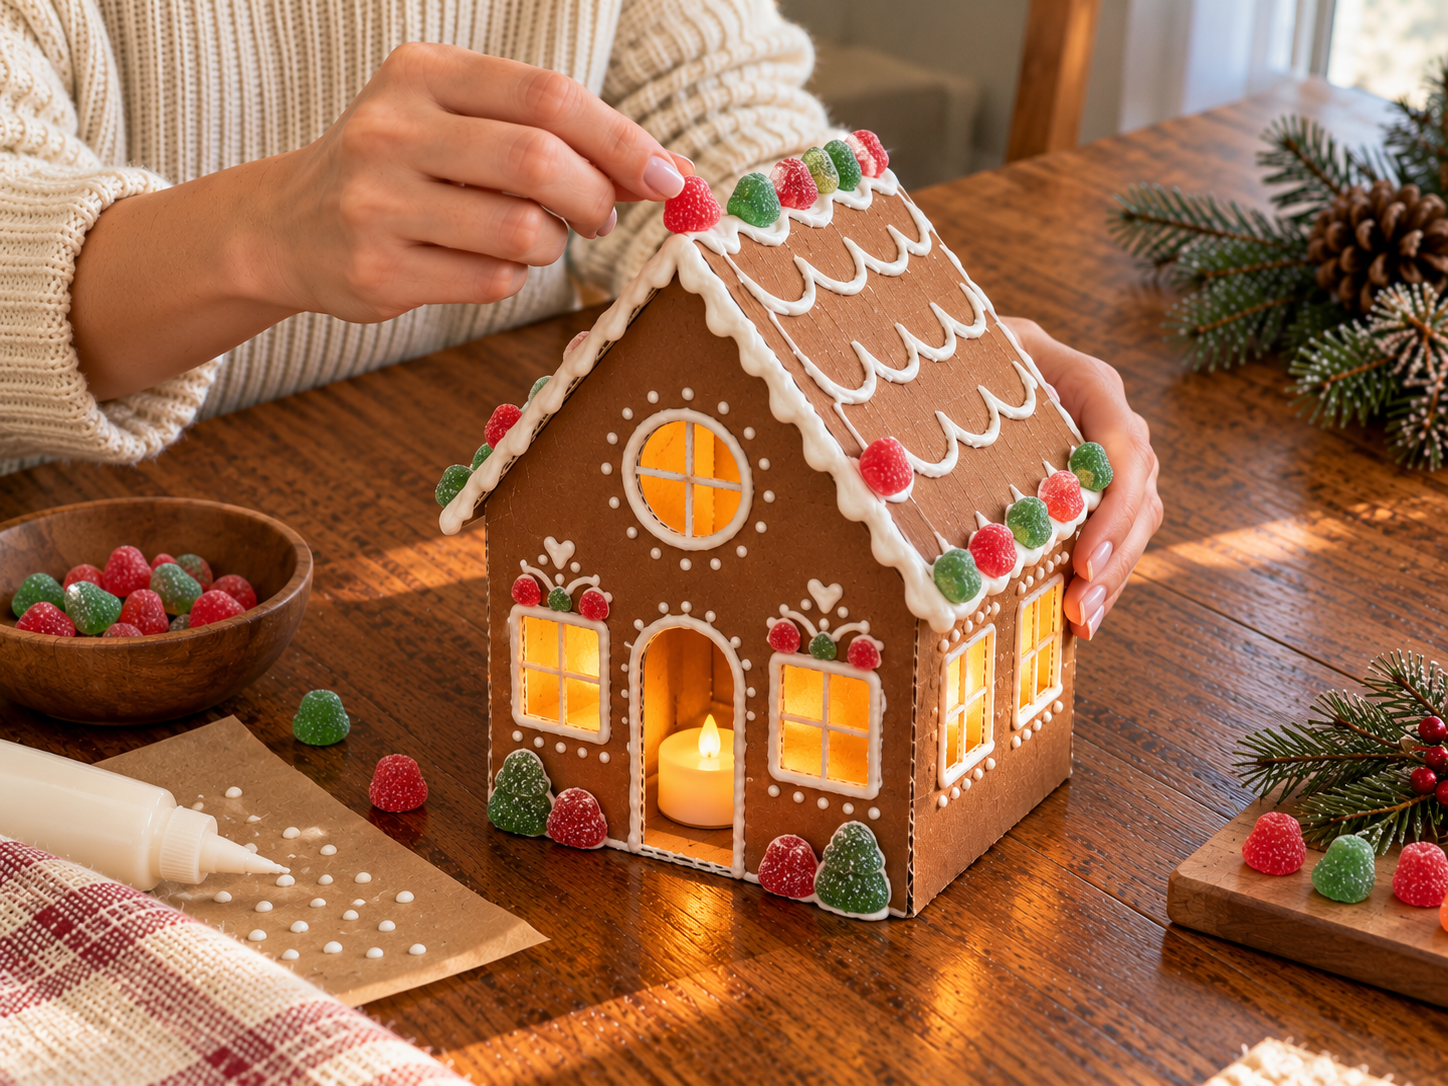
With the white puffy paint dry, it's time for the final touches! Use small dabs of hot glue to attach the assorted gumdrop candies to your gingerbread house wherever you like, such as along the roofline, around the base, or as accents. Once all decorations are in place, turn on your battery-operated LED tea lights and place them inside the house through the door or an open window. Watch as your gingerbread house luminary glows warmly, ready to brighten your holiday display.
Enjoy Your Festive Cardboard Gingerbread House Luminary
Once assembled and decorated, your DIY Cardboard Gingerbread House Luminary is ready to display. Position it on a mantel, shelf, or as a centerpiece to add a charming, illuminated touch to your Christmas decor. This craft provides a delightful and budget-friendly way to enhance your holiday home.
Related project collection: DIY Mini Jenga Block Christmas Trees for a Snowy Mantel Display
Practical Questions About This Project
What kind of cardboard is best for this project?
Cardboard sheets from a shipping box are suitable for this project. Ensure the cardboard is clean and sturdy enough to hold its shape once assembled.
Can other paints be used for the 'icing' details?
White puffy paint or 3D fabric paint is recommended for the 'icing' details. These paints provide a raised, textured effect similar to real frosting.
Are real candles safe to use inside the luminary?
No, battery-operated LED tea lights are specified for illumination. This ensures safety and prevents any fire hazards with the cardboard structure.
How long does the puffy paint take to dry?
Puffy paint needs several hours to dry and set fully. Allowing ample drying time prevents smudging of the decorative 'icing' details.
Can the gingerbread house design be customized?
Yes, the cutting of window and door openings can be customized. You can also add other decorative elements like hearts, swirls, or dots with puffy paint to personalize the aesthetic.
Browse wood supplies at Dollar Tree.

Leave a Reply