
Okay, so my garden needed a little something extra this year, right? And honestly, I didn’t want to spend a fortune on a store-bought piece. That’s when I got the idea for this super cute Rustic Farmhouse Garden Welcome Sign! It was so much fun to put together, and now my front porch feels extra homey.
As part of my dollar tree garden ideas, I’ll be making these kinds of cute things for my garden this year. That’s why I wanted to share them with you here first.
See also: Dollar Tree Buffalo Check Gather Sign Diy
Theme: Spring & Garden
Materials Needed
- Wooden plank sign base (approx. 12×18 inches)
- White or light gray chalk/acrylic paint
- Dark antiquing wax or dark craft paint (e.g., brown/gray)
- Assorted faux greenery (e.g., eucalyptus, trailing ivy)
- Faux daisy flower bunches
- Small galvanized metal heart embellishment
- Small galvanized metal watering can (decorative)
- Small galvanized metal bucket/pot (decorative)
- Burlap ribbon & jute twine
- “Welcome” stencil or vinyl letters
- Strong craft glue (e.g., hot glue sticks, E6000)
📋 Love staying organized while crafting? Check out our printable planners & craft designs at CraftersDT on Etsy and use code CRAFT20 for 20% off your entire order!
Step-by-Step Instructions for Rustic Farmhouse Garden Welcome Sign
Alright crafters, get ready because this project is truly a breeze! You won’t believe how quickly you can make your own beautiful Home Decor piece. It’s perfect for beginners, and honestly, even the kids can help with some parts. We’re talking maybe an hour from start to finish to brighten up your Spring & Garden space. Let’s grab our supplies and get this party started!
📱 Free to Download
Craftino, The #1 Craft App
✓ Save crafts & browse fully offline
✓ Download printable PDF guides for every project
✓ Step-by-step photo tutorials, nothing left out
✓ 1,000+ craft projects with new ones added every week
Step 1: Prepare Wooden Sign Base
Begin by ensuring your wooden plank sign base is clean and free of dust. If you’re using raw planks, securely assemble them into a flat panel using wood glue and small brads or screws on the back. For a pre-made sign, a quick wipe-down is sufficient to remove any residue.
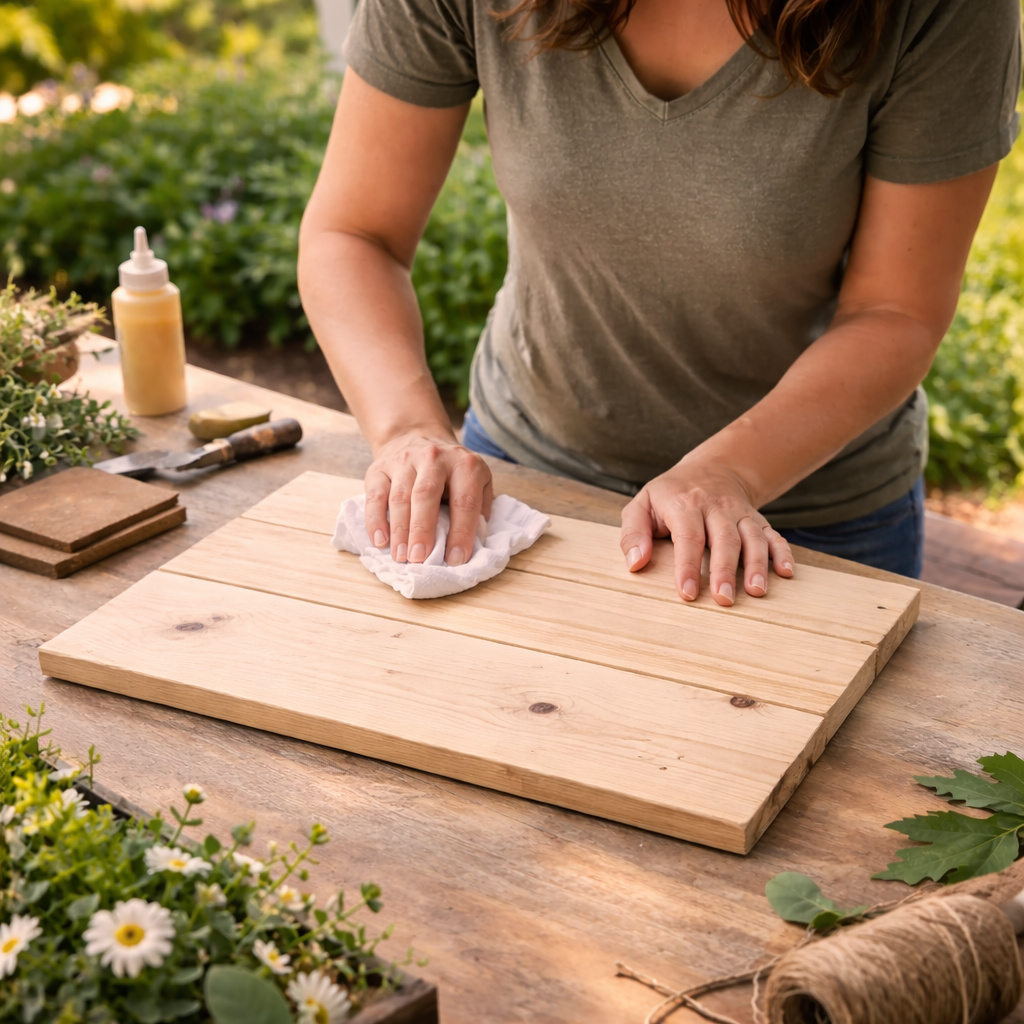
💡 Pro Tip: If working with raw wood, a light sanding with 120-grit sandpaper can help the paint adhere better and create a smoother, more professional finish, especially on the edges. Always sand with the grain of the wood.
Step 2: Apply Base Coat Paint
Using a flat paintbrush or foam roller, apply an even coat of white or light gray chalk/acrylic paint over the entire front surface and edges of your wooden sign. You might need two coats for opaque coverage. Allow each coat to dry completely according to the paint manufacturer’s instructions before applying the next.
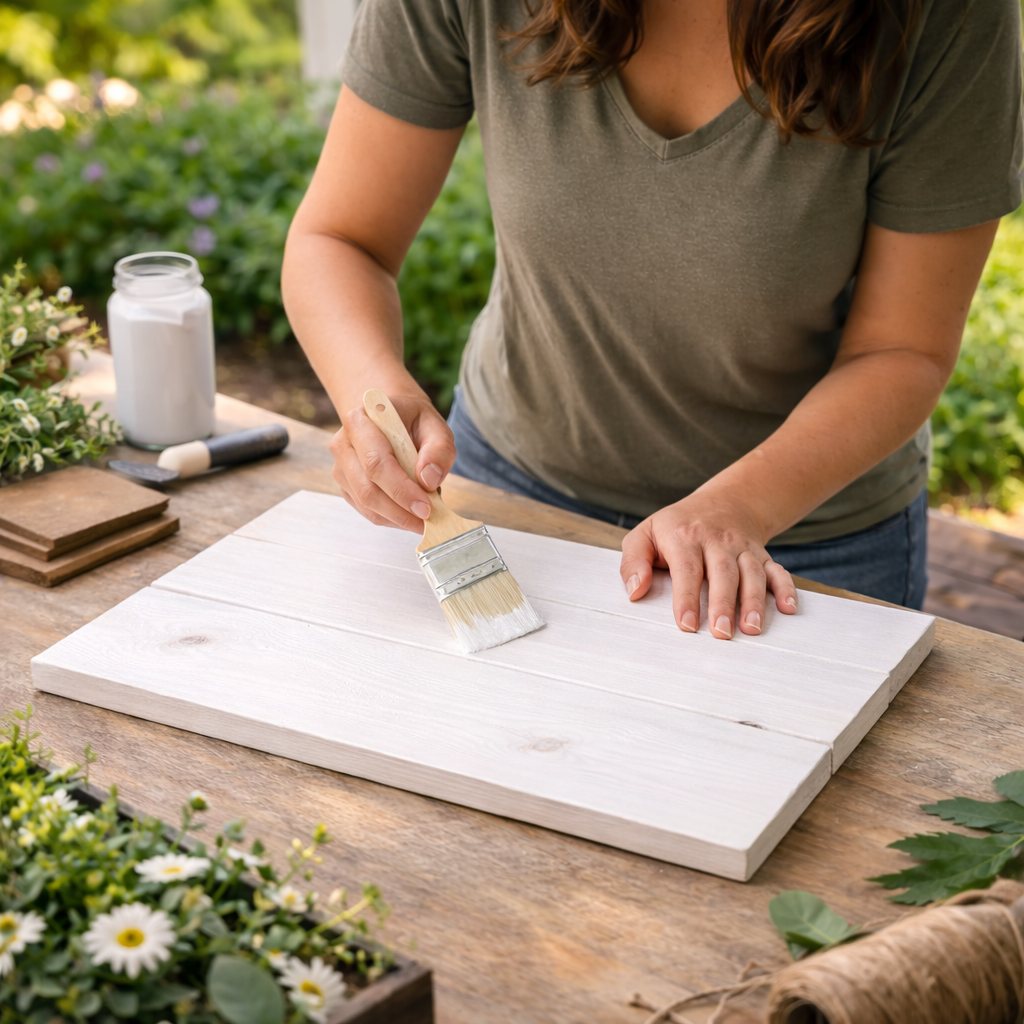
💡 Pro Tip: For a true farmhouse look, don’t strive for perfect, streak-free coverage. Slight imperfections or visible brush marks can actually add to the rustic charm. Chalk paint is excellent for this as it adheres well to most surfaces and dries with a beautiful matte finish.
🗓️ Keep all your craft projects on track! Explore our printable planners & templates at CraftersDT on Etsy and use code CRAFT20 for 20% off!
Step 3: Create Distressed Finish
Once the base coat is fully dry, apply a dark antiquing wax or a very thin, diluted wash of dark craft paint (brown or gray) sparingly to the surface. Immediately wipe off most of the wax/paint with a clean, lint-free cloth, focusing on leaving residue in the wood grain and around the edges. This creates an aged, weathered appearance.
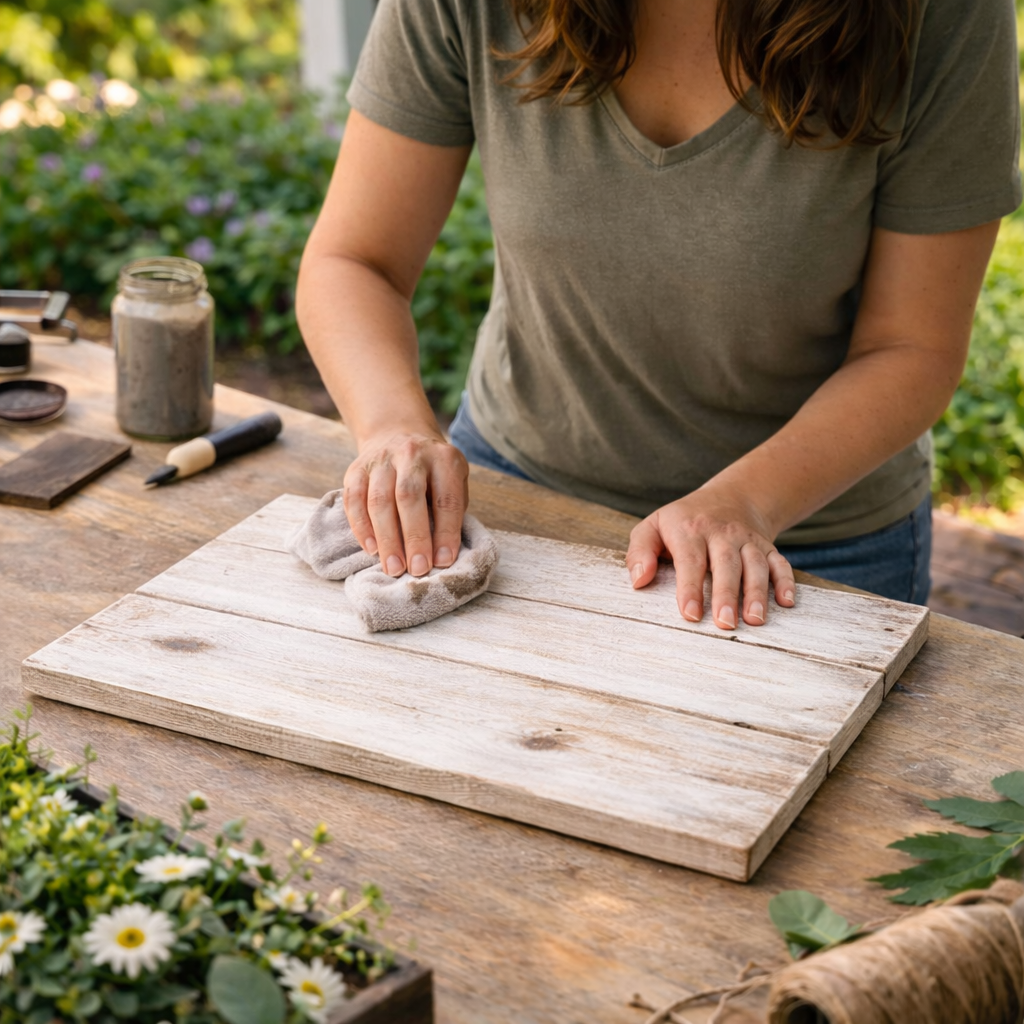
💡 Pro Tip: Apply the wax or paint wash in small sections and wipe back quickly to avoid staining the white base too heavily. For deeper, more authentic distressing, lightly sand edges or raised areas with fine-grit sandpaper (220-grit) after the distressing agent is dry.
Step 4: Secure Metal Elements
Arrange the galvanized metal heart, decorative watering can, and small bucket on your distressed wooden sign until you are happy with the layout. Once satisfied, use a strong craft adhesive like E6000 for a permanent hold, or hot glue for a quicker, but potentially less durable, bond. Apply glue to the back of each metal piece and press firmly into place for several seconds.
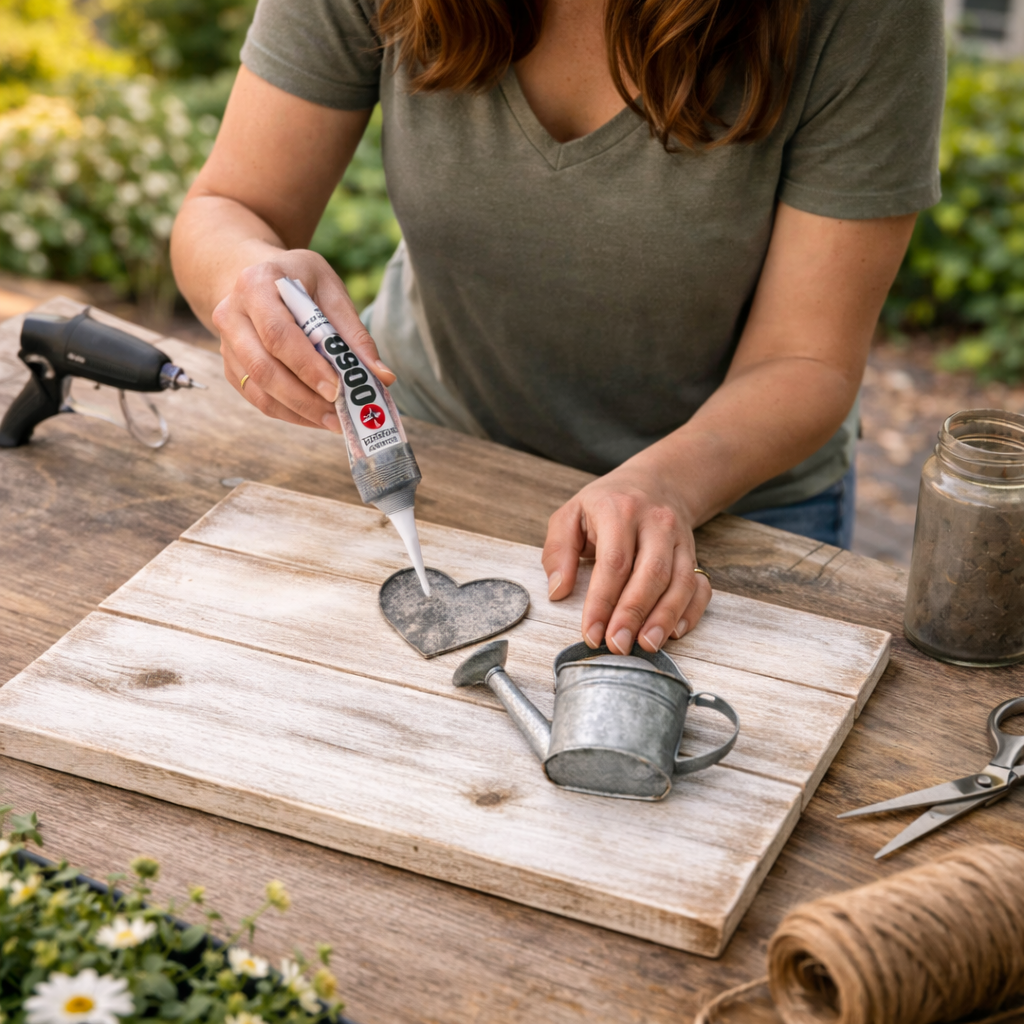
💡 Pro Tip: For galvanized metals, lightly scuffing the back surface with fine-grit sandpaper can help the glue adhere better. If using hot glue, apply a generous amount to ensure full contact and hold the piece in place for 15-20 seconds as it cools.
Step 5: Arrange Faux Greenery & Flowers
Now, it’s time to bring life to your sign! Trim your faux greenery (like eucalyptus) into smaller sprigs and arrange them gracefully around the top of the sign, securing them with hot glue. Then, place your faux daisy flower bunches into the galvanized watering can and bucket, shaping them to look full and natural. Add extra trailing greenery around the containers if desired for a lush effect.
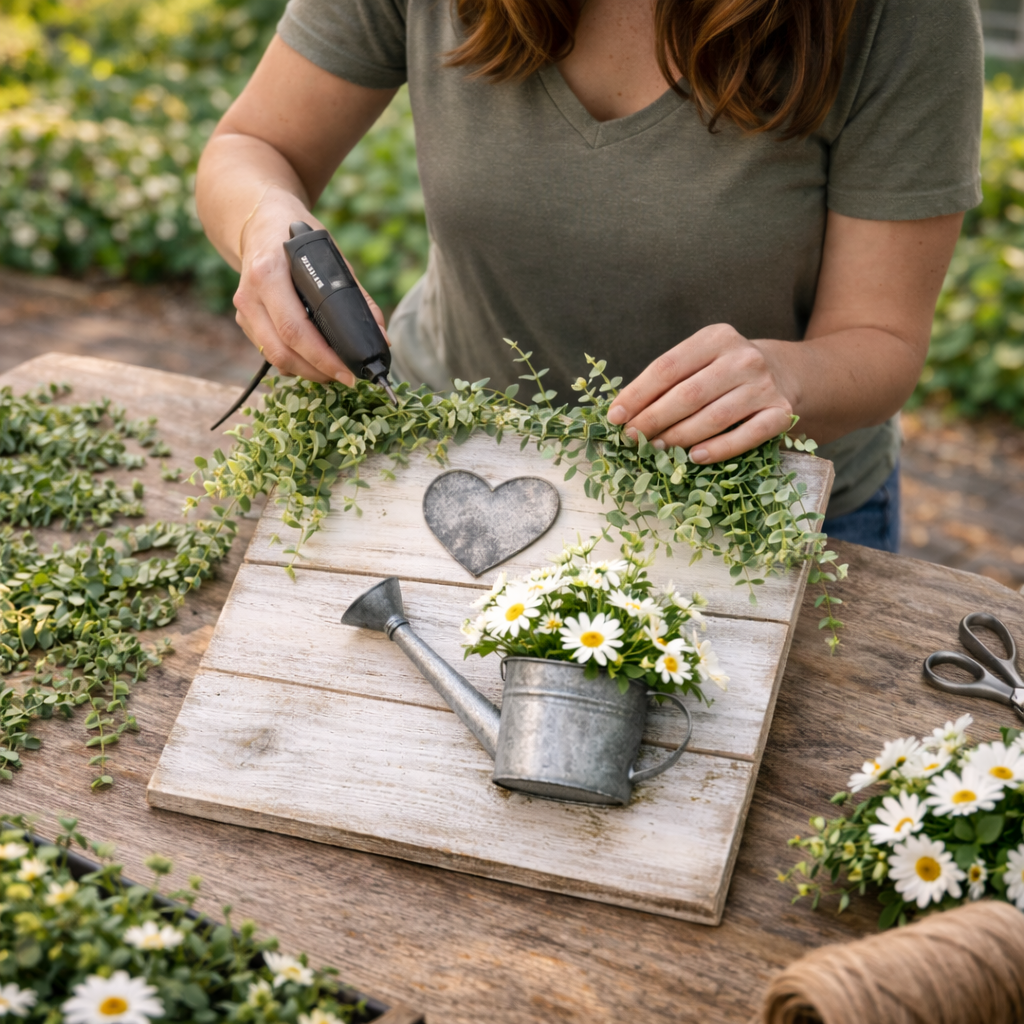
💡 Pro Tip: For a natural and organic look, vary the lengths of your greenery sprigs and let some gently drape. Use floral foam inside the metal containers if they are deep, or simply hot glue the flower stems directly to the inside to secure them in place.
Step 6: Add “Welcome” Lettering
Carefully position your “Welcome” stencil or vinyl letters onto the lower right section of the sign. If using a stencil, dab dark craft paint (black or dark gray) through it with a sponge brush, lifting the stencil straight up to prevent smudging. If using vinyl, peel the backing and smooth it down firmly, ensuring no air bubbles.
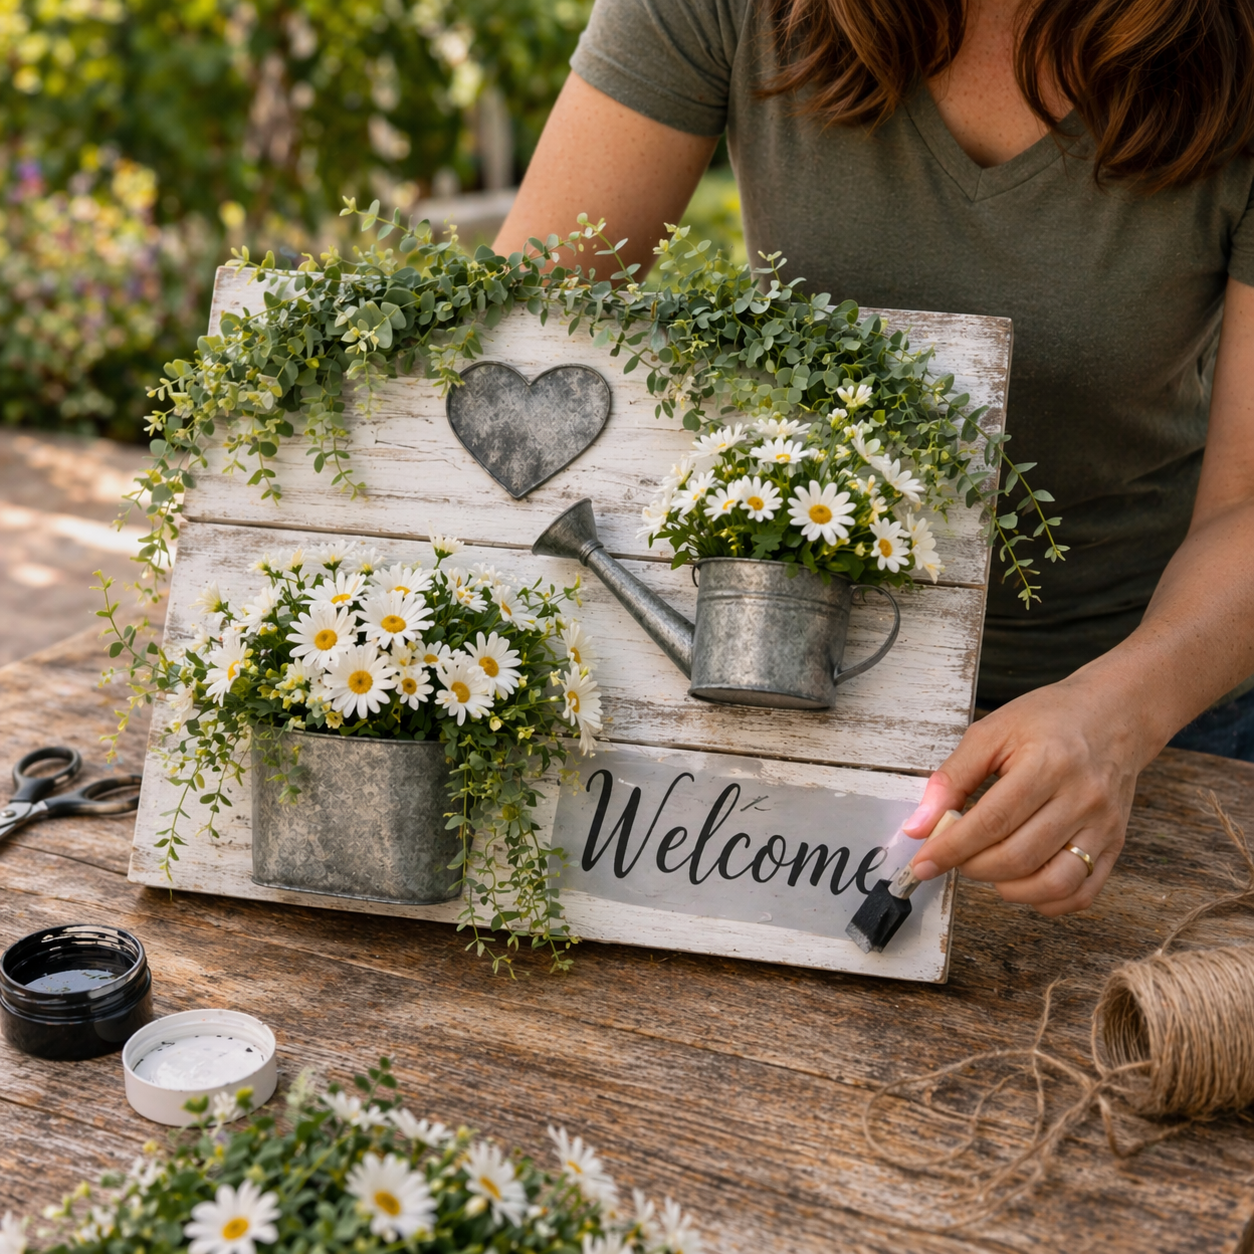
💡 Pro Tip: For stenciling, use minimal paint on your brush and build up thin layers to prevent paint from bleeding under the stencil. For vinyl, use a credit card or squeegee to smooth out any air bubbles, working from the center outwards for a clean application.
Step 7: Finish with Hanger and Bow
To create the hanger, cut a length of jute twine (approximately 24 inches), knot each end, and staple or hot glue it securely to the back top corners of the wooden sign. Finally, tie a charming bow from burlap ribbon and hot glue it to the center top, over where the greenery meets, ensuring it covers the twine attachment points for a polished look.
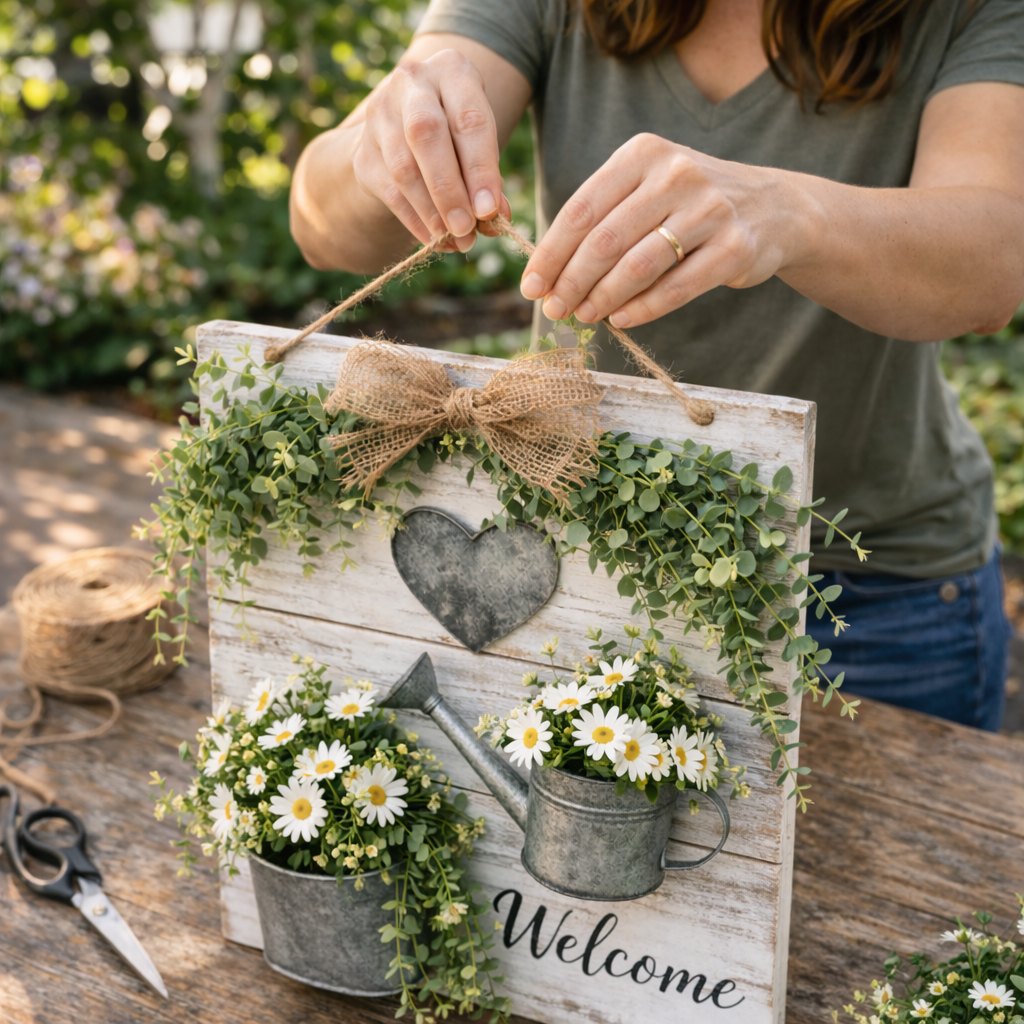
💡 Pro Tip: Reinforce the twine hanger attachment points with a small piece of duct tape or strong craft tape over the knots on the back for extra security, especially if your sign will be hung outdoors. Choose a burlap ribbon that complements the rustic aesthetic.
Your Rustic Farmhouse Garden Welcome Sign Sparkles!
See? I told you it was easy peasy! Now you have an adorable Rustic Farmhouse Garden Welcome Sign ready to greet everyone. Pop it by your front door, hang it on your porch, or even gift it to a friend for their own Spring & Garden area. Don’t forget to share your version with me, I’d love to see how you made it your own!
📱 Free to Download
Craftino, The #1 Craft App
✓ Save crafts & browse fully offline
✓ Download printable PDF guides for every project
✓ Step-by-step photo tutorials, nothing left out
✓ 1,000+ craft projects with new ones added every week
Frequently Asked Questions
How long does it take to make this Rustic Farmhouse Garden Welcome Sign?
You can honestly whip up this super cute sign in about 45 minutes to an hour, not counting paint drying time.
What materials do I need for this Home Decor project?
You’ll mostly need some scrap wood, paint, stencils or vinyl, and a little bit of twine or ribbon. Most items you can grab at Dollar Tree!
Is this a good project for beginner crafters?
Absolutely! This Rustic Farmhouse Garden Welcome Sign is super simple and perfect for anyone just starting out with DIY projects.
Can I change up the look of my Spring & Garden welcome sign?
For sure! Get creative with different paint colors, patterns, or even add some faux flowers to make it uniquely yours.
Discover the newest Dollar Tree arrivals for your next craft project here.
Leave a Reply