
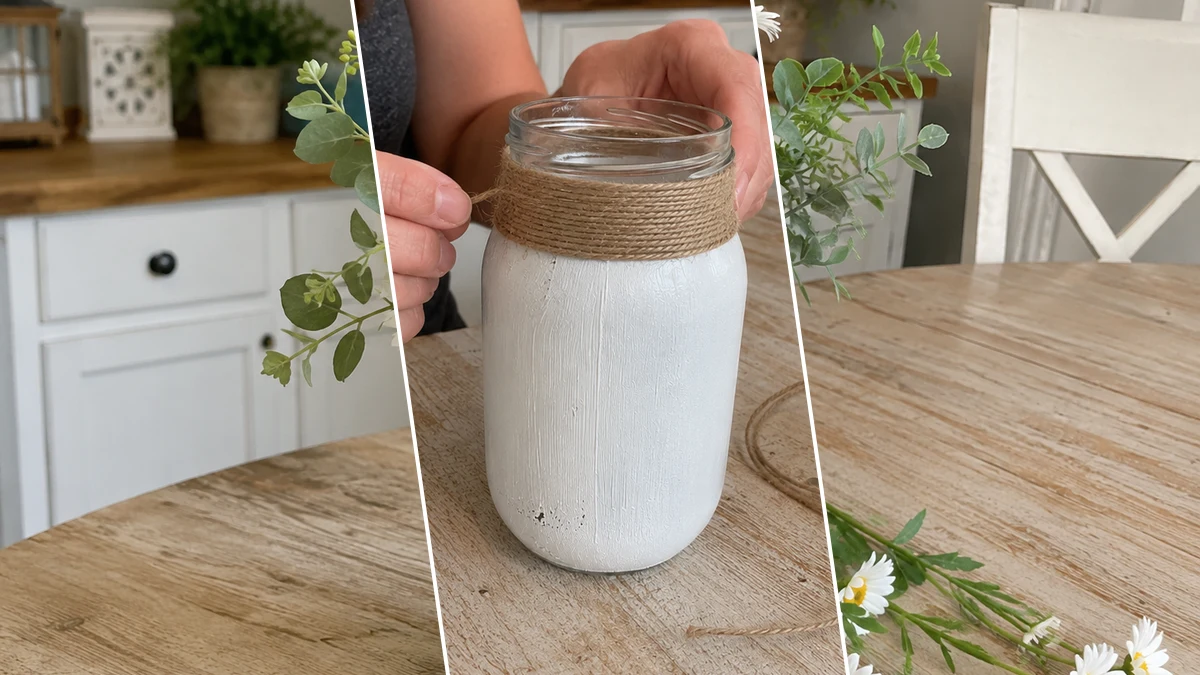
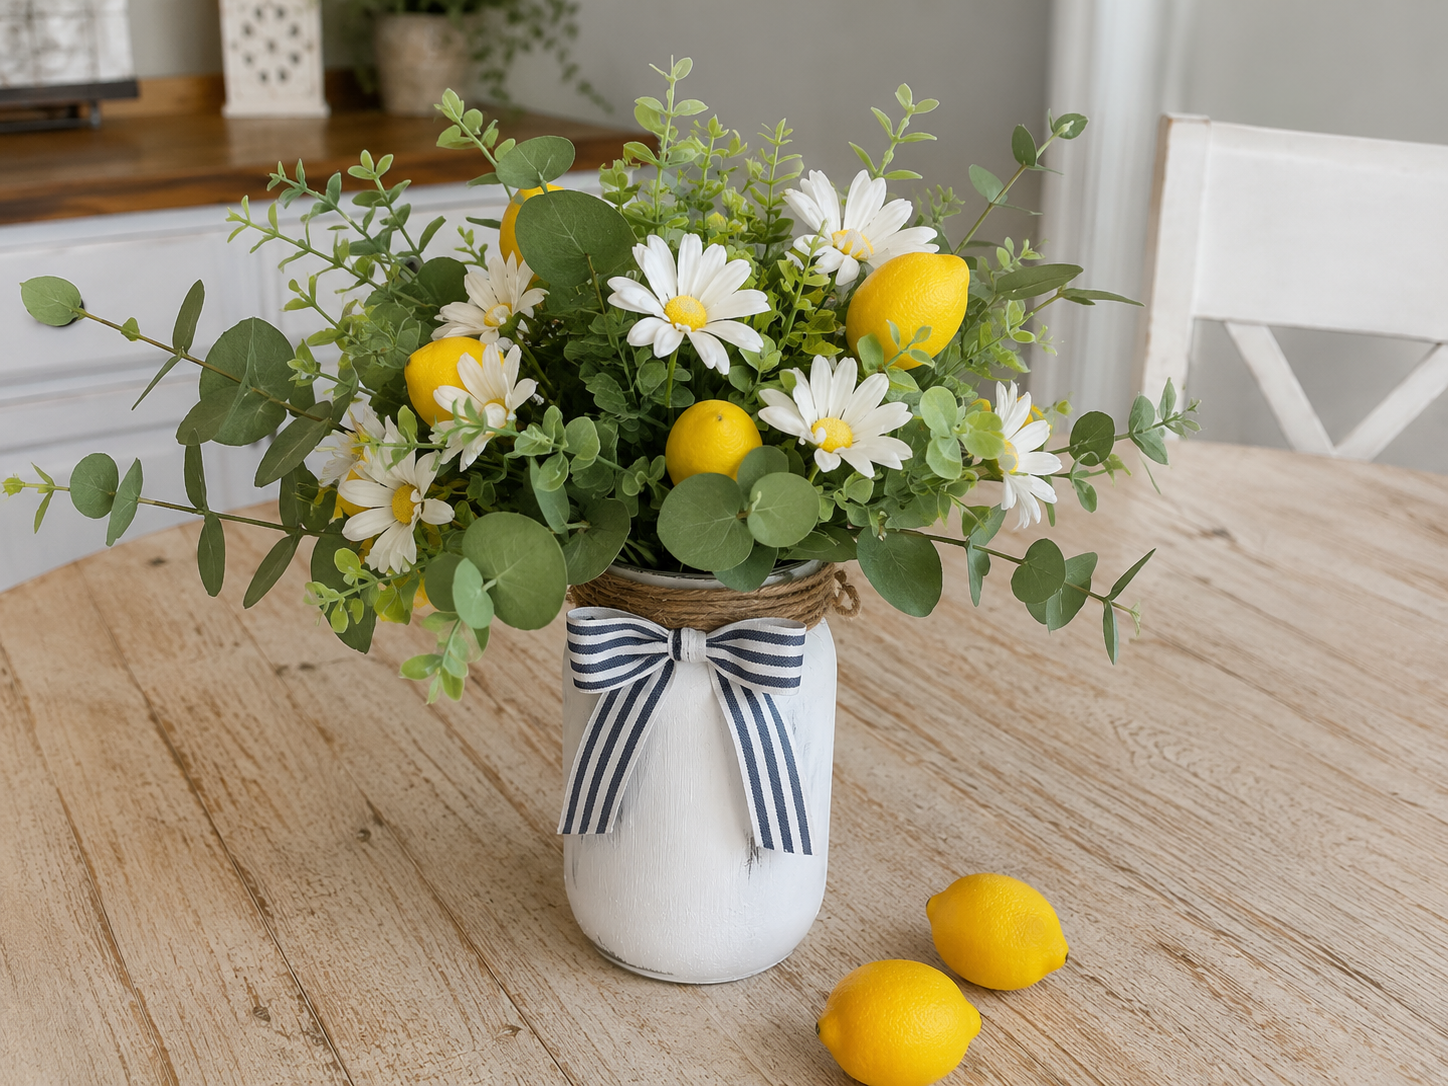
Okay, so I was strolling through Dollar Tree the other day, minding my own business, when I saw these cute little faux lemons and daisies. Instantly, I knew exactly what I needed to make for my kitchen table! That’s how this super adorable Rustic Summer Lemon Daisy Jar Centerpiece came to life, and let me tell you, it’s just sunshine in a jar!
Theme: Summer & Beach
Materials Needed
- Glass Jar (Mason jar or similar recycled jar)
- White Chalk or Acrylic Paint
- Jute Twine or Rope
- Blue-and-White Striped Ribbon
- Faux Lemons, White Daisies & Eucalyptus/Greenery
- Floral Foam or Crinkle Paper Filler
- Hot Glue Gun & Glue Sticks
- Scissors
Why This Craft Works
This little beauty is just perfect for brightening up any spot in your home, especially a sunny kitchen island or a cozy patio table. It’s got that lovely farmhouse vibe but with a fresh, zesty twist that screams ‘Summer & Beach’ fun. It’s that perfect touch of Home Decor to make your space feel extra cheerful for the warmer months.
And guess what? You won’t believe how budget-friendly this project is! Seriously, with almost everything grabbed from my latest Dollar Tree haul, this whole Rustic Summer Lemon Daisy Jar Centerpiece ran me about $11-14 in supplies. Talk about a steal for such a cute decoration!
Don’t worry if you’re new to crafting, because this one is super easy! From start to finish, putting together this adorable Rustic Summer Lemon Daisy Jar Centerpiece took me about 40-60 minutes. It’s absolutely perfect for beginners, busy moms, or anyone needing a quick, cheerful project for their Home Decor.
Step-by-Step Instructions for Rustic Summer Lemon Daisy Jar Centerpiece
Ready to get your craft on? This Rustic Summer Lemon Daisy Jar Centerpiece is so much fun to put together, you’ll be smiling the whole time. It’s truly a breeze, even for little hands if you want to make it a family project, and you’ll have a stunning piece of Summer & Beach Home Decor in no time!
Step 1: Prepare & Paint Your Jar
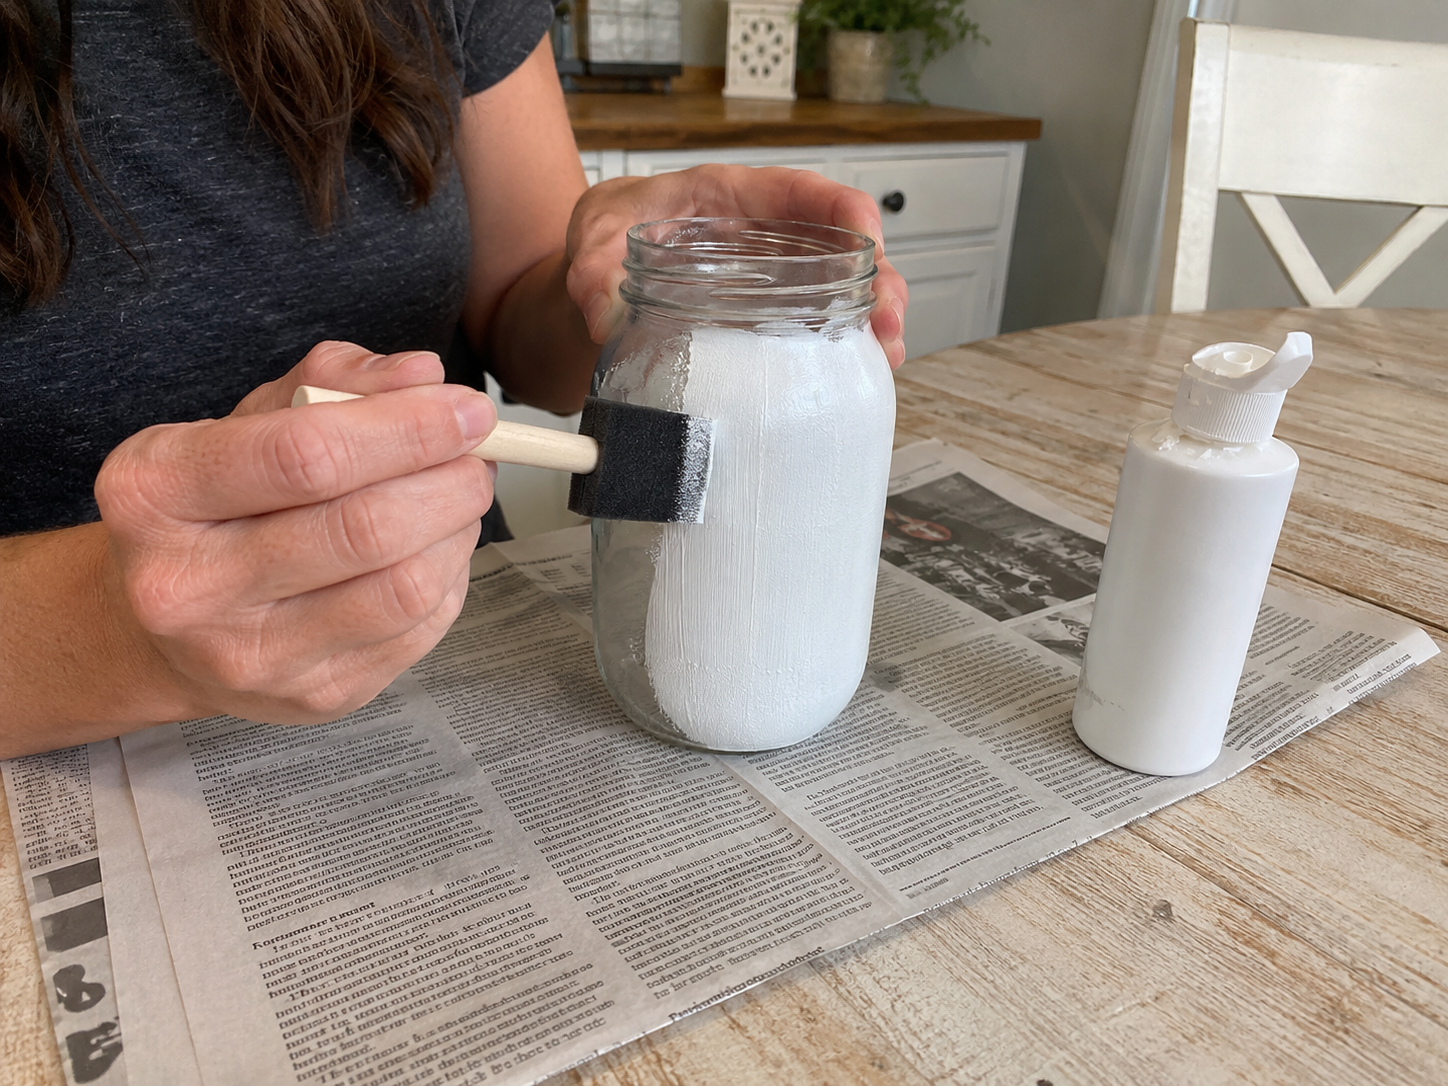
Clean the glass jar thoroughly with soap and water, then wipe it with rubbing alcohol to remove any oils or residue. Apply 1-2 coats of white chalk or acrylic paint, ensuring even coverage. Let each coat dry completely before proceeding.
Step 2: Achieve a Distressed Finish
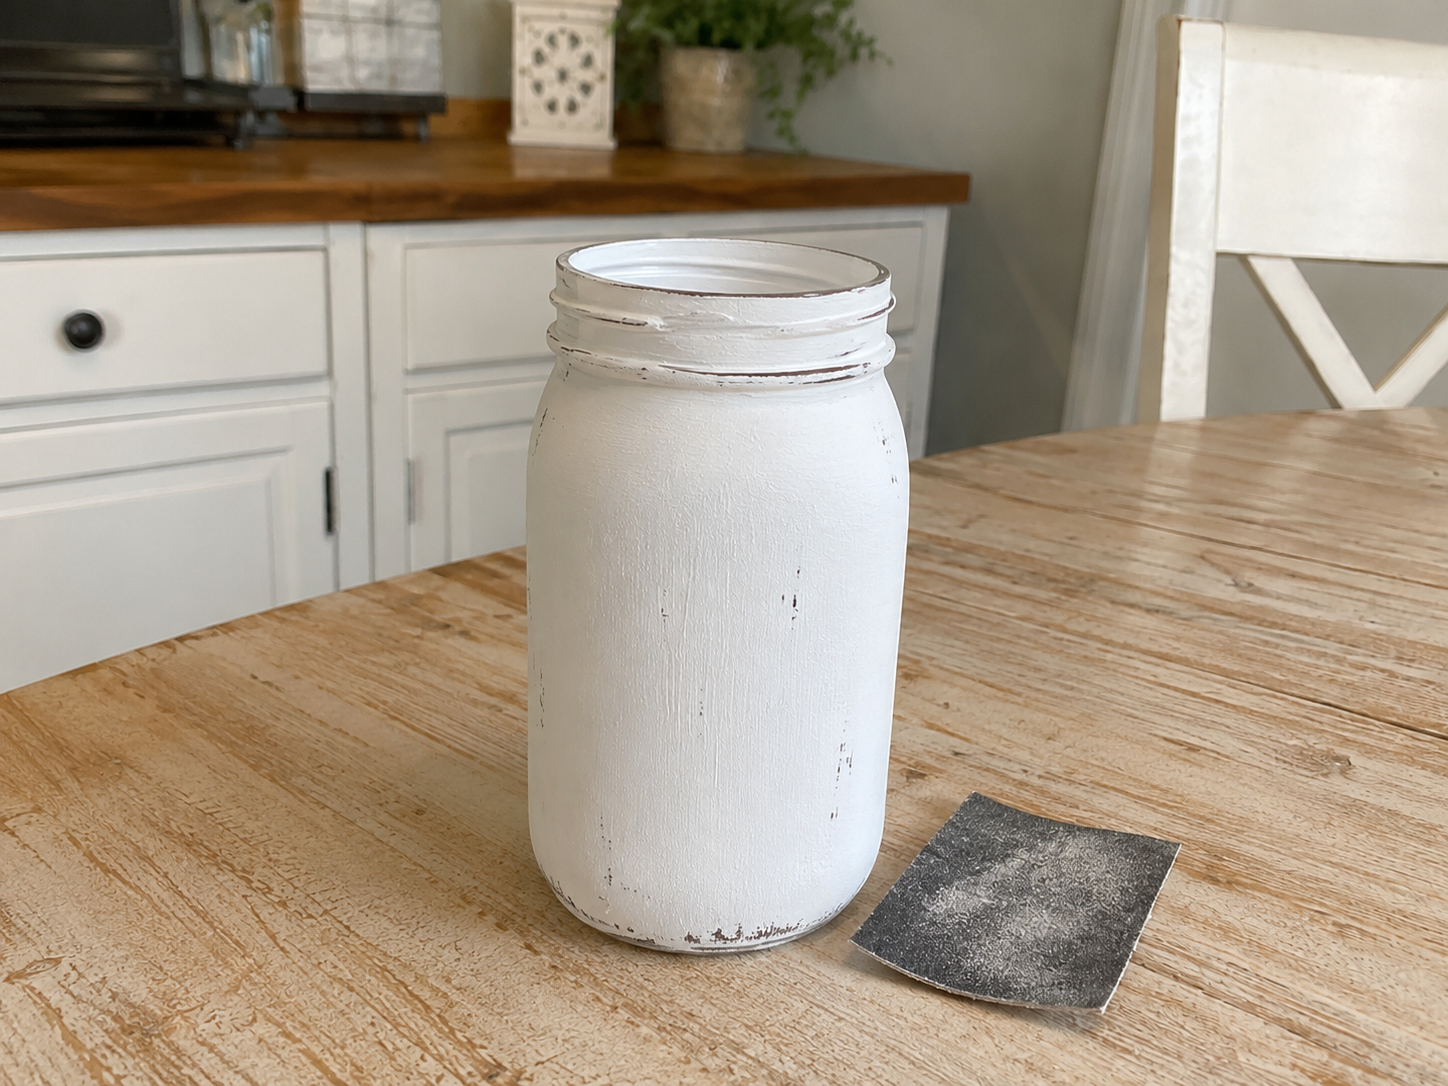
Once the paint is completely dry (allow several hours or overnight for chalk paint to cure), use fine-grit sandpaper (120-220 grit) or a distressing tool to gently sand away paint along the raised edges, rim, and bottom of the jar. Focus on areas that would naturally show wear. Wipe off any dust with a dry cloth.
Step 3: Wrap Jute Twine Collar
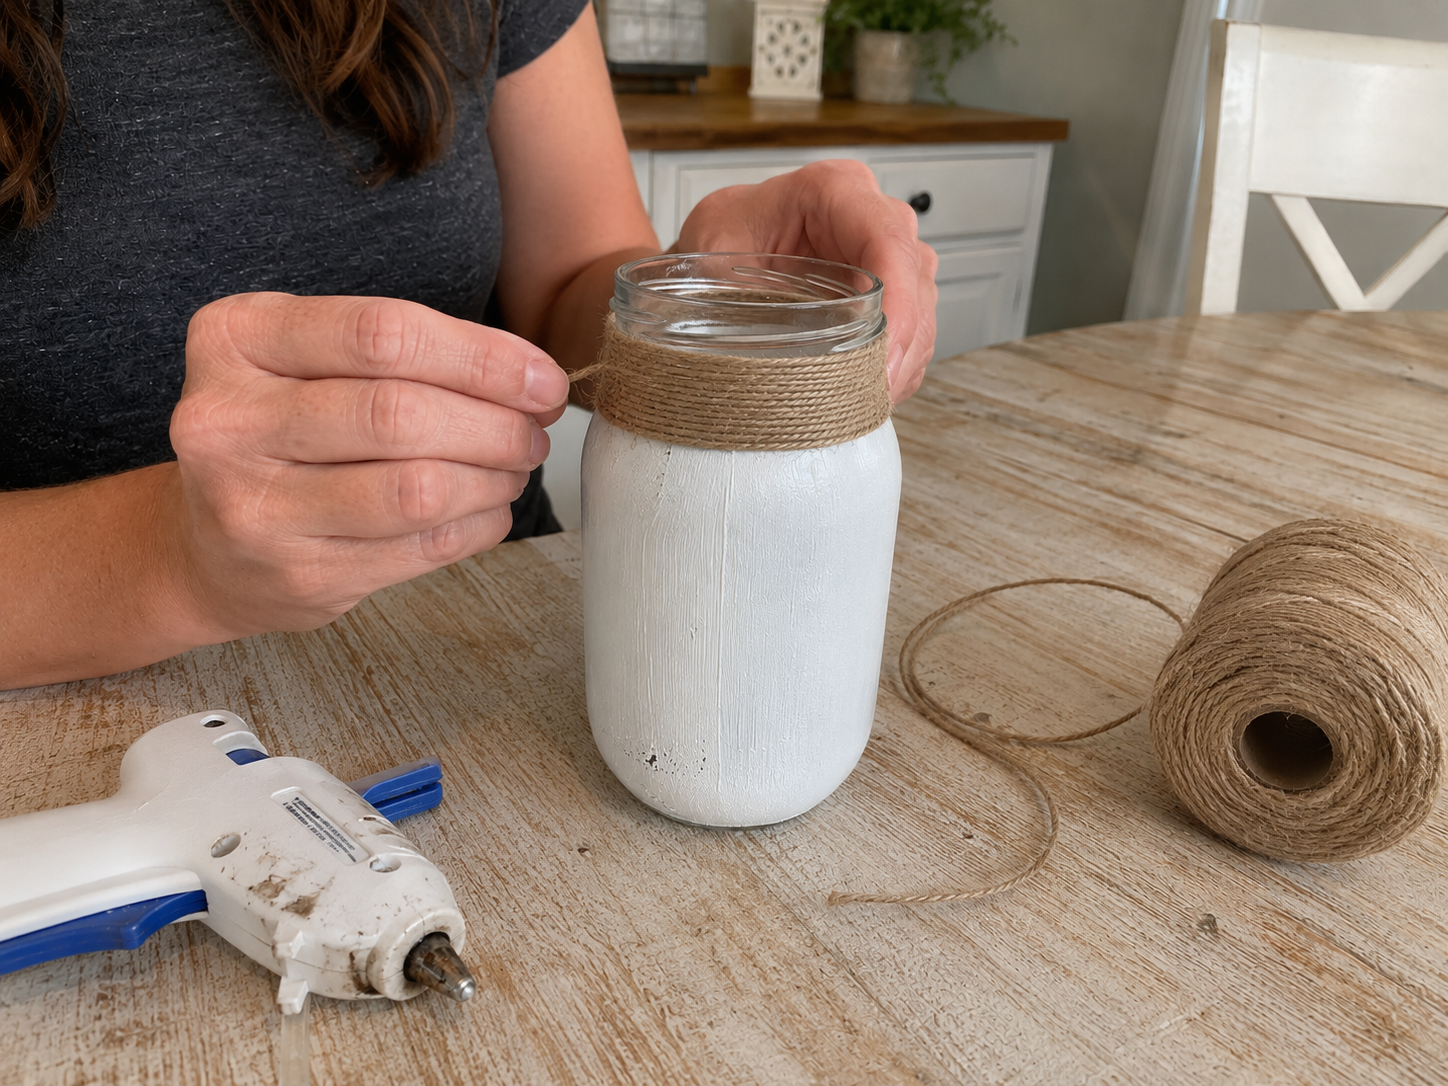
Apply a small bead of hot glue to the upper rim of the jar and secure the end of your jute twine. Begin wrapping the twine tightly and evenly around the neck of the jar, working your way down for about 1-2 inches (2.5-5 cm). Secure the end with another dot of hot glue.
Step 4: Add the Decorative Ribbon Bow
Cut a length of your blue-and-white striped ribbon. Tie it into a neat bow around the jute-wrapped neck, just below the twine, positioning the bow neatly at the front. You can secure the bow with a small dot of hot glue to the twine if desired, to prevent it from shifting.
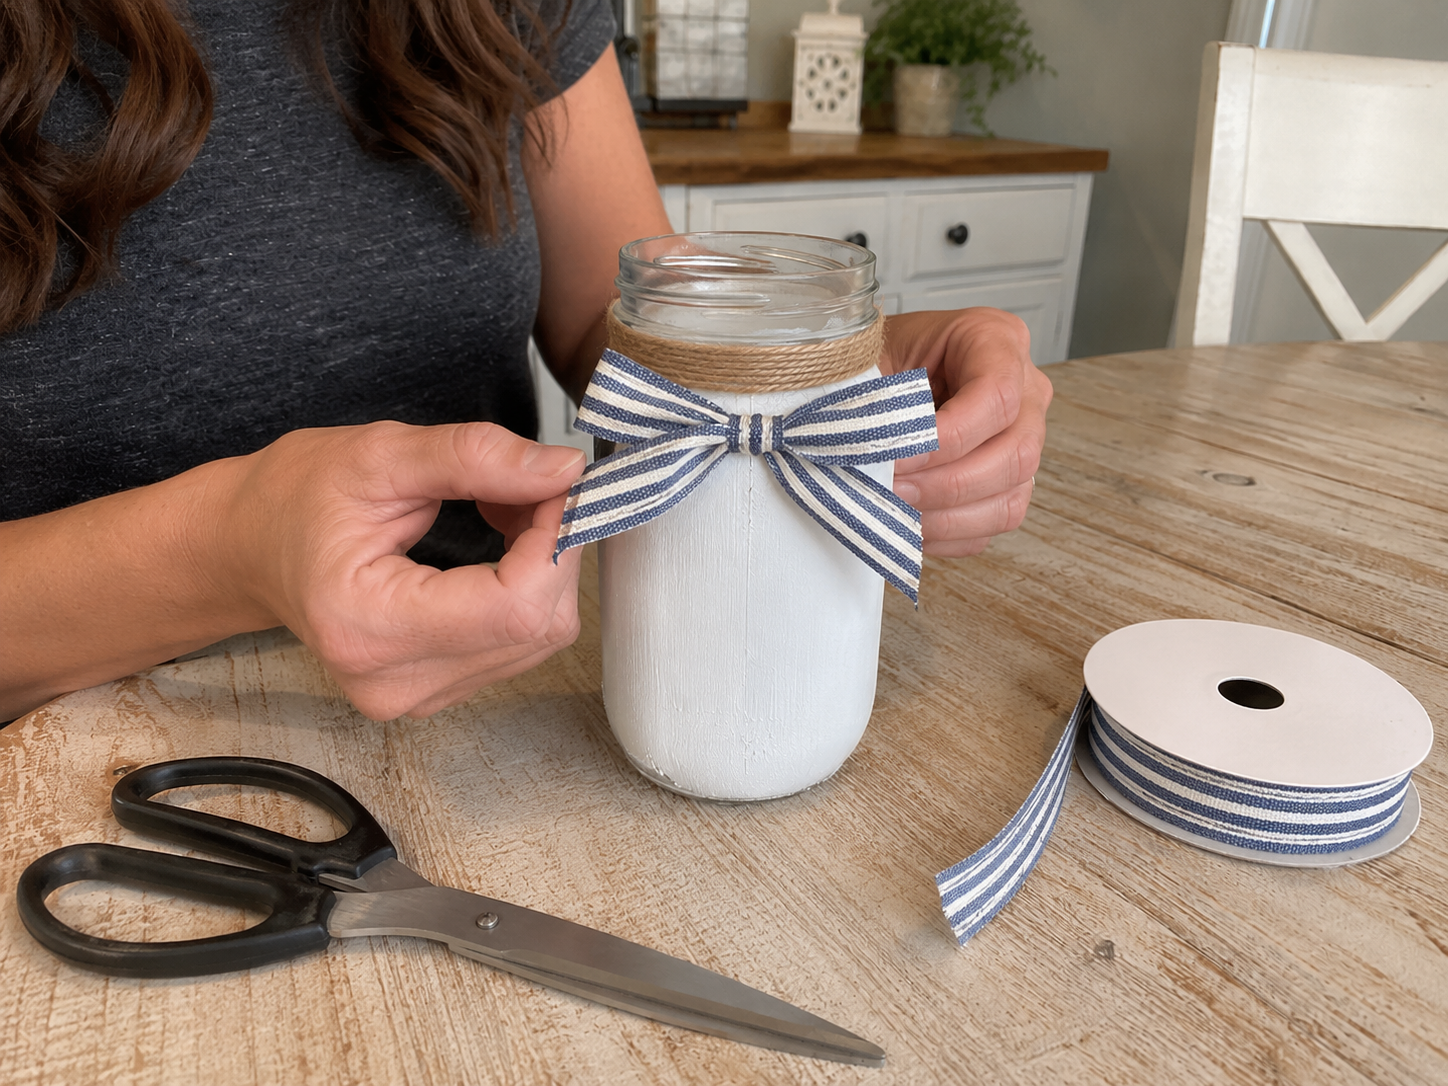
Step 5: Prepare for Floral Arrangement
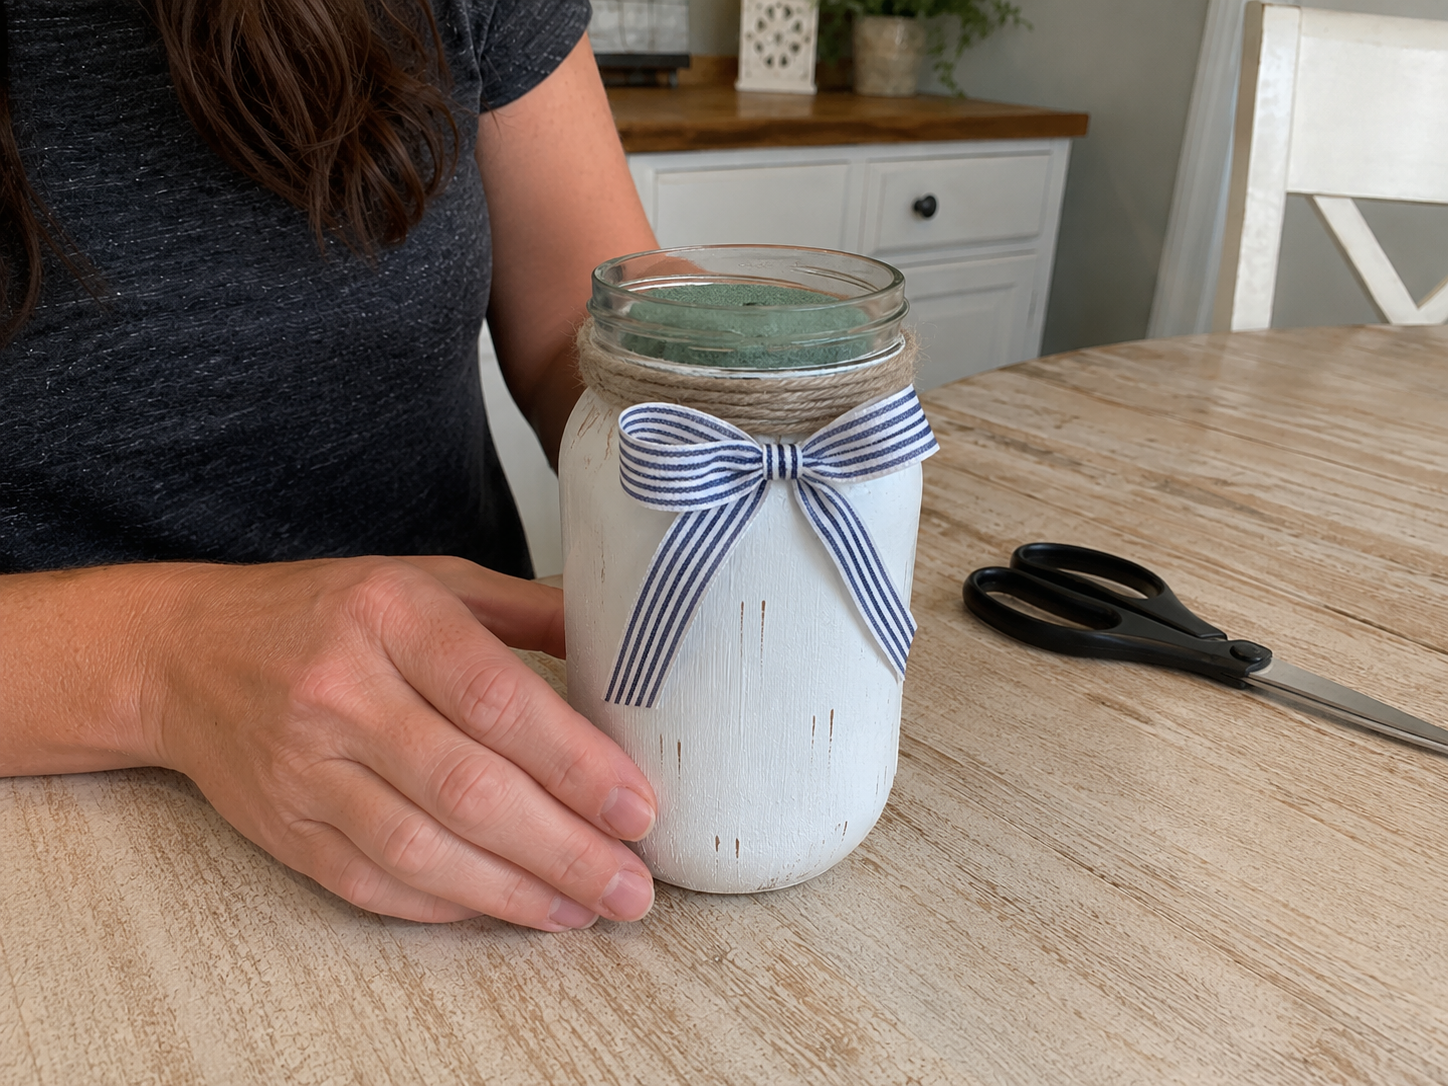
Cut a piece of floral foam to fit snugly inside the jar, ensuring it’s not visible above the rim but offers a stable base for your floral stems. If using crinkle paper or other filler, place it into the jar, leaving enough space to insert stems securely.
📱 Craftino App
Make more crafts like this
1,000+ Summer & Beach ideas with photo guides & Pro Tips
✓ Step-by-step photo tutorials, nothing left out
✓ Pro Tips for every step
✓ Save crafts & browse fully offline
✓ New ideas added every week


Step 6: Build Your Greenery Base
Begin by inserting the longer stems of eucalyptus and other soft greenery into the floral foam, distributing them evenly to create a natural, flowing base. Aim for height and width, creating the overall shape of your arrangement. Trim stems as needed.
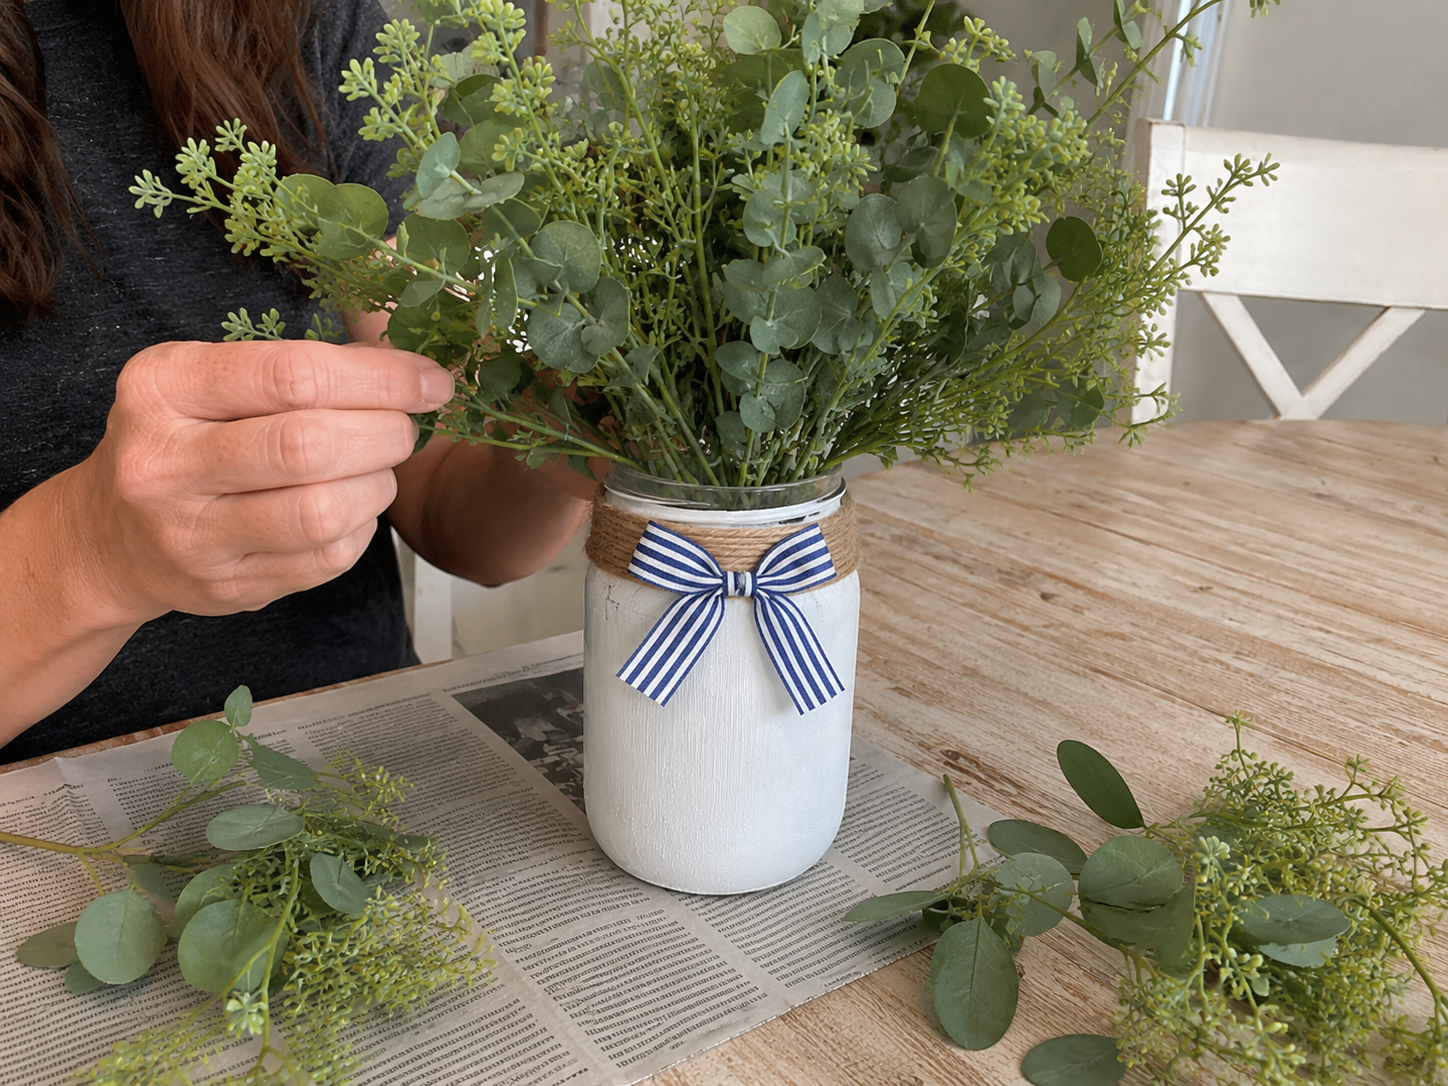
Step 7: Add the Cheerful Daisies
Once your greenery base is established, begin adding your faux white daisies. Insert them strategically throughout the arrangement, varying their height and position to create a natural, garden-fresh look. Use a mix of larger and smaller daisies if available for depth.
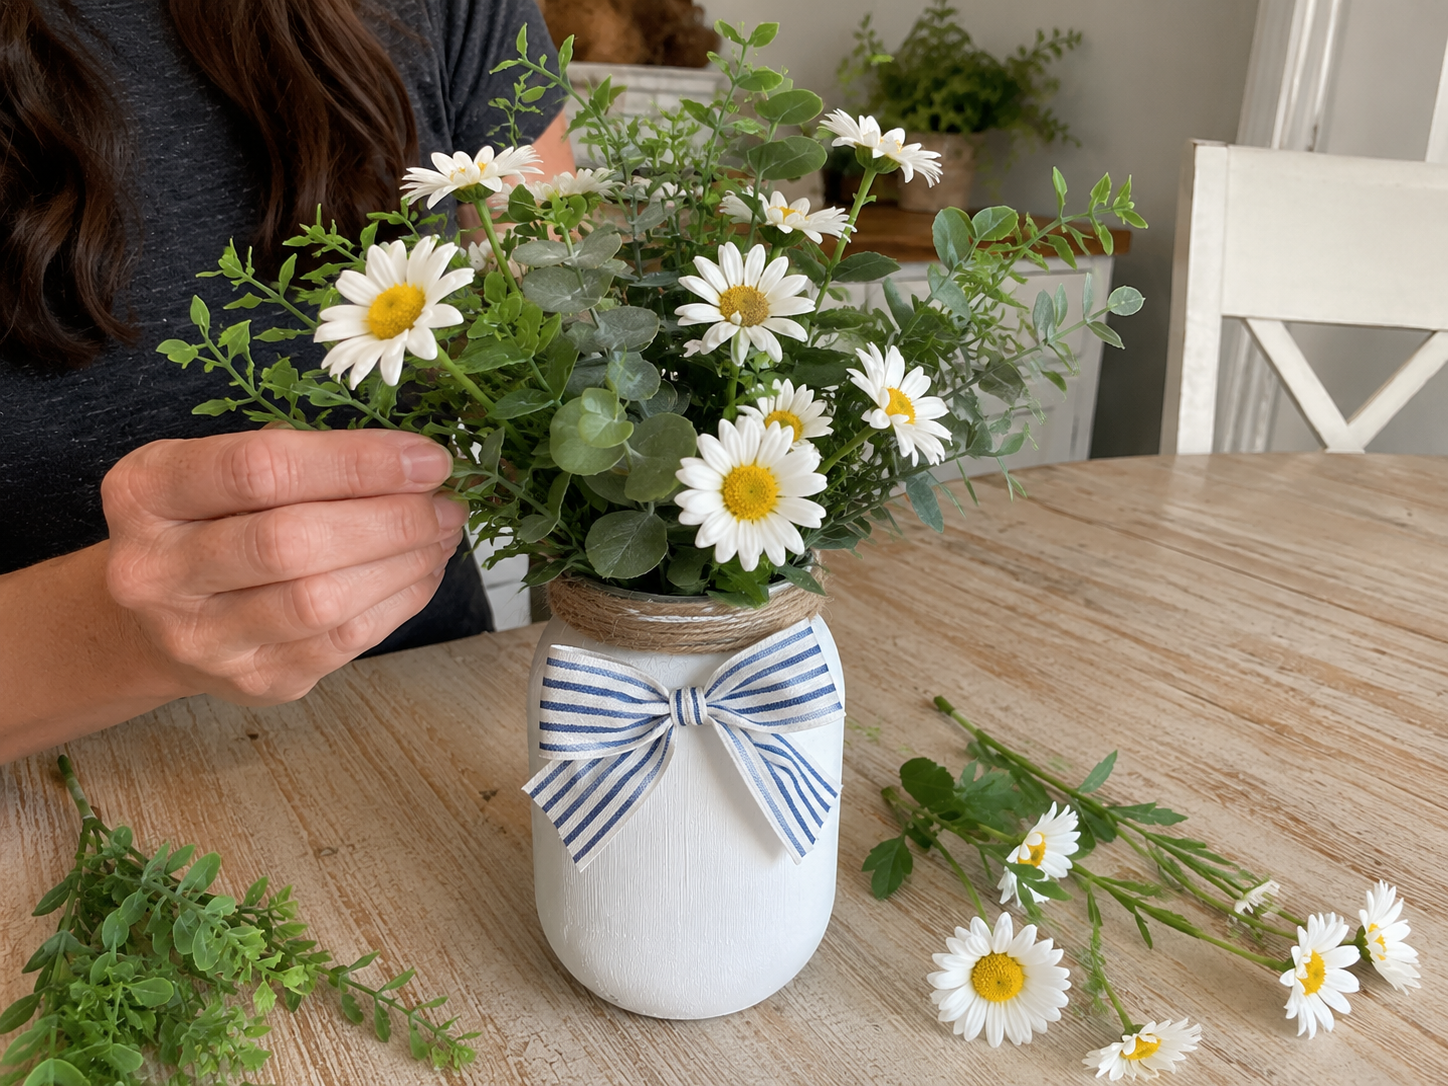
Step 8: Tuck in the Bright Lemons
Finally, add your faux lemons. Gently tuck them into the arrangement, allowing them to nestle among the greenery and daisies. Distribute them evenly, ensuring they are visible and add a bright pop of color without overwhelming the flowers or greenery. Secure with hot glue if they feel unstable.
Step 9: Final Fluff & Display
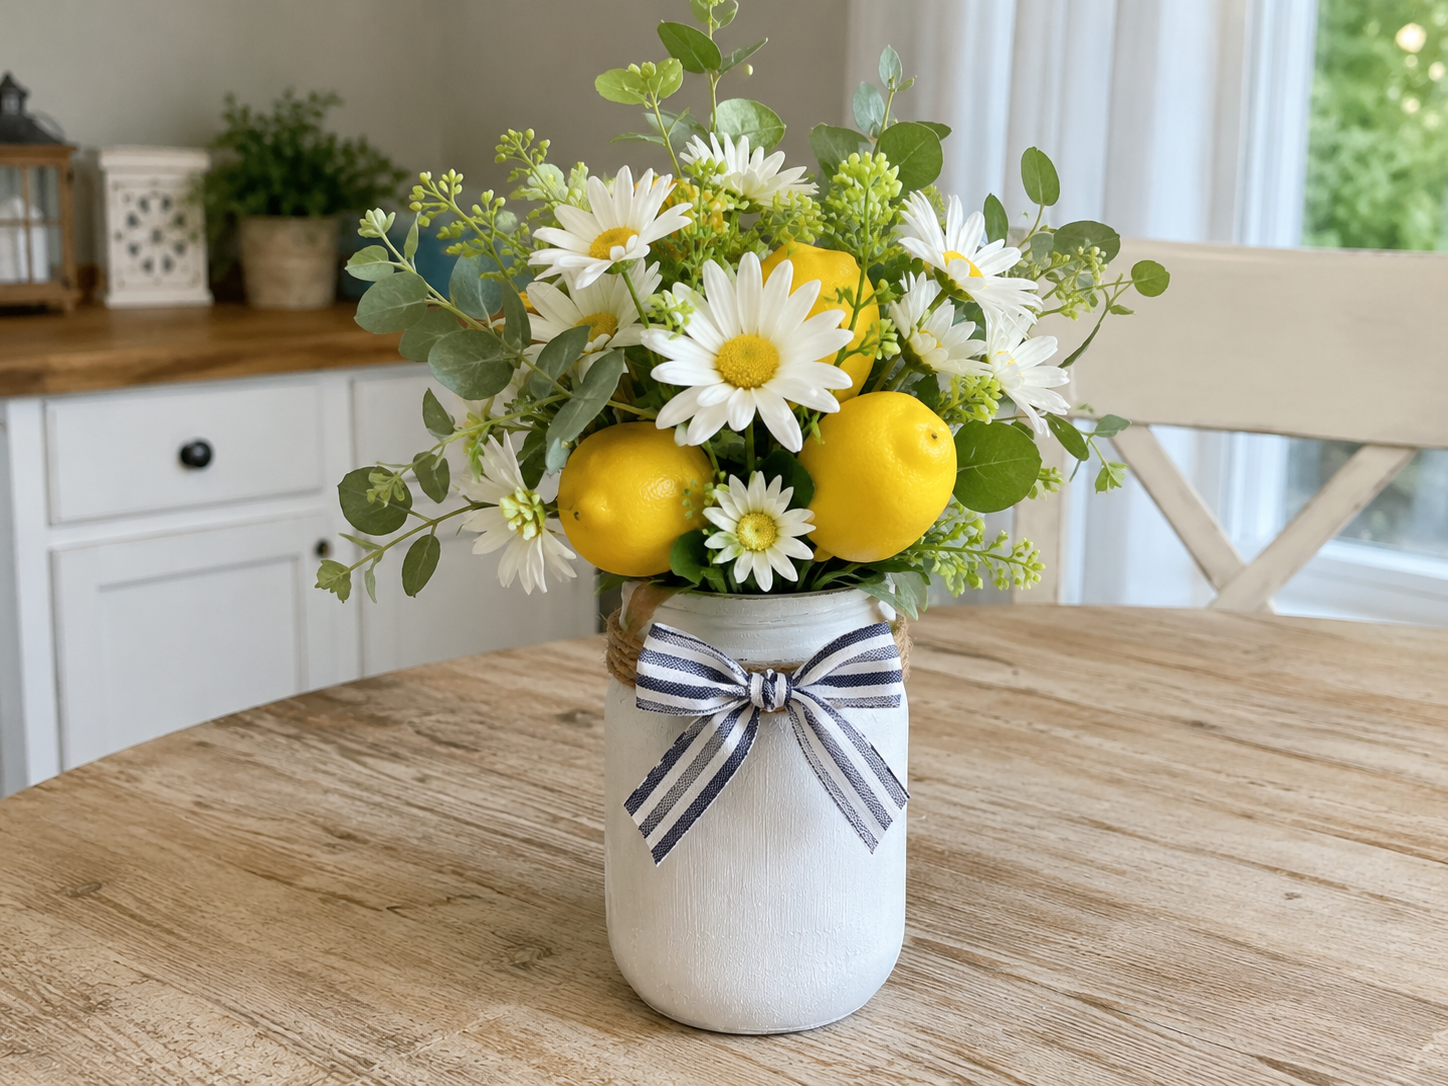
Step back and observe your centerpiece from all angles. Gently “fluff” and adjust any stems, leaves, or flowers to fill gaps and create a balanced, full, and organic appearance. Trim any stray wires or stems. Place your beautiful “Rustic Summer Lemon Daisy Jar Centerpiece” on your kitchen table, shelf, or counter to brighten your space!
See also: Diy Rustic Lemon Daisy Summer Centerpiece Crate
📋 Love staying organized while crafting? Check out our printable planners & craft designs at CraftersDT on Etsy and use code CRAFT20 for 20% off your entire order!
Your Zesty Summer Daisy Jar Awaits!
See? Wasn’t that easy and fun? Now you’ve got this absolutely adorable Rustic Summer Lemon Daisy Jar Centerpiece to brighten up your home. Display it on your kitchen table, a bookshelf, or even out on the porch! Don’t forget to tag me if you make one, I’d love to see your sunny creations!
📱 Craftino App
Make more crafts like this
1,000+ Summer & Beach ideas with photo guides & Pro Tips
✓ Step-by-step photo tutorials, nothing left out
✓ Pro Tips for every step
✓ Save crafts & browse fully offline
✓ New ideas added every week
Frequently Asked Questions
What is the total cost for the Rustic Summer Lemon Daisy Jar Centerpiece DIY?
The total cost for the Rustic Summer Lemon Daisy Jar Centerpiece project is typically $11-14. This budget-friendly price is thanks to using many Dollar Tree supplies, making it an affordable Home Decor option for Summer & Beach themes.
How long does it take to make the Rustic Summer Lemon Daisy Jar Centerpiece?
Crafting the Rustic Summer Lemon Daisy Jar Centerpiece typically takes about 40-60 minutes from start to finish. This quick DIY is perfect for adding Summer & Beach vibes to your home in under an hour.
Is the Rustic Summer Lemon Daisy Jar Centerpiece suitable for beginner crafters?
Yes, the Rustic Summer Lemon Daisy Jar Centerpiece is an easy DIY project perfect for beginners. The steps are straightforward, requiring minimal crafting experience to achieve a beautiful Home Decor piece for the Summer & Beach season.
What kind of jars are best for the Dollar Tree Lemon Daisy Jar Centerpiece?
Standard mason jars or upcycled glass jars work perfectly for the Rustic Summer Lemon Daisy Jar Centerpiece. Dollar Tree often carries suitable clear glass jars in 16-ounce or 24-ounce sizes that are ideal for this DIY craft.
What type of paint should I use for the Rustic Summer Lemon Daisy Jar Centerpiece?
Acrylic craft paint is the best choice for painting the jars in the Rustic Summer Lemon Daisy Jar Centerpiece. You’ll want colors like white, yellow, and green, which are readily available at Dollar Tree or any craft store.
Where can I find supplies for the Rustic Summer Lemon Daisy Jar Centerpiece?
Most supplies for the Rustic Summer Lemon Daisy Jar Centerpiece can be purchased at Dollar Tree, making it a very budget-friendly DIY. You can also find items like faux lemons, daisies, and ribbon at craft stores like Hobby Lobby or Walmart.
Is the Rustic Summer Lemon Daisy Jar Centerpiece a good gift idea?
Absolutely, the Rustic Summer Lemon Daisy Jar Centerpiece makes a wonderful, thoughtful gift. It’s perfect for housewarmings, Mother’s Day, or as a cheerful ‘just because’ present, especially for anyone who loves Summer & Beach themed Home Decor.
Can I customize the colors for my Rustic Summer Lemon Daisy Jar Centerpiece?
Yes, you can easily customize the colors for your Rustic Summer Lemon Daisy Jar Centerpiece to match your existing Home Decor. Instead of yellow and white daisies, try blues and greens for a more coastal Summer & Beach feel, or even pastels for spring.
How durable is the DIY Rustic Summer Lemon Daisy Jar Centerpiece for outdoor use?
The Rustic Summer Lemon Daisy Jar Centerpiece is primarily designed for indoor Home Decor. If used outdoors, place it in a sheltered area like a covered porch to protect the painted jars and faux florals from direct sun and rain, which can cause fading or damage over time.
Shop summer & beach decor & supplies at Dollar Tree.

Leave a Reply