Ever walk into Dollar Tree and grab stuff you don’t need? Same! Well, this time, I actually needed it! I was looking for a sweet, quick gift for my own mama and stumbled upon the perfect supplies. That’s how this super cute Easy DIY Mother’s Day Wreath with Pink Peonies was born, and it looks so lovely on her front door.
See also: Dollar Tree Mothers Day 15 Crafts Ideas
Theme: Mother’s Day
Materials Needed
- Natural Grapevine Wreath Base
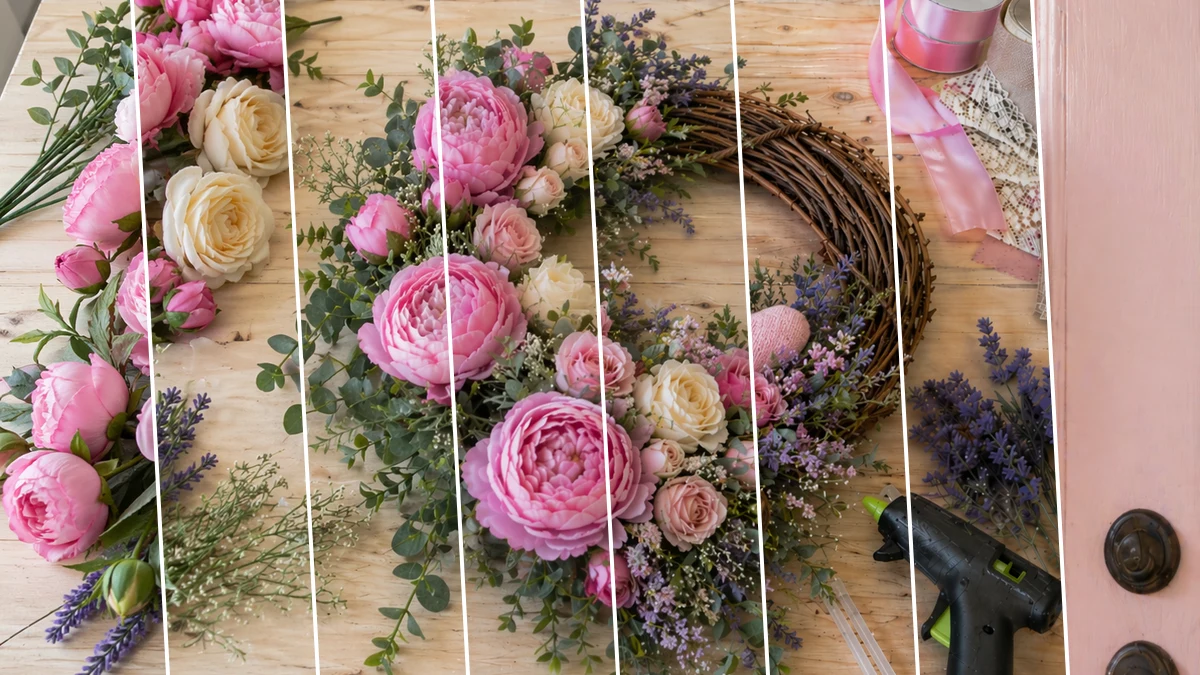
- Assorted Faux Flowers (Large pink peonies/garden roses, cream/ivory roses, small pink filler flowers, small white filler blooms, purple lavender stems)
- Assorted Faux Greenery (Eucalyptus-style, mixed soft fillers)
- Assorted Heart Embellishments (White crocheted/woven heart, pink padded fabric heart, woven vine heart)
- Layered Ribbon Assortment (Wide pink patterned, cream/taupe solid, delicate lace)
- Floral Wire (22-26 gauge)
- Wire Cutters
- Hot Glue Gun and Glue Sticks
📋 Love staying organized while crafting? Check out our printable planners & craft designs at CraftersDT on Etsy and use code CRAFT20 for 20% off your entire order!
Why This Craft Works
This little wreath is just darling for so many spots in your home! I made mine especially for Mother’s Day, thinking it would be a perfect gift for Grandma or even a lovely touch for a Mother’s Day brunch table. It’s great for adding a pop of Home Decor to a front door, a gallery wall, or even propped up on a mantel.
📱 Free to Download
Join 50,000+ crafters already using Craftino
Browse 67+ Mother’s Day ideas and thousands more in the app
✓ Save crafts & browse fully offline
✓ Download printable PDF guides for every project
✓ Step-by-step photo tutorials, nothing left out
✓ 1,000+ craft projects with new ones added every week

Wanna talk about budget-friendly? Oh honey, this is your craft! I grabbed almost everything for this Easy DIY Mother’s Day Wreath with Pink Peonies from Dollar Tree, so the whole thing cost me just about $5-6. You just can’t beat that for something so pretty and handmade!
Okay, so how easy is this? It’s seriously super easy, like beginner-friendly easy! You can whip up this whole Mother’s Day project in about 20-30 minutes, tops. It’s perfect for a quick crafting session, or if you need a last-minute thoughtful gift.
Step-by-Step Instructions for Easy DIY Mother’s Day Wreath with Pink Peonies
Alright, friends, are you ready to get crafting? This Easy DIY Mother’s Day Wreath project is so much fun and goes together quicker than you can brew your morning coffee. Seriously, you’re going to love how simple these steps are, even if you’ve never made a wreath before. Grab your supplies, put on some good tunes, and let’s make something beautiful for Mother’s Day!
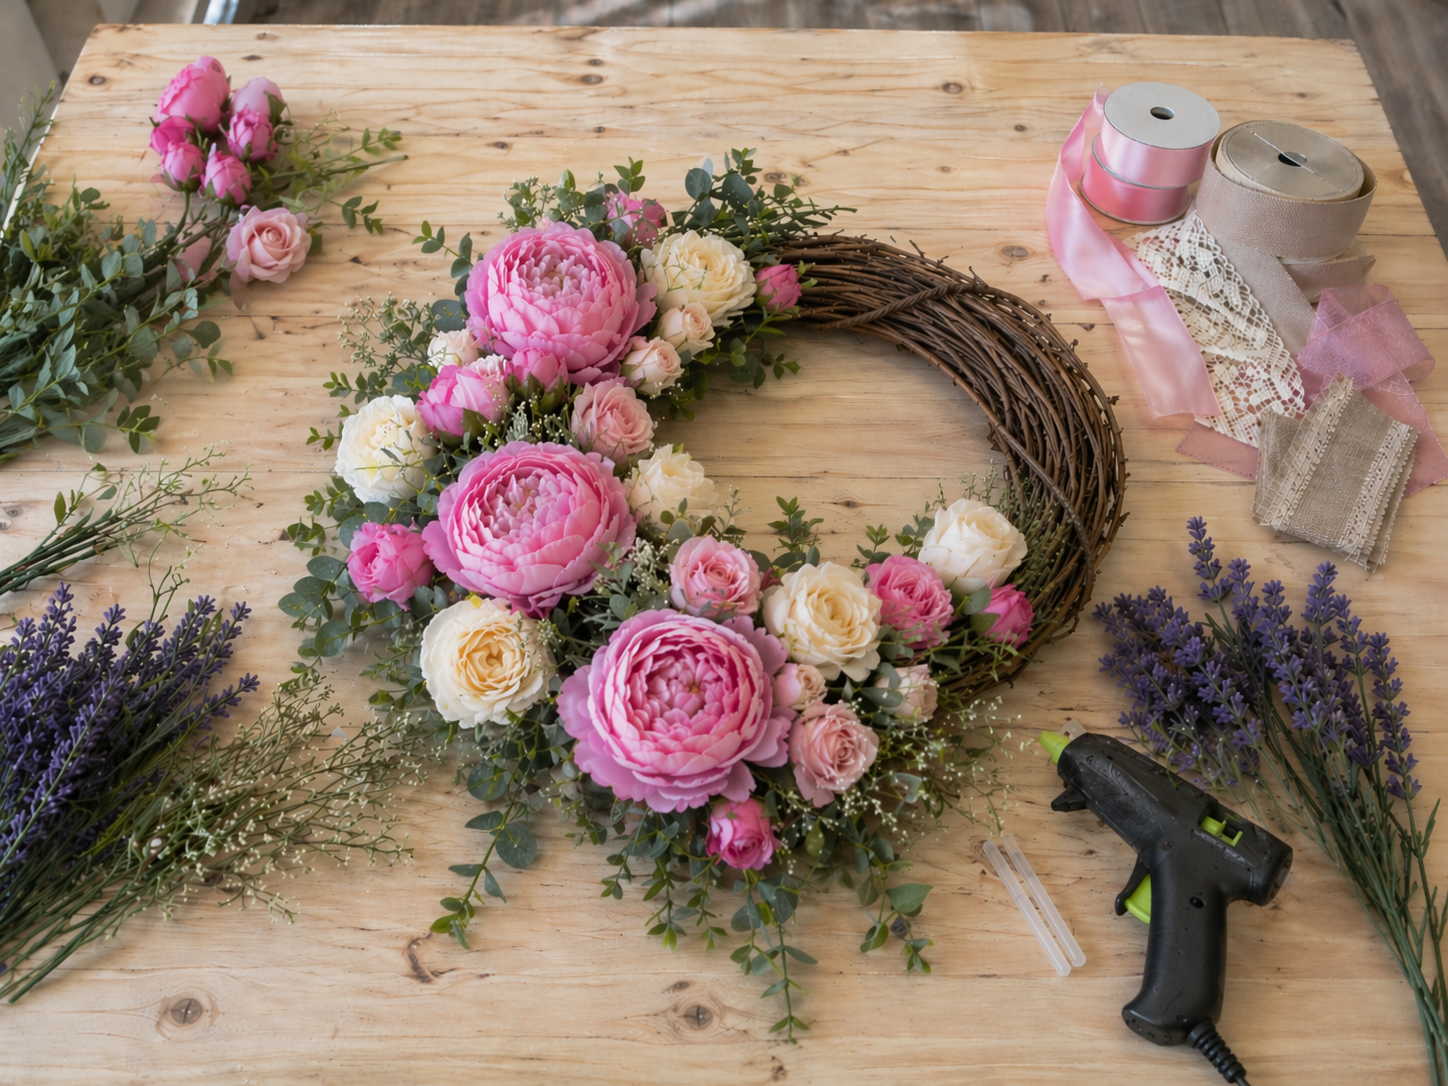
Step 1: Prepare the Grapevine Base
Begin by selecting a sturdy grapevine wreath base, typically 18-24 inches in diameter for a substantial door wreath. Lay out your faux floral and greenery stems to visualize the asymmetrical design. You’ll want the main floral mass to concentrate on the left and lower sections, with a lighter, trailing arrangement on the right.
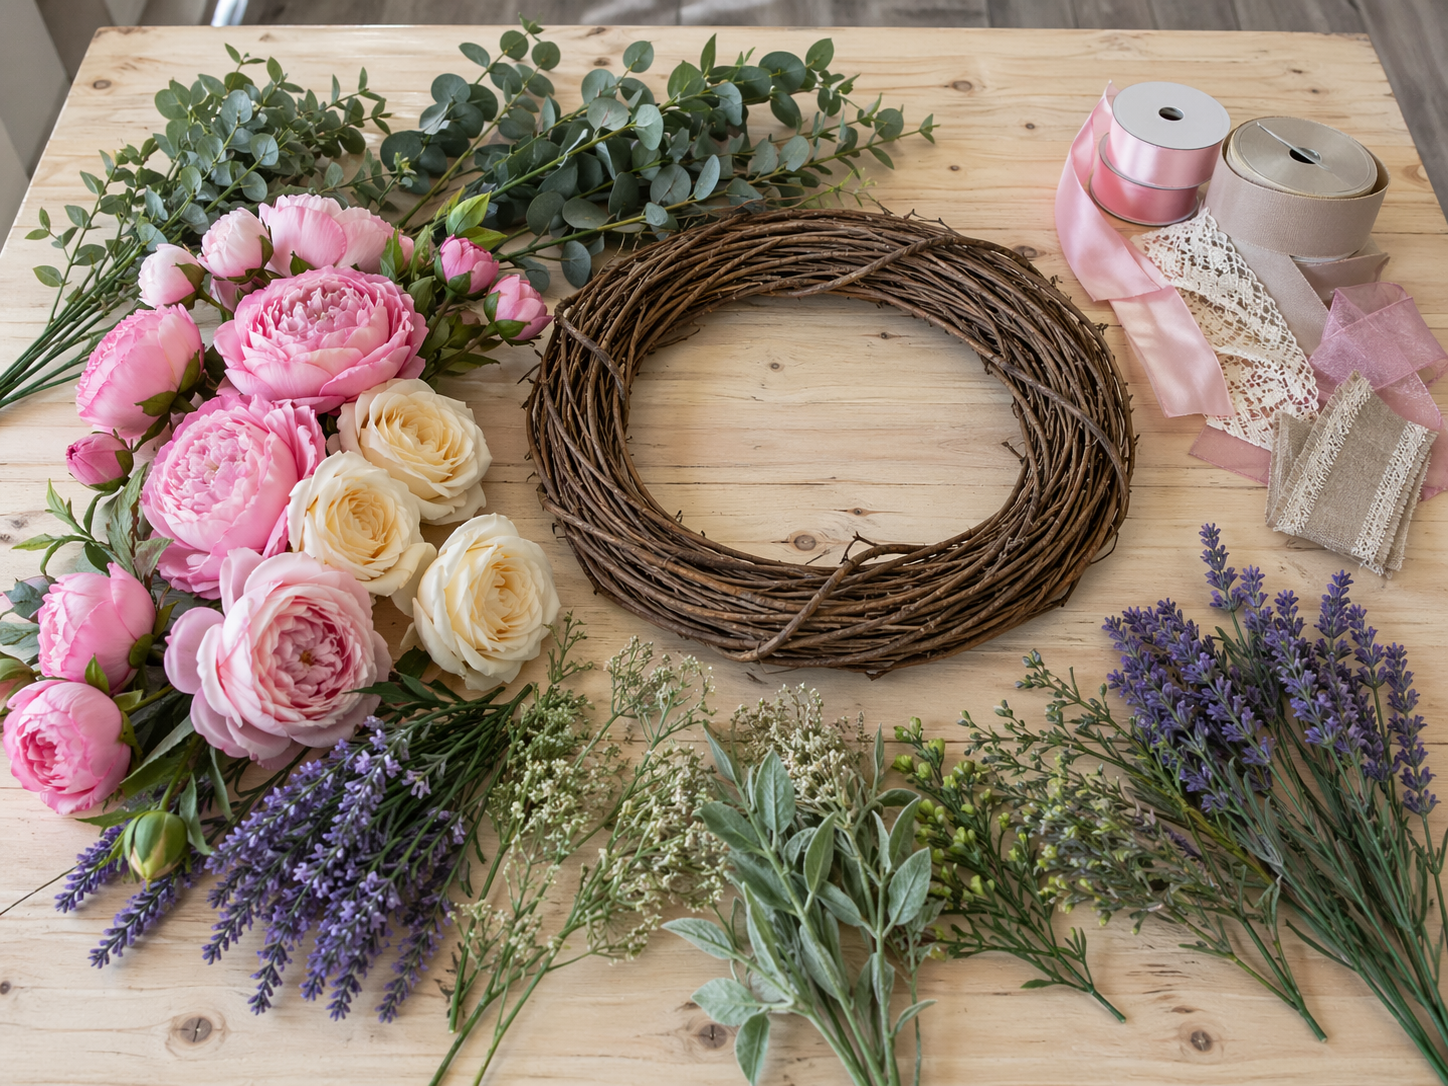
💡 Pro Tip: Gently ‘fluff’ your grapevine wreath if it’s tightly packed, by slightly pulling apart some of the vines. This creates more natural pockets and openings to tuck in your floral stems later, making them look more integrated rather than just sitting on top.
Step 2: Anchor Main Greenery
Start by attaching your main greenery, such as the eucalyptus-style branches, to define the overall shape. Use wire cutters to trim stems, leaving a few inches for insertion. Insert stems into the grapevine base, securing with floral wire and a dab of hot glue where necessary. Focus on building the heavier, fuller section on the left and lower side, allowing some greenery to trail downwards and curve gently around the wreath.
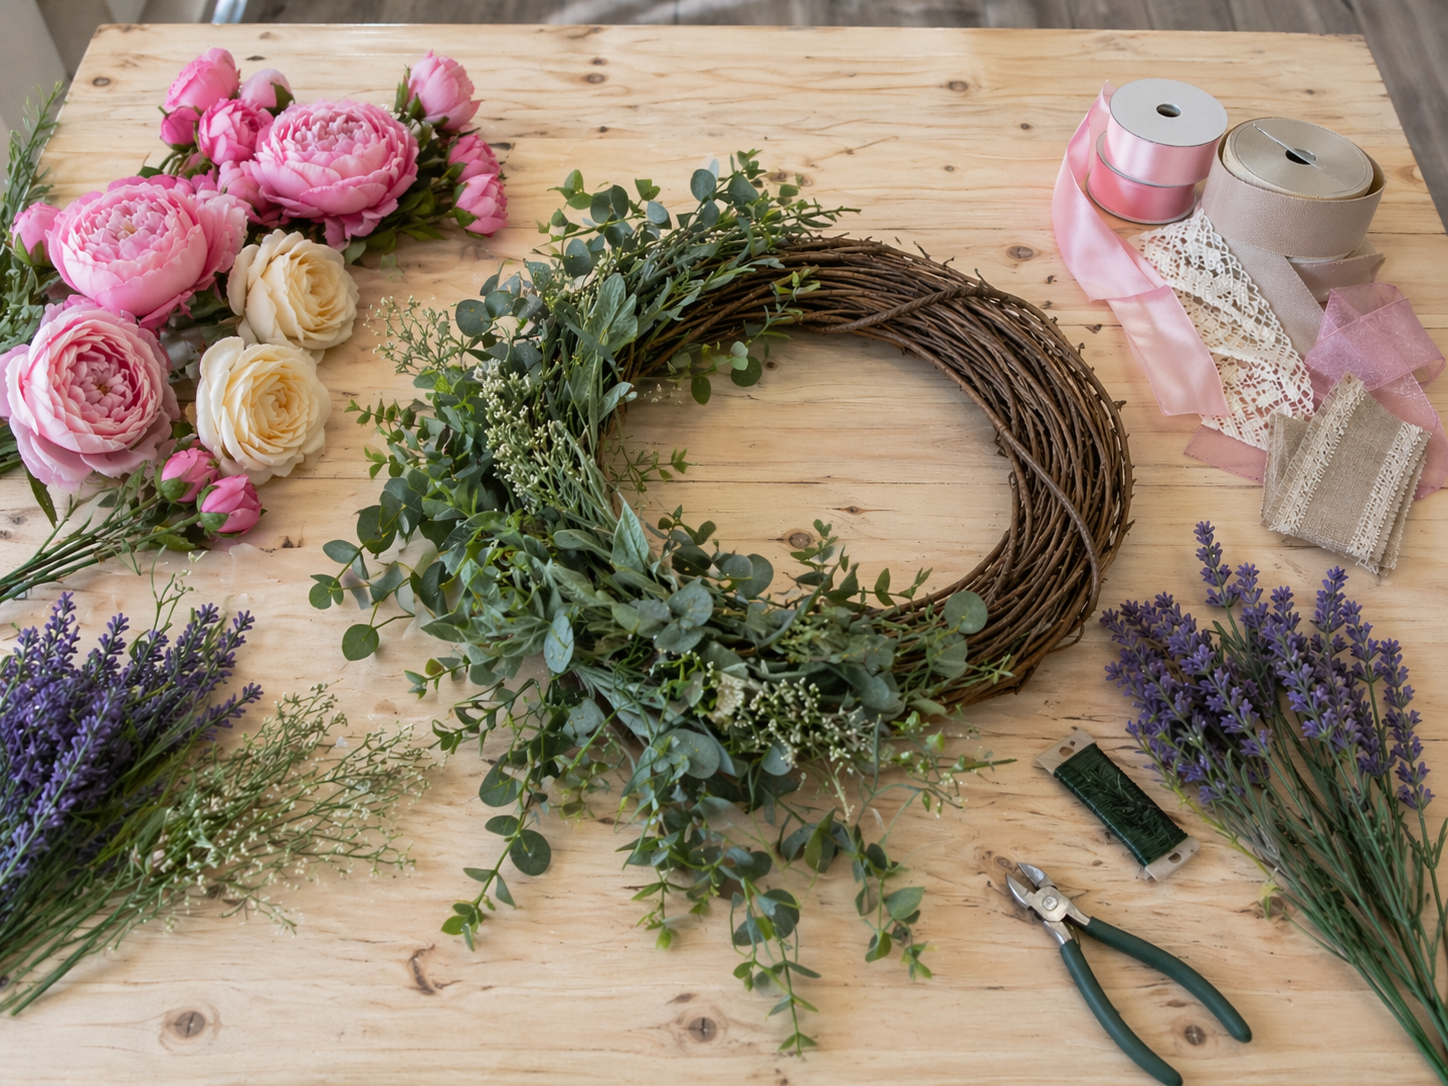
💡 Pro Tip: When inserting greenery, angle the stems in the direction you want the wreath to flow. For a secure hold in grapevine, thread the stem through the intertwined vines, then bend the end and use a dab of hot glue. This creates a natural anchor.
🗓️ Keep all your craft projects on track! Explore our printable planners & templates at CraftersDT on Etsy and use code CRAFT20 for 20% off!
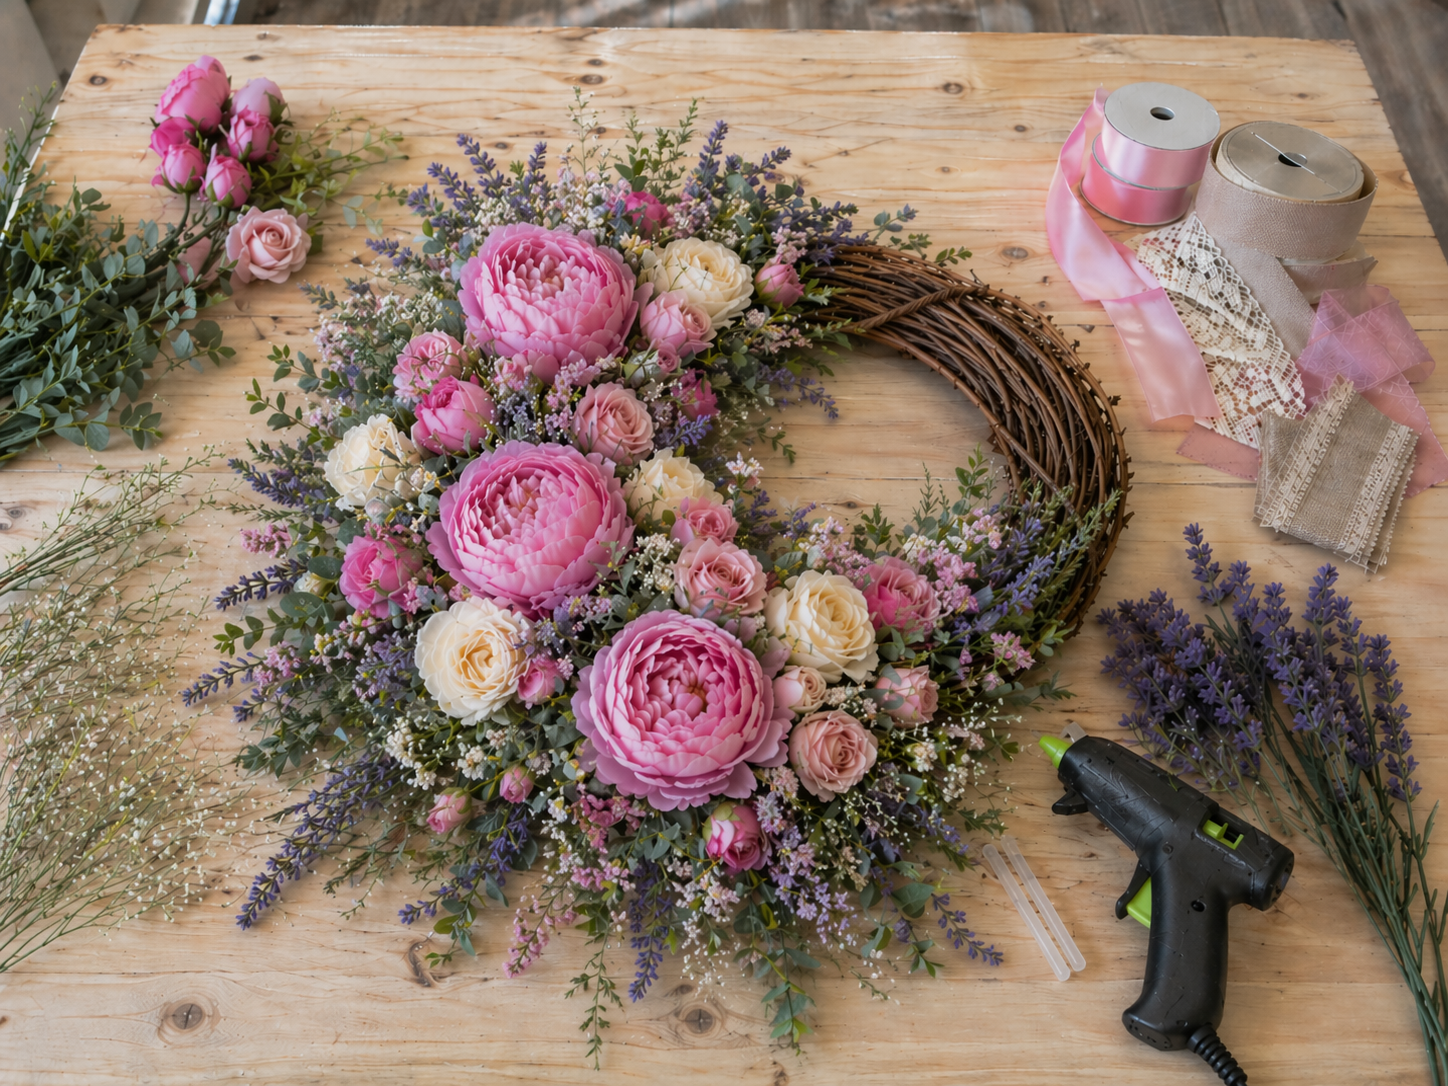
Step 3: Place Focal Flowers
Next, introduce your largest focal flowers – the big pink peonies or garden roses. Trim their stems to about 4-6 inches. Position these prominent blooms strategically within the heavier left and lower sections of your greenery base, ensuring they are well-distributed and create visual weight. Secure each stem by pushing it into the grapevine and reinforcing with hot glue. Vary their depth slightly for a more natural look.
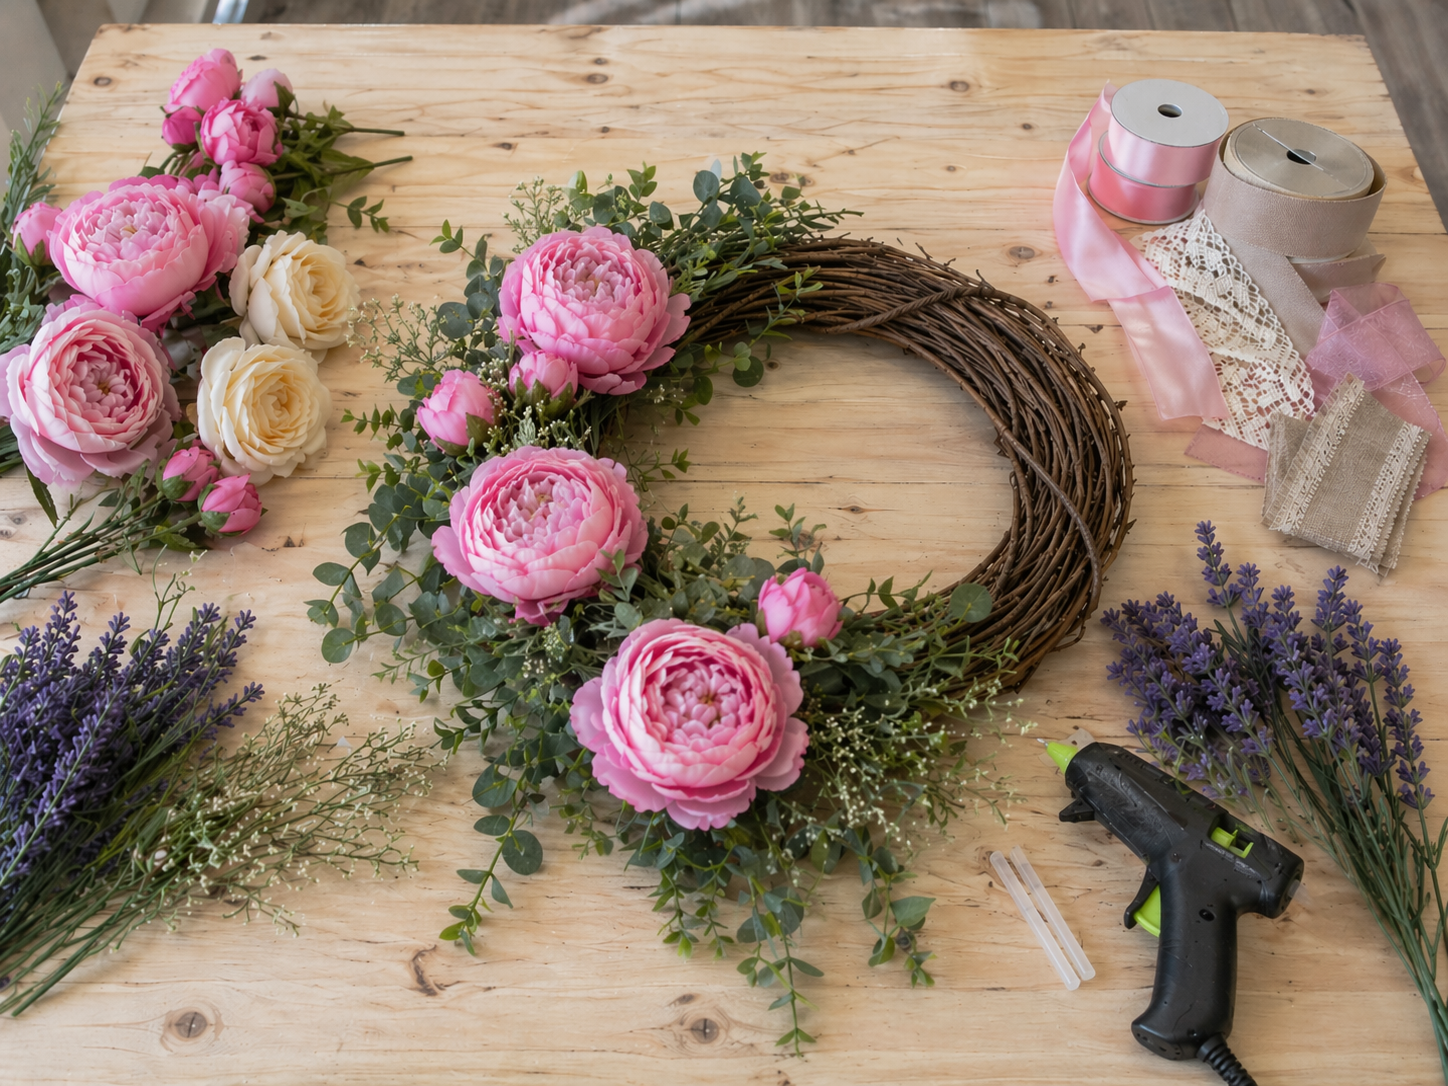
💡 Pro Tip: To prevent your large flowers from looking too flat, gently bend and shape the petals if they are wired, or arrange them to face slightly different directions. Use varying stem lengths to create depth, tucking some blooms deeper into the wreath while others sit more prominently.
Step 4: Integrate Medium Roses
Now, add the cream or ivory roses and any other medium-sized pink roses. Distribute these flowers among the larger peonies and throughout the lighter sections of the wreath on the right, ensuring they complement the focal blooms without overpowering them. Use a mix of stem lengths to create visual interest and blend them seamlessly with the greenery and larger flowers. Secure firmly with hot glue.
💡 Pro Tip: When placing medium flowers, aim for a natural grouping rather than a perfectly spaced pattern. Cluster 2-3 roses together in some spots and place single ones elsewhere. This organic arrangement mimics real floral growth and adds visual appeal.
Step 5: Add Filler Flowers & Greens
This step is crucial for achieving fullness and blending. Incorporate the small pink filler flowers, small white filler blooms, and purple lavender-like floral stems. Fill any visible gaps, adding depth and texture. Extend these smaller elements slightly beyond the main floral mass to soften the edges and enhance the asymmetrical flow. Also, tuck in additional small pieces of filler greenery to enhance the lushness.
💡 Pro Tip: Step back frequently to assess your progress. Filler flowers are meant to ‘fill’ and unify, so ensure an even distribution of color and texture. Use the lavender to add vertical interest and the small white blooms to create delicate highlights.
Step 6: Attach Heart Embellishments
Carefully place your three decorative heart elements. Hang the white crocheted/woven heart ornament at the top center of the wreath using its natural hanger or a piece of floral wire. Secure the pink padded fabric heart on the right side within the lighter floral arrangement with hot glue. Place the woven vine heart accent near the lower right section, integrating it slightly into the surrounding greenery and flowers.
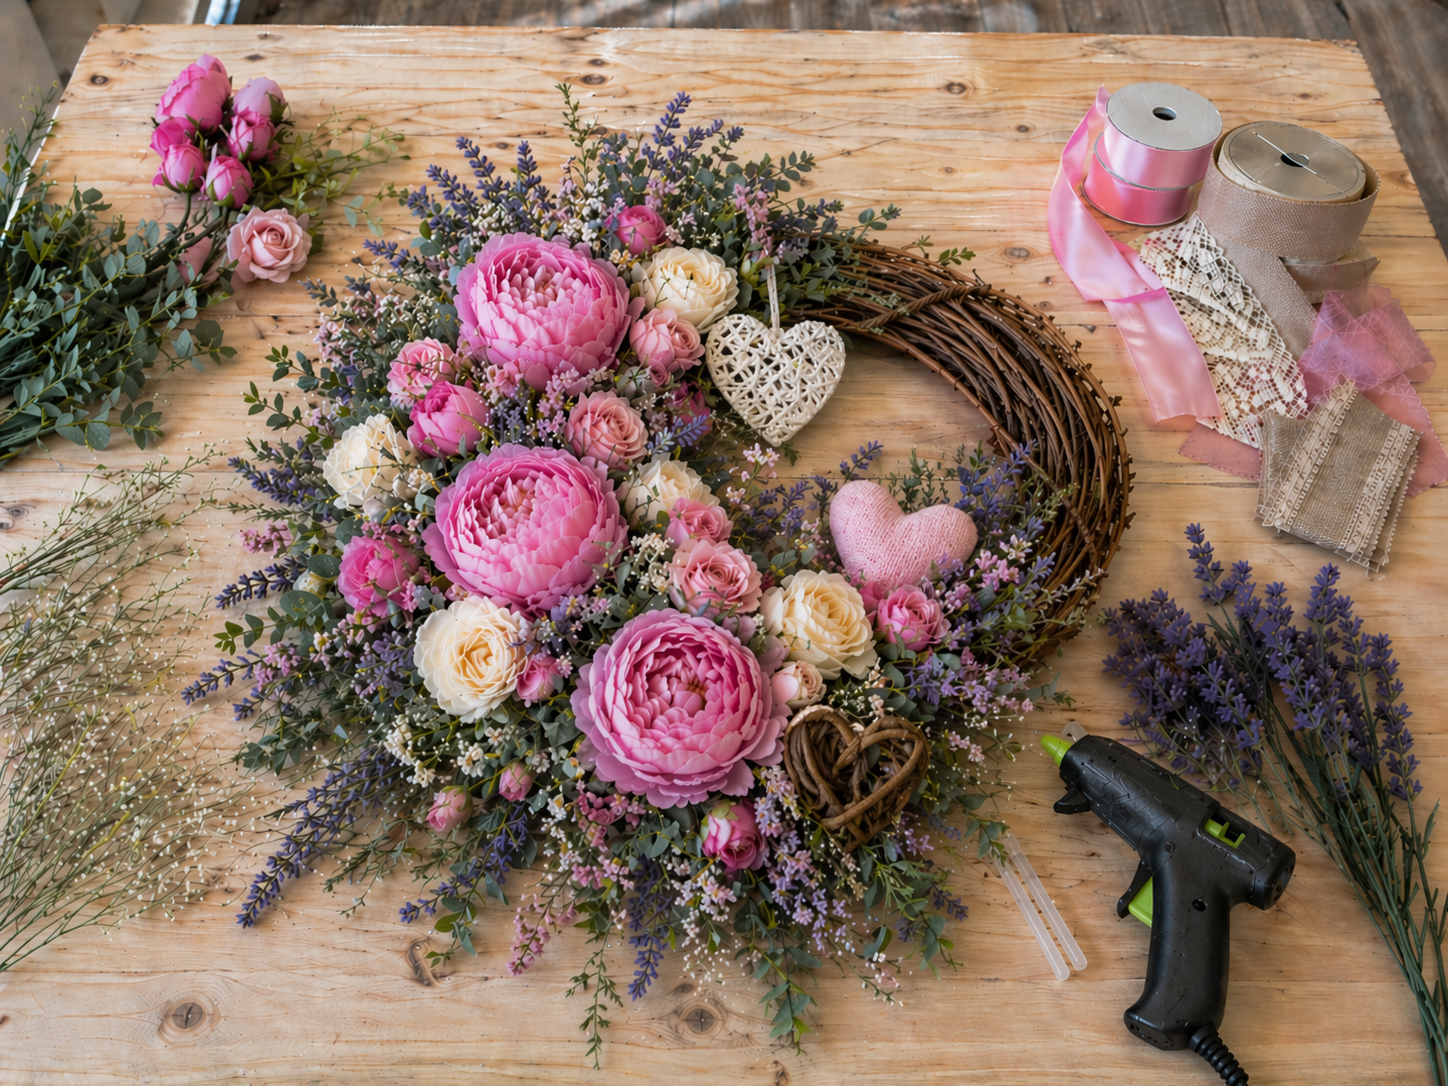
💡 Pro Tip: Before gluing, temporarily position each heart to ensure optimal visual balance and avoid overcrowding. The hearts should feel integrated into the design, not just stuck on. For the hanging heart, ensure it’s positioned so it hangs freely and doesn’t get lost in the florals.
Step 7: Create & Attach Layered Bow
Construct a layered bow using the wide soft pink ribbon, cream ribbon, and delicate lace ribbon tails. You can create separate bows and layer them, or tie a single multi-ribbon bow. Secure the bow on the lower left side of the wreath, where the floral arrangement is heaviest, using floral wire wrapped around a vine and twisted tightly at the back. Adjust the loops and tails for a pleasing drape.
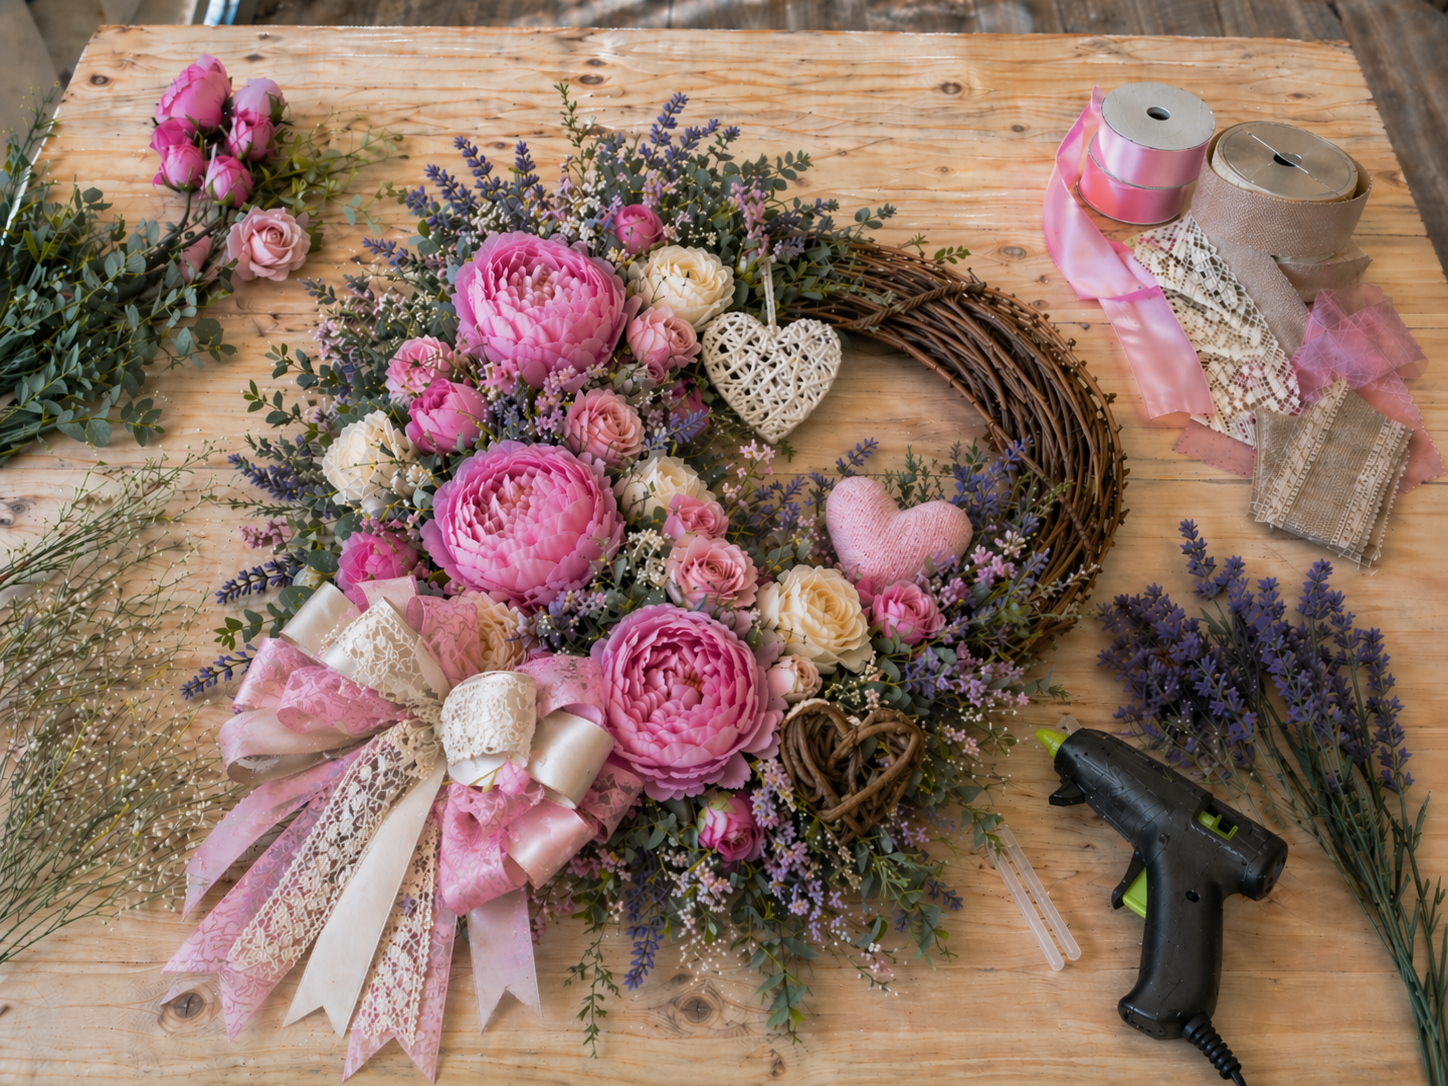
💡 Pro Tip: For a professional-looking layered bow, start with your widest ribbon as the base, then layer narrower ribbons on top. Pinch the center of each ribbon loop tightly with floral wire before attaching. Fluff the loops by pulling them apart and shaping them for maximum volume.
📱 Free to Download
Join 50,000+ crafters already using Craftino
Browse 82+ Mother’s Day ideas and thousands more in the app
✓ Save crafts & browse fully offline
✓ Download printable PDF guides for every project
✓ Step-by-step photo tutorials, nothing left out
✓ 1,000+ craft projects with new ones added every week
Step 8: Final Review & Fluff
Take a final look at your completed wreath from various angles. Adjust any floral or greenery stems that seem out of place, ensuring good balance and coverage. Trim any visible hot glue strings or errant wires. Fluff the bow and flowers one last time to ensure they are presented beautifully. Your ‘Heartfelt Blooms’ wreath is now ready to adorn your door!

💡 Pro Tip: Hang your wreath on a door or wall hook before doing your final adjustments. This allows you to see how gravity affects the drape of the bow and the overall balance, making it easier to spot and correct any imperfections.
Your Beautiful Mother’s Day Wreath is Ready!
And just like that, you’ve got yourself a gorgeous Easy DIY Mother’s Day Wreath with Pink Peonies! It’s such a sweet piece of Home Decor that will brighten up any space or make a perfect handmade gift for Mom. Don’t forget to share your finished wreath with me, I’d love to see it!
📱 Free to Download
Join 50,000+ crafters already using Craftino
Browse 50+ Mother’s Day ideas and thousands more in the app
✓ Save crafts & browse fully offline
✓ Download printable PDF guides for every project
✓ Step-by-step photo tutorials, nothing left out
✓ 1,000+ craft projects with new ones added every week
Frequently Asked Questions
How many pink peonies do I need for this Easy DIY Mother’s Day Wreath?
For a standard 12-inch wreath form, I used about 5-7 individual pink peony blooms from Dollar Tree to get a nice full look.
What type of glue works best for a Dollar Tree Mother’s Day wreath?
A hot glue gun with high-temp glue sticks works best for attaching the flowers and ribbon securely to your wreath form. I always keep about 10-12 glue sticks on hand.
Can kids help make this Easy DIY Mother’s Day Wreath?
Absolutely! Kids aged 8 and up can definitely help with placing the flowers, but an adult should handle the hot glue gun. It takes about 20 minutes to complete with a helper!
How much does it cost to make this DIY Mother’s Day wreath?
You can make this entire Easy DIY Mother’s Day Wreath for around $5-6, assuming you get most of your supplies from Dollar Tree. It’s super budget-friendly!
What kind of wreath form should I get for this Mother’s Day craft?
I recommend a simple 10 or 12-inch wire or foam wreath form. You can usually find these at Dollar Tree or craft stores for just a few dollars.
How long does this Easy DIY Mother’s Day Wreath last?
If displayed indoors or in a covered area, your wreath can easily last for several years! The faux peonies hold up really well, just keep it out of direct harsh sunlight.
Check out the official Dollar Tree store for more holiday crafts & supplies here.
Leave a Reply