
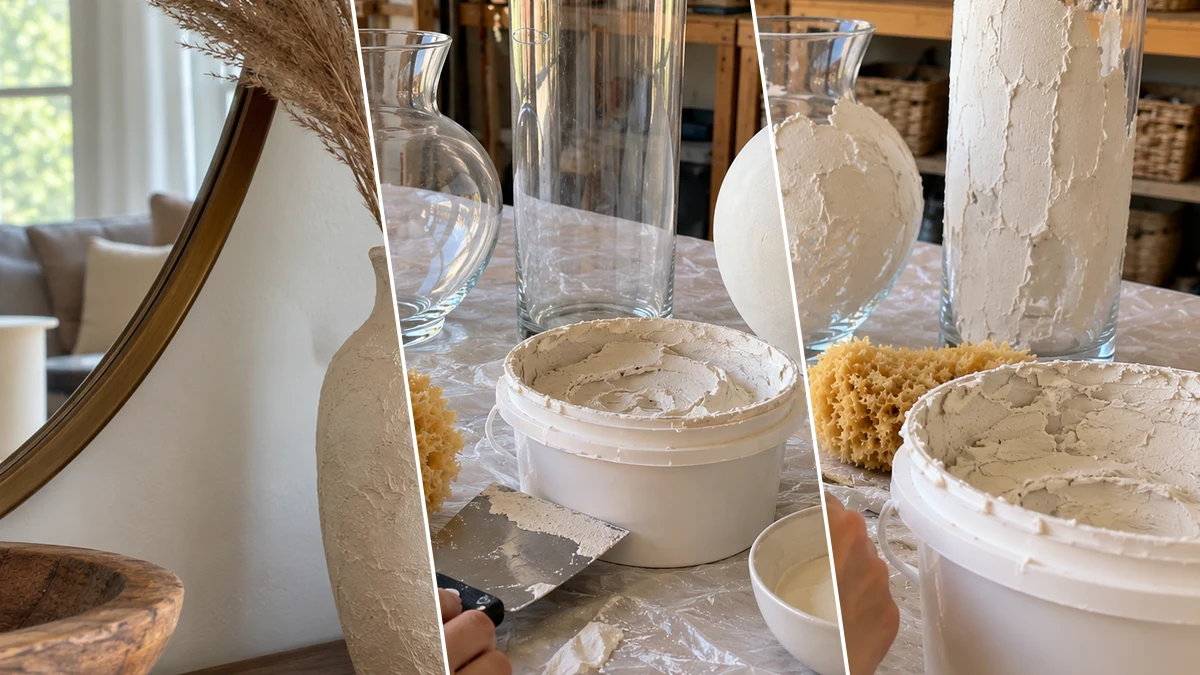
Plain vases can be transformed into sophisticated decor pieces with a faux plaster texture. This DIY project uses readily available materials to create an artisanal, high-end look from basic glass or plastic vessels. Achieve a rustic, refined aesthetic perfect for displaying dried botanicals or as standalone decorative accents.
Project at a Glance
- Difficulty: Medium
- Estimated active time: 55 minutes to 115 minutes (drying and curing waits not included)
- Estimated component cost: $5 to $27 (reusable tools and general supplies excluded)
Achieving a Faux Plaster Finish
This project focuses on using all-purpose joint compound to replicate the appearance of aged plaster or ceramic. By applying a thick layer and then texturing it with a sponge, a unique lime-wash effect is created. The process transforms the original vase material, whether it is glass or plastic, into a visually heavy, artisanal object.
The key to the realistic finish lies in the layering: a robust base of joint compound for texture, light sanding for refinement, and a diluted paint wash to enhance depth. Finishing with a matte sealant protects the surface, ensuring the decorative piece maintains its rustic charm and durability. The estimated active crafting time for this project ranges from 55 to 115 minutes, with additional time needed for drying and curing.
This craft offers a budget-friendly alternative to purchasing designer ceramic vases. The estimated component cost for this project is between $5 and $27, excluding reusable tools and general supplies. The final product provides a versatile decorative element suitable for various interior styles, including farmhouse, rustic, and modern neutral aesthetics.
Materials for DIY Faux Plaster Vases from Glass or Plastic for Rustic Home Decor
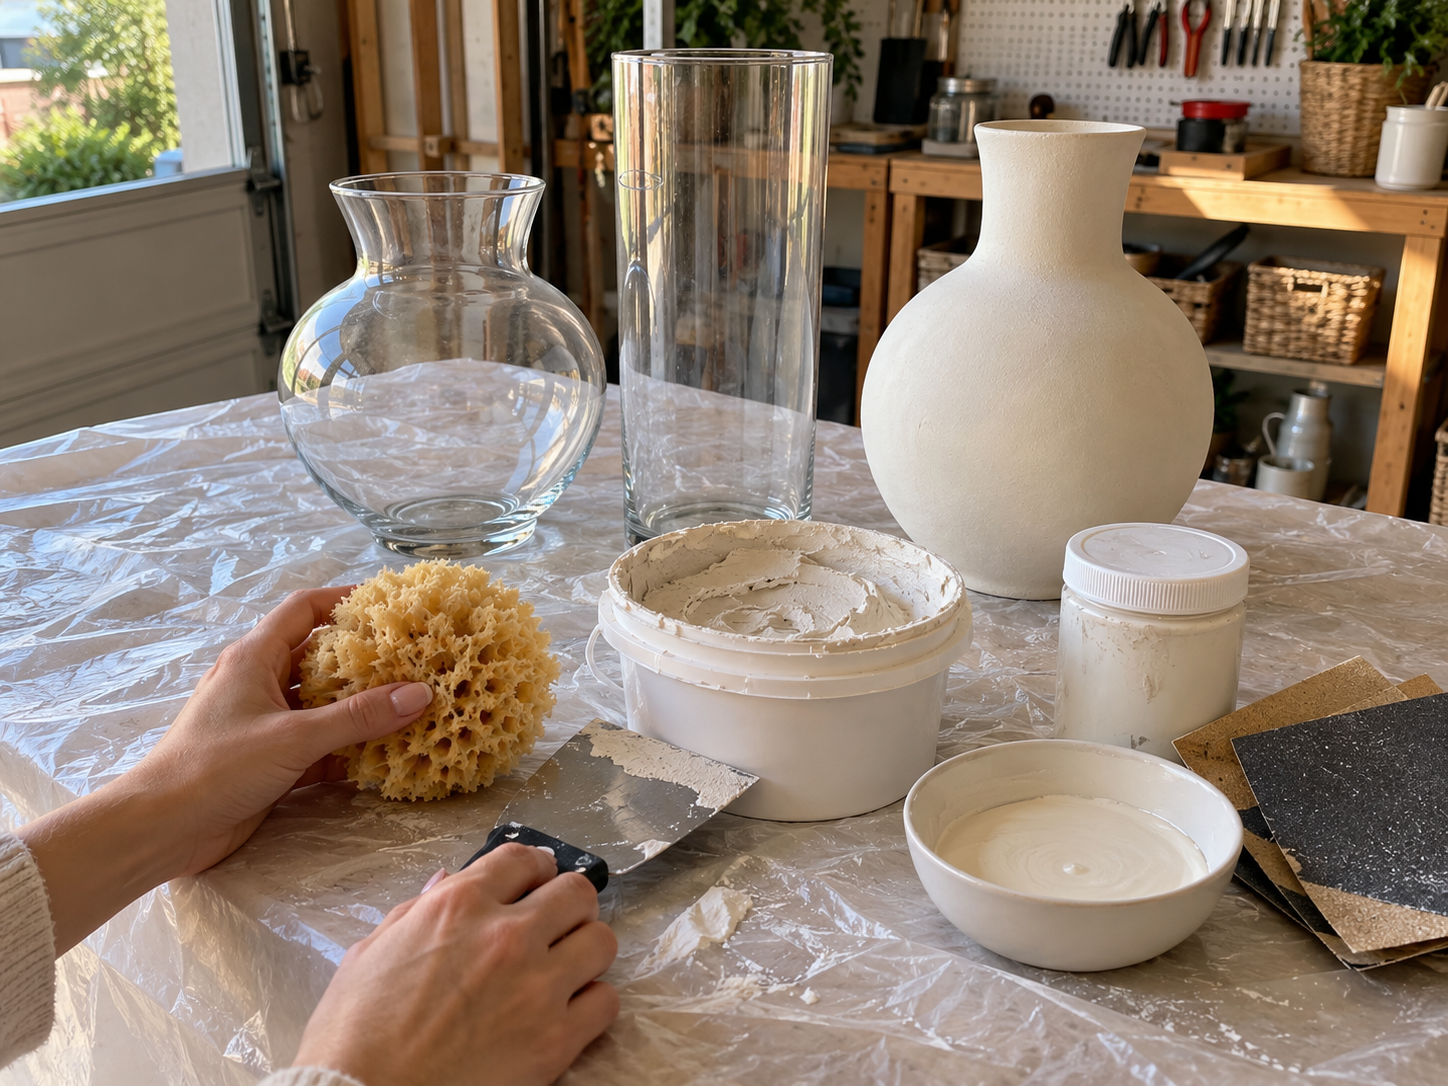
- Assorted Plastic or Glass Vases
- All-Purpose Joint Compound
- Putty Knife (or flexible trowel)
- Natural Sea Sponge (or coarse craft sponge)
- Fine-Grit Sandpaper
- Acrylic Craft Paint (off-white or light beige)
- Matte Acrylic Sealant (spray or brush-on)
- Optional: Drop Cloth, Cleaning supplies, Dried Pampas Grass
Need another material? Browse current craft supplies and deals.
Creating Your Textured Faux Plaster Vases
Follow these steps to transform your plain vases into textured decorative pieces. The process involves applying and texturing joint compound, followed by painting and sealing to achieve a durable, rustic finish.
Step 1: Prepare Vases and Workspace
Begin by thoroughly cleaning each vase with rubbing alcohol or soap and water to remove any oils, dust, or residue. This ensures proper adhesion for the joint compound. Lay down a drop cloth or old newspaper to protect your work surface, as joint compound can be messy. Gather all your materials for easy access.
Step 2: Apply Base Layer of Compound
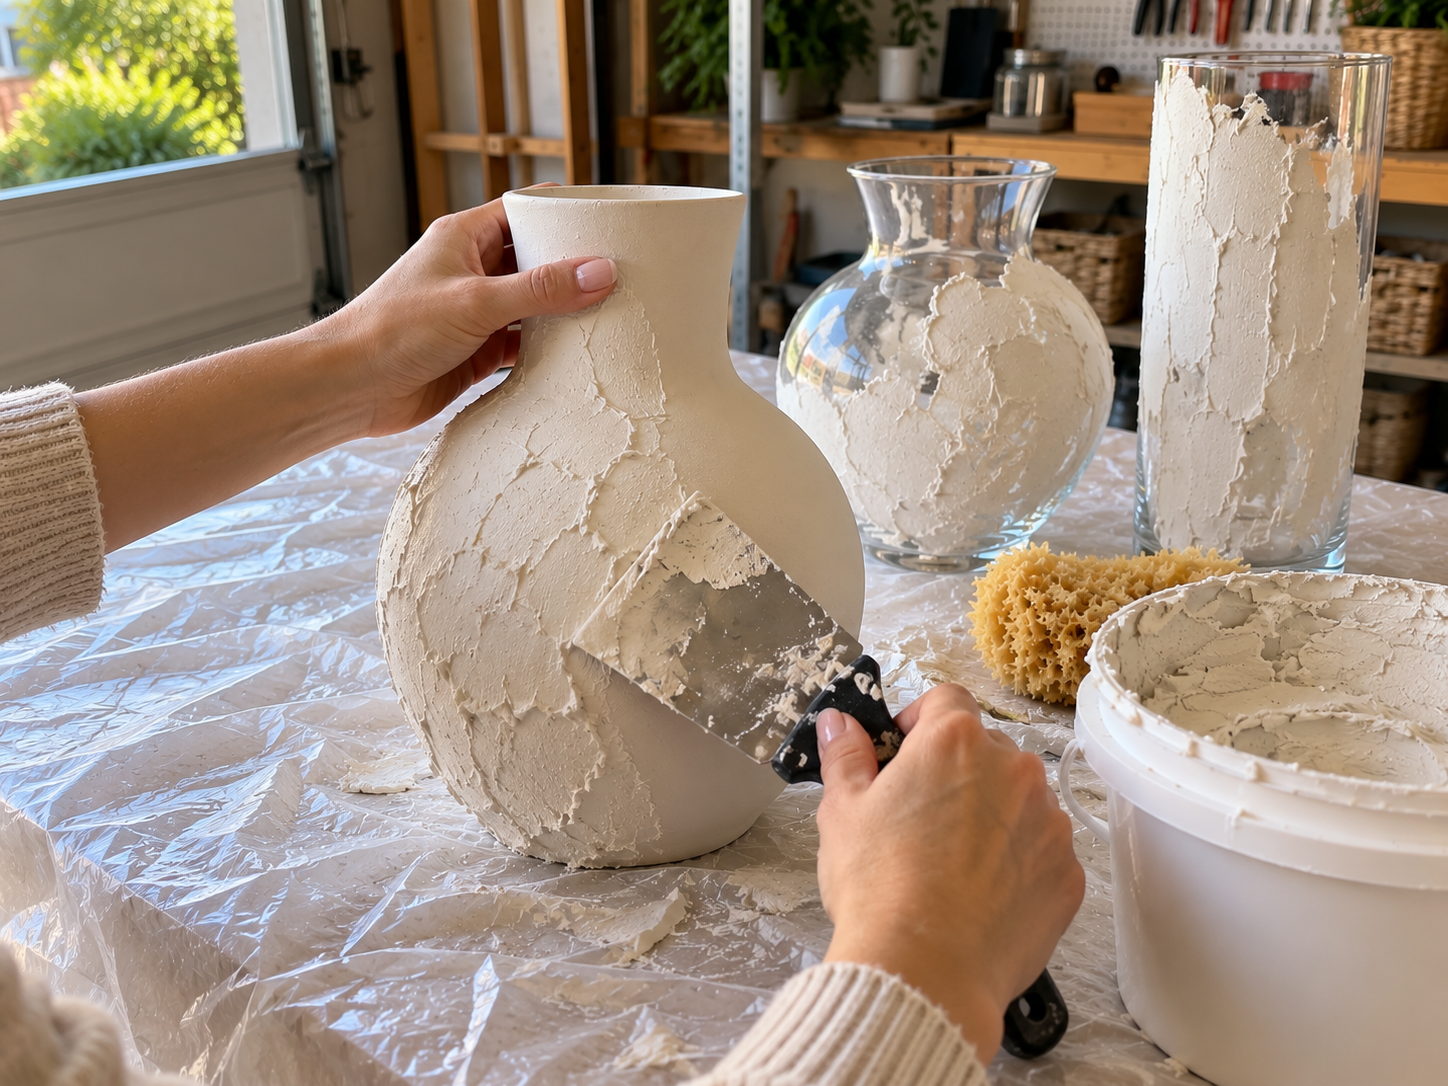
Using a putty knife or flexible trowel, apply a generous layer of all-purpose joint compound over the entire exterior surface of each vase. Aim for an even, medium-thick coat that completely covers the original vase material. Don't worry about perfection at this stage; rough edges will be refined later.
Step 3: Create Textured Finish
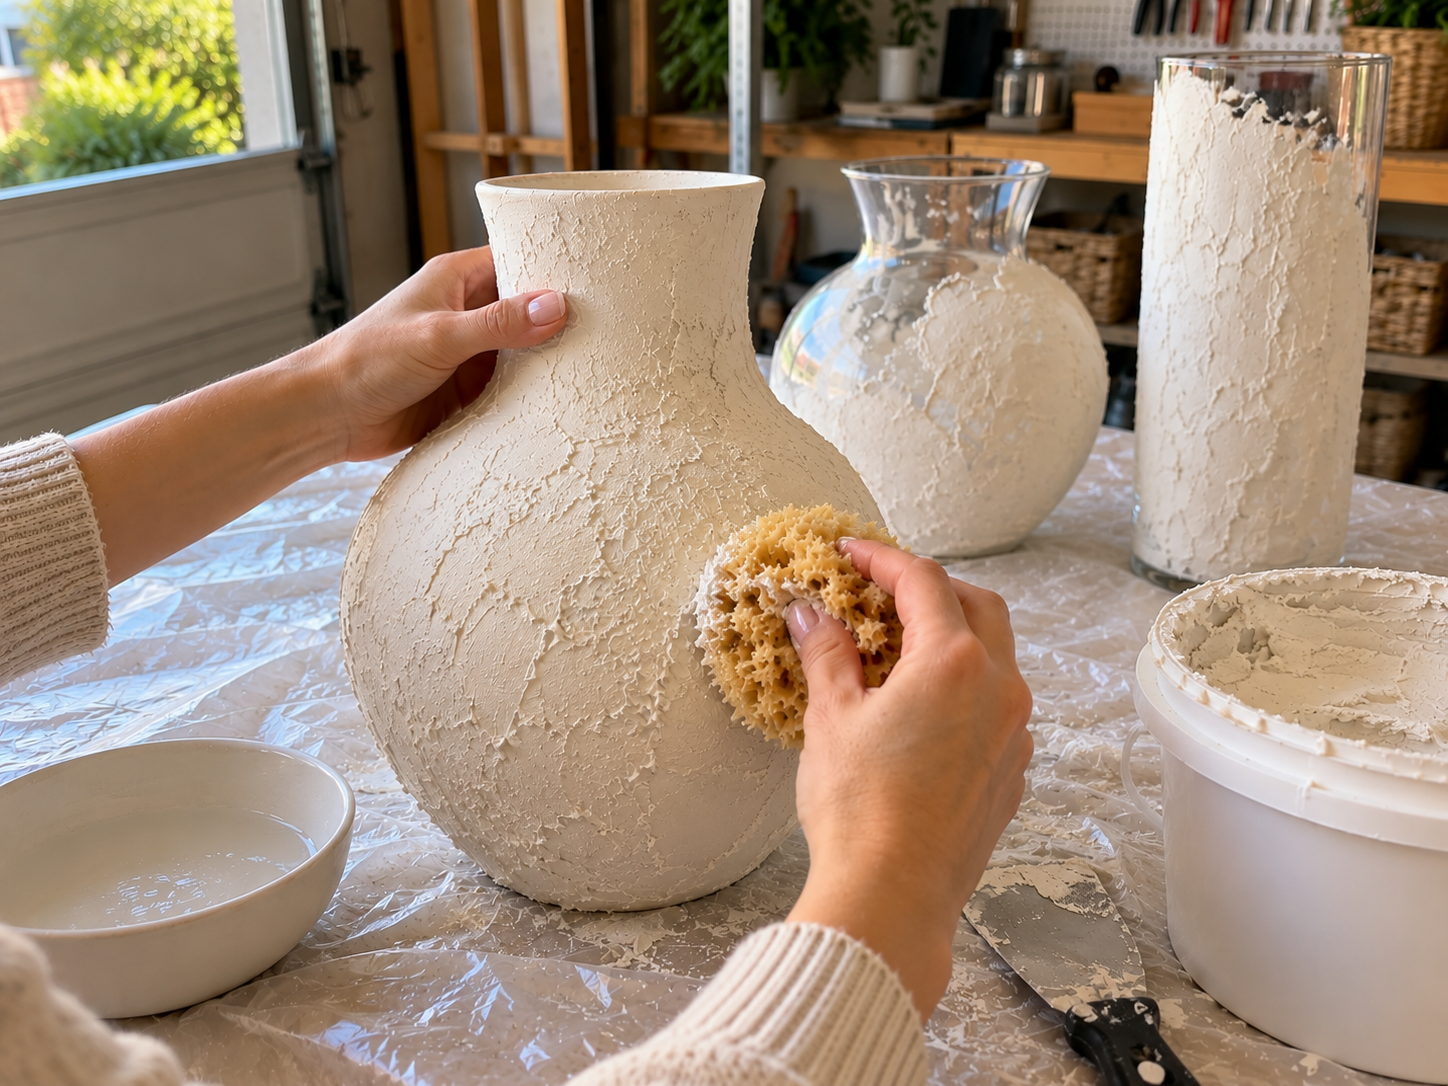
Immediately after applying the joint compound (while it's still wet), use a natural sea sponge or coarse craft sponge to dab and press into the compound. This creates the 'lime-wash' or plaster-like texture. Vary your pressure and motion to achieve an organic, uneven look. Continue around the entire vase, making sure to blend any seams where new compound is applied.


Step 4: Dry and Refine Texture
Allow the joint compound to dry completely, which can take 24-48 hours depending on thickness and humidity. Once dry, it will be hard. Use fine-grit sandpaper (around 150-220 grit) to lightly sand any overly sharp points or rough edges. The goal is to smooth out uncomfortable areas while preserving the overall texture.
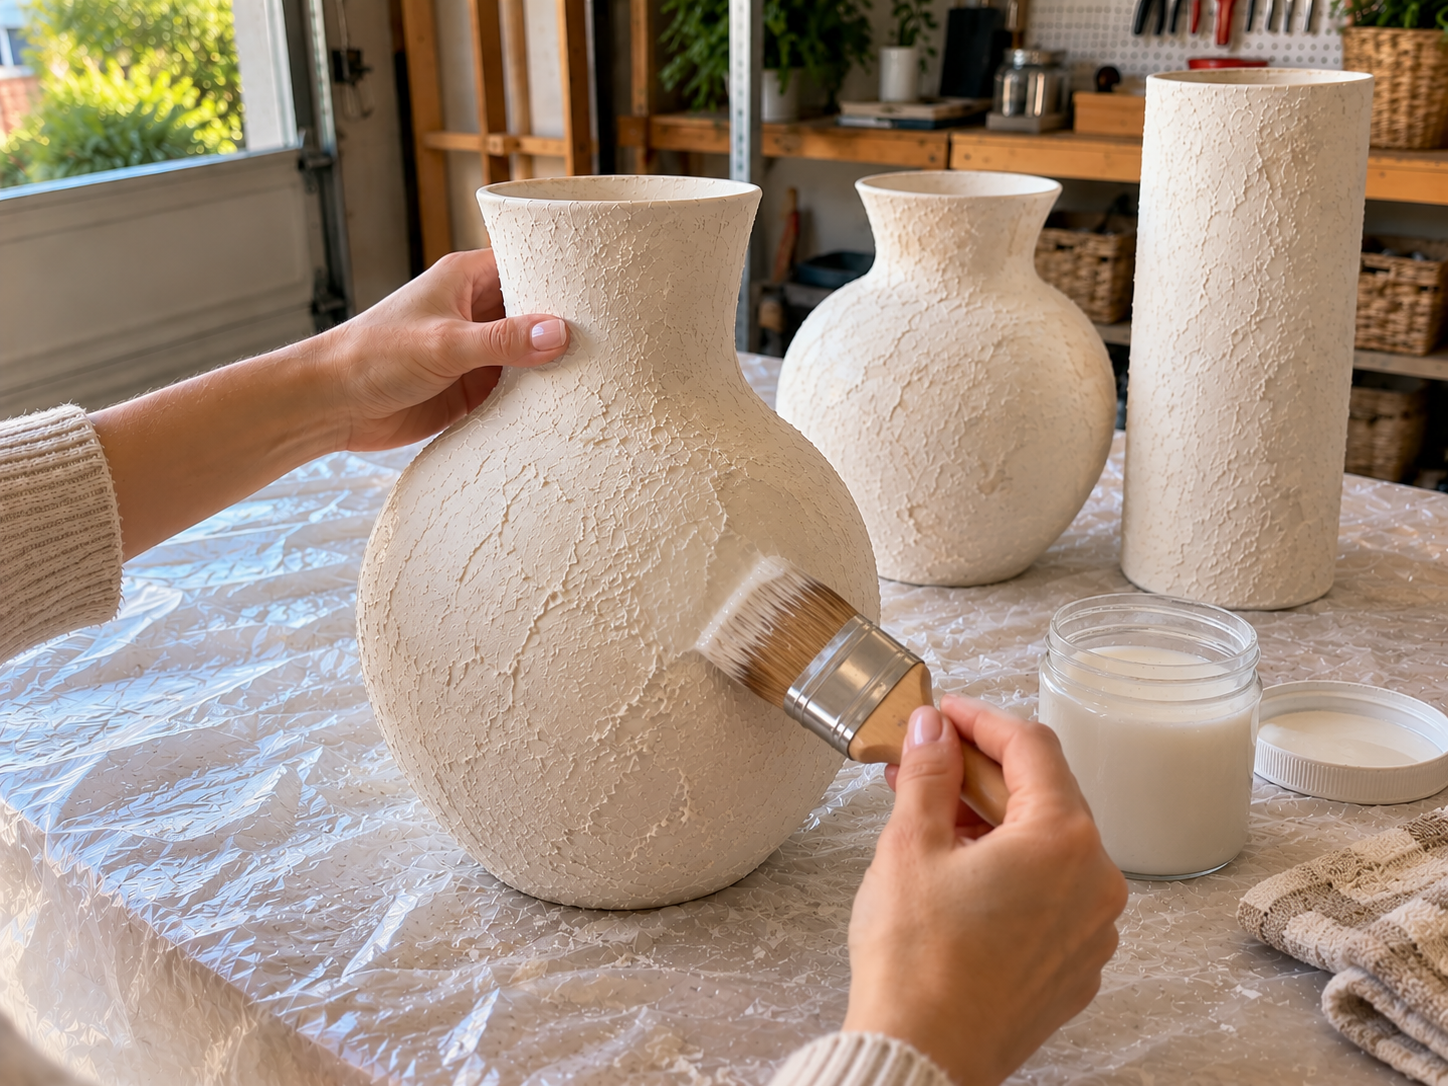
Step 5: Apply Color Wash
Mix your off-white or light beige acrylic craft paint with water to create a translucent wash (start with a 1:1 or 1:2 paint-to-water ratio and adjust). Apply this wash in thin, even coats using a paintbrush, allowing the texture to show through. Apply 1-2 coats, letting each coat dry before applying the next, until you achieve your desired color and depth.
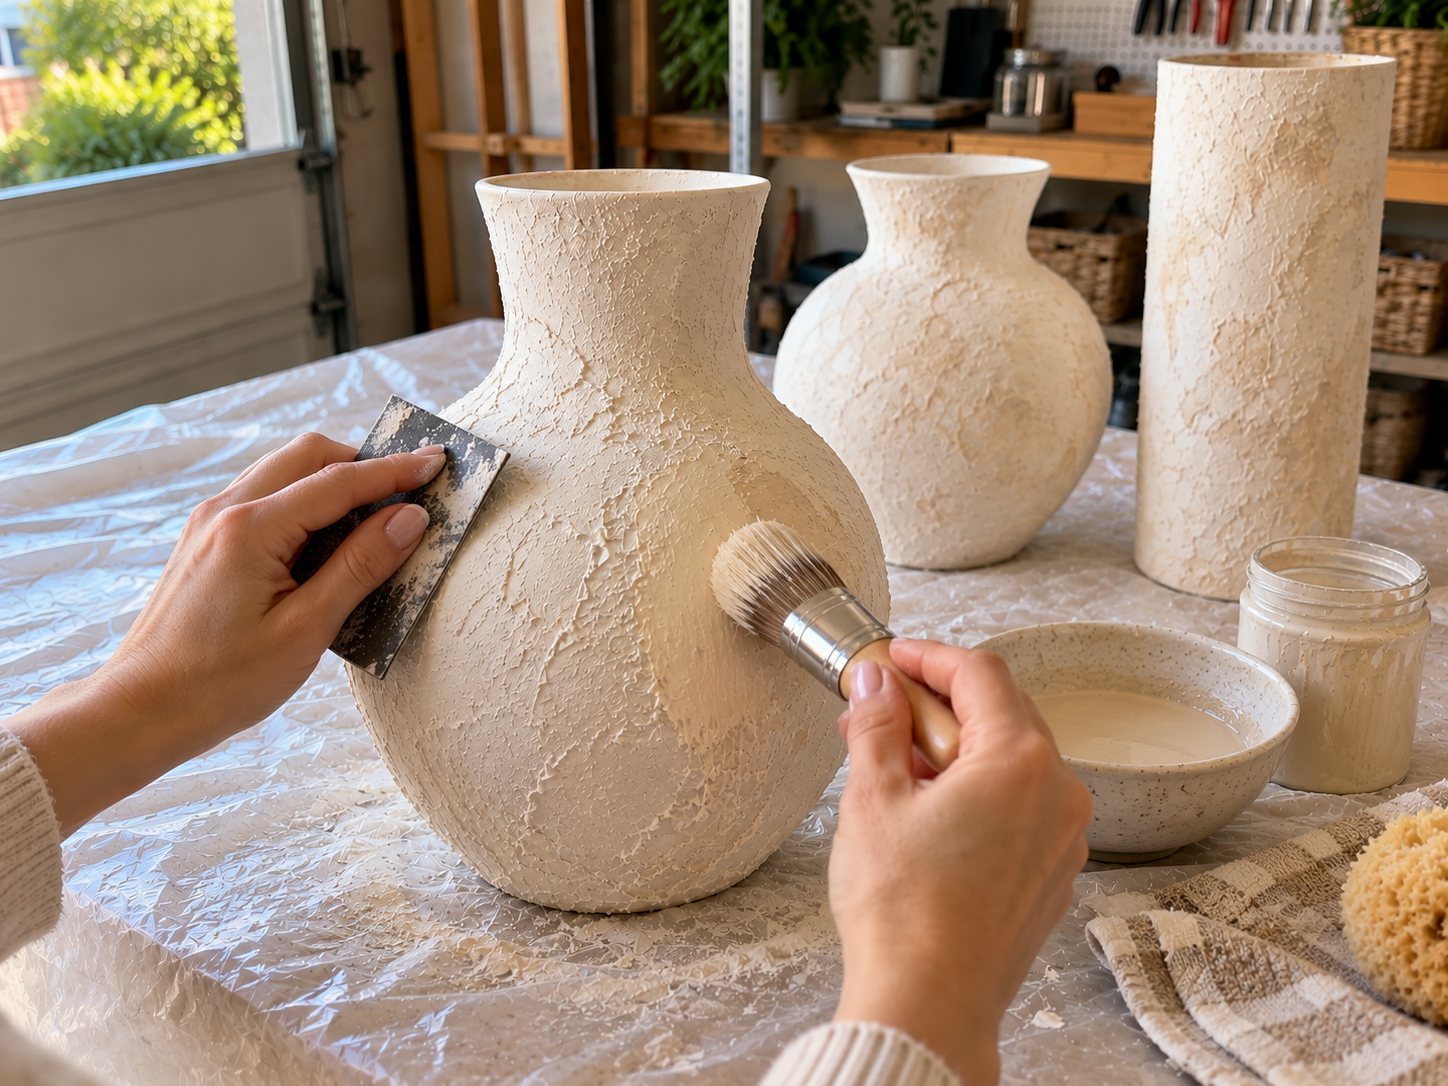
Step 6: Protect with Sealant
Once the paint is completely dry, apply a matte acrylic sealant according to the product instructions. This step is crucial for protecting the fragile joint compound surface from moisture and wear. A matte finish will maintain the natural, unglazed plaster aesthetic. Allow the sealant to cure fully before handling extensively or styling.
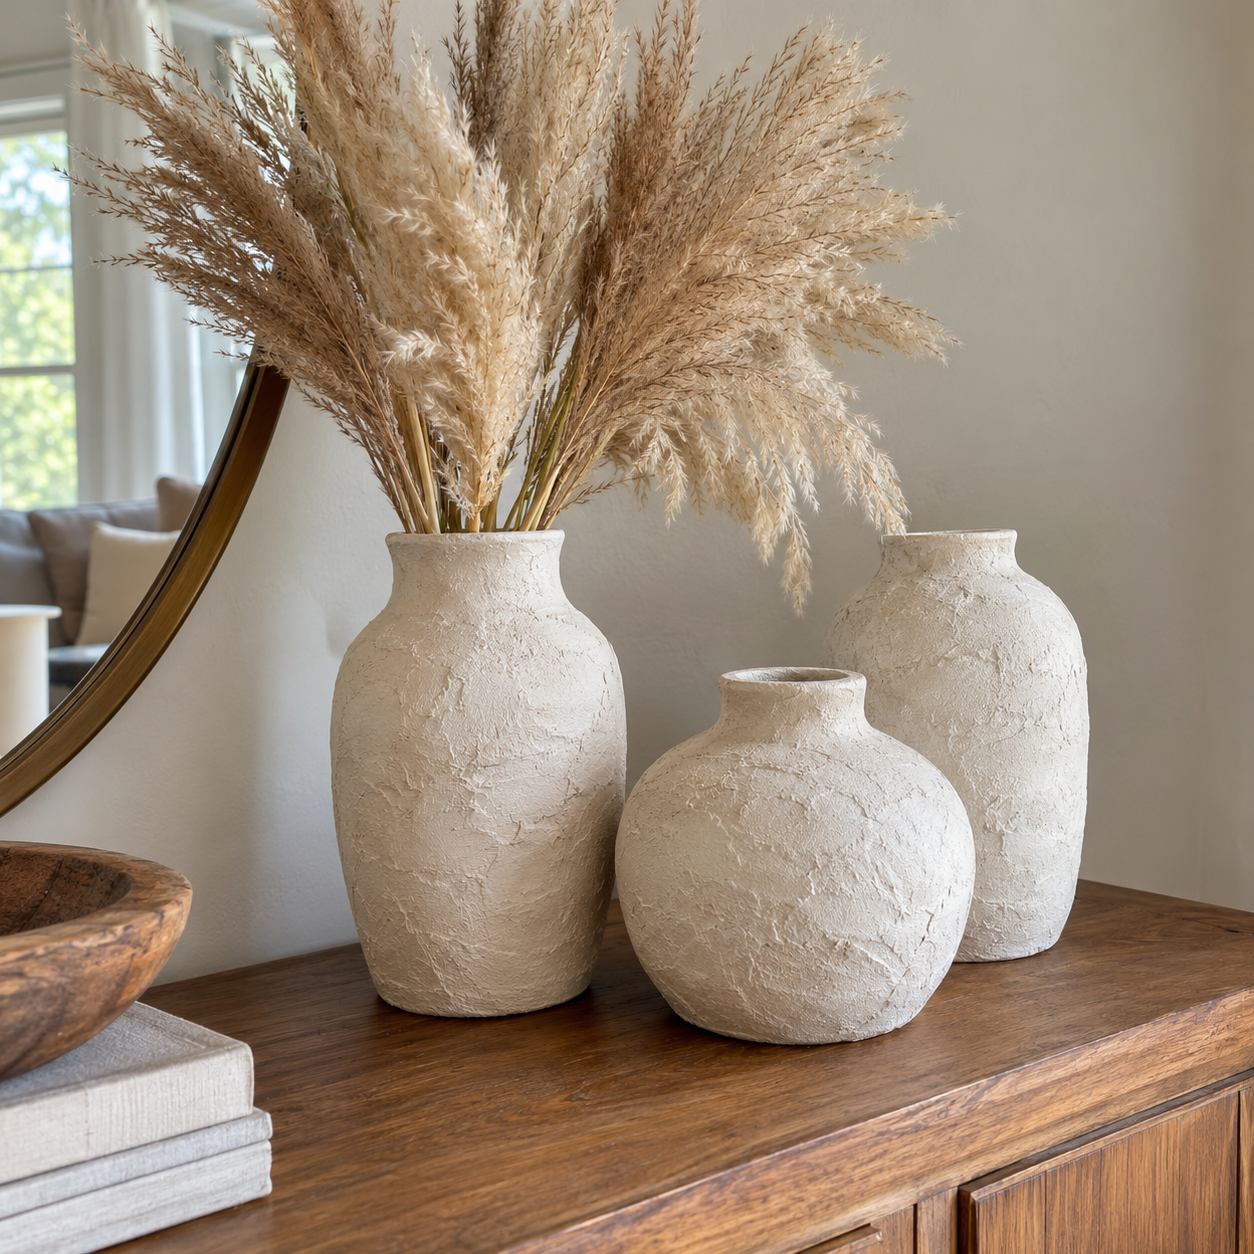
Styling Your Faux Plaster Vases
Once completed, these faux plaster vases offer a versatile decorative element for any room. Their rustic, artisanal appearance pairs well with various decor styles, providing a sophisticated touch without a high cost. Arrange them with dried pampas grass or other botanicals for a complete look.
Related project collection: DIY Dollar Tree Easter Wreath – Simple and Budget-Friendly
Practical Questions About This Project
What types of vases are suitable for this project?
Assorted plastic or glass vases work well for this project, allowing for transformation of various shapes and sizes into textured decor pieces.
How is the plaster-like texture created?
The plaster-like texture is created by dabbing a natural sea sponge or coarse craft sponge into wet joint compound immediately after application, varying pressure for an organic look.
Why is it important to seal the finished vases?
Sealing the finished vases with a matte acrylic sealant is crucial to protect the joint compound surface from moisture and wear, ensuring the longevity and integrity of the craft.
How long does the joint compound need to dry?
The joint compound requires 24 to 48 hours to dry completely, depending on its thickness and the humidity levels in the workspace.
What kind of paint is recommended for the color wash?
A diluted off-white or light beige acrylic craft paint is recommended for the color wash, allowing the underlying texture to remain visible for a natural, unglazed plaster aesthetic.
Search Dollar Tree for vase supplies.

Leave a Reply