My daughter’s teacher mentioned she loved succulents, and I realized I needed a super cute gift for Mother’s Day. So, I grabbed some odds and ends from my craft stash and whipped up this adorable Charming Mother’s Day Succulent Pot. Honestly, it turned out even better than I pictured, and she’s going to love it for her Home Decor!
See also: Dollar Tree Mothers Day Crafts
Theme: Spring & Garden
Materials Needed
- Terra Cotta Pot (4-6 inch)
- Acrylic Craft Paint (Pink, White)
- Assorted Paint Brushes (Flat, Round, Dotting Tool)
- Twine
- Small Wooden Heart Embellishment
- Floral Foam (to fit pot)
- Artificial Succulents & Greenery Assortment
- Hot Glue Gun & Glue Sticks
📋 Love staying organized while crafting? Check out our printable planners & craft designs at CraftersDT on Etsy and use code CRAFT20 for 20% off your entire order!
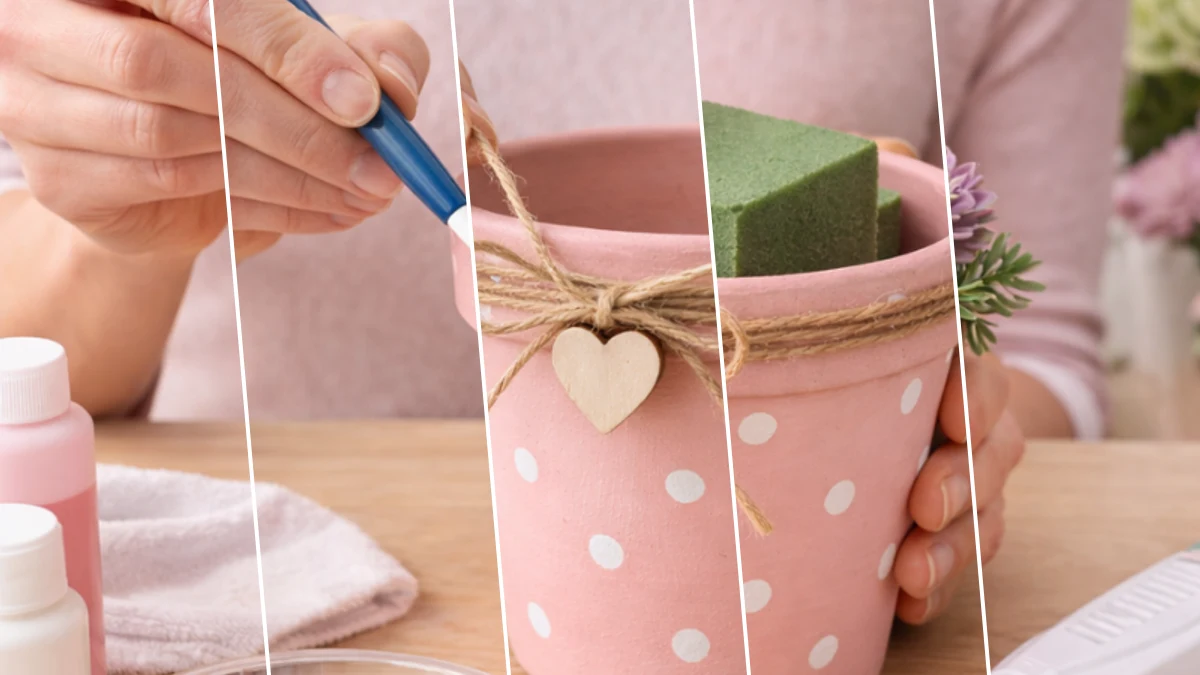
Step-by-Step Instructions for Charming Mother’s Day Succulent Pot
Alright, y’all, get ready to dive into some fun crafting because this project is a breeze! You won’t believe how simple it is to put together this sweet little Home Decor piece. I made mine in under 20 minutes, so it’s perfect for a quick craft night or if you need a last-minute gift. It’s a fantastic way to add some fresh Spring & Garden vibes to any space, and anyone can do it, even if you’re new to DIY.
📱 Free to Download
Join 50,000+ crafters already using Craftino
You’re still missing out?
✓ Save crafts & browse fully offline
✓ Download printable PDF guides for every project
✓ Step-by-step photo tutorials, nothing left out
✓ 1,000+ craft projects with new ones added every week
Step 1: Prepare and Base Coat Pot
Begin by thoroughly cleaning your terra cotta pot to remove any dust, dirt, or debris. A quick wipe with a damp cloth followed by air drying is usually sufficient. Once dry, apply your chosen pink acrylic paint as the base coat. Use a flat brush for even coverage, applying thin layers to avoid drips. You may need 2-3 coats for full opacity.
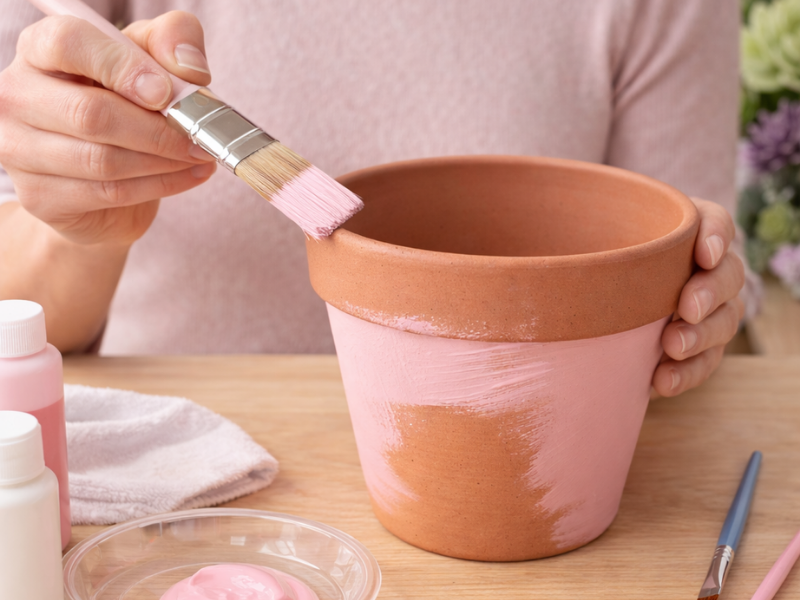
💡 Pro Tip: Terra cotta is porous, so it will absorb paint quickly. For a smoother finish and to save paint, you can apply a thin coat of white Gesso or a multi-surface primer before your colored base coat. Allow each paint layer to dry completely (at least 20-30 minutes) before applying the next.
Step 2: Add Charming Polka Dots
Once the pink base coat is fully dry and cured, it’s time to add the white polka dots. Dip a dotting tool, the back end of a small paintbrush, or even a pencil eraser into white acrylic paint. Gently press the tool onto the pot surface, lifting straight up to create a clean dot. Continue around the pot, spacing the dots evenly for a consistent pattern.
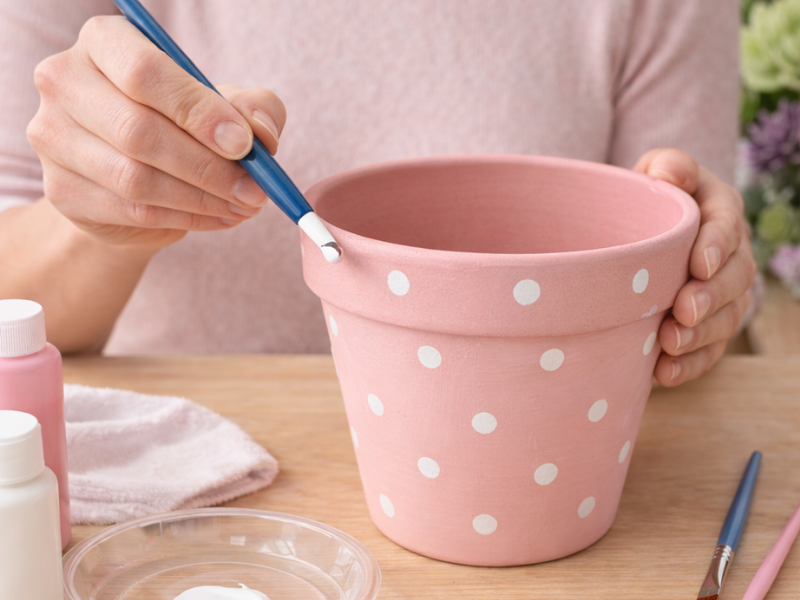
💡 Pro Tip: Practice your dotting technique on a piece of scrap paper or the inside rim of the pot first. For perfectly uniform dots, load the tool with fresh paint for each dot. For a more organic, hand-drawn feel, you can vary the pressure or paint loading slightly. Let the dots dry completely.
🗓️ Keep all your craft projects on track! Explore our printable planners & templates at CraftersDT on Etsy and use code CRAFT20 for 20% off!
Step 3: Embellish Pot with Twine & Heart
After the paint is fully dry, take a length of twine (about 2-3 feet) and wrap it several times around the upper rim of the pot, just below the flared edge. Tie a simple knot in the front, then form a bow. Secure the small wooden heart embellishment to the center of the bow with a dab of hot glue or by threading it onto one of the twine strands before tying the bow.
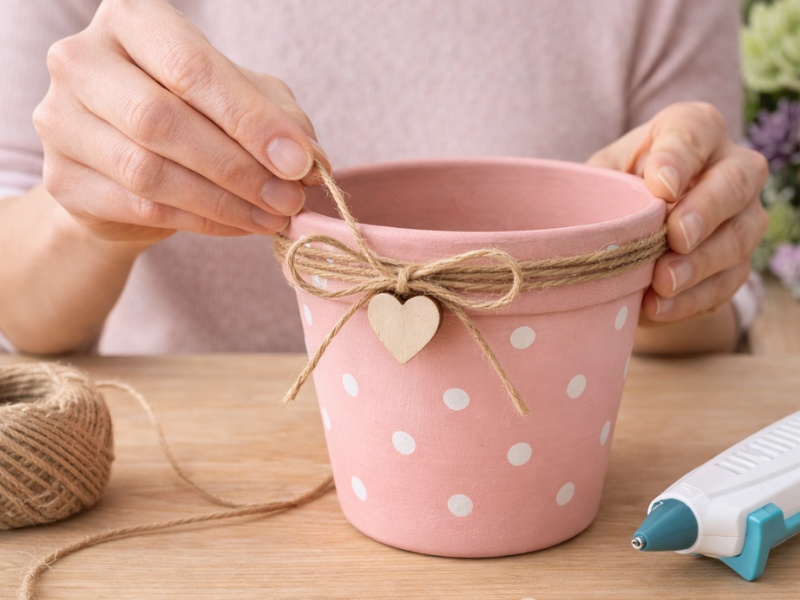
💡 Pro Tip: Before cutting, wrap the twine around the pot a few times to estimate the length, then add extra for the bow and knot. A tiny dot of hot glue on the back of the pot can secure the starting end of the twine, preventing it from slipping while you wrap. Ensure the bow is centered and the heart is securely attached.
Step 4: Prepare Succulent Base
Place a piece of floral foam into the bottom of the painted pot. You may need to trim the foam block with a craft knife to ensure it fits snugly inside the pot and sits just below the rim. The foam will serve as the base to securely hold your artificial succulents.
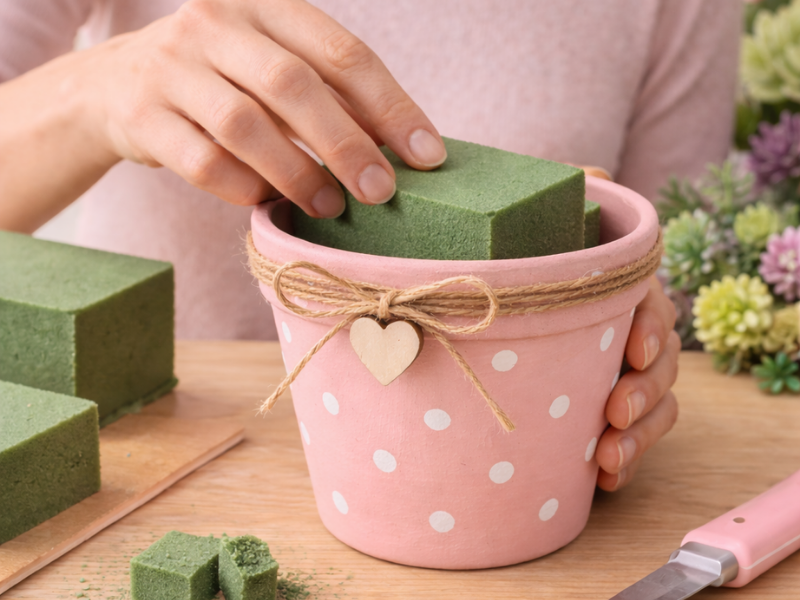
💡 Pro Tip: Measure the inner diameter of your pot carefully. If your foam block is too large, trim it incrementally for a perfect fit – you want it to be tight enough not to wiggle, but not so tight it cracks the pot. If it’s too small, you can glue smaller pieces around the edges to fill gaps. Use green floral foam for a more seamless look.
Step 5: Arrange & Secure Succulents
Begin arranging your artificial succulents and greenery into the floral foam. Start with larger focal succulents, like the pink rose-shaped one, placing them centrally. Then, fill in around them with smaller succulents and green filler pieces. Use hot glue to secure each piece firmly into the foam, ensuring a full and balanced arrangement from all angles.
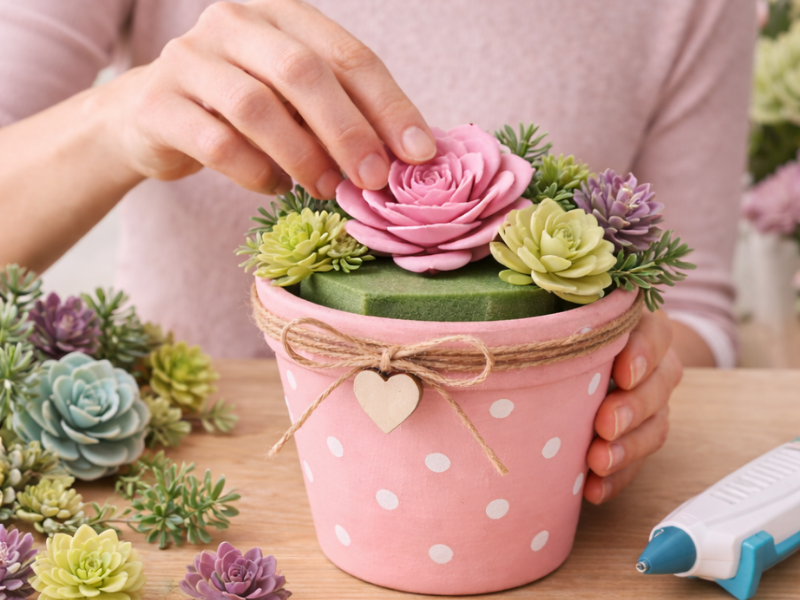
💡 Pro Tip: Varying heights, sizes, and colors of succulents creates a more realistic and visually appealing arrangement. Step back periodically to assess your composition. Don’t be afraid to pull out and reposition pieces until you’re satisfied. For extra security, apply hot glue to the stem of the succulent before inserting it into the foam.
Your Charming Mother’s Day Pot Awaits!
And just like that, you’ve got yourself a beautiful little pot ready to brighten someone’s day! This makes such a thoughtful gift, or you can keep it to enjoy in your own kitchen or office. Don’t forget to snap a picture and share your version with me, I’d love to see it!
📱 Free to Download
Craftino, The #1 Craft App
✓ Save crafts & browse fully offline
✓ Download printable PDF guides for every project
✓ Step-by-step photo tutorials, nothing left out
✓ 1,000+ craft projects with new ones added every week
Frequently Asked Questions
How long does it take to make a Charming Mother’s Day Succulent Pot?
You can honestly whip one up in about 15-20 minutes, not counting drying time if you paint. It’s a really quick craft!
What if I don’t have real succulents for my Home Decor?
No problem! You can use faux succulents or even small silk flowers for this project, they look just as cute and require no watering.
Can I use this idea for other Spring & Garden gifts?
Absolutely! You can change the colors and add different embellishments to make it work for birthdays, teacher gifts, or just general Spring & Garden decor.
Get inspired with daily seasonal ideas on the Dollar Tree Craft Blog.
Leave a Reply