
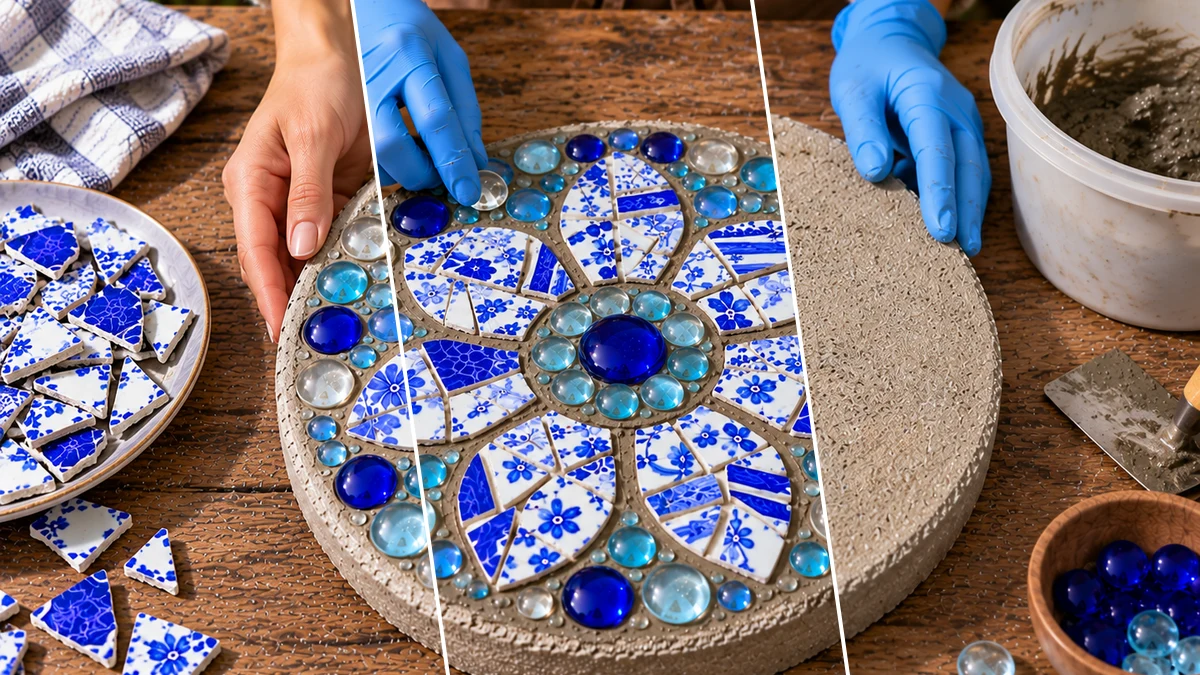
Create a custom garden accent with a DIY mosaic stepping stone. This project transforms broken ceramic plates and glass gems into a decorative and durable feature for your outdoor space. Place it along a pathway or as a focal point in a flower bed to add unique visual interest. The finished stone brings personalized charm to any garden.
Project at a Glance
- Difficulty: Easy
- Estimated active time: 65 minutes to 110 minutes (drying and curing waits not included)
- Estimated component cost: $12 to $28 (reusable tools and general supplies excluded)
- Suggested placement: Garden
Enhance Your Garden with a Mosaic Stepping Stone
A mosaic stepping stone offers a unique way to personalize your garden or outdoor area. Crafted from a concrete blank, this project incorporates broken ceramic plate pieces and assorted glass gems to form a custom design. The combination of varied textures and colors creates a visually engaging piece that stands out.
These durable stones are suitable for outdoor placement, providing decorative accents along garden paths, within flower beds, or near seating areas. The use of outdoor mosaic grout ensures the pieces remain secure and withstand various weather conditions. This craft provides an opportunity to create a lasting piece of garden art.
Materials for DIY Garden Mosaic Stepping Stone with Broken Plates and Glass Gems
- Round Concrete Stepping Stone Blank
- Broken Ceramic Plate Pieces (Blue & White patterns)
- Assorted Glass Gems (Clear, Light Blue, Dark Blue)
- Outdoor Mosaic Grout
- Grout Sealer (Optional)
- Mixing Tub & Trowel/Spatula
- Sponge & Cloth
- Gloves & Safety Glasses
Need another material? Browse current craft supplies and deals.
Creating Your Mosaic Stepping Stone
This guide details the process for constructing a mosaic stepping stone. The project involves arranging ceramic pieces and glass gems on a concrete blank, then securing them with outdoor grout. Follow these steps to build a durable and decorative element for your garden.
Step 1: Gather & Prepare Mosaic Elements
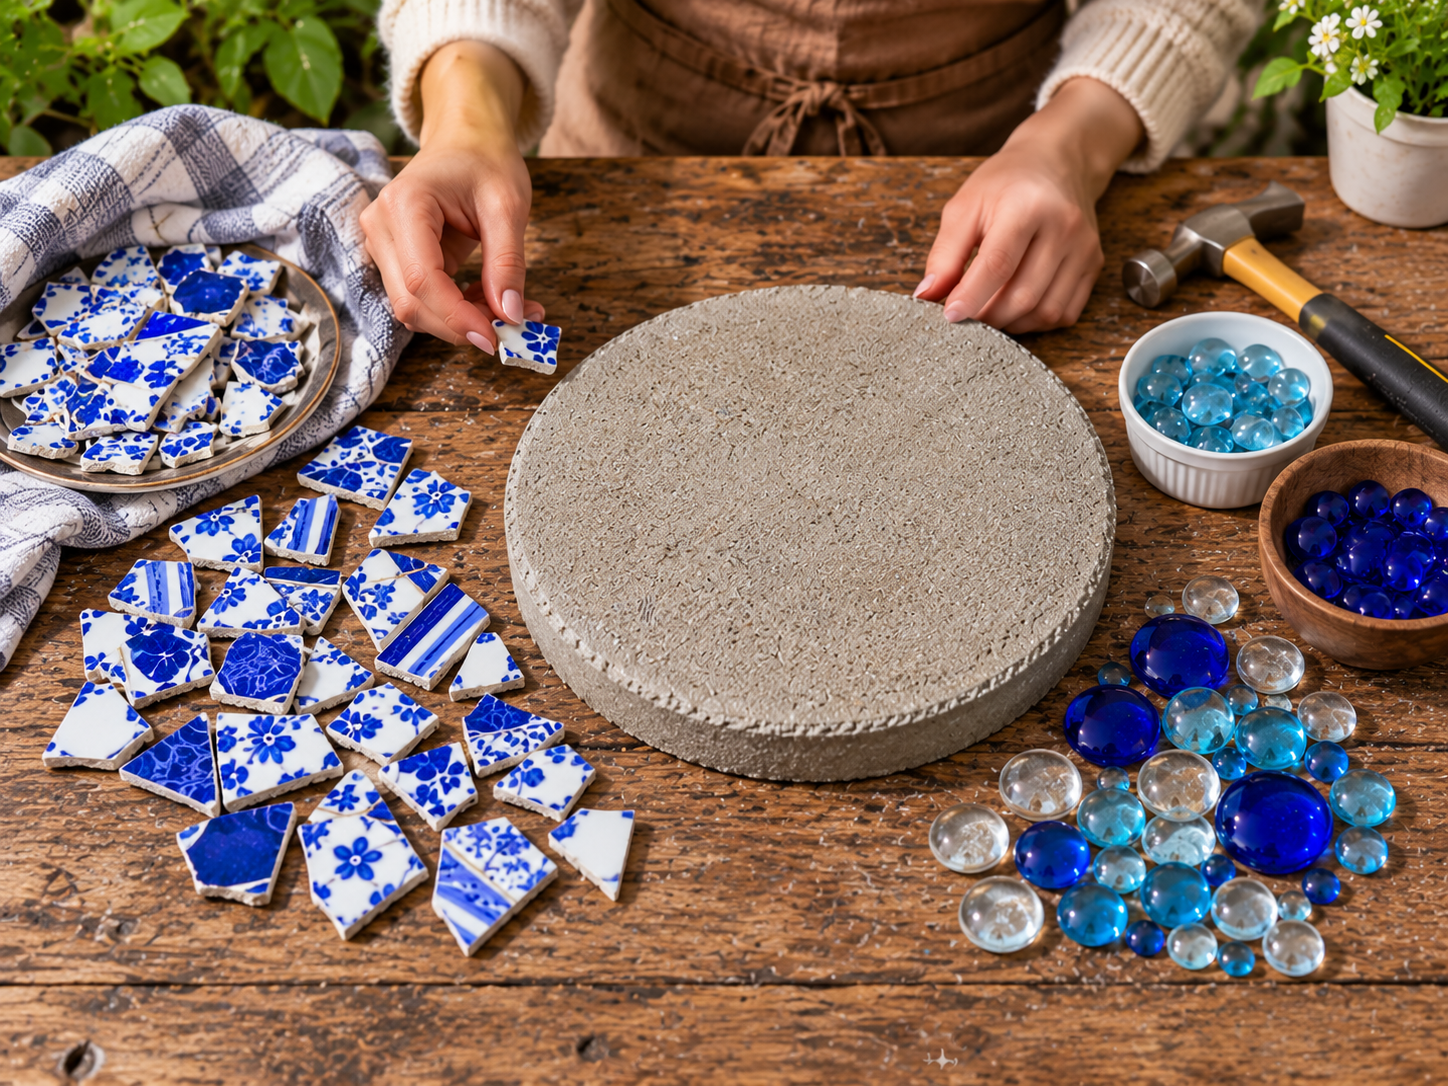
Begin by gathering all your materials. If you are starting with whole ceramic plates, wrap them in an old towel or thick cloth and gently tap them with a hammer to break them into varied, usable pieces. Sort your broken plate pieces and glass gems by color and size for easier design planning.
Step 2: Arrange Your Design
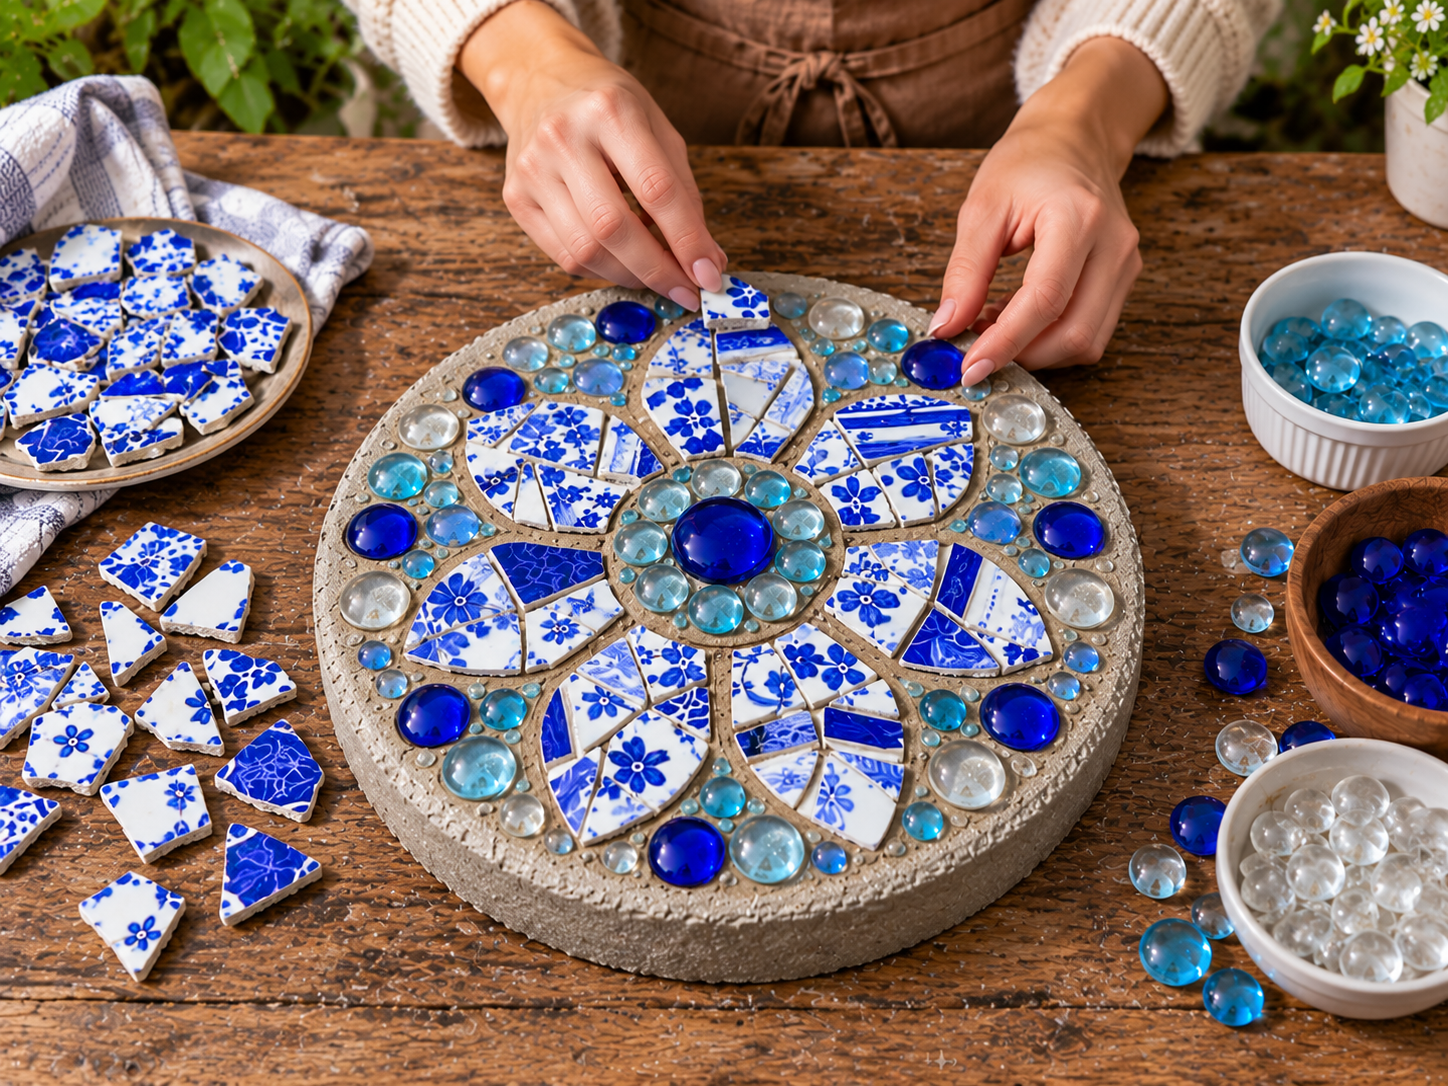
Before applying any adhesive, arrange your broken plate pieces and glass gems on the dry stepping stone blank. Experiment with different patterns, such as a central flower design with radiating petals or concentric rings, until you are satisfied with the layout. This dry run ensures you have enough pieces and helps visualize the final look.
Step 3: Secure Mosaic Pieces
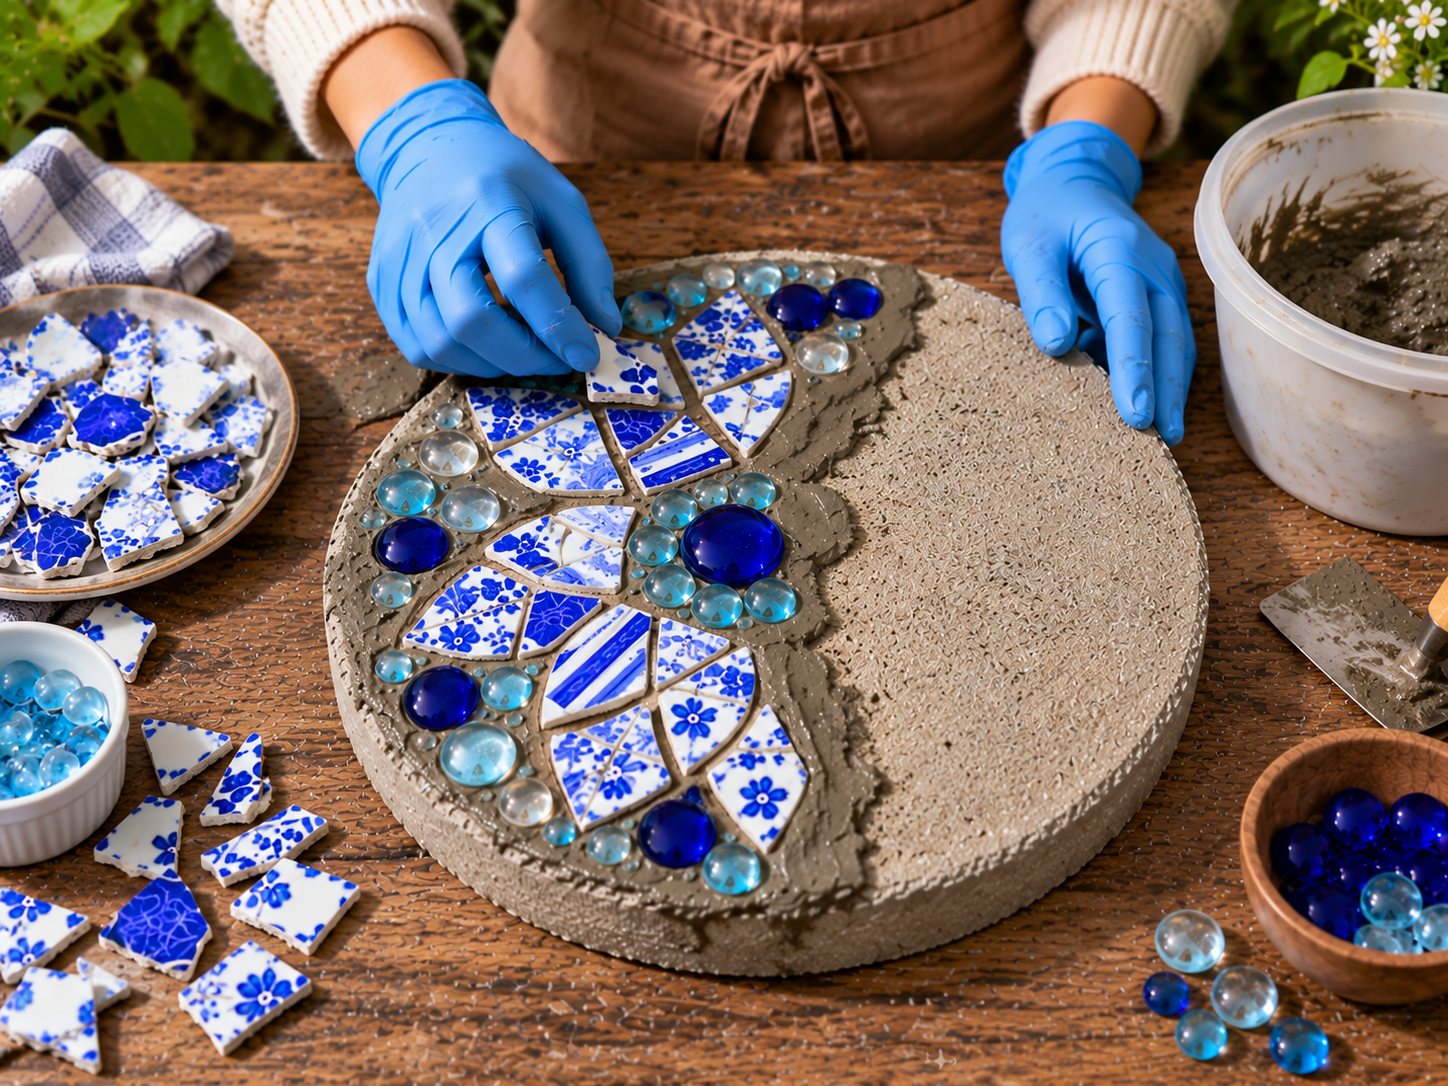
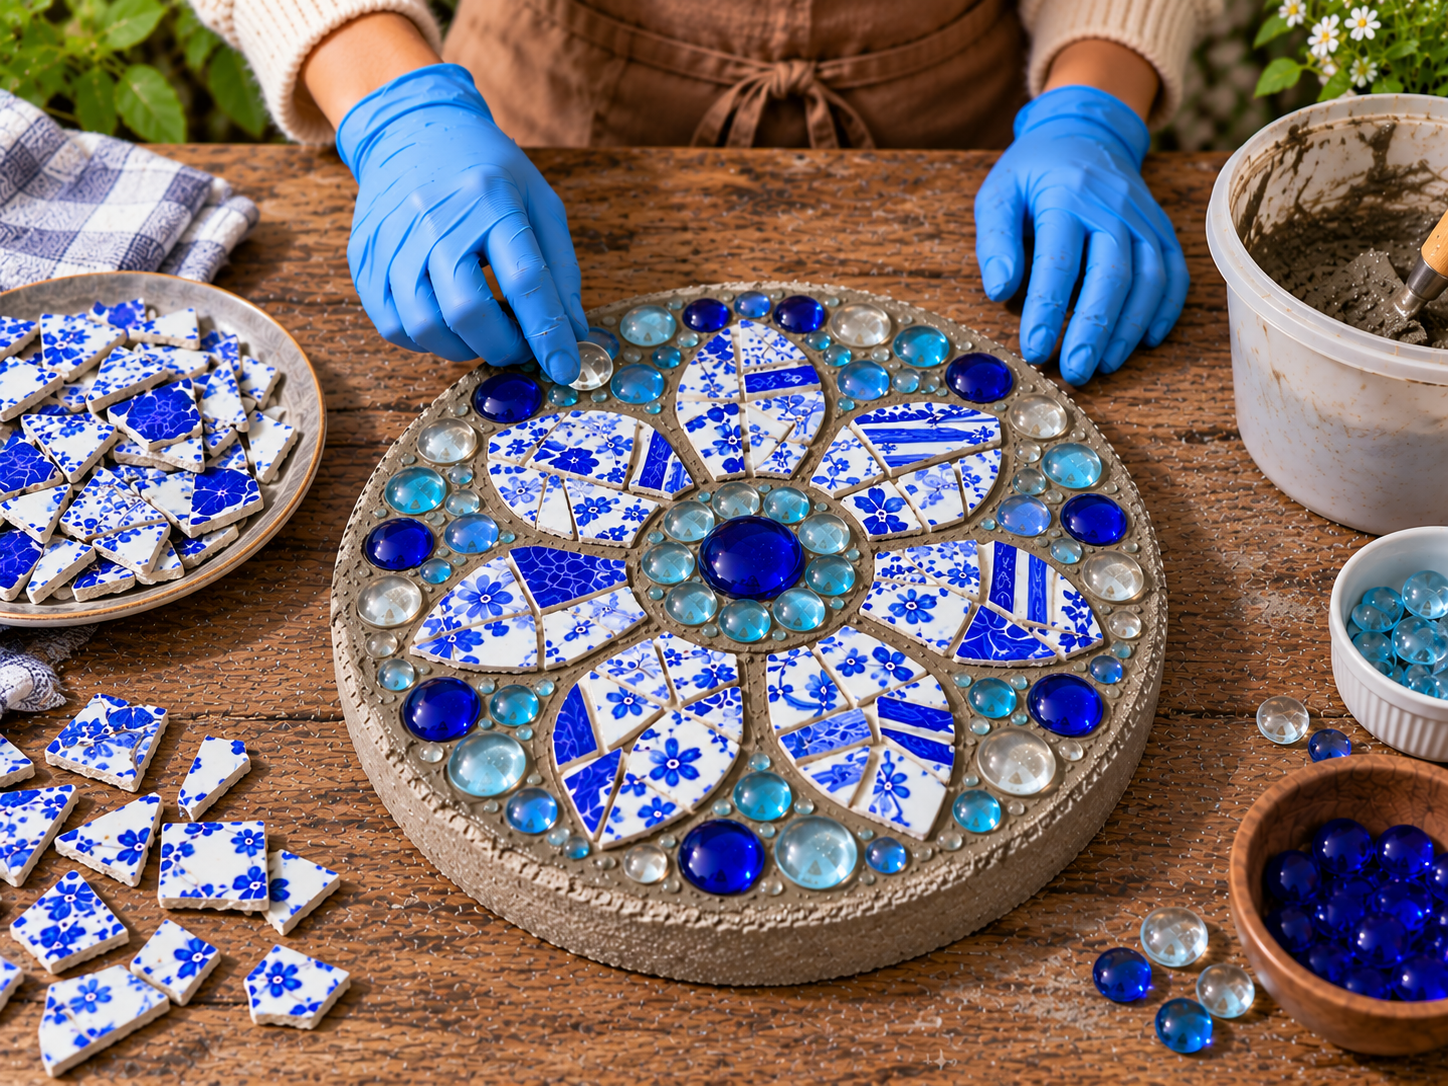
Once your design is finalized, mix a small batch of outdoor mosaic grout according to the package directions. Work in small sections. Carefully lift a small portion of your dry-arranged mosaic, spread a thin layer of grout onto the stepping stone surface, and then firmly press the mosaic pieces into the wet grout. Continue this process section by section until all your mosaic elements are attached.


Step 4: Initial Grout Setting
After all mosaic pieces are secured to the stepping stone with the initial layer of grout, allow it to set and partially cure according to your grout product's instructions. This usually takes 24 hours. During this time, the grout will harden, ensuring your mosaic pieces are firmly in place before the final grouting step.
Step 5: Apply & Clean Grout
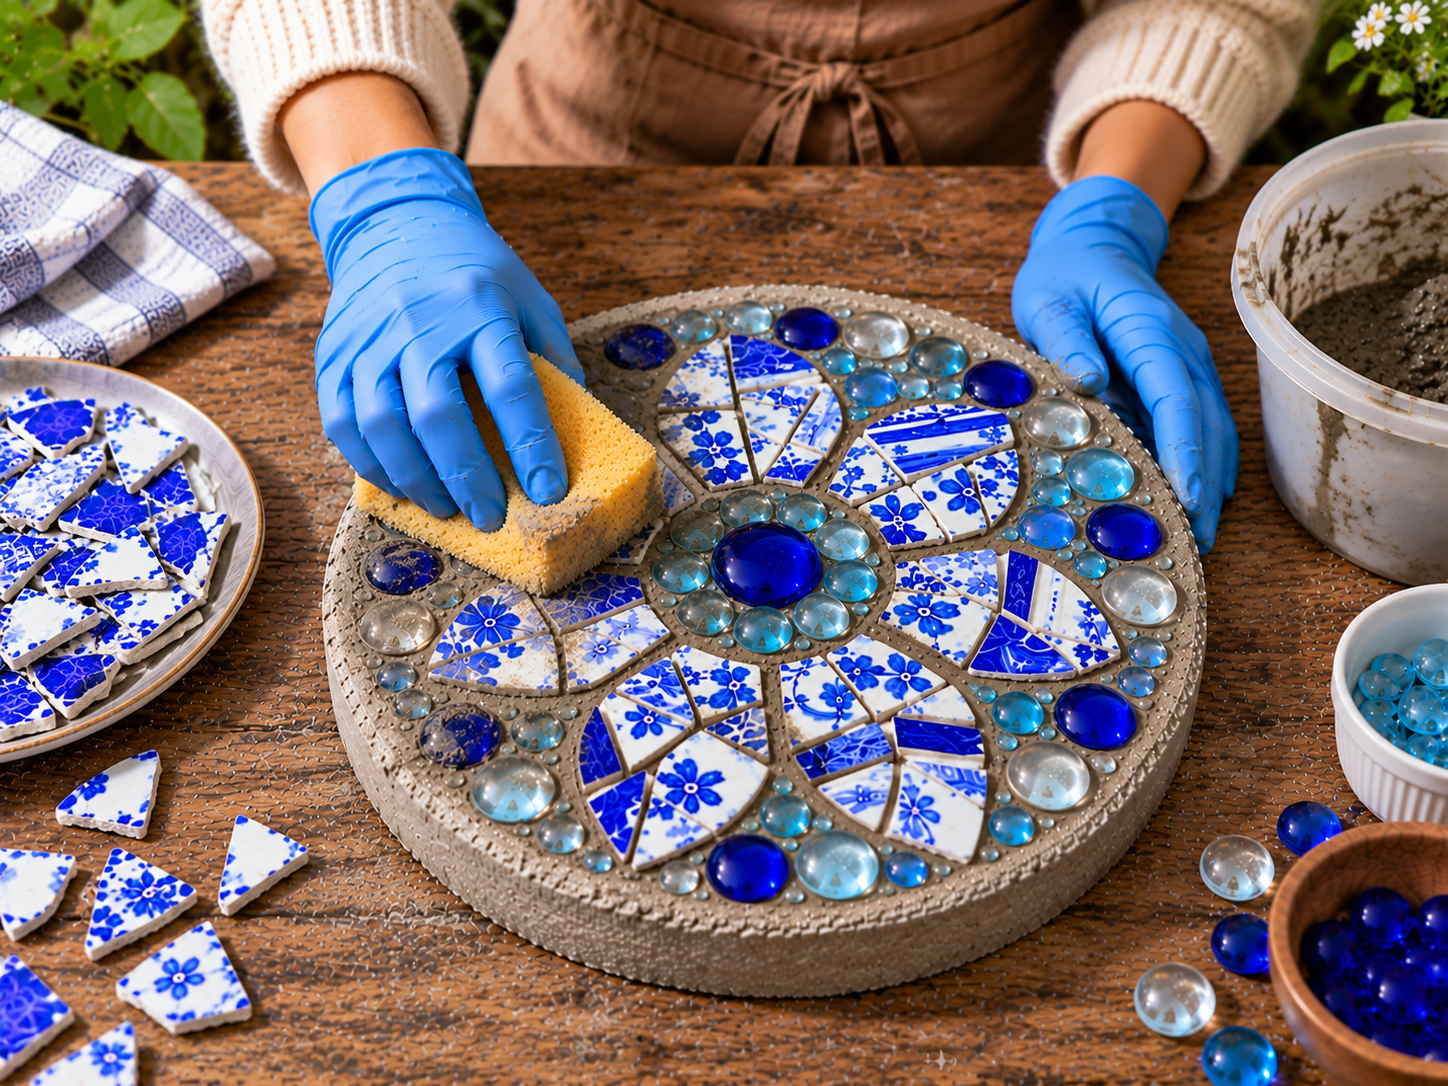
Once the initial grout has set, mix another batch of outdoor mosaic grout. Using a trowel or spatula, spread the fresh grout evenly over the entire surface of your mosaic, pressing it firmly into all the gaps between the pieces. Ensure all crevices are filled. After a short setting time (check product instructions), use a damp sponge to carefully wipe away excess grout from the surface of your mosaic pieces and smooth the grout lines. Rinse your sponge frequently.
Step 6: Cure & Seal Your Stone
Allow your mosaic stepping stone to fully cure for the time recommended by your grout manufacturer, typically several days to a week. This ensures maximum strength and durability. Once fully cured and dry, you may choose to apply an outdoor grout sealer to protect the grout from moisture, stains, and UV damage, further extending the life of your beautiful garden art.
Enjoying Your Finished Mosaic Stepping Stone
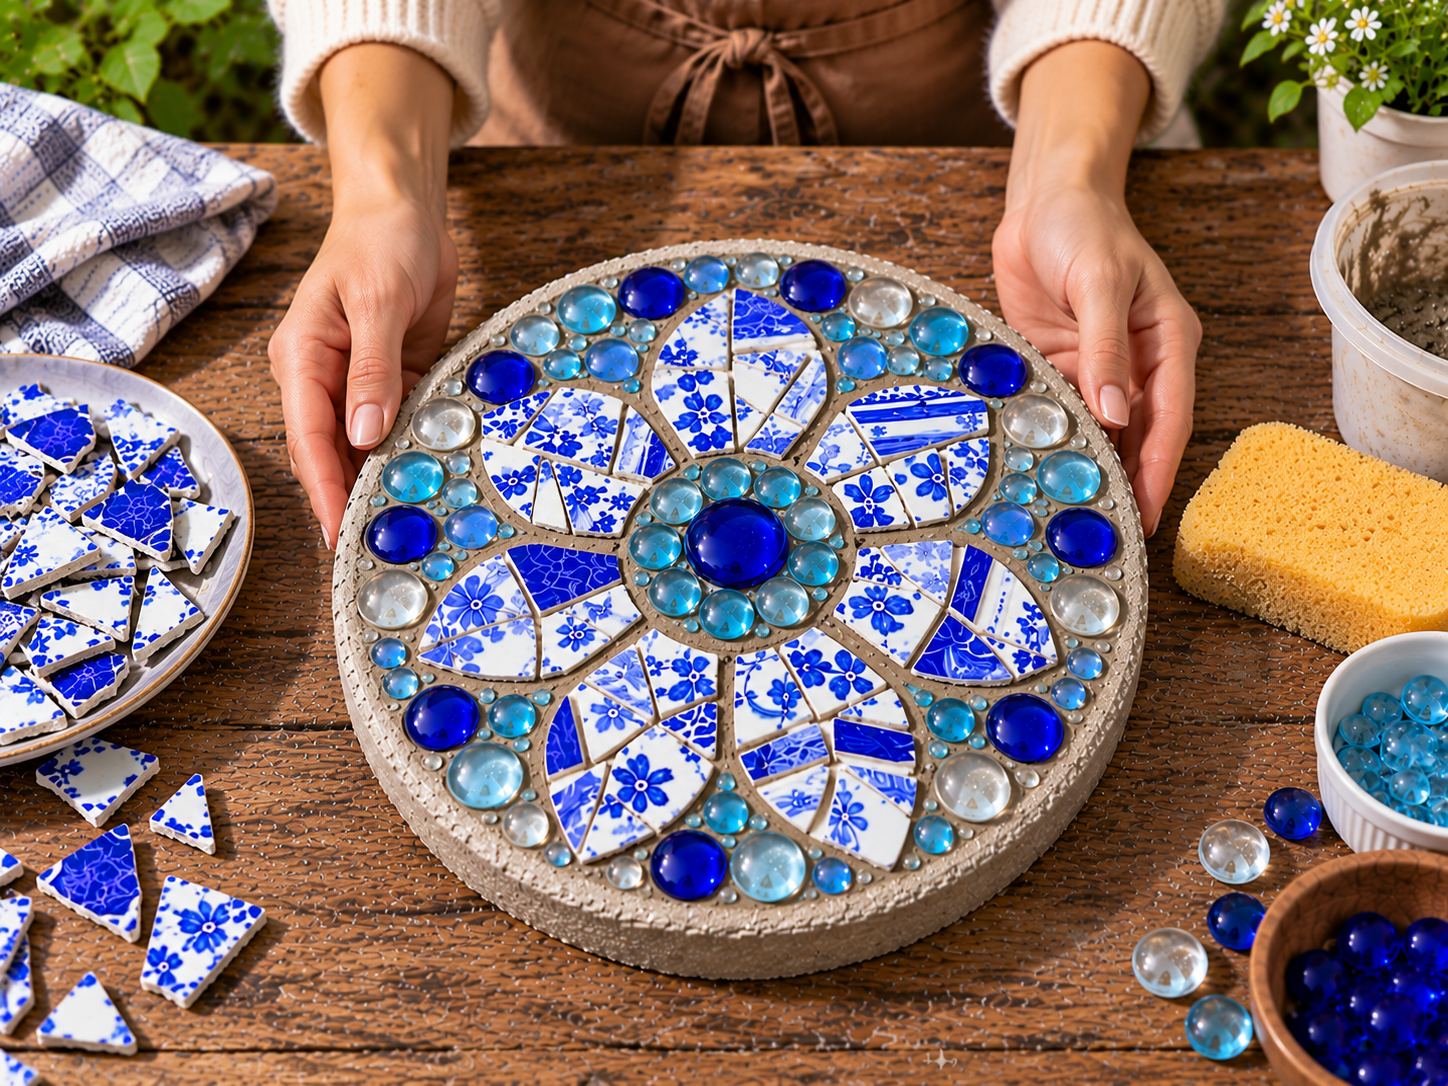
The completed mosaic stepping stone provides a lasting decorative accent for your garden. Its unique design, crafted from upcycled materials, adds character and visual appeal to any outdoor space. Place it where it can be admired, enhancing your pathways or garden beds with its personalized charm.
Related project collection: Painted Terracotta Pot Flower Tower for Garden & Patio Decor
Practical Questions About This Project
What materials are used for the mosaic pieces?
Broken ceramic plate pieces and assorted glass gems are used to create the mosaic design.
Can this stepping stone be placed outdoors?
Yes, the mosaic stepping stone is designed for outdoor placement, suitable for gardens, pathways, or flower beds. Outdoor mosaic grout and optional sealer are used for durability.
How long does the grout need to set and cure?
The initial grout layer needs to set for approximately 24 hours. Full curing for maximum strength and durability typically takes several days to a week, as recommended by the grout manufacturer.
Is a grout sealer necessary?
A grout sealer is optional but recommended. It protects the grout from moisture, stains, and UV damage, which can extend the life of the stepping stone.
How are the mosaic pieces attached to the stepping stone?
Mosaic pieces are attached by spreading a thin layer of mixed outdoor mosaic grout onto the stepping stone surface and pressing the pieces firmly into the wet grout.
Search Dollar Tree for spring & garden supplies.

Leave a Reply