
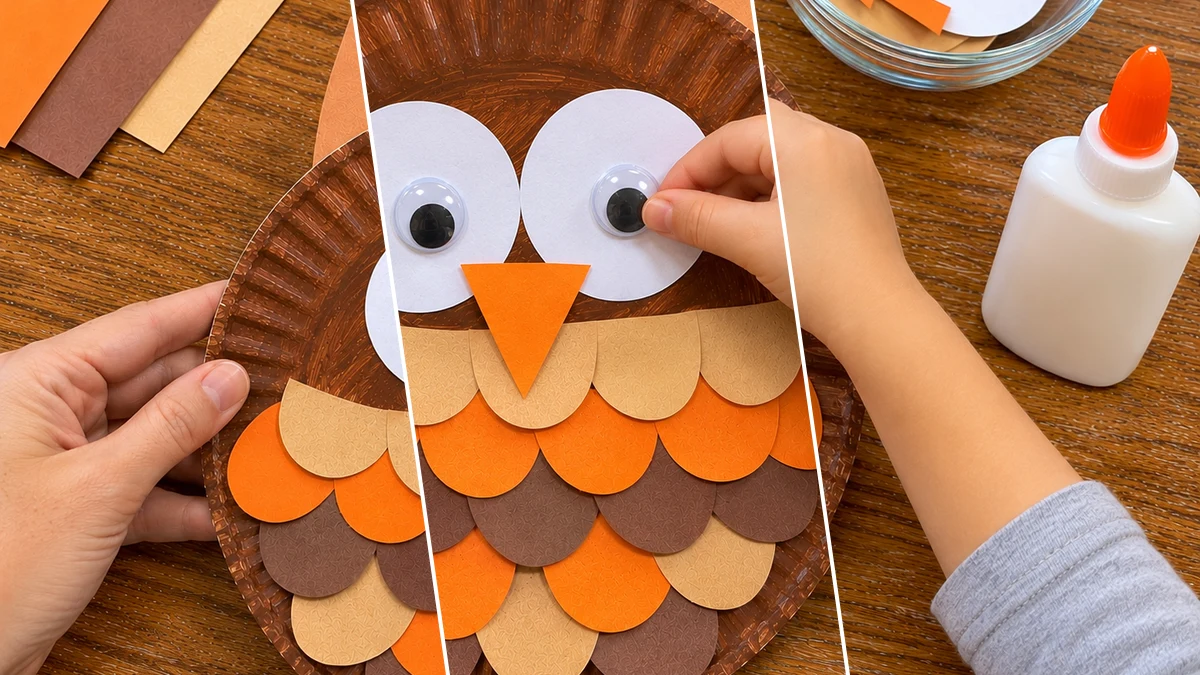
Welcome the autumn season with a charming DIY paper plate owl. This easy craft is perfect for families looking for a fun fall activity. Using simple materials, you can create a whimsical feathered friend to brighten any indoor space.
Project at a Glance
- Difficulty: Easy
- Estimated active time: 30 minutes to 60 minutes (drying and curing waits not included)
- Estimated component cost: $1 to $3 (reusable tools and general supplies excluded)
- Main material: Paper
- Suggested placement: Wall
Why a Paper Plate Owl is Perfect for Fall
As autumn arrives, bringing vibrant colors and cooler air, it is a wonderful time to invite a bit of woodland charm into your home. This paper plate owl craft captures the spirit of the season with its warm fall hues and friendly appearance. It is designed to be an accessible and enjoyable activity for crafters of all ages, especially families with young children.
The project uses common craft supplies, including a white paper plate and construction paper in tan, orange, and brown. These materials are transformed into a delightful owl through simple painting, cutting, and layering techniques. The process of creating the feathered texture is particularly engaging, allowing for creative expression.
Once completed, your whimsical paper plate owl can be hung on a wall or door to enhance your fall decor. It serves as a cheerful reminder of the season and a handmade keepsake from a fun family crafting session. This craft offers a straightforward way to add a personalized touch to your autumn home.
Materials for Easy Paper Plate Owl Craft for Fall Decor: Kids' Activity with Paper Feathers
- White Paper Plate
- Brown Craft Paint & Foam Brush
- Construction Paper (tan, orange, brown, white)
- Large Googly Eyes
- White Craft Glue
- Kids' Safety Scissors
- Jute Twine
- Hole Punch
- Newspaper or Craft Mat
Need another material? Browse current craft supplies and deals.
How to Create Your Paper Plate Owl
Follow these clear steps to assemble your charming paper plate owl. This guide focuses on simple techniques like painting, cutting, and gluing. Prepare your materials and enjoy the process of bringing this friendly fall creature to life.
Step 1: Paint the Plate Base
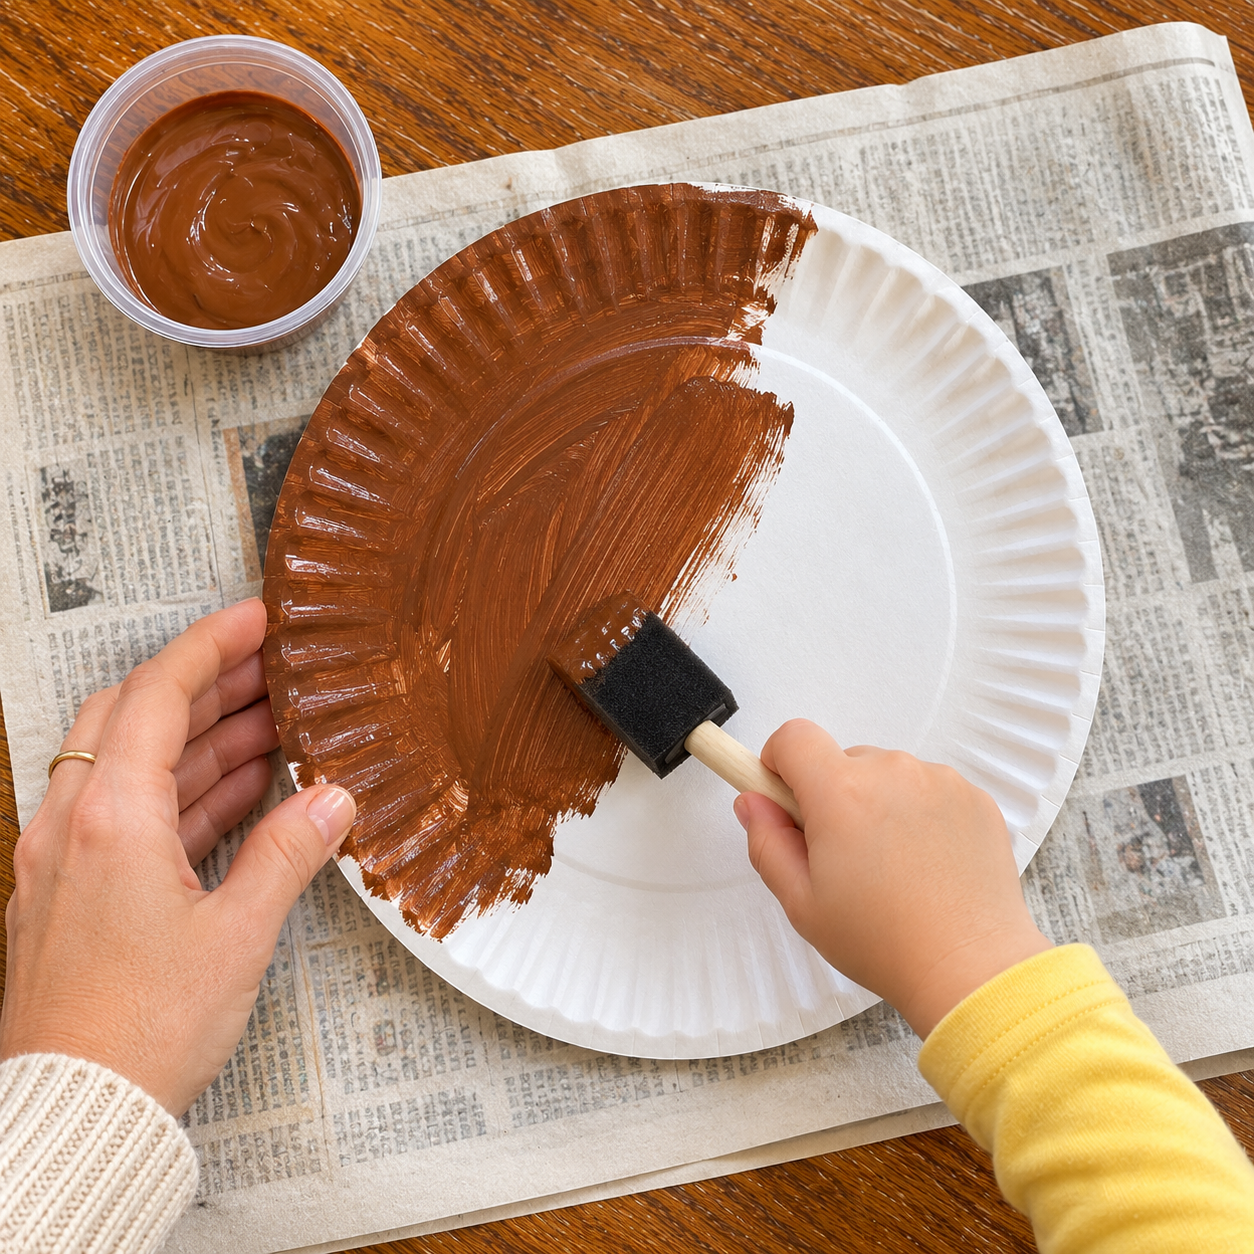
Protect your work surface with newspaper or a craft mat. Using a foam brush, apply an even coat of brown craft paint to the entire front surface of the white paper plate. Allow the paint to dry completely according to product instructions. For a deeper color, apply a second coat after the first has dried.
Step 2: Cut Paper Feathers
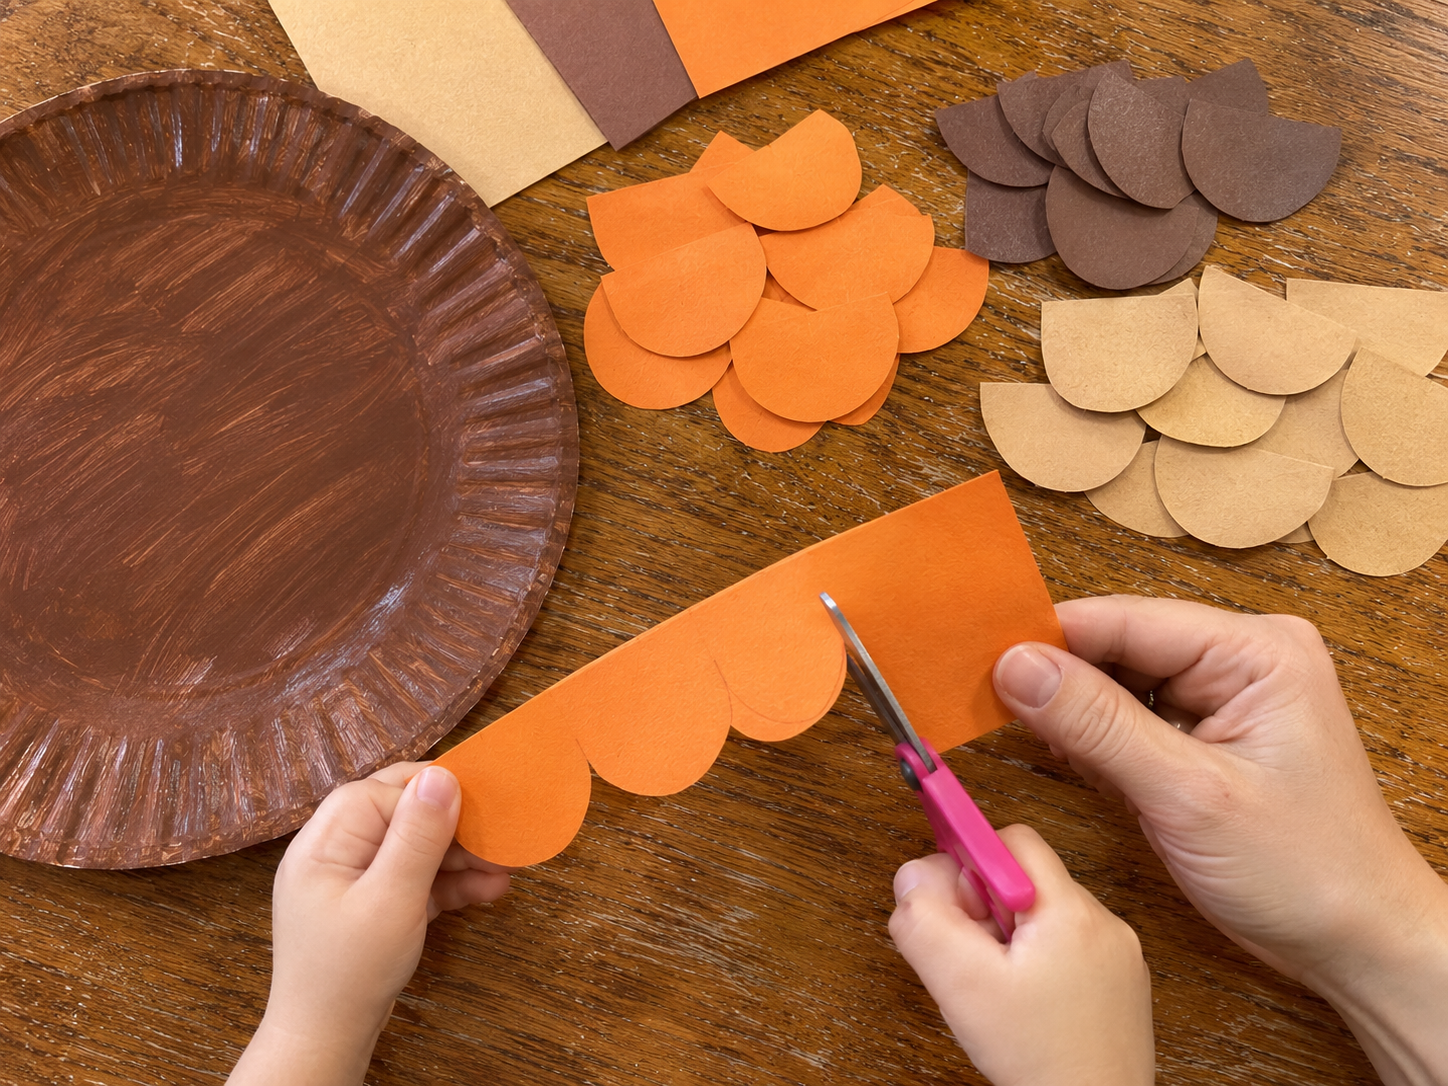
Select construction paper in various fall colors such as tan, orange, and brown. Using kids' safety scissors, cut out numerous scalloped, semi-circle shapes to resemble feathers. Aim for a mix of sizes for visual interest, but ensure they are roughly consistent enough for layering.
Step 3: Layer the Feathers
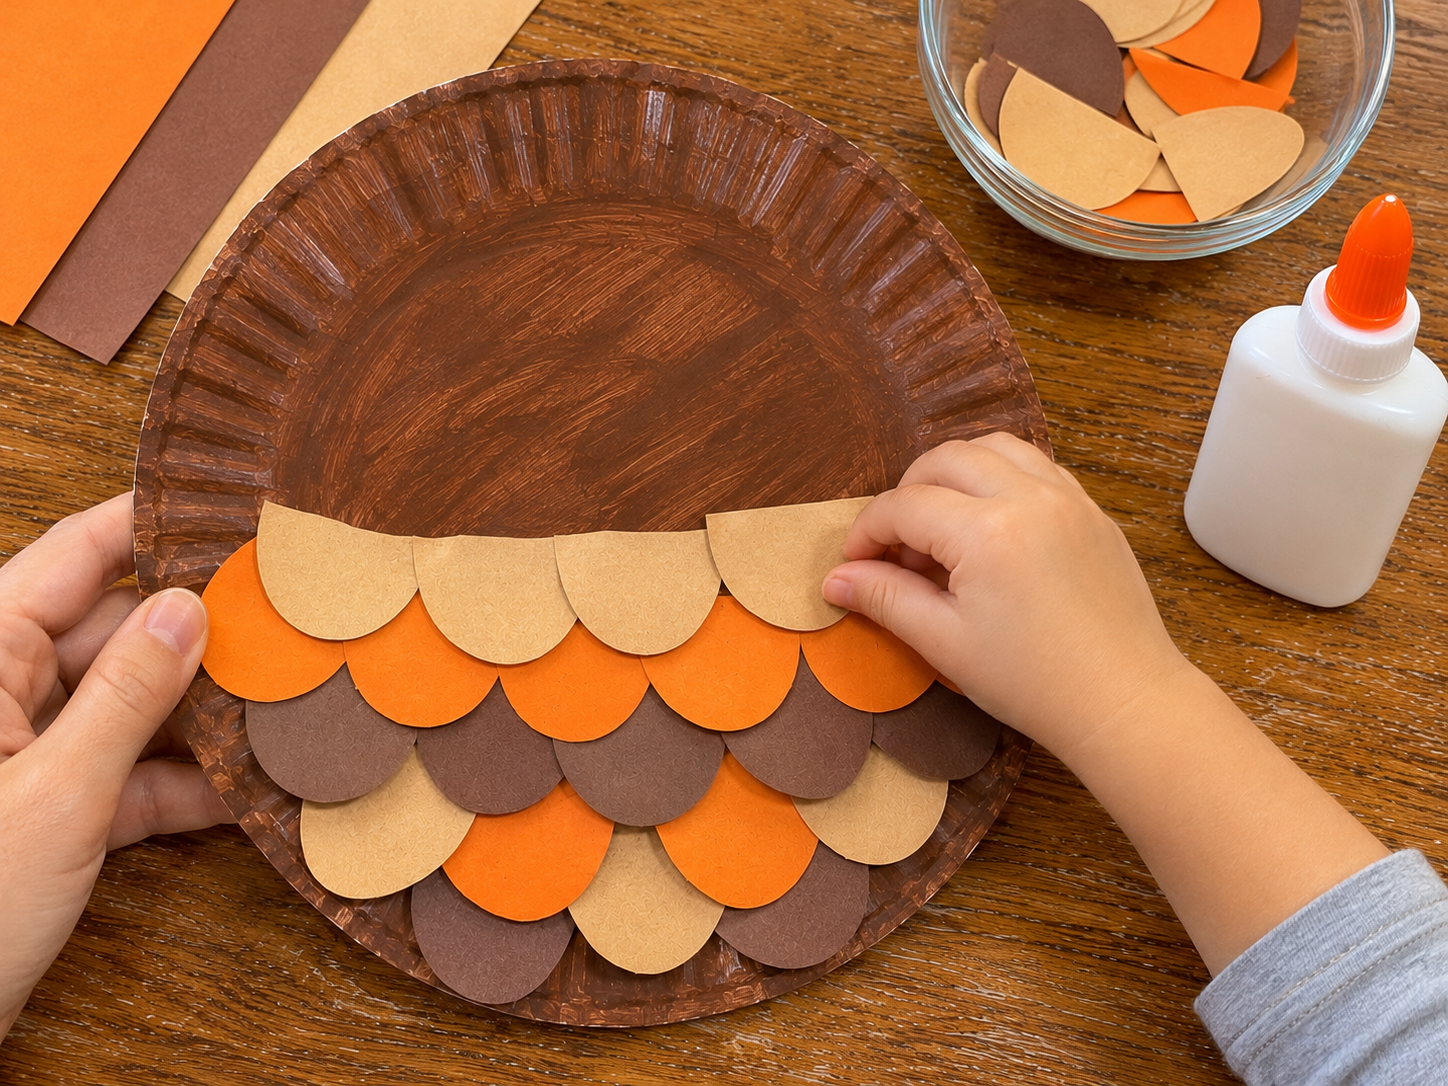
Once the brown paint on your paper plate is completely dry, begin gluing the paper feathers in overlapping rows. Start from the bottom edge of the plate and work your way upwards, applying a small dot of white craft glue to the top edge of each feather. Overlap each feather slightly and each row to create a textured, feathery look. Mix the colors randomly for a natural, varied appearance.


Step 4: Create Owl Eyes and Beak
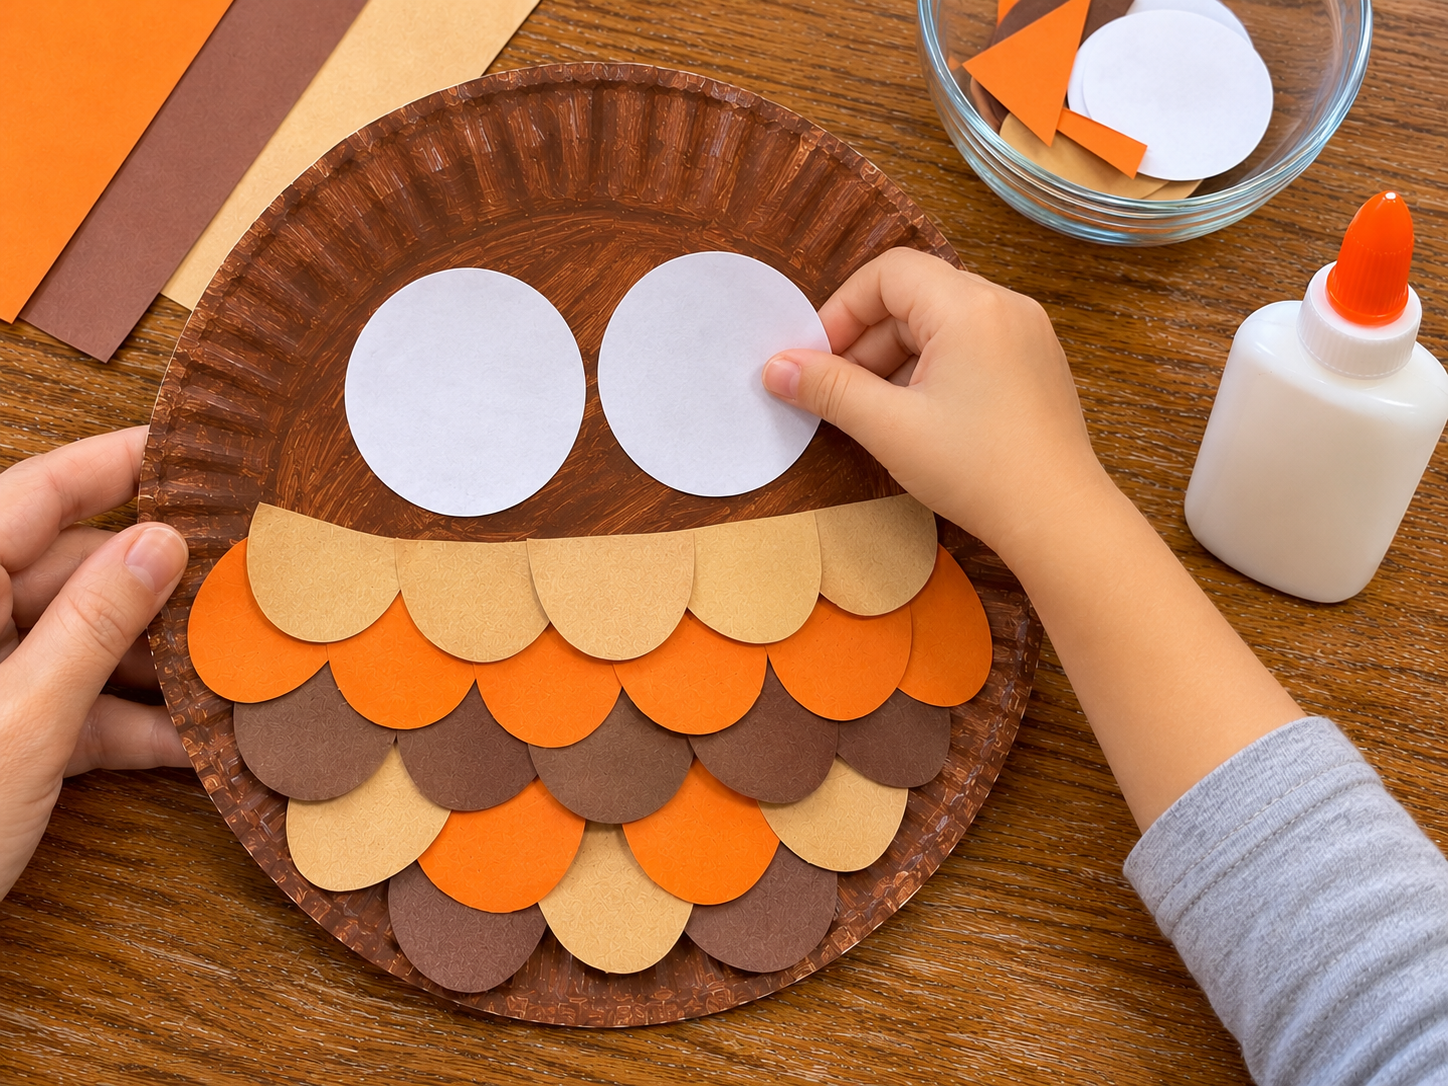
From white construction paper, cut two large circles for the base of the owl's eyes. From orange construction paper, cut a small, pointed triangle for the beak. Before gluing, arrange these paper shapes on the upper half of the feathered plate to determine their best placement and symmetry.
Step 5: Add Final Face Details & Ears
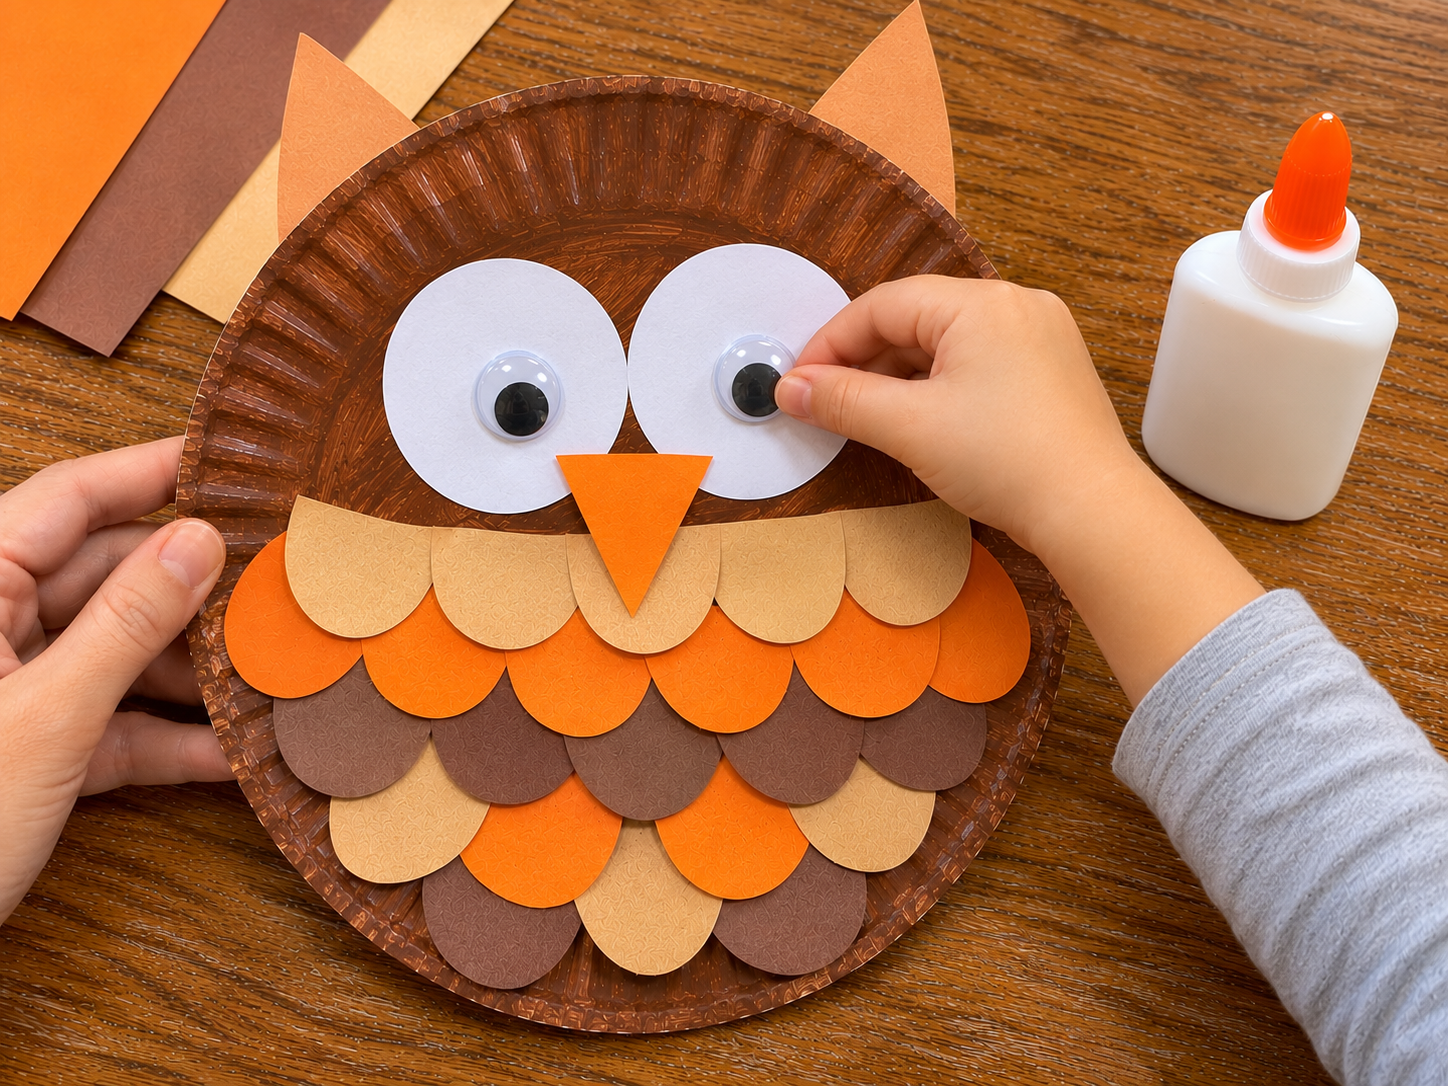
Glue the white paper circles and the orange paper beak securely into their chosen positions on the owl's face. Next, carefully glue the large googly eyes onto the center of the white paper circles. For the ears, cut two small, pointed triangle shapes from brown construction paper and glue them to the very top edge of the paper plate, peeking out from behind the rim.
Step 6: Attach Hanger
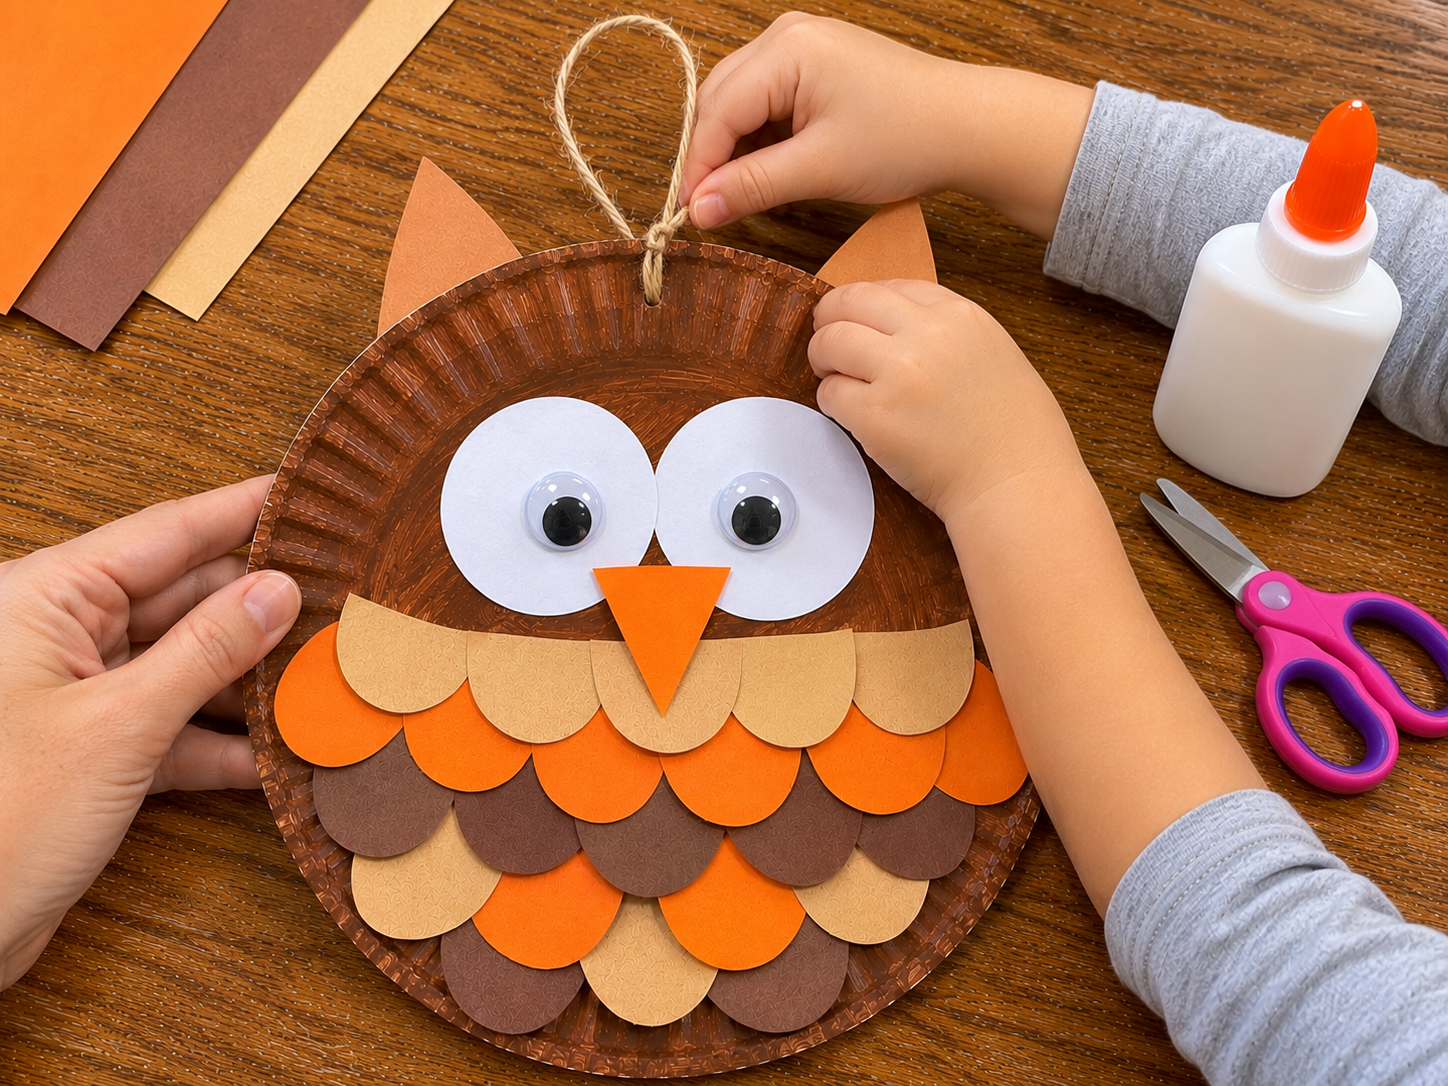
Using a hole punch, carefully make a small hole near the top center of the paper plate, positioned between the owl's ears. Cut a piece of jute twine, about 8-10 inches long. Thread the twine through the punched hole and tie the ends together in a secure knot to form a loop. This creates a hanger for your finished owl.
Displaying Your Finished Paper Plate Owl
Your handmade paper plate owl is now ready to add a touch of fall cheer to your home. Hang it in a child's room, on a door, or as part of a seasonal display. This whimsical creation is a testament to the joy of simple crafting and a delightful addition to your autumn decor.
Related project collection: DIY Paper Plate Ocean Window Suncatcher
Practical Questions About This Project
What age group is this paper plate owl craft suitable for?
This craft is suitable for kids ages 4-10 with adult assistance, as indicated by the craft record.
What kind of paint is used for the paper plate base?
Brown acrylic or craft paint is used to cover the entire front surface of the white paper plate.
How are the owl's feathers created for this project?
The feathers are made by cutting scalloped, semi-circle shapes from tan, orange, and brown construction paper, then gluing them in overlapping rows onto the painted plate.
How do you assemble the owl's eyes?
The eyes are created by first gluing two large white paper circles as a base, then attaching large googly eyes onto the center of those white paper circles.
What is used to hang the finished paper plate owl?
A small hole is punched at the top center of the plate, and a jute twine loop is threaded through it and tied to create a hanger.
Explore paper craft supplies at Dollar Tree.

Leave a Reply