
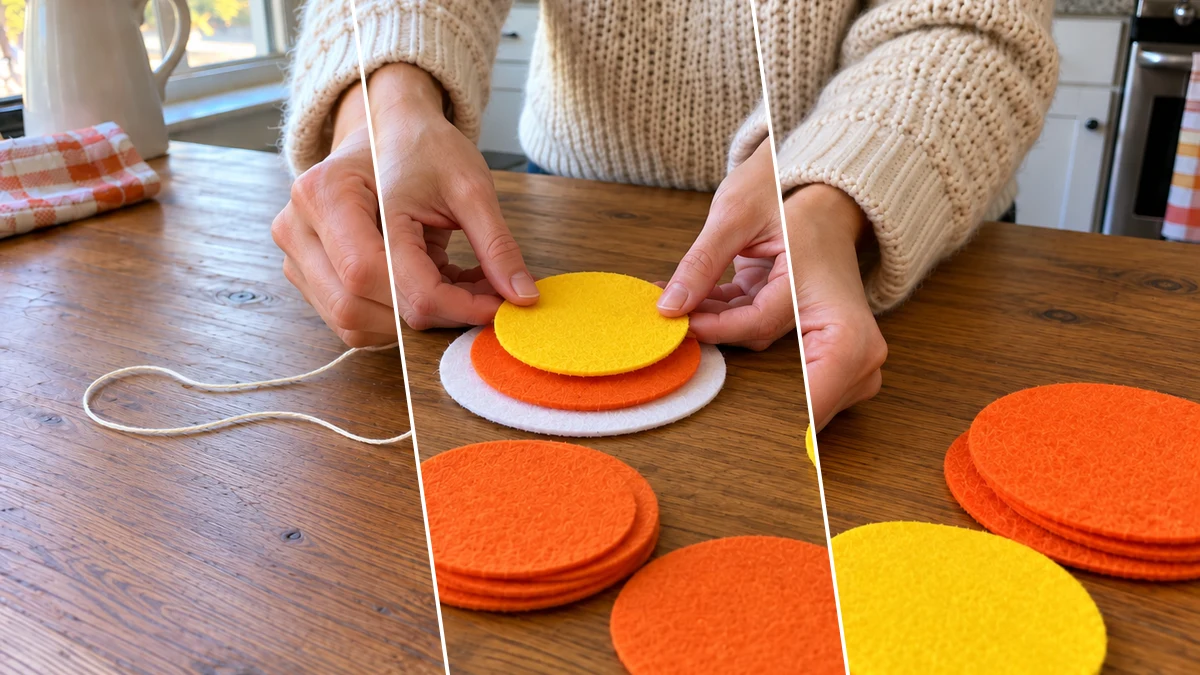
Add a festive touch to your autumn and Halloween home decor with these charming hand-stitched felt candy corn coasters. This easy craft uses layers of white, orange, and yellow felt to create a classic candy corn design, perfect for protecting surfaces while celebrating the season. The visible hand stitching adds a cozy, handcrafted appeal to each piece.
Project at a Glance
- Difficulty: Easy
- Estimated active time: 40 minutes to 50 minutes (drying and curing waits not included)
- Estimated component cost: $5 to $10 (reusable tools and general supplies excluded)
- Main material: Felt
Bring Fall Charm to Your Table with Felt Coasters
These hand-stitched felt coasters offer a simple yet effective way to infuse your home with fall spirit. The iconic candy corn design, created by layering white, orange, and yellow felt, instantly evokes autumn festivities and Halloween cheer. They are ideal for protecting surfaces during gatherings or simply adding a decorative accent to your coffee table or dining area throughout the season.
Crafting these coasters is an accessible project for various skill levels, with an estimated active time of 40-50 minutes. The estimated component cost is $5-10, excluding reusable tools and general supplies. The process involves basic tracing, cutting, and hand-sewing techniques, resulting in a set of durable and decorative coasters that celebrate the season.
Materials for DIY Hand-Stitched Felt Candy Corn Coasters for Fall Home Decor
- Felt Sheets (White, Orange, Yellow)
- Embroidery Thread (Yellow, Cream/White)
- Hand Sewing Needle
- Fabric Scissors
- Fabric Marker or Chalk
- Circle Templates (or round objects in three sizes)
- Straight Pins
Need another material? Browse current craft supplies and deals.
Craft Your Candy Corn Felt Coasters
Creating these festive felt coasters involves simple tracing, cutting, and hand-stitching techniques. Follow these steps to assemble your layers of felt into charming candy corn designs, adding a handcrafted touch to your fall decor. The process is straightforward, making it an enjoyable project for crafters of all skill levels.
Step 1: Trace Felt Circles
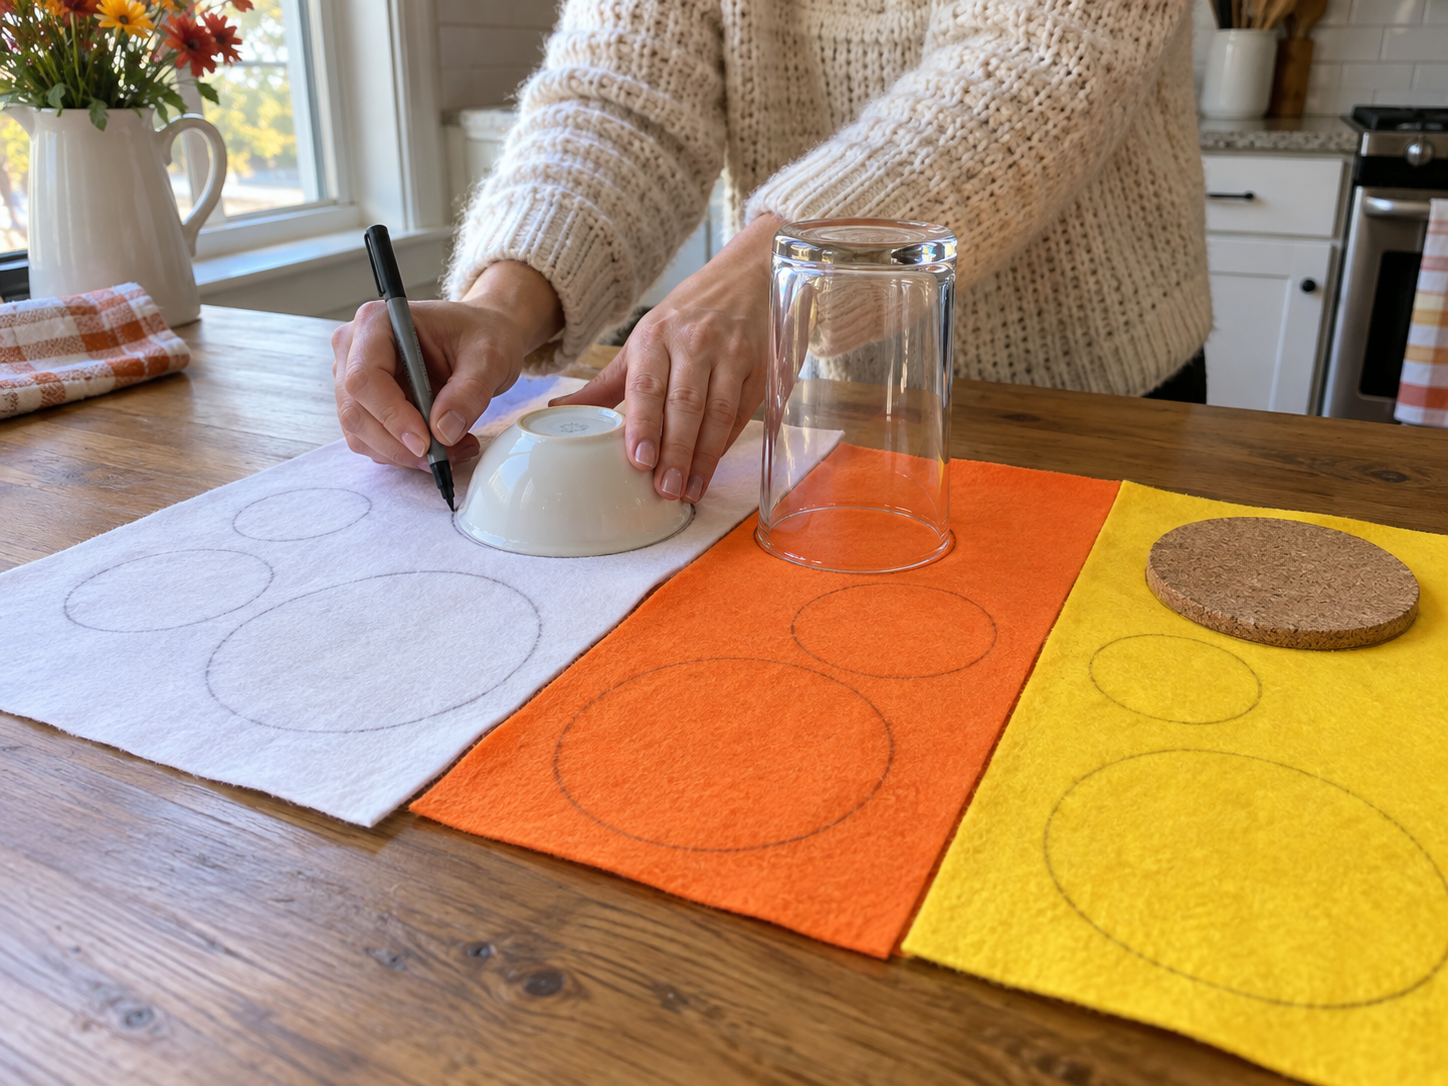
Gather your white, orange, and yellow felt sheets along with your circle templates or various-sized round objects. For each coaster, you will need one large white circle, one medium orange circle, and one small yellow circle. Place your templates onto the corresponding felt colors and trace neatly with a fabric marker or chalk. For a standard coaster size, the largest circle should be about 4-5 inches in diameter.
Step 2: Cut Coaster Components
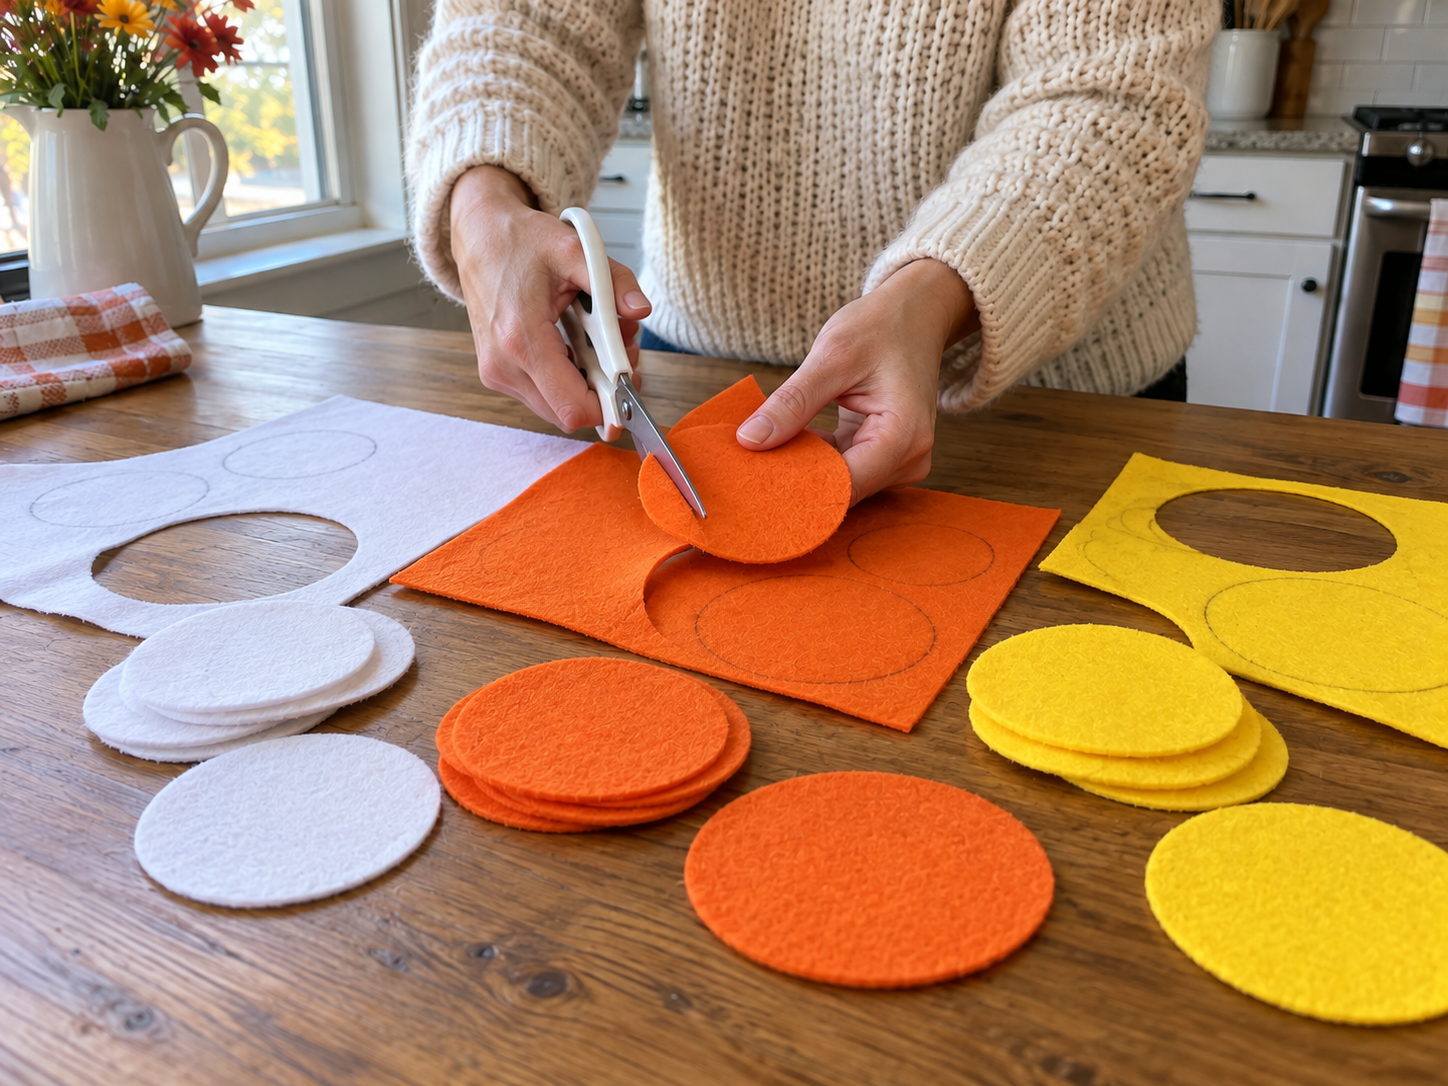
Carefully cut out all the traced felt circles using sharp fabric scissors. Take your time to cut along the traced lines as smoothly as possible to ensure neat, crisp edges for each felt piece. The precision of your cuts will significantly impact the final look of your coasters.
Step 3: Layer and Pin Coaster Elements
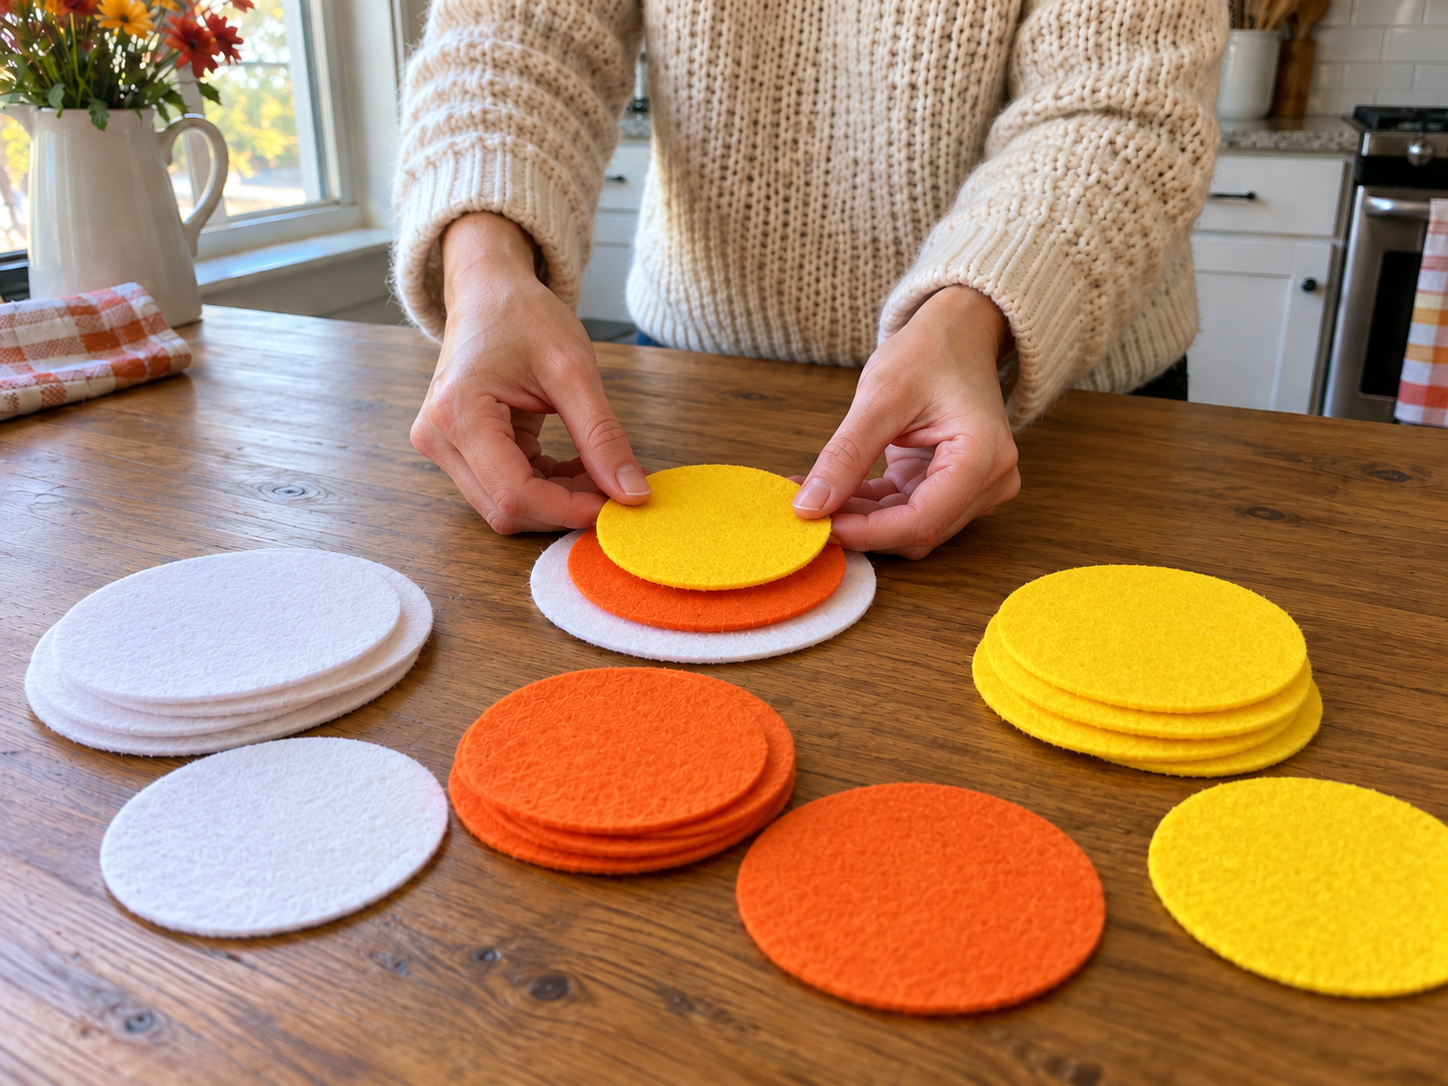
For each coaster, stack the cut felt circles in the candy corn pattern: start with the large white circle on the bottom, layer the medium orange circle centered on top of the white, and finally, place the small yellow circle centered on the orange. Carefully align all three layers, then use a few straight pins to secure them together, preventing them from shifting while you stitch.


Step 4: Stitch the Inner Ring
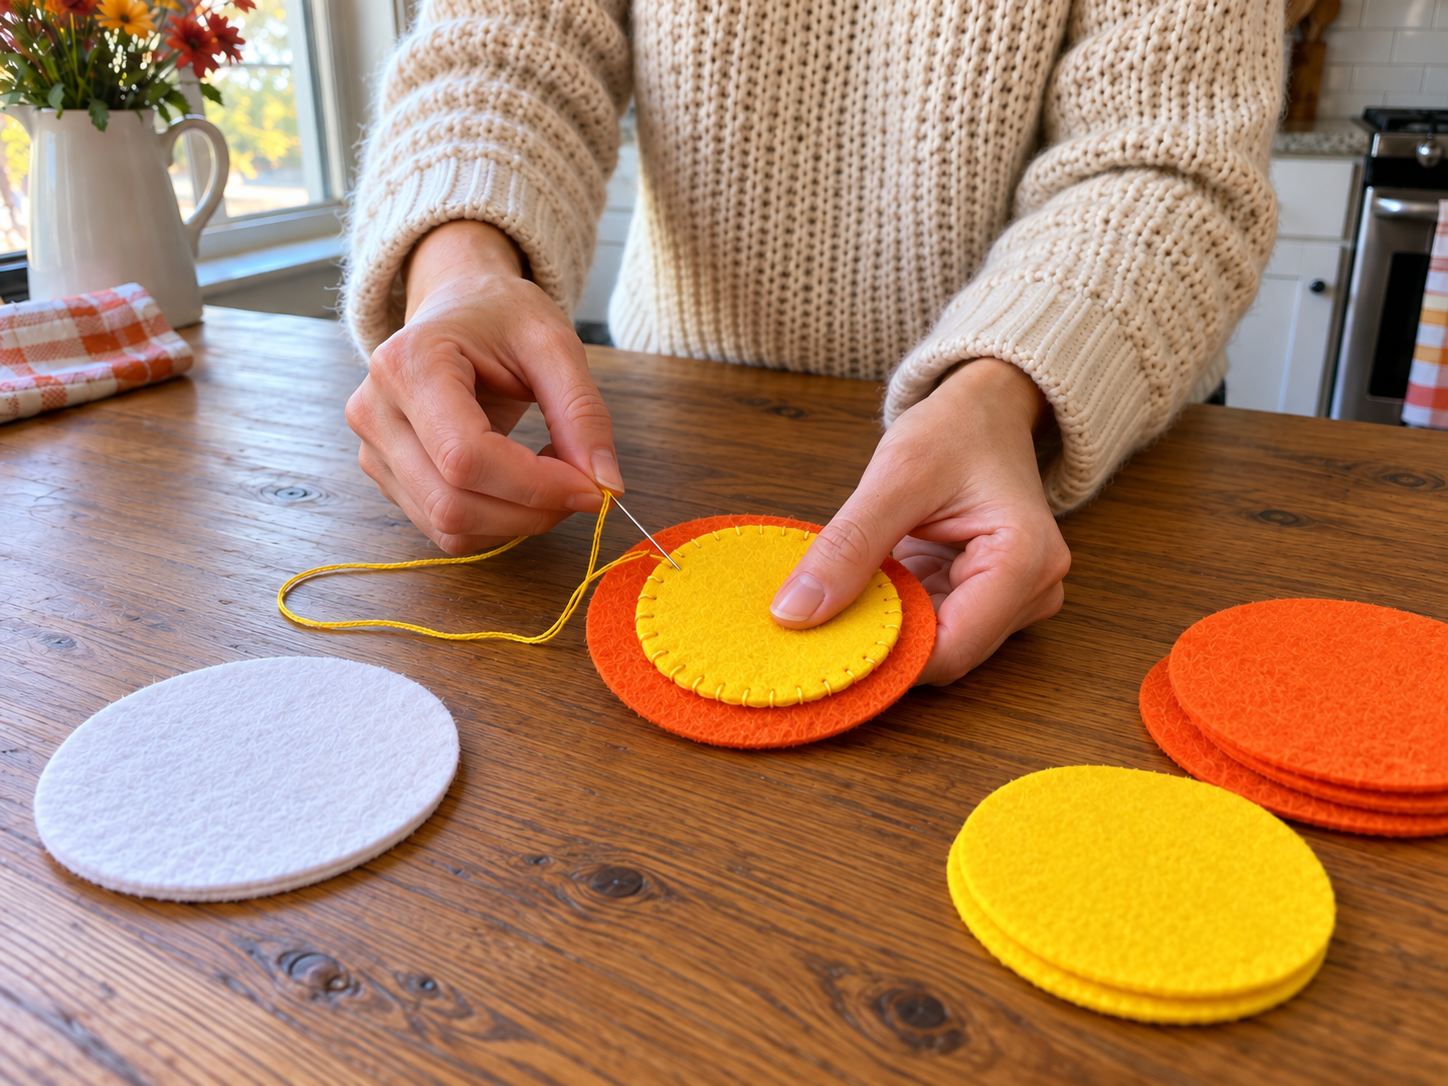
Thread your needle with yellow embroidery thread. Starting from the back of the orange felt (to hide the knot), bring your needle up through the orange felt, then through the yellow felt, and back down a short distance away. Use a simple running stitch to secure the yellow center circle to the orange middle circle. Stitch all the way around the edge of the yellow circle, maintaining consistent stitch length and spacing for a tidy finish.
Step 5: Finish the Outer Edge
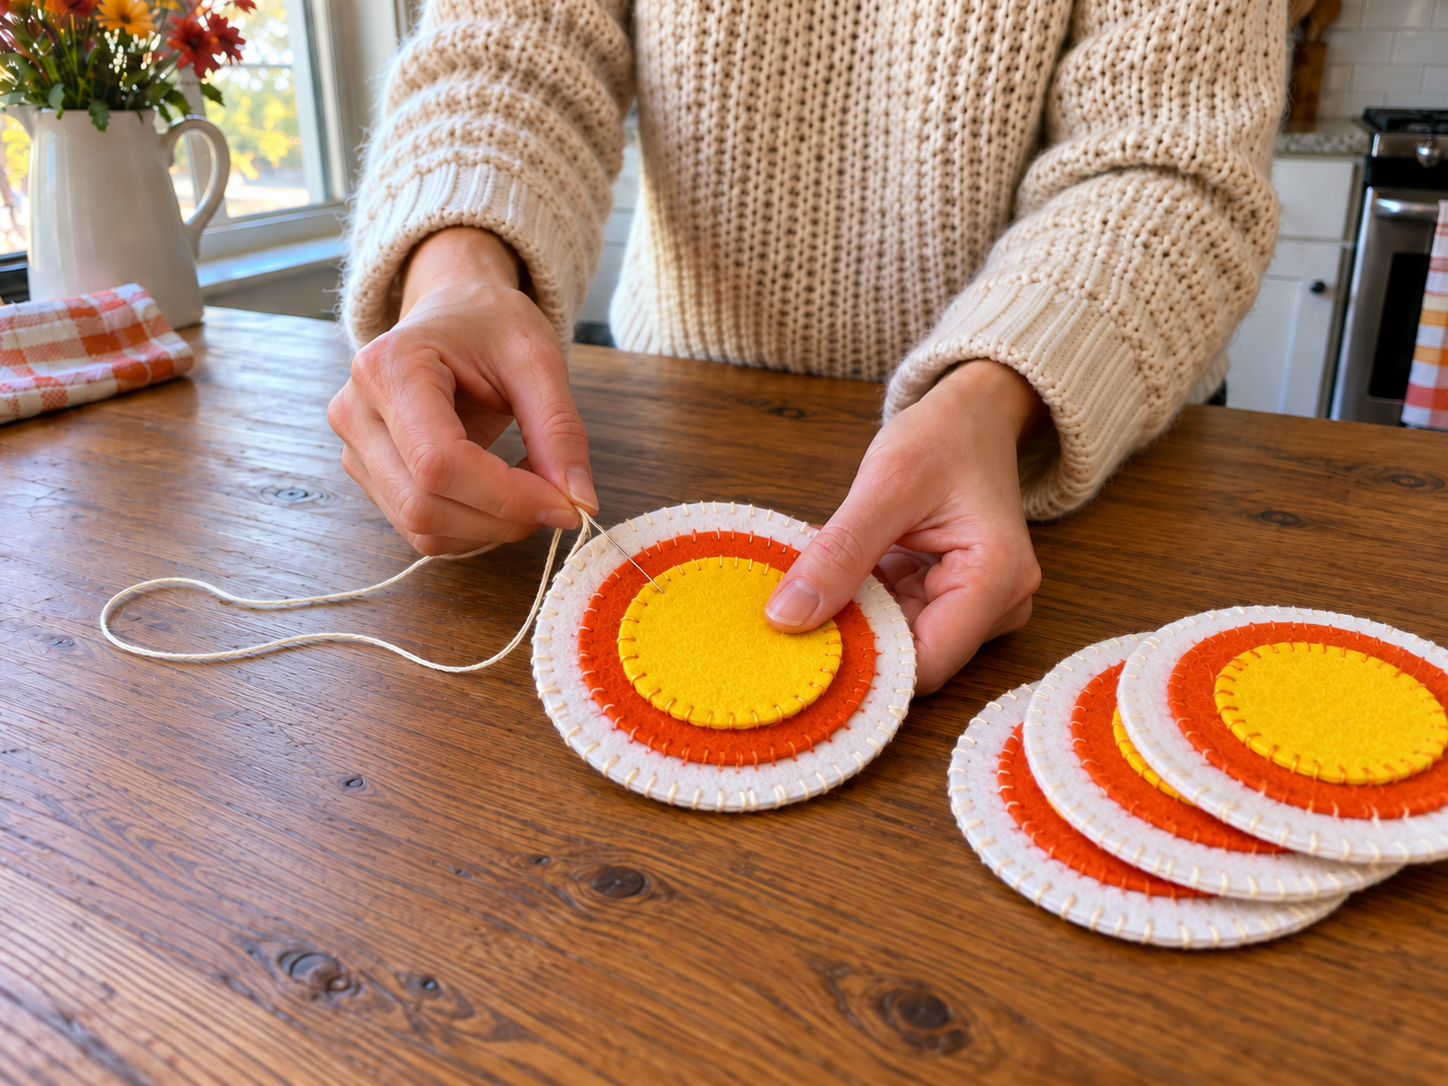
Once the yellow circle is fully stitched, switch to cream or white embroidery thread. Starting again from the back, use a running stitch to secure the orange and yellow felt layers onto the large white felt circle. Stitch all the way around the outer edge of the orange circle, ensuring all three layers are neatly joined. Repeat these steps for all desired coasters.
Enjoy Your Hand-Stitched Fall Coasters
With these steps, your charming hand-stitched felt candy corn coasters are ready to brighten your fall and Halloween home decor. Place them on coffee tables, dining tables, or side tables to protect surfaces and add a festive, handcrafted touch. These cozy coasters are a delightful way to celebrate the autumn season.
Related project collection: DIY Black Cat Foam Trick-or-Treat Bucket for Halloween Candy
Practical Questions About This Project
What type of felt is best for these coasters?
The craft record specifies using standard felt sheets for this project, available in white, orange, and yellow.
Can these felt coasters be machine washed?
Hand-stitched felt items are generally best spot cleaned with a damp cloth to preserve their shape and stitching. Machine washing is not recommended.
How many coasters does this craft make?
The number of coasters produced depends on the quantity of felt sheets and embroidery thread used. The instructions are for creating one coaster, which can be repeated for a set.
What are good alternatives for circle templates?
Round objects found around the home, such as glasses, lids, or small plates, can be used as templates for tracing circles onto the felt sheets.
What kind of stitch is used to assemble the coaster layers?
A simple running stitch is used to secure the felt layers together, creating a neat, visible hand-stitched edge around the inner and outer circles.
Search Dollar Tree for felt supplies.

Leave a Reply